
When our dataset appears as multiple values in a single cell separated by a delimiter, we need to split that text into rows for further analysis and better visualization. For this purpose, we can use the TRANSPOSE, SPLIT, and ARRAYFORMULA functions.
This article will explain how you can use all of the TRANSPOSE, SPLIT, and ARRAYFORMULA functions to split text into rows in Google Sheets.
Steps to split text to rows in Google Sheets with TRANSPOSE and SPLIT functions:
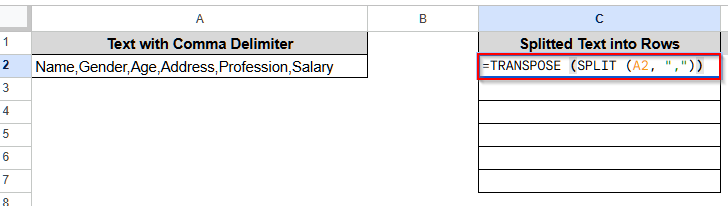
➤ Select cell C2 and insert this formula: =TRANSPOSE(SPLIT(A2,”,”))
Here, cell A2 is where the original dataset is, and “,” is the delimiter in the dataset. It can be something else, and so, you will need to change it according to your dataset.
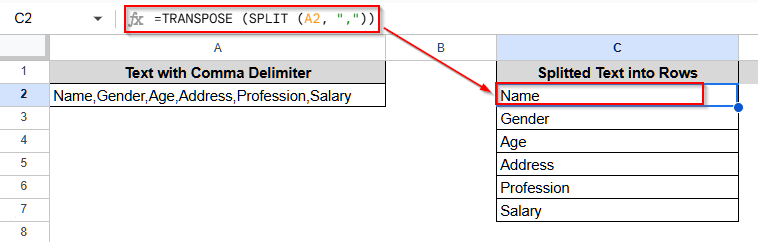
➤ Now, press Enter, and the comma-separated value will each form a row.

Split Text to Rows in Google Sheets Combining TRANSPOSE and SPLIT Functions
The combined formula of the TRANSPOSE and SPLIT functions is one of the easiest methods for splitting text-type data into rows in Google Sheets.
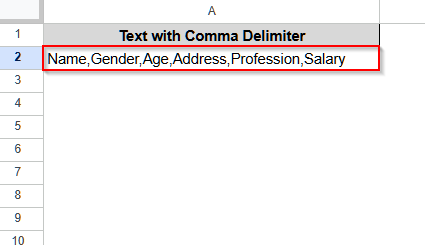
We will use the dataset below to explain how to split text into rows using these two functions in Google Sheets. The data is in cell A1, and the contents are separated by “,” (comma), which is called the delimiter.
Steps:
➤ Select cell C2 and insert this formula:
=TRANSPOSE(SPLIT(A2,”,”))
➤ Now, press Enter, and the comma-separated value will each form a row.
Note:
The SPLIT function is applicable only for a single cell. So, if you have to split text data from two rows, you need to write two separate formulas.
Split Text to Rows in Google Sheets Using ARRAYFORMULA Function
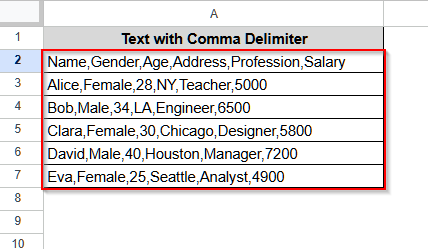
The ARRAYFORMULA function is best suitable for a text dataset with multiple rows. We will use the dataset below to explain how ARRAYFORMULA splits text into rows in Google Sheets.
Steps:
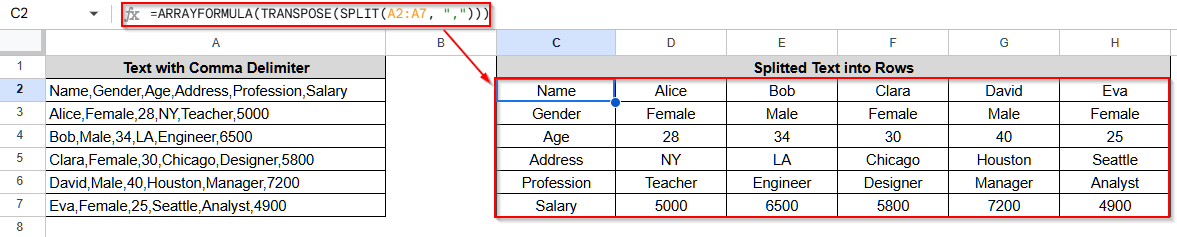
➤ Select cell C2 and insert this formula:
=ARRAYFORMULA(TRANSPOSE(SPLIT(A2:A7, “,”)))
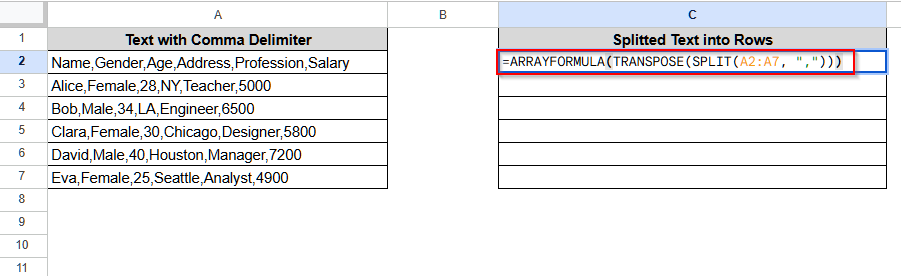
➤ Click Enter, and all the text will form different rows
Frequently Asked Questions
Is There Any Built-In Option to Split Text into Rows In Google Sheets?
There is no direct built-in option for splitting text into rows directly. However, you can select Data from the top menu. Then, select Split Text to Columns. It will return the dataset as columns. Select the returned data and copy it. Now, click on an empty cell and click the right button of your mouse. Choose Paste Special, and a list of options will open up. Select Transposed, and the dataset will be returned as rows.
After Using the TRANSPOSE and SPLIT functions, Why Am I Getting #REF Error?
This happens when you use the wrong cell as a cell reference. If your data is in the A2 cell, you need to write the formula as =TRANSPOSE (SPLIT (A2, “.”)). But if you write A2 or any other blank cell instead of A2, you will get the #REF! Error.
Can I Use TRANSPOSE and SPLIT Functions to Split Multiple Rows of Text Data into Rows in Google Sheets?
No, it is not possible. Because the SPLIT function only works for one cell. So, even if you have data in multiple cells, say, A2, A3, A4, A5, and you write the formula as: =TRANSPOSE (SPLIT (A2:A5, “,”)), it will return only the data of cell A2 in a row.
Wrapping Up
This article helped us to learn how we can split text into rows in Google Sheets using two different methods with the help of functions. One is, using a formula that combines the TRANSPOSE and SPLIT functions, and the other is, using the ARRAYFORMULA. Besides using functions, you can also use the built-in option to make a column from the text data, and then using the TRANSPOSED option, you can convert the column into a row. Try these methods out and share your thoughts with us.