Margins are the blank space between the content of your spreadsheet and the edges of the printed page. Adjusting margins helps you create well-structured and professional-looking printouts when working on Google sheets. Setting the right margins ensures everything fits neatly on the page.
In this article, we’ll learn some easy steps to change margins in Google Sheets so your printed documents appear clean and balanced.
To change margins you need to access the print settings in Google Sheets. Here’s how you can do that:
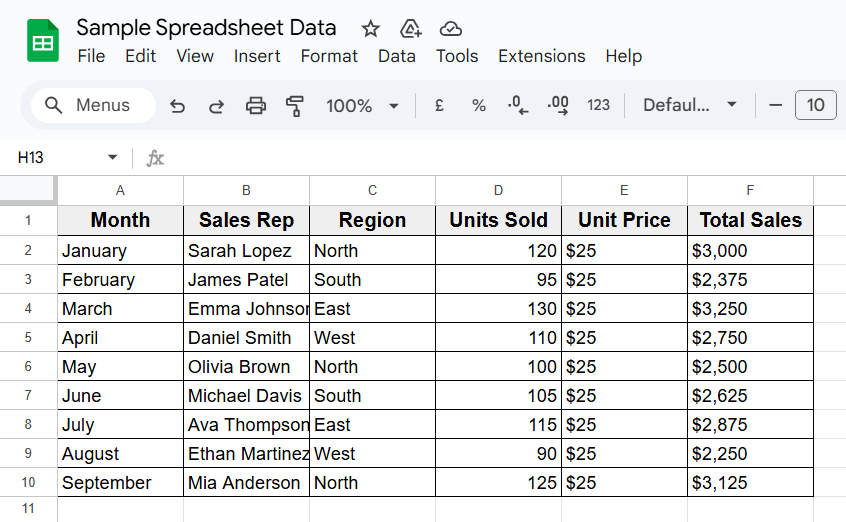
➤ Open your Google Sheets file where you have saved your dataset.
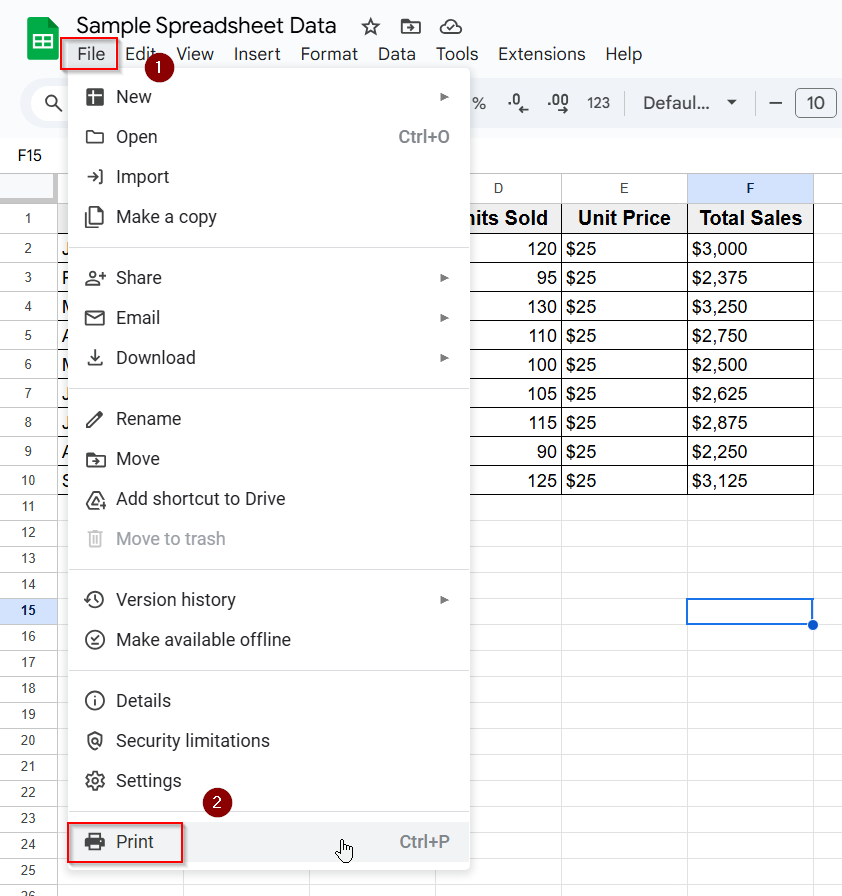
➤ Go to the top Menu and click on File >> Print.
➤ A print setup panel will appear.
➤ Look for the Margins option, where you can choose preset margin sizes like Normal, Narrow, Wide, and Custom.
➤ Adjust the margins as you need and preview the changes before printing your document.

Steps to Change Margins in Google Sheets
Changing Margins only matter when you’re printing your sheet or saving it as a PDF. If your data looks too close to the edge, adjusting the margins can help it look more professional.
Step 1: Go to the Print Settings
To change margins you need to access the print settings in Google Sheets. Here’s how you can do that:
➤ Open your Google Sheets file where you have saved your dataset.
➤ Go to the top Menu and click on File >> Print.
Step 2: Select from Margin Options
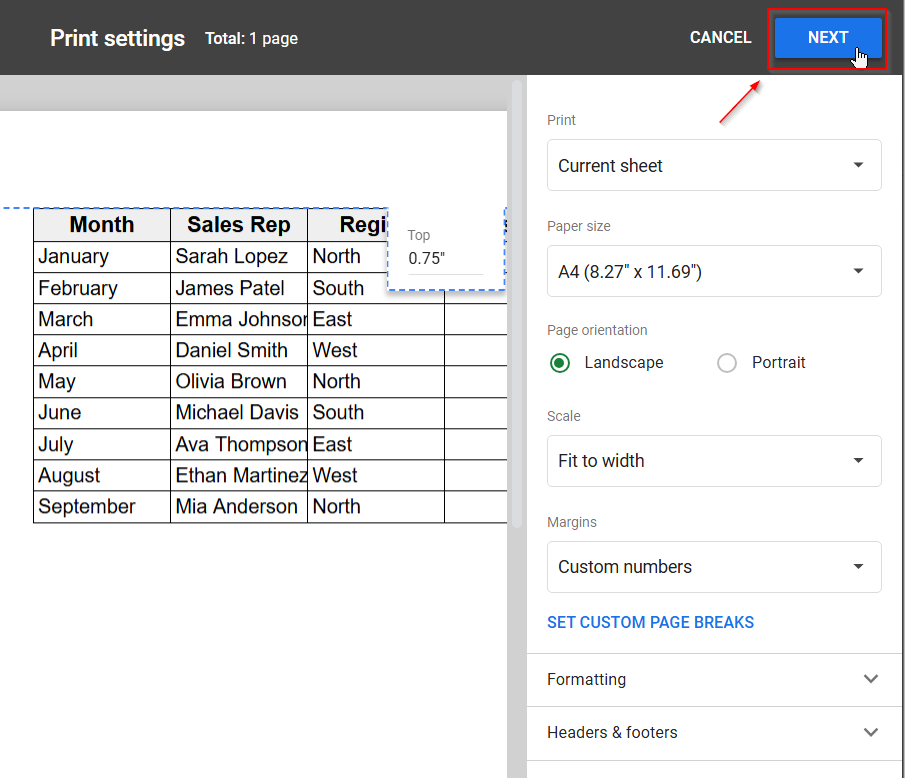
➤ A print setup panel will appear. Look for the Margins option.
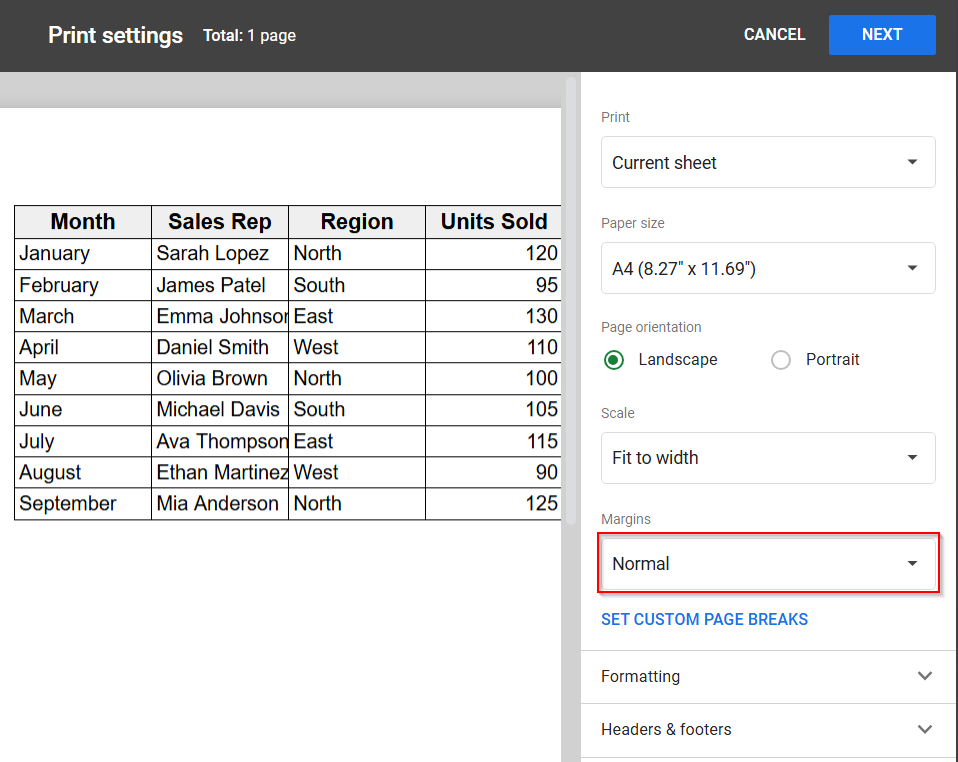
➤ Here you can choose preset margin sizes like Normal, Narrow, Wide, and Custom.
➤ Normal is for standard margin size. Narrow is for smaller margins, more space for your data. Wide option is for bigger margins, less space for data.
Step 3: Customize Margin Values According to Your Requirements
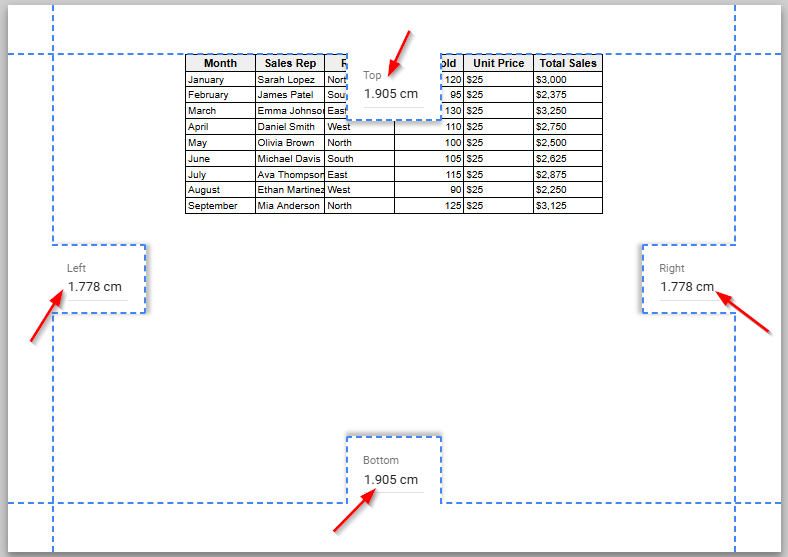
➤ Custom Numbers is the option to choose your own top, bottom, left, and right margins.
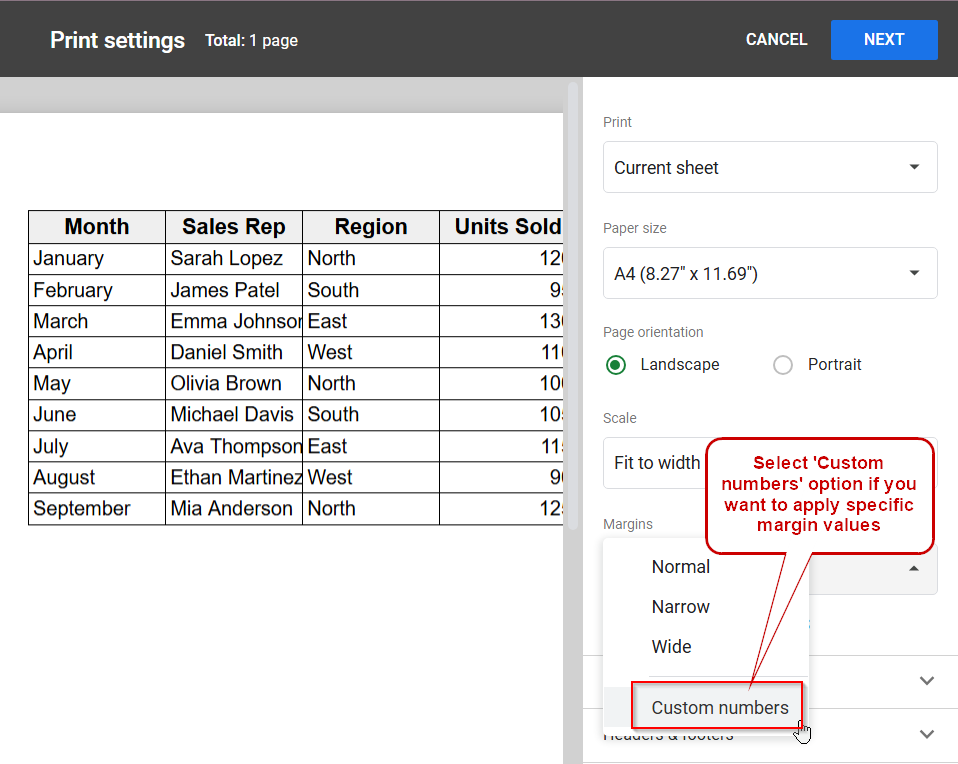
➤ If you are using Custom numbers then click on it and adjust the margins as you need.
➤ Now look at the print preview on the left side of the screen. Make sure everything looks the way you want.
➤ After setting the margins, click Next at the top.
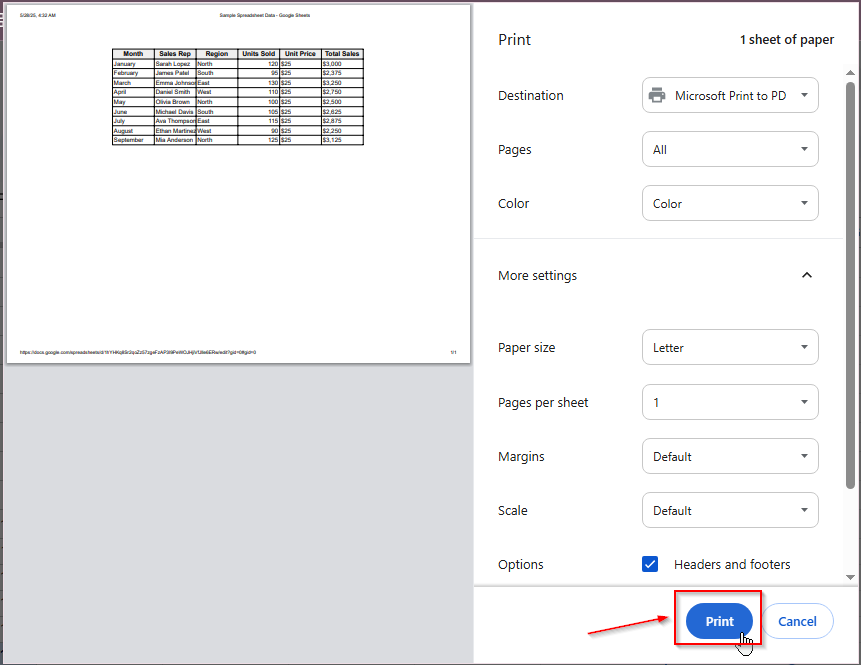
➤ Now, if you want to print your document as a PDF file click on Print.
Frequently Asked Questions
How do I adjust margins in Google Sheets?
Here is a simple step-by-step guide how you can adjust margins in Google Sheets:
➤ Open your Google Sheets file and go to the Menu tab.
➤ Click on File and then Print option from the dropdown menu.
➤ On the right side, you’ll see a Margins option.
➤ Click it and choose a margin style like Normal, Narrow, Wide, and Custom.
➤ After adjusting margins click Next to save or print the file.
How do I use custom margins in Google Sheets?
Here’s how you can use custom margins in Google Sheets:
➤ Go to the Print setup screen by clicking File >> Print.
➤ Click on the Margins dropdown and select Custom number.
➤ Now enter your own values for top, bottom, left, and right margins.
How to see page margins in Google Sheets?
To see page margins open the Print setup screen and click on Margins dropdown. Select Custom number and you will see the page margin on the right side of the screen.
Wrapping Up
Margins in Google Sheets help your data look more professional when you need it to print. Usually, margins prevent content from being too close to the edges and make your sheet easier to read on paper.
Change the margins when your data doesn’t fit properly or if you need extra space for notes or binding. Adjusting the margins helps everything more presentable, especially when you’re printing a budget, report, or a simple data sheet.
