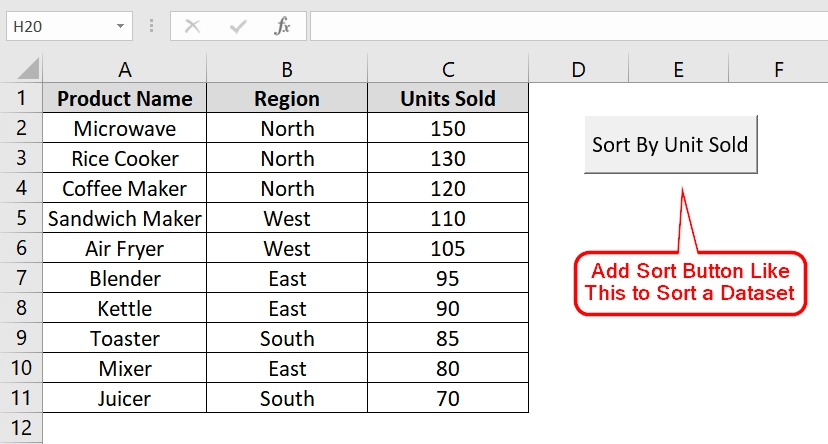
Sorting data efficiently is important in Excel. We use Sort Button when we are working with long lists, financial reports, or employee records like dataset. For example If we want a way to quickly reorder data alphabetically or numerically without complex formulas we can just sort it using a short button.
To add a sort button in Excel, follow these steps:
➤ Select the data range you want to sort.
➤ Go to the Data tab on the ribbon.
➤ Click the Sort A to Z or Sort Z to A button based on your requirement.
This article will explain multiple methods to add and use sort buttons in Excel. We will use filter toggles, keyboard shortcuts, VBA buttons etc.
What Is a Sort Button in Excel?
A sort button in Excel is a built-in control (either A→Z or Z→A). It lets us reorder data. It can be based on alphabetical, numerical, or custom list values. You will see It appears in the Data tab or as part of a filter toggle. When we apply it, Excel can reorganize rows according to the selected column’s values.
Using Filter Toggles To Add a Sort Button
This method is used when we want to easily sort data in Excel using built-in filter buttons. For example, when we are working with tabular datasets, such as sales data, inventory lists, or employee records. This method adds a small dropdown button on each header column, which gives further sorting options. Use this method when you want a simple, clickable sort option that doesn’t require formulas or scripting.
Steps:
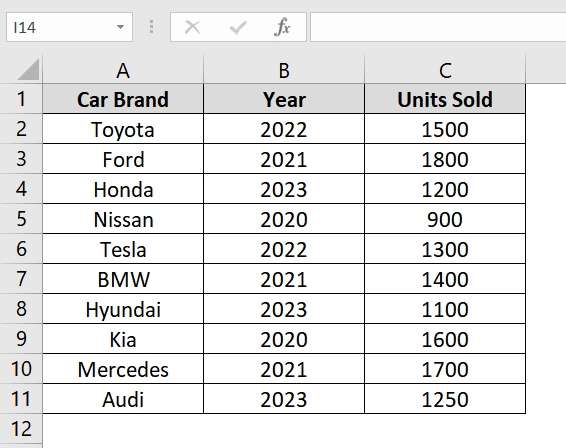
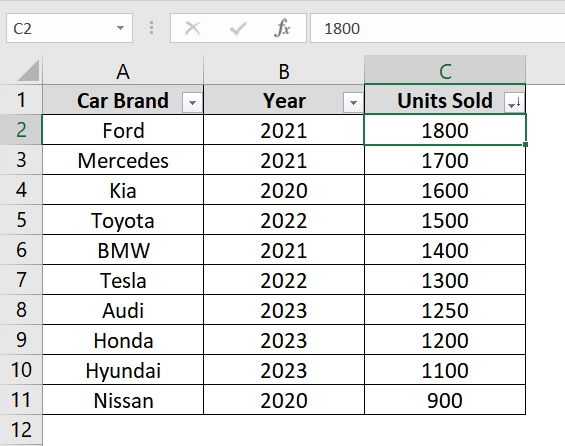
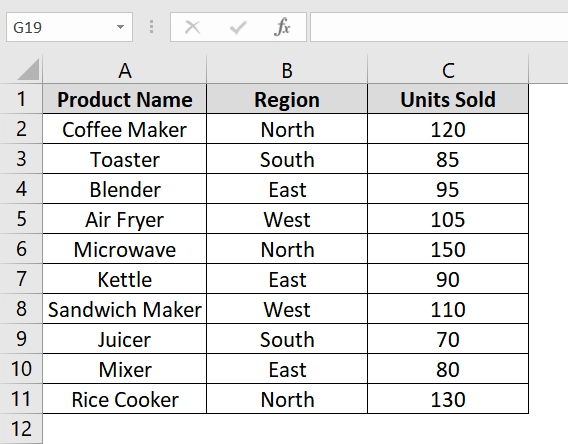
➤ Open your datasheet. Make sure each column has a clear header. For example, in our datasheet we have-
- A1: Car Brand
- B1: Year
- C1: Units Sold
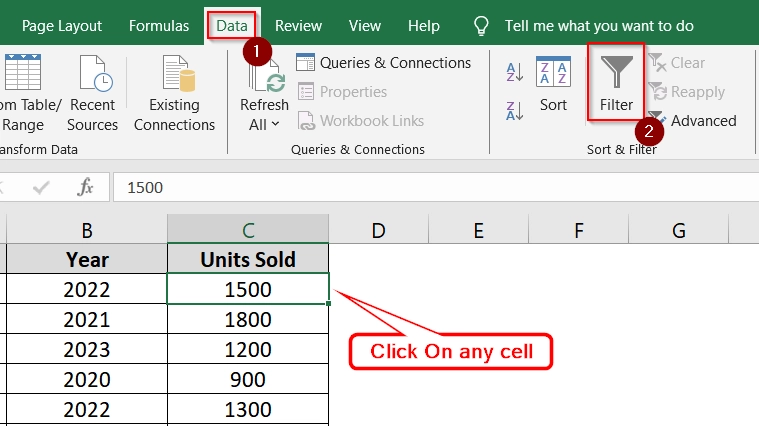
➤ Select any cell inside your dataset, such as C2.
➤ Go to the Data tab on the Ribbon at the top of Excel.
➤ Click the Filter button in the Sort & Filter group.
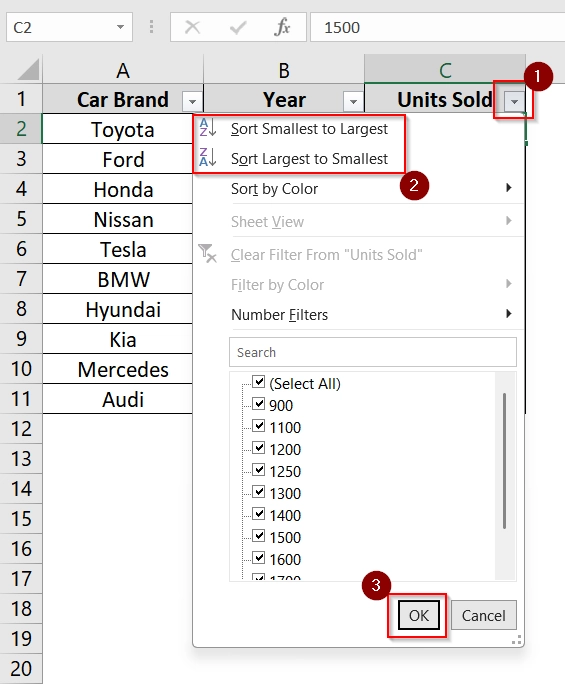
This will add a small dropdown arrow to each column header (A1, B1, C1).
➤ Click the dropdown arrow in the Units Sold column (cell C1).
➤ From the dropdown, choose either Sort Smallest to Largest or Sort Largest to Smallest to reorder the data and click OK
➤ You will see that the data rows are now reordered based on the selected sort method, with values also dynamically adjusted. Additionally it keeps rows intact.
Note:
➧ This method does not change the original data. It only changes the order of rows based on the sort column.
➧ If you want to remove the filter buttons, simply click Data → Filter again or use the shortcut Ctrl + Shift + L .
Pressing Keyboard Shortcut To Add a Sort Button
This method lets us quickly add or remove sort buttons (filter toggles) on our dataset headers by using the Ctrl + Shift + L shortcut. It’s very easy and useful when you want fast access to sorting options without navigating through the Ribbon like in large or recurring data analysis tasks. Use this method when working with any tabular dataset like employee records, sales logs, or inventory lists.
Steps:
➤ Open your dataset in Excel. For this example, we will use a datasheet that has:
- A1: Employee Name
- B1: Department
- C1: Salary ($)
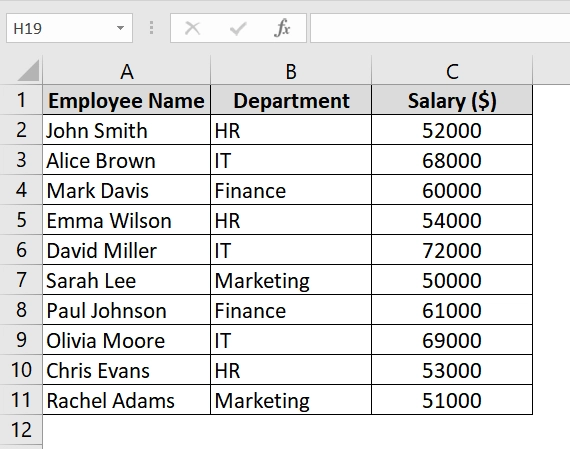
➤ Click any cell inside the dataset, for example, A1 or B3.
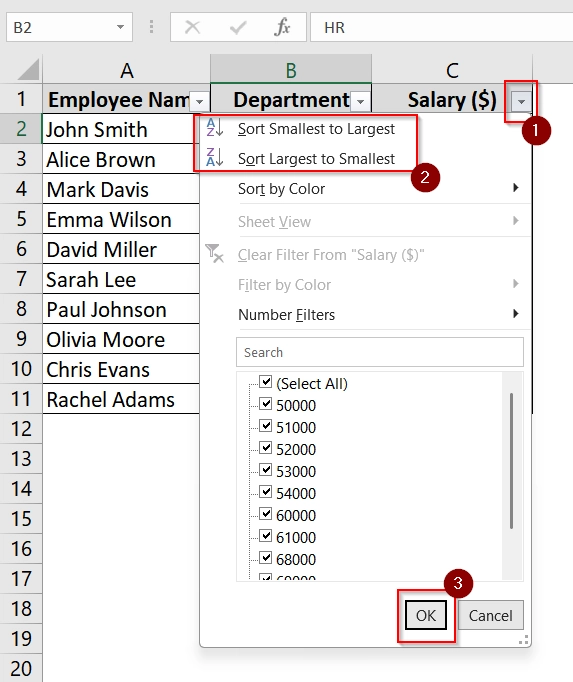
➤ Press Ctrl + Shift + L on your keyboard. This will instantly add filter toggles (small dropdown arrows) to each header cell in Row 1 (A1 to C1).

➤ Click the dropdown arrow in the Salary ($) column (cell C1).
➤ Choose Sort Largest to Smallest to sort employees by salary in descending order.
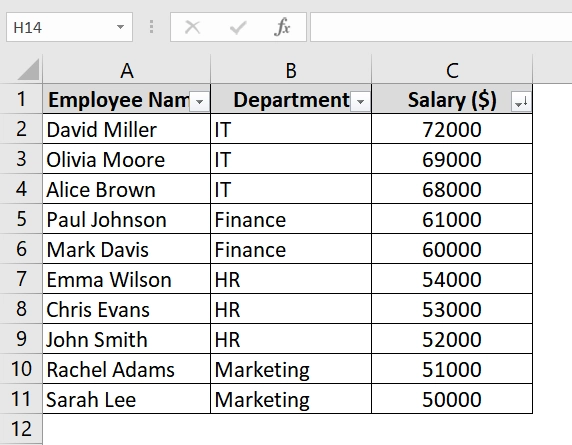
➤ See that the data is now sorted, with highest salaries listed at the top and lower salaries at the bottom.
Note:
➧ The shortcut Ctrl + Shift + L toggles the filter buttons on or off. Press it again to remove the filter buttons.
Implementing VBA Macro to Add a Sort Button
This method lets you add a custom sort button to your Excel sheet using a VBA macro. It’s good for repeated sorting needs and for users who share workbooks or prefer a single-click sort solution. However, the dataset should have a clear header row and consistent structure.
Steps:
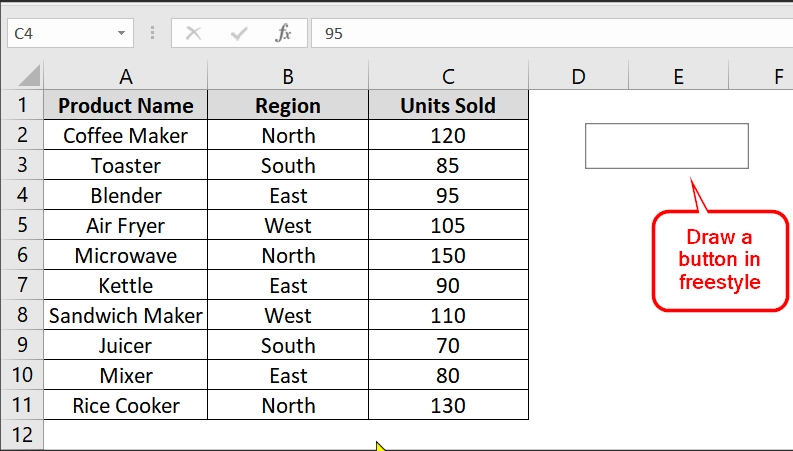
➤ Navigate to your dataset in Excel. Or use Sheet1 from our supplied excel file.
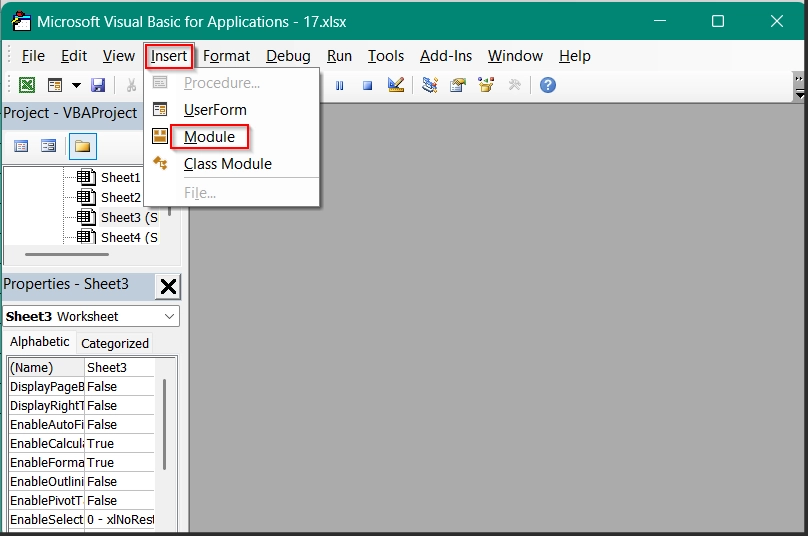
➤ Press Alt + F11 to open the Visual Basic for Applications (VBA) Editor.

➤ In the VBA Editor, click Insert → Module.
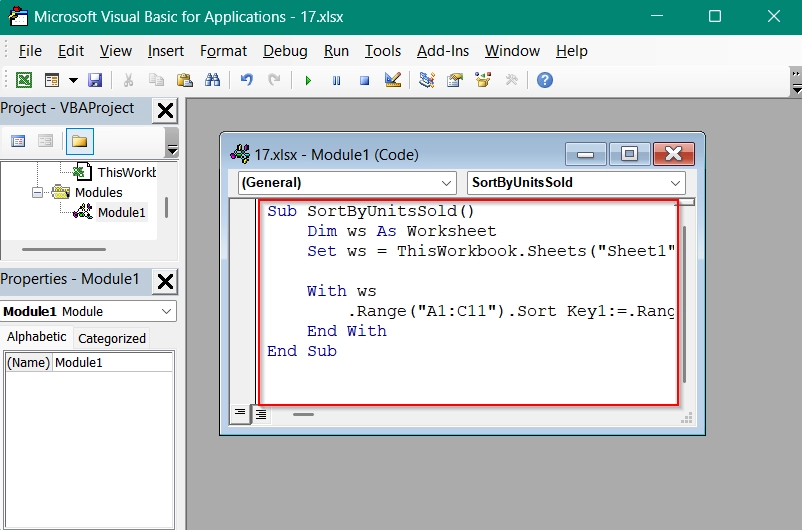
➤ Copy and Paste the following code:
Sub SortByUnitsSold()
Dim ws As Worksheet
Set ws = ThisWorkbook.Sheets("Sheet3")
With ws
.Range("A1:C11").Sort Key1:=.Range("C1"), Order1:=xlDescending, Header:=xlYes
End With
End Sub
Here,
- This macro sorts the data in range A1:C11.
- Key1:=.Range(“C2”) sets “Units Sold” column as the sort key.
- Order1:=xlDescending sorts from highest to lowest.
➤ Close the VBA Editor and return to Excel.
➤ On the Developer tab, click Insert → Button (Form Control).
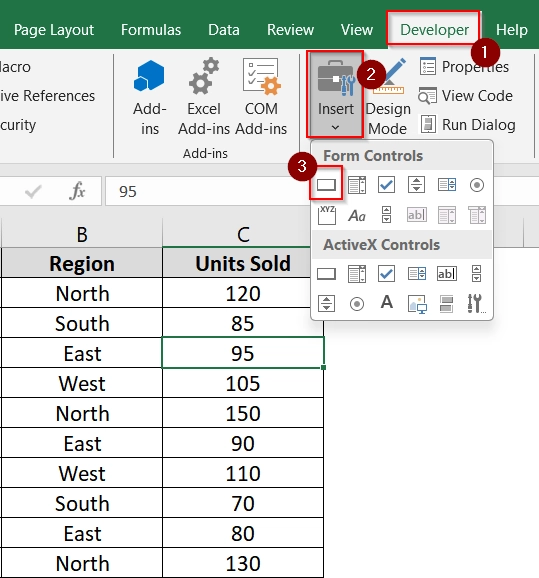
➤ Draw a button near your table.
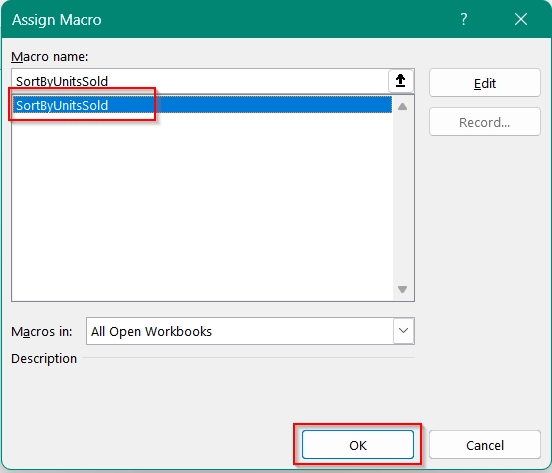
➤ After drawing the button, the Assign Macro dialog box will appear. Select SortByUnitsSold and click OK.
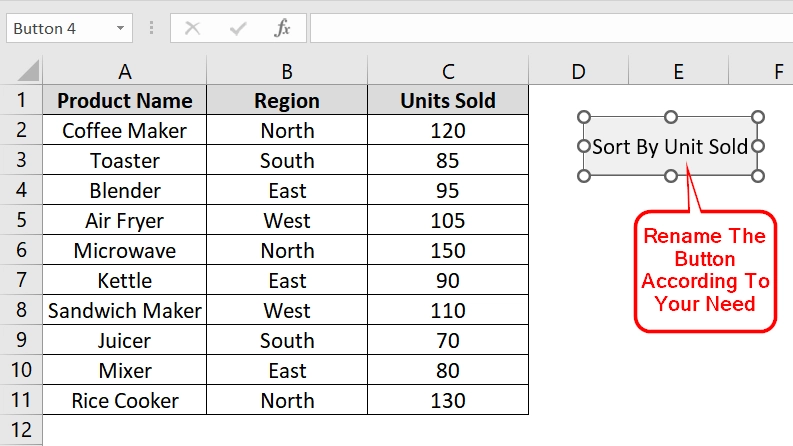
➤ Right-click the button and select Edit Text. Rename it to “Sort by Unit Sold”.
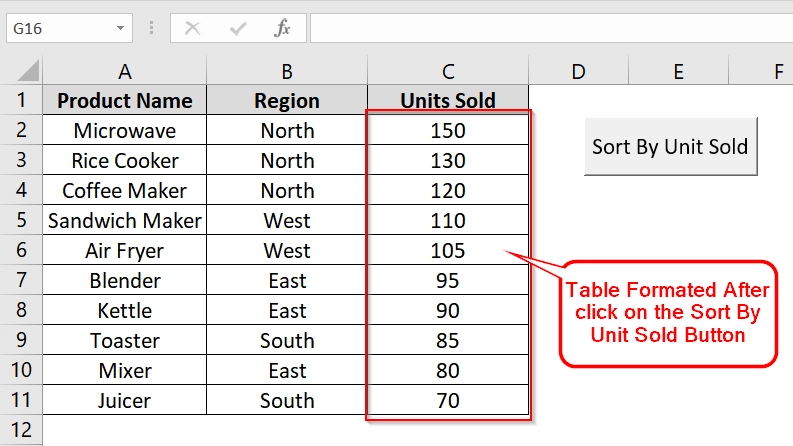
➤ Now, click the button and your data will instantly be sorted by Units Sold in descending order.
Note:
➧ Enable the Developer tab if it’s not already visible: Go to File → Options → Customize Ribbon. Then Check the box for Developer on the right pane and click OK.
Using Built-in “Sort” Button on Data Tab
In this method, we will use Excel’s built-in Sort dialog box from the Data tab. It’s good for users who want to apply a quick one-level or multi-level sort without using formulas or code. This works well for structured datasets with multiple columns.
Steps:
➤ Open your datasheet. We have taken a datasheet that has data from A1 to C11
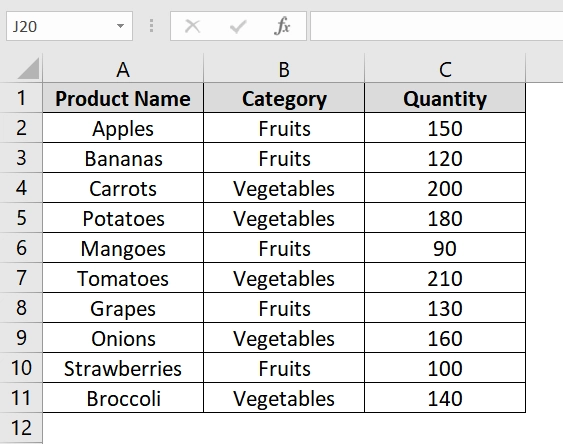
➤ Click any cell inside your data range (e.g., B5). Then go to the Data tab on the ribbon at the top of Excel.
➤ Click on the Sort button in the Sort & Filter group. This opens the Sort dialog box where you can define how to sort your data.

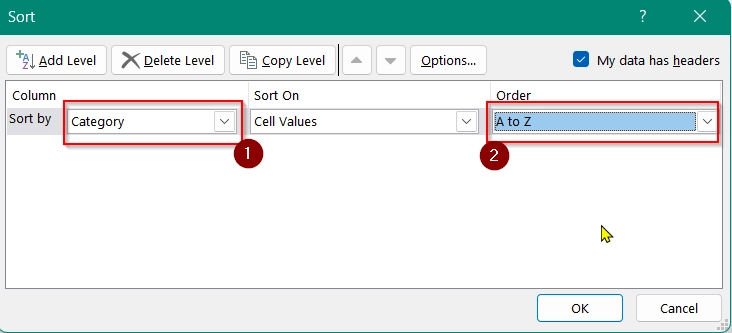
➤ In the Sort dialog box:
- Under Sort by, choose Category (column B).
- Under Order, choose A to Z.
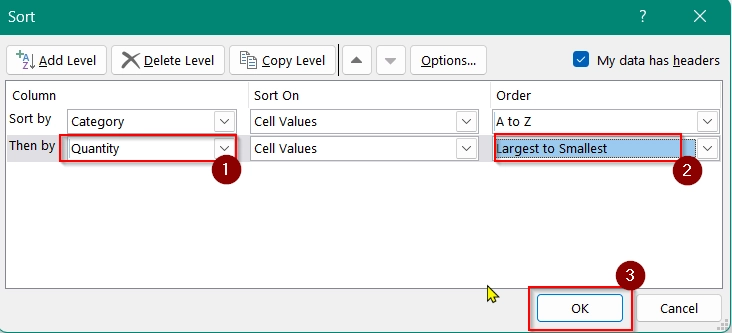
➤ Then click Add Level to add another sorting condition.

➤ In the new level:
- Under Then by, choose Quantity (column C).
- Under Order, choose Largest to Smallest.
➤ Click OK to apply the sort.
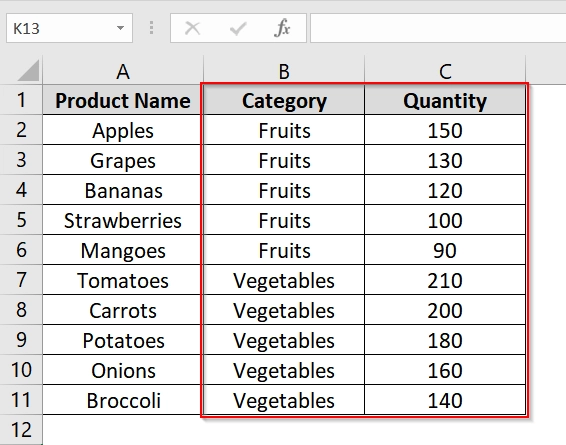
➤ Excel will rearrange your table based on the sorting criteria. The table is now sorted by Category A–Z (Fruits first, then Vegetables), and within each category, sorted by Quantity from largest to smallest.
Note:
➧ Make sure your dataset has headers (first row) so that Excel can recognize column names.
➧ You can sort by text (A-Z or Z-A), numbers (smallest to largest or vice versa), or dates.
Frequently Asked Questions (FAQs)
How do I insert a sort drop-down in Excel?
Use Format as Table or Data → Filter. This automatically inserts a sort drop-down on each column.
What is a custom list?
A custom list in Excel is a user defined order for sorting, such as sorting months (Jan, Feb, Mar…) instead of alphabetically.
Concluding Words
If we add a sort button in Excel it becomes helpful for managing and analyzing our data. It is simple and very useful. You can use the built-in sort button on the Data tab, filters.. Each method will help you to add Sort button in excel.