
When you’re handed an XML file and need to work with the data in Excel, it can feel like a technical hurdle. XML is designed for structured data exchange but isn’t readable in its raw form inside Excel. However, Excel gives you many ways to convert XML into a usable table, whether the data is simple or deeply nested.
In this article, you’ll learn the most effective ways to convert XML to Excel table using Excel’s built-in features, Power Query and VBA automation. Each method is purpose-built, fast, and avoids unnecessary complexity.
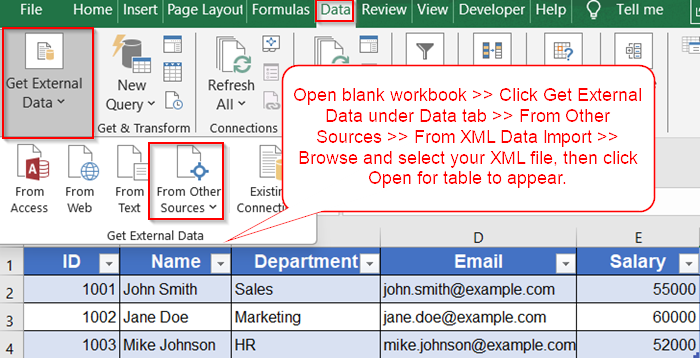
Steps to convert XML to Excel table:
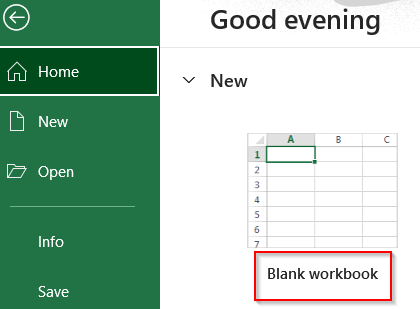
➤ Open a new Excel workbook where you want the table to appear by clicking on Blank Workbook.
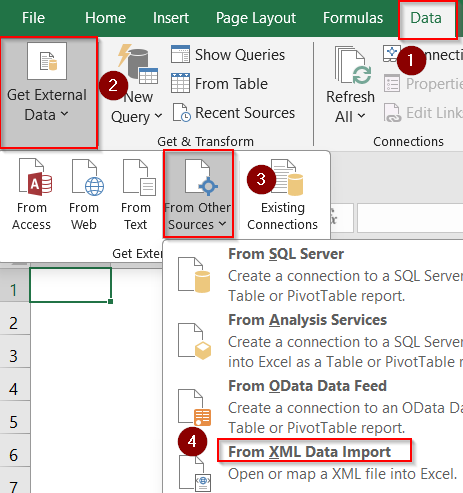
➤ Go to the Data tab on the ribbon.
➤ Click Get External Data >> From Other Sources >> From XML Data Import.
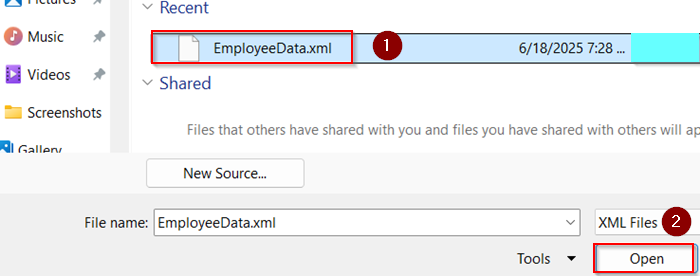
➤ Browse and select your XML file, then click Open.
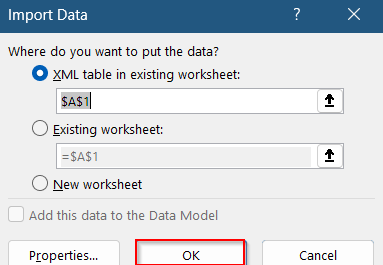
➤ Click OK on the pop-up to import your data.
Import XML Data as a Structured Table in Excel
This is the simplest method for users with a standard XML file. It automatically turns your XML structure into a formatted table inside Excel.
Steps:
➤ Open a new Excel workbook where you want the table to appear by clicking on Blank Workbook.
➤ Go to the Data tab on the ribbon.
➤ Click Get External Data >> From Other Sources >> From XML Data Import.
➤ Browse and select your XML file, then click Open.
➤ Click OK on the pop-up to import your data.
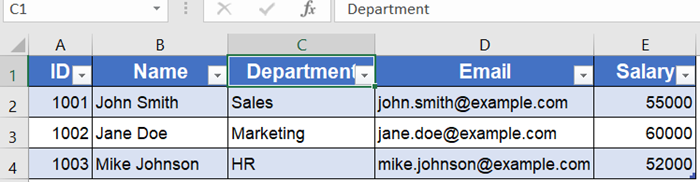
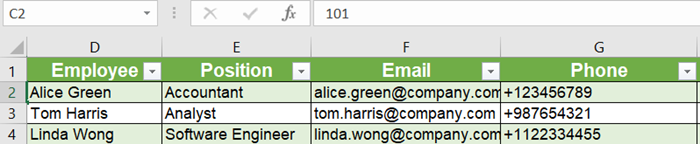
Your XML is now displayed as a structured Excel table. Headers, rows, and hierarchies are all organized neatly.
Use Power Query for Complex XML Structures
Power Query is recommended when dealing with web APIs, repeated records, or nested XML levels. It gives full control over how data is expanded and shaped before inserting it as a table.
Steps:
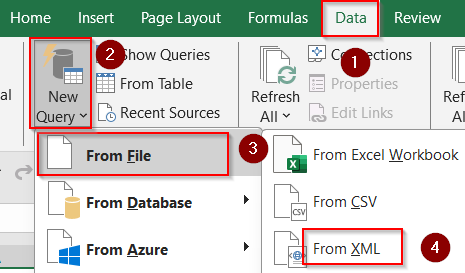
➤ Go to the Data tab and select New Query >> From File >> From XML.
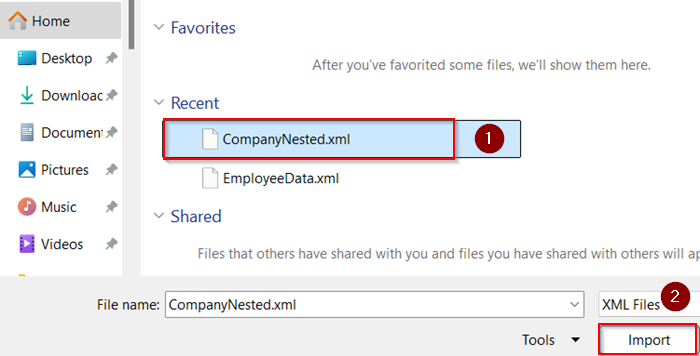
➤ Choose your XML file and click Import.
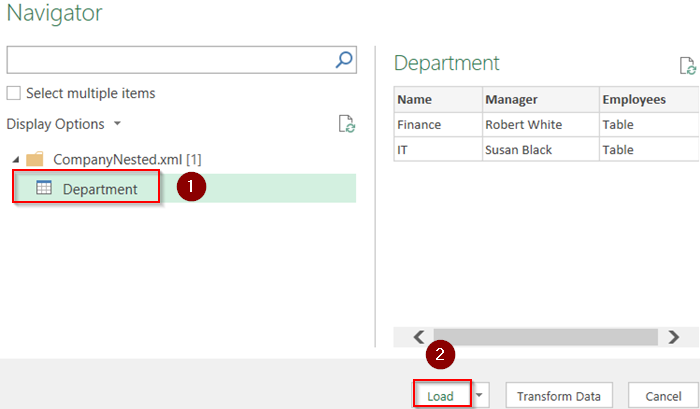
➤ In the Power Query Editor window, explore the structured preview of your XML.
➤ Select your table like Department and click Load in the Navigator window.
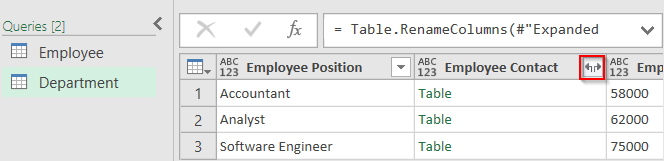
➤ Expand each node or nested table using the small expand icon (↕) beside column headers.
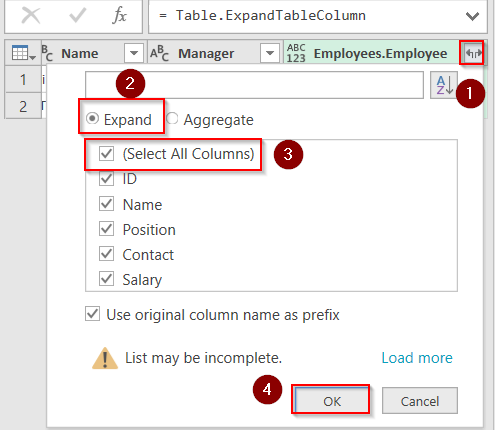
➤ Keep expanding until you reveal the needed data structure.
➤ Click Close & Load to insert the final table into your sheet.
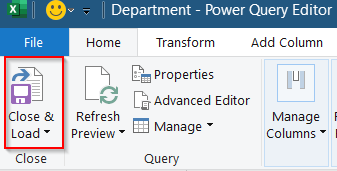
➤ Your data will appear on a new sheet. Format it according to your preference and optionally, rename your headers.
You now have a fully cleaned and structured Excel table from even the most complicated XML file.
Convert XML to Excel Table Using VBA Automation
If you regularly work with XML and want to automate the process, a VBA macro can import and format XML data as a table in one go.
Steps:
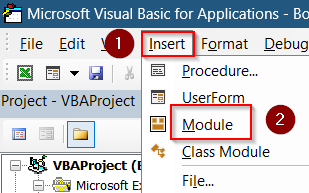
➤ Press Alt + F11 to open the VBA Editor in Excel.
➤ Insert a new module by right-clicking on Insert >> Module.
➤ Paste the following code in the blank window that appears:
Sub ImportXMLCompact()
    Dim xmlDoc As Object, xmlFile As String
    Dim items As Object, item As Object, child As Object
    Dim ws As Worksheet, row&, col&, headers As Object
    ' Select XML file
    With Application.FileDialog(msoFileDialogFilePicker)
        .Title = "Select XML File"
        .Filters.Add "XML Files", "*.xml"
        If .Show <> -1 Then Exit Sub
        xmlFile = .SelectedItems(1)
    End With
    ' Load XML
    Set xmlDoc = CreateObject("MSXML2.DOMDocument.6.0")
    xmlDoc.Load xmlFile
    If xmlDoc.ParseError.ErrorCode <> 0 Then
        MsgBox "Invalid XML: " & xmlDoc.ParseError.Reason, vbCritical: Exit Sub
    End If
    ' Prepare sheet
    Set items = xmlDoc.DocumentElement.ChildNodes
    If items.Length = 0 Then MsgBox "No records found.": Exit Sub
    Set ws = Sheets.Add(After:=Sheets(Sheets.Count))
    Set headers = CreateObject("Scripting.Dictionary")
    ' Write headers from first item
    col = 1
    For Each child In items(0).ChildNodes
        headers.Add child.NodeName, col
        ws.Cells(1, col).Value = child.NodeName
        col = col + 1
    Next
    ' Write data
    row = 2
    For Each item In items
        For Each child In item.ChildNodes
            If headers.exists(child.NodeName) Then
                ws.Cells(row, headers(child.NodeName)).Value = child.Text
            End If
        Next
        row = row + 1
    Next
    ' Make it a Table
    ws.ListObjects.Add xlSrcRange, ws.Range("A1").CurrentRegion, , xlYes
    MsgBox "XML imported into: " & ws.Name, vbInformation
End Sub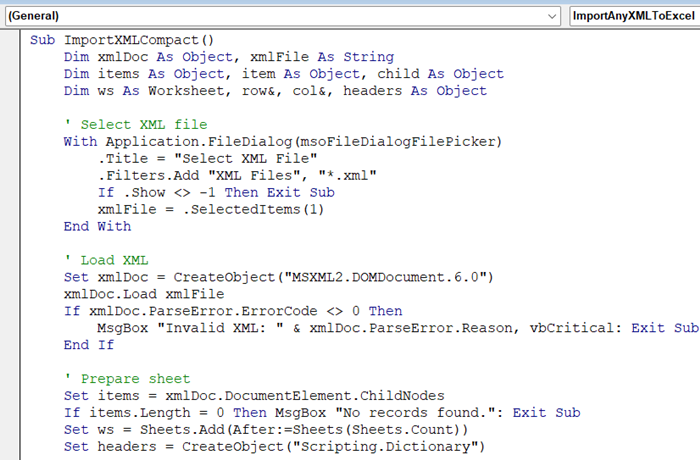
➤ This code allows you to browse through your computer and directly import it into your workbook without any hassle. So, go to your file location >> Select file >> Click OK.

➤ Press F5 to run the macro >> Click OK on the system message.

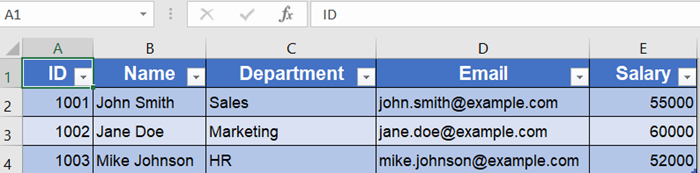
Now, the XML content will be loaded into your new worksheet. You can optionally format your table according to your preferences.
Frequently Asked Questions
Can Excel open XML files directly as tables?
Yes, modern Excel versions can import XML files and convert them into structured tables using built-in or Power Query tools.
What if my XML file is not well-formed?
You’ll need to fix errors in the XML manually using Notepad++ or an XML validator before importing into Excel.
Can I import multiple XML files at once?
Not directly, but you can use VBA or Power Query with folder-based imports to batch process XML files into Excel.
Will Excel preserve attributes from XML tags?
Yes, Power Query allows you to expand and extract attributes when converting XML to structured Excel data.
Wrapping Up
In this tutorial, you learned how to convert XML to Excel Table using multiple techniques, starting from direct import and Power Query to VBA automation. Whether your XML is simple or nested, you now have the right method to make it ready for Excel. Feel free to download the practice file and share your feedback.

