Printing or sharing large datasets in Microsoft Excel requires adjusting how your content appears on the page. A common task in this process is moving page breaks to make sure that key sections of your spreadsheet print together. This is very easy to move page breaks in Excel if you are preparing invoices, financial summaries, or other printable sheets.
To move page breaks in Excel, follow these steps:
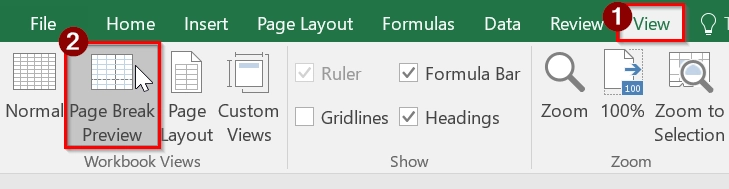
➤ Go to the View tab and select Page Break Preview.
➤ Locate the blue dashed or solid page break lines on your worksheet.
➤ Click and drag the line to your desired location.
This article walks you through using Page Break Preview mode in Excel to manually adjust page breaks. The VBA method is also explained to move page breaks.
What Is a Page Break in Excel?
A page break in Excel is a visual indicator that separates your worksheet into printable pages. Excel automatically inserts page breaks based on your paper size, margins, and content. You can also manually move or insert breaks to control where pages start and end when printing.
There are two types of page breaks:
- Automatic page breaks: Inserted by Excel based on settings.
- Manual page breaks: Inserted and adjusted by the user. We will talk about manual page breaks in this article.
Enable Page Break Movements in Excel
If you are unable to drag and drop page breaks in Excel, the feature might be disabled in your Excel settings. To enable it, follow these steps:
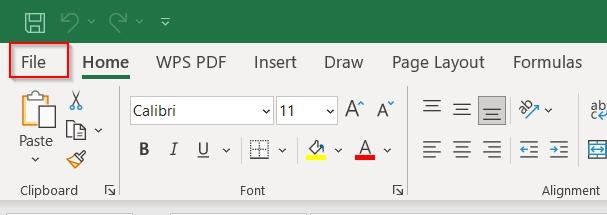
➤ Open the Excel workbook where you want to adjust page breaks. Click on the File tab in the top-left corner of the Excel window.
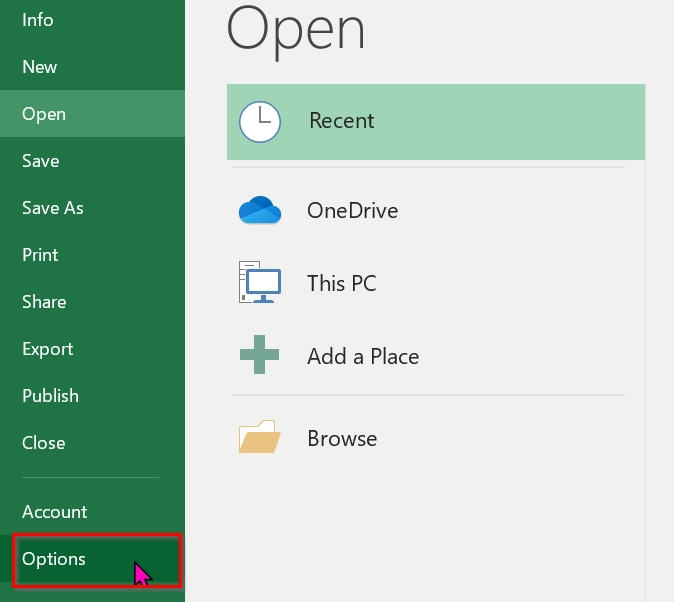
➤ Now, scroll down and click Options at the bottom of the left sidebar. This will open the Excel Options dialog box.
➤ In the Excel Options window, click on Advanced from the left-side menu.
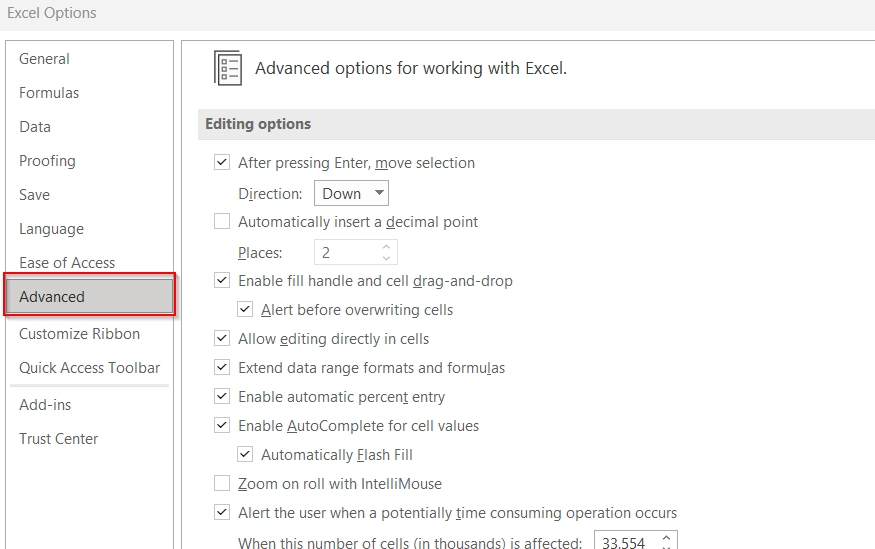
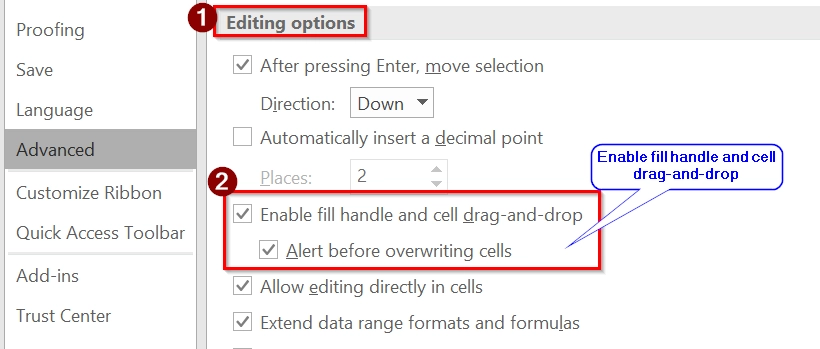
➤ Scroll down to the Editing options section on the right. Look for the checkbox labeled Enable fill handle and cell drag-and-drop. Make sure this box is checked. If it is not, click the checkbox to enable it.
➤ Click OK to save your changes and close the dialog box.
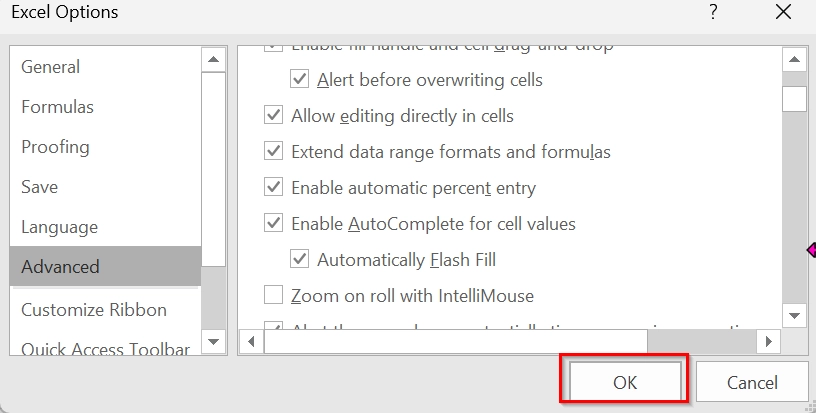
Once enabled, you will now be able to drag and drop page breaks freely in Page Break Preview mode.
Using Drag and Drop Page Actions to Move Page Breaks in Excel
Drag and Drop actions allow us to manually adjust page breaks in Excel, making it easier to print our data cleanly and in a structured format. It is good when our data is split across printed pages or when we want to set a specific number of rows or columns per page. This method is usually used for formatted datasets like sales reports, invoices, or timesheets where structure matters during printing.
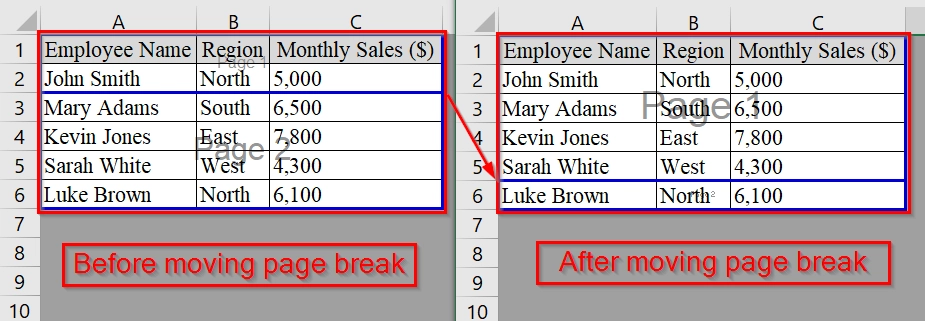
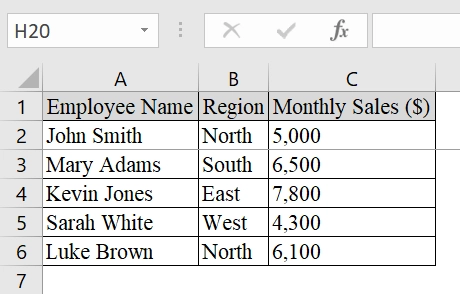
Here, we have a dataset that contains a monthly sales report. We will manually adjust the page breaks using the Drag and Drop method to print the reports neatly across multiple pages.
Steps:
➤ Open your Excel file with the data you want to print. Make sure the table is properly formatted in rows and columns.
➤ In the Workbook Views section, click on “Page Break Preview“.
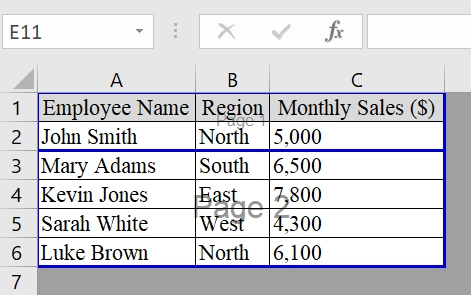
➤ “Page Break Preview” will show your sheet with blue lines representing the page breaks.
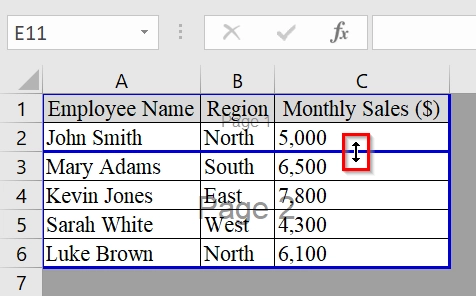
➤ Hover your mouse over a blue line until the pointer changes to a double-headed arrow. This change in the pointer shows that the line is draggable.
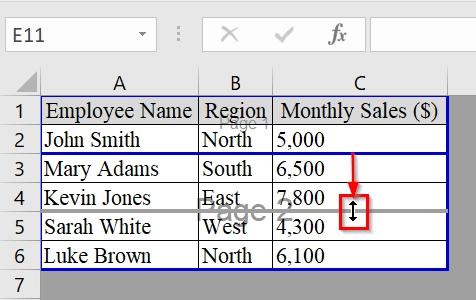
➤ Click and drag the horizontal page break line up or down to include or exclude rows as needed. For example, drag the line below row 4 so that rows 1 to 4 appear on the first page, and rows 5 to 6 on the second page.
➤ Make sure your changes are reflected correctly in the print preview.
Note:
➥ Make sure Page Break Preview mode is enabled; you cannot move page breaks in Normal view.
➥ You can reset all manual page breaks by going to Page Layout > Breaks > Reset All Page Breaks.
Applying VBA Macro to Move Page Breaks in Excel
The VBA method in Excel allows us to automatically move page breaks based on specific rules such as adding a break after every 5 rows. This is used when we work with large datasets, where manually adjusting page breaks would be time consuming and inconsistent.
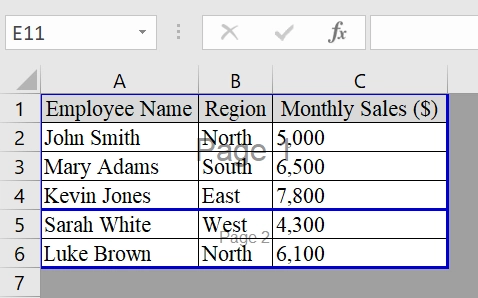
We have a dataset that contains regions, full names of salespersons and monthly sales ($) in different cells. In this method we will use a VBA macro to insert custom page breaks after specific rows. This method is easy for handling large datasets where consistent formatting is needed for printing or PDF export.
Steps:
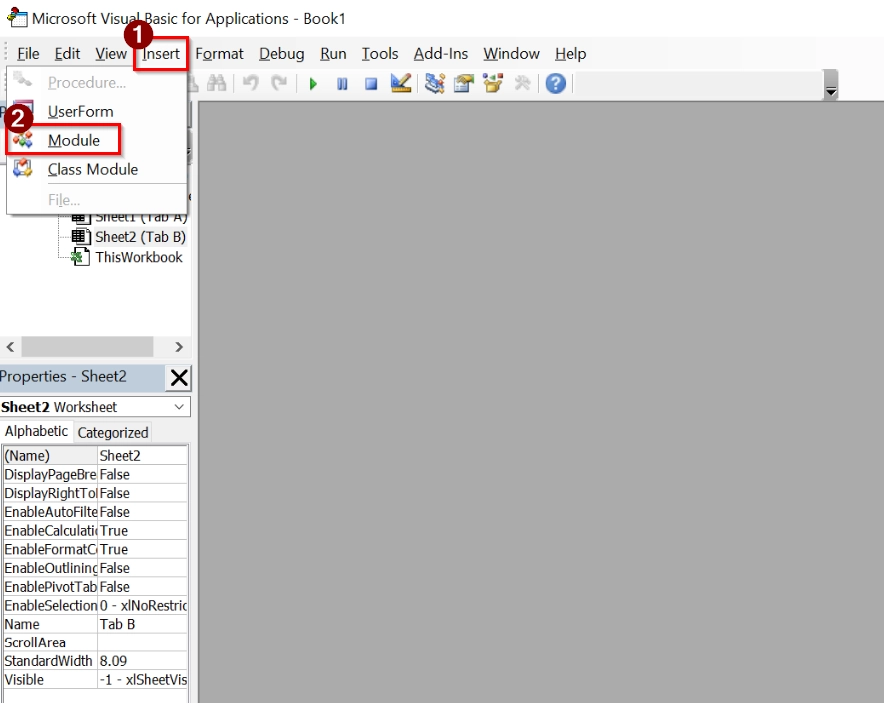
➤ Open your excel dataset and press Alt + F11 to open the VBA (Visual Basic for Applications Editor).
➤ In the editor, go to Insert → Module to add a new module.
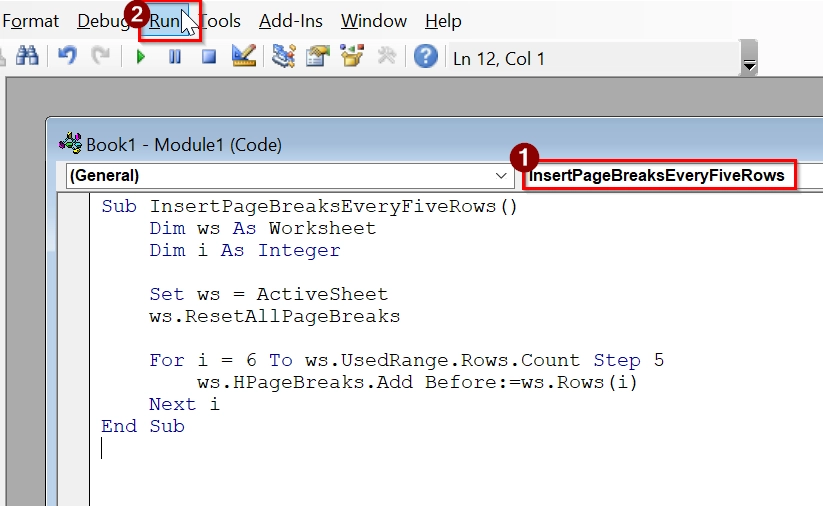
➤ Copy and paste the following VBA code into the module:
Sub InsertPageBreaksEveryFiveRows()
Dim ws As Worksheet
Dim i As Integer
Set ws = ActiveSheet
ws.ResetAllPageBreaks
For i = 6 To ws.UsedRange.Rows.Count Step 5
ws.HPageBreaks.Add Before:=ws.Rows(i)
Next i
End Sub➥ The loop inserts a page break before every 3rd, 6th... row (i.e., every 3 rows).

➤ Select InsertPageBreaksEveryFiveRows, and click Run.
➤ Go to view → Page Break Preview and see your data with page breaks.

Note:
➥ Macros must be enabled for this to work.
➥ Save as .xlsm file to retain the macro.
Frequently Asked Questions
Can I remove a page break after moving it?
Yes. Right-click on the page break and choose Remove Page Break or reset all breaks via the Page Layout tab.
Why can’t I move the page break?
Ensure you are in Page Break Preview mode. Some versions of Excel may restrict movement if the worksheet is protected.
Do page breaks affect how the worksheet appears on screen?
Not in Normal View. They only affect the layout in Page Break Preview or during printing.
Concluding Words
Moving page breaks in Excel is simple using the Page Break Preview method. It sets your document’s layout before printing, ensuring clarity and professionalism. If you are printing tables, invoices, or reports, repositioning page breaks will help you maintain visual and structural balance.