Organizing the data in Excel is not always enough. Sometimes, we need a more interactive approach to visualize and present them. A perfect solution for that can be PowerPoint slides. However, manually copying each data point one by one can be daunting, especially when dealing with large business reports or product catalogs. No one does that, actually! As a result, users usually prefer to automatically create PowerPoint slides from Excel without repetitive efforts. This is way faster, smoother, and more presentable.
Use the following steps to create PowerPoint slides directly from your Excel workbook.
➤ Prepare your Excel file with proper rows and appropriate headings.
➤ Go to the Developers tab and click on Visual Basic to launch the VBA editor.
➤ In the new window, click on the Insert tab and select Module from the menu.
➤ In the blank space, write the script for this.
➤ Do the proper mapping of each cell.
➤ Save and click on Macros beside the Visual Basic option.
➤ Run it to get the desired result.
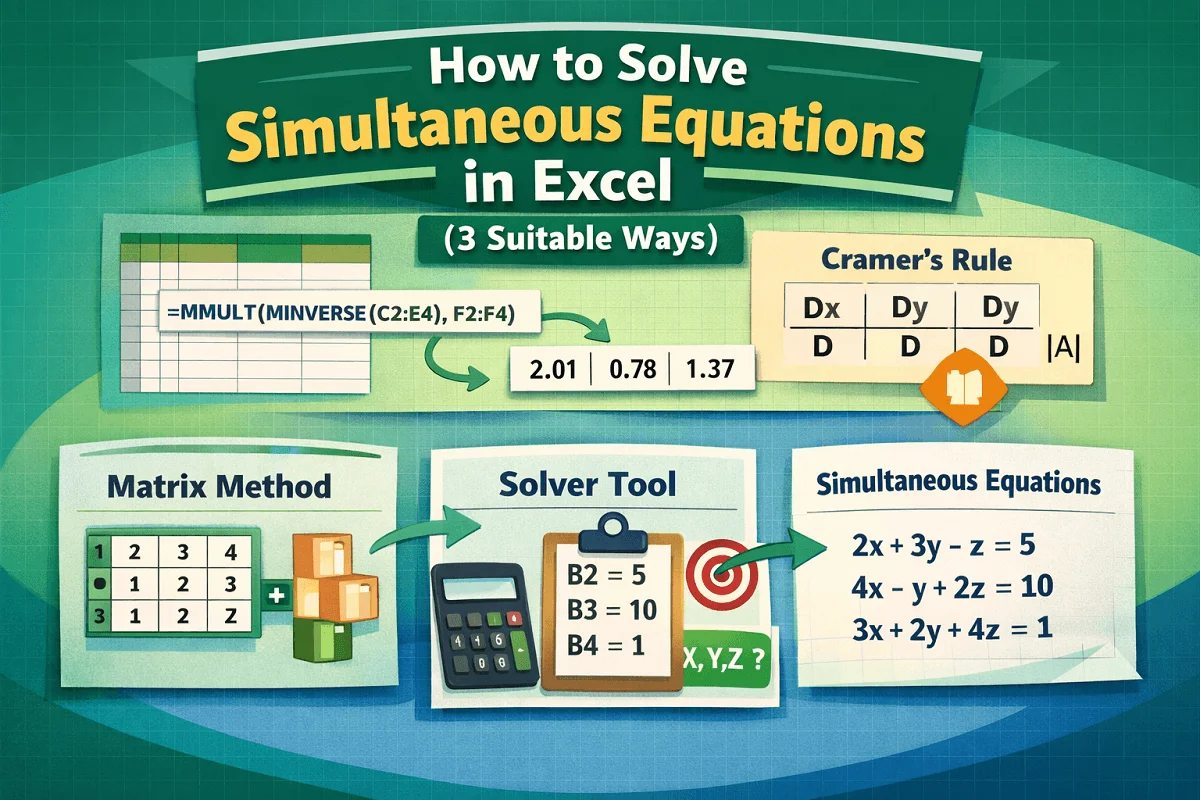
Here, we will explore all the possible ways in which you can automate your Excel files to a dynamic PowerPoint experience. This will take you on a ride, using various tools like VBA Macro, Python scripts, and even AI-powered tools. Stay tight as we guide you step-by-step to each approach with a detailed overview and tutorial.
Using VBA Macro to Generate PowerPoint Slides Automatically
VBA Macro is the best way to create PowerPoint Slides from Excel datasheets with minimal hassle. If you don’t want to go into many hassles and minimal beautification, you can opt for this. Without using third-party apps, you can get full control over your data and its visibility.
Steps:
➤ Ensure your Excel file has proper cells and headers.
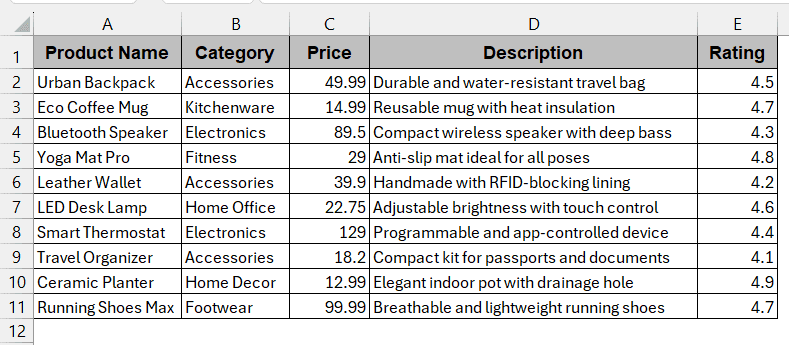
Here, we want to create a total of 10 slides to organize one product per slide, having five attributes – name, category, price, description, and ratings.
➤ Go to Developer tab -> Visual Basic to launch VBA editor.
➤ In the VBA window, click on the Insert tab and select Module from the dropdown menu.
➤ This will create a blank space to write the VBA code.
➤ Paste the following code in the space-
Sub CreatePPTSlidesFromExcel()
    Dim pptApp As Object
    Dim pptPres As Object
    Dim slideIndex As Integer
    Dim ws As Worksheet
    Dim lastRow As Long
    Dim i As Long
    Set ws = ThisWorkbook.Sheets("Sheet1") ' adjust if needed
    lastRow = ws.Cells(ws.Rows.Count, "A").End(xlUp).Row
    Set pptApp = CreateObject("PowerPoint.Application")
    pptApp.Visible = True
    Set pptPres = pptApp.Presentations.Add
    For i = 2 To lastRow ' assuming row 1 is header
        slideIndex = slideIndex + 1
        With pptPres.Slides.Add(slideIndex, 1) ' 1 = ppLayoutText
            .Shapes(1).TextFrame.TextRange.Text = "Product: " & ws.Cells(i, 1).Value
            .Shapes(2).TextFrame.TextRange.Text = "Category: " & ws.Cells(i, 2).Value & vbCrLf & _
                                                  "Price: $" & ws.Cells(i, 3).Value & vbCrLf & _
                                                  "Description: " & ws.Cells(i, 4).Value & vbCrLf & _
                                                  "Rating: " & ws.Cells(i, 5).Value
        End With
    Next i
    MsgBox "Slides created successfully!"
End Sub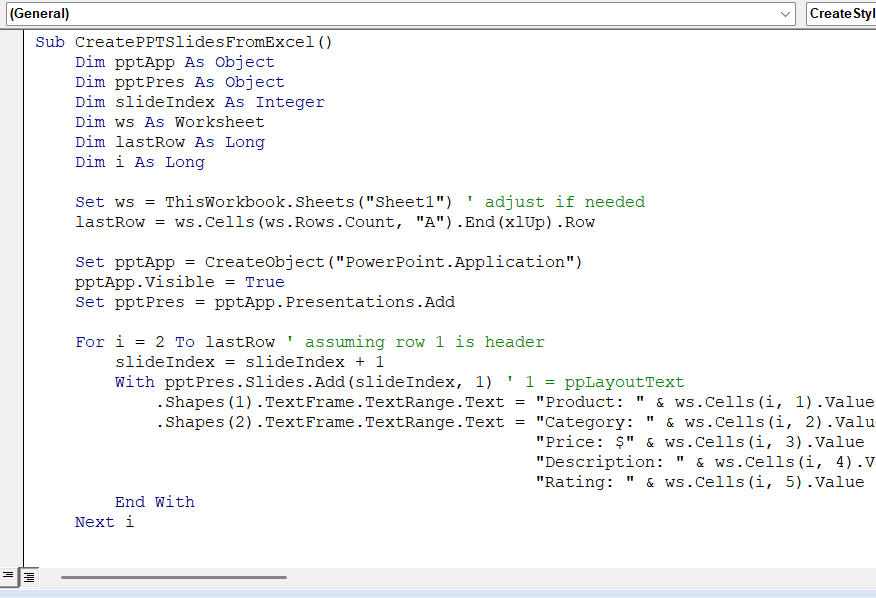
➤ Save the file by Ctrl + S and save it as a macro-enabled workbook.
➤ Close the VBA editor window.
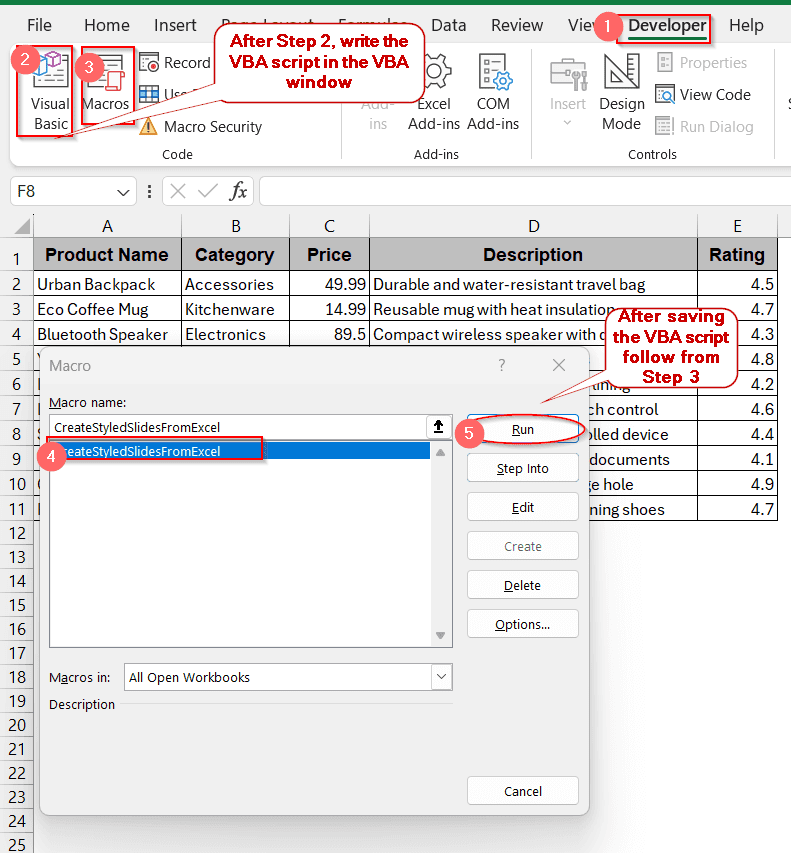
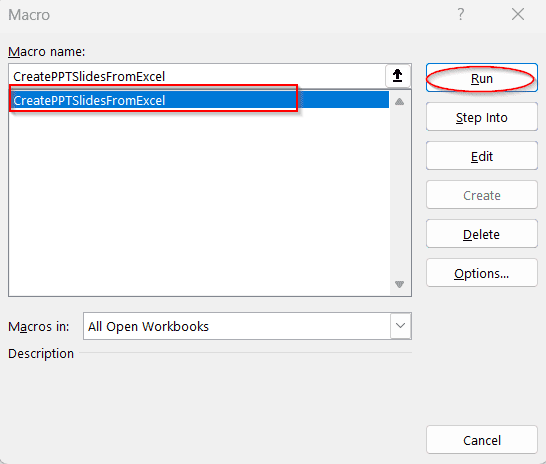
➤ Now, click on Macros on the Developer tab.
➤ In the Macros window, select the name of the function you created and click on Run.
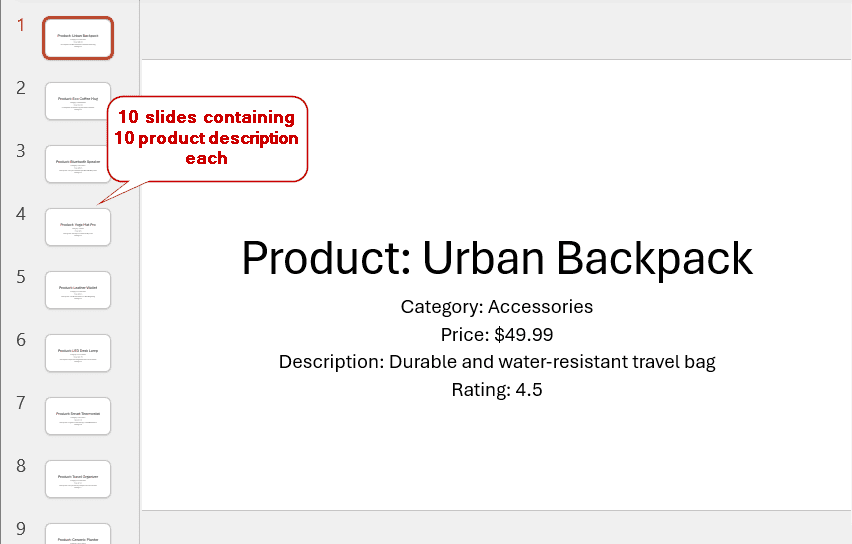
➤ This will automatically open PowerPoint Slides and generate a slide, categorizing one product at a time.
➤ Finally, a confirmation box appears in your Excel workbook similar to this –
Slides With Advanced Designs by VBA Macro
You can also add visuals, layout, and more design to make the slides more engaging. Below is the extension of the VBA script with some extra customization like font styles, color backgrounds, and emojis.
Sub CreateStyledSlidesFromExcel()
Dim pptApp As Object
Dim pptPres As Object
Dim slideIndex As Integer
Dim ws As Worksheet
Dim lastRow As Long
Dim i As Long
Set ws = ThisWorkbook.Sheets("Sheet1")
lastRow = ws.Cells(ws.Rows.Count, "A").End(xlUp).Row
' Open PowerPoint
Set pptApp = CreateObject("PowerPoint.Application")
pptApp.Visible = True
Set pptPres = pptApp.Presentations.Add
For i = 2 To lastRow ' assuming row 1 is header
slideIndex = slideIndex + 1
With pptPres.Slides.Add(slideIndex, 1) ' ppLayoutText
' Set background color (light gray)
.FollowMasterBackground = msoFalse
.Background.Fill.ForeColor.RGB = RGB(240, 240, 240)
' Title formatting
With .Shapes(1).TextFrame.TextRange
.Text = ChrW(10003) & " " & ws.Cells(i, 1).Value ' Adds a check mark ✔
.Font.Name = "Calibri"
.Font.Size = 36
.Font.Bold = msoTrue
.Font.Color.RGB = RGB(25, 73, 122) ' Dark Blue
End With
' Content formatting
Dim contentText As String
contentText = "Category: " & ws.Cells(i, 2).Value & vbCrLf & _
"Price: $" & Format(ws.Cells(i, 3).Value, "0.00") & vbCrLf & _
"Description: " & ws.Cells(i, 4).Value & vbCrLf & _
"Rating: " & String(ws.Cells(i, 5).Value, ChrW(9733)) ' repeats ★ as per rating
With .Shapes(2).TextFrame.TextRange
.Text = contentText
.Font.Name = "Segoe UI"
.Font.Size = 20
.Font.Color.RGB = RGB(50, 50, 50)
End With
End With
Next i
MsgBox "Stylish slides created successfully!"
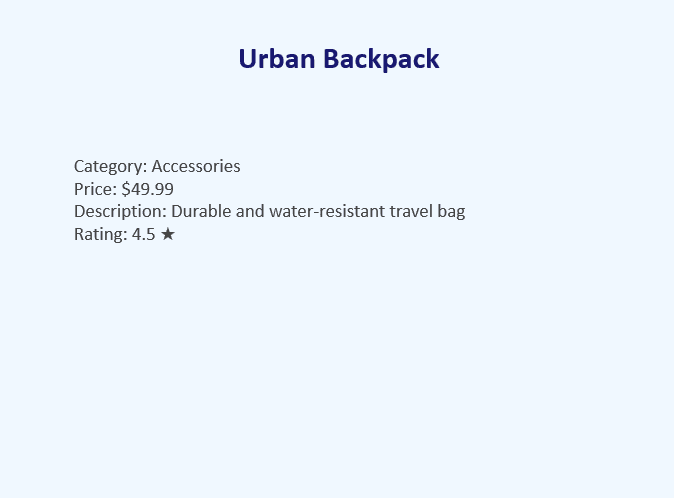
End SubThe slides will look like this –
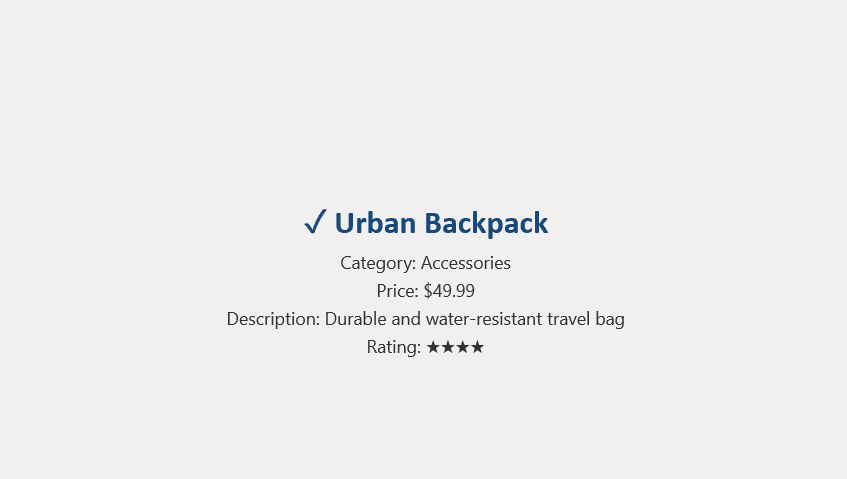
There’s no limit, and you can customize your slide as you want.
Note:
To successfully run this VBA code, your datasheet must start with cell A1 having headers. It assumes your data starts from A2.
Python to Generate a PowerPoint Slide For Advanced Features
Users who are comfortable with basic coding and have a knack for trying new and advanced things, this method is for them. You just need libraries like pandas and python-pptx to convert large Excel datasets into convincing slides. It can help you customize the layout, text, image, and charts to streamline the workflow.
Here, we will be using the previous Excel file of products, and create a distinct slide for each row.
Steps:
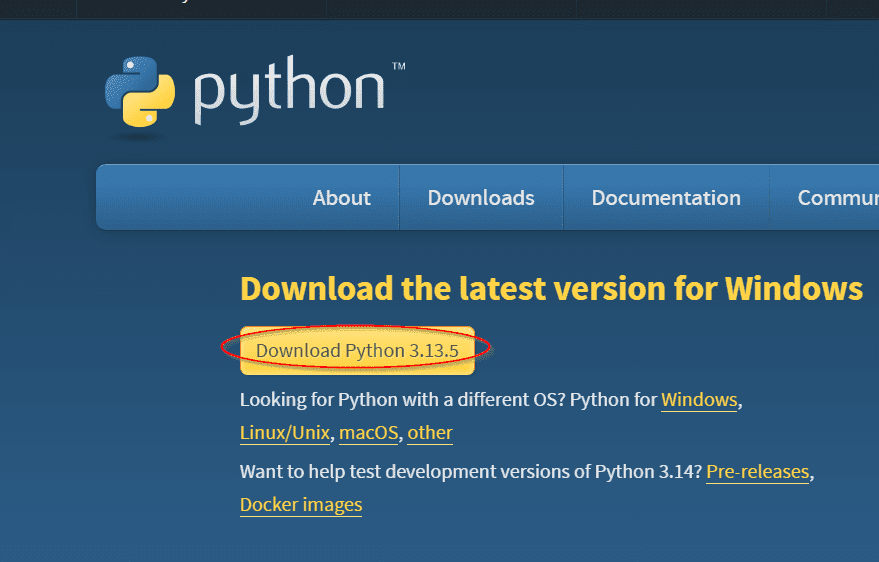
➤ Start by installing Python from their official website –
https://www.python.org/downloads/
➤ While installing, tick the checkbox Add Python to Path.
➤ After installing Python, open Command Prompt on your computer and write –
python –version
➤ It will show you the version installed like this –
![]()
➤ After that, to install the pandas library, write the following command
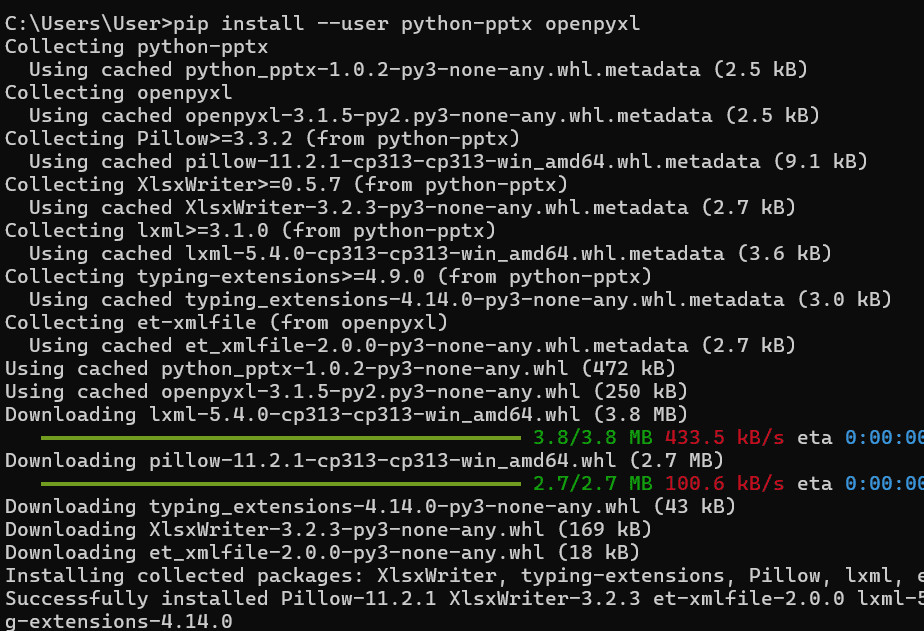
pip install –user python-pptx openpyxl
➤ This will show a similar prompt showing the successful installation.
➤ Verify if the pandas library is actually installed using the following prompt.
import pandas
import pptx
import openpyxl
print(“All libraries installed successfully!”)
➤ If your pandas library is installed, ensure your Excel and PowerPoint files are in the same folder.
➤ Go to Notepad and write the following Python code –
import pandas as pd
from pptx import Presentation
from pptx.util import Inches, Pt
from pptx.dml.color import RGBColor
from pptx.enum.shapes import MSO_AUTO_SHAPE_TYPE
from pptx.enum.text import PP_ALIGN  # Safe to use in older versions
# Load data from Excel
df = pd.read_excel("Blog 7.xltm")
# Create a new presentation
prs = Presentation()
slide_layout = prs.slide_layouts[5]  # blank layout
for index, row in df.iterrows():
    slide = prs.slides.add_slide(slide_layout)
    # ---- Slide Background (soft blue) ----
    background = slide.background
    fill = background.fill
    fill.solid()
    fill.fore_color.rgb = RGBColor(240, 248, 255)
    # ---- TITLE SHAPE (Rounded rectangle) ----
    title_shape = slide.shapes.add_shape(
        MSO_AUTO_SHAPE_TYPE.ROUNDED_RECTANGLE,
        Inches(0.5), Inches(0.3), Inches(8.5), Inches(1.2)
    )
    title_shape.fill.solid()
    title_shape.fill.fore_color.rgb = RGBColor(35, 95, 155)
    title_shape.line.color.rgb = RGBColor(255, 255, 255)
    # Title text setup
    title_frame = title_shape.text_frame
    title_frame.clear()  # Remove default placeholder text
    p = title_frame.paragraphs[0]
    run = p.add_run()
    run.text = row['Product Name']
    run.font.size = Pt(32)
    run.font.bold = True
    run.font.color.rgb = RGBColor(255, 255, 255)
    run.font.name = "Calibri"
    p.alignment = PP_ALIGN.CENTER
    # ---- CONTENT TEXT ----
    stars = "★" * int(round(row['Rating']))
    content_text = (
        f"\nCategory: {row['Category']}\n"
        f"Price: ${row['Price']:.2f}\n"
        f"Description:\n{row['Description']}\n"
        f"Rating: {stars} ({row['Rating']} / 5)"
    )
    content_box = slide.shapes.add_textbox(Inches(0.7), Inches(1.8), Inches(8), Inches(4))
    content_frame = content_box.text_frame
    content_frame.clear()
    content_frame.text = content_text
    for para in content_frame.paragraphs:
        para.font.size = Pt(20)
        para.font.name = "Segoe UI"
        para.font.color.rgb = RGBColor(40, 40, 40)
# Save presentation
prs.save("Product Slide.pptx")
➤ Save the file with the extension .py in the same folder. For example, the file name can be generate_slides.py.
➤ Now, go to the Command Prompt and write your folder path location.
cd “C:\Users\User\Documents\Custom Office Templates”
Here, the cd and the quotation marks are necessary to run the script. You can modify the path as per your folder location.
➤ This will result in the following prompt if file locations are correct.
![]()
➤ Now, write the script – python generate_slides.py
➤ If error messages are shown, your presentation slides are automatically generated on the PPT file you created in that location.

Note:
➨ Make sure all the files are in the same folder.
➨ If Command Prompt does not show the desired result, try to read the error message to solve the problem.
Leveraging ChatGPT To Create PowerPoint Slides
ChatGPT can be a good option to help you transform boring Excel sheets into interactive Presentation slides.
Steps:
➤ In the New Chat, upload the Excel file that you want to convert.
➤ Give ChatGPT proper instructions in the prompt.
➤ Wait a few seconds, and you will get the link to the PPT file with a proper description similar to this.
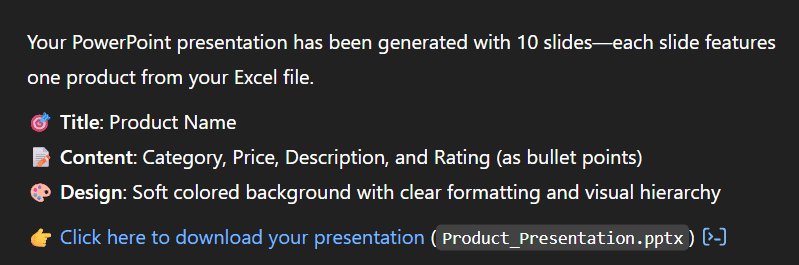
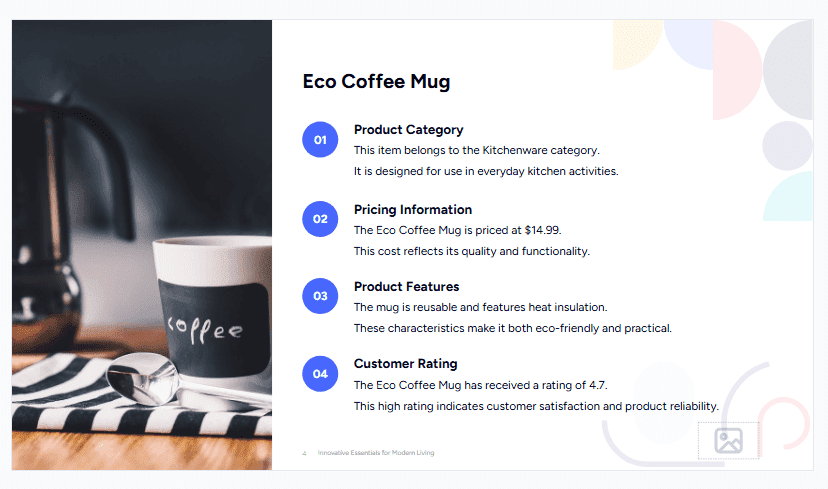
➤ Click on the link if provided and download the Presentation slides. The generated file will look something like this –
Note:
To make the slides more professional and interactive, give instructions accordingly.
Using SlideSpeak To Make Presentations
Steps:
➤ Go to their website and log in to SlideSpeak (https://slidespeak.co/).
➤ Choose Create presentation with AI in the home dashboard.

➤ If you want to convert Excel to a slide, choose From a document.

➤ Upload your Excel file and write the description of the slides you want to generate.

➤ Add suitable features according to your requirements properly before proceeding.
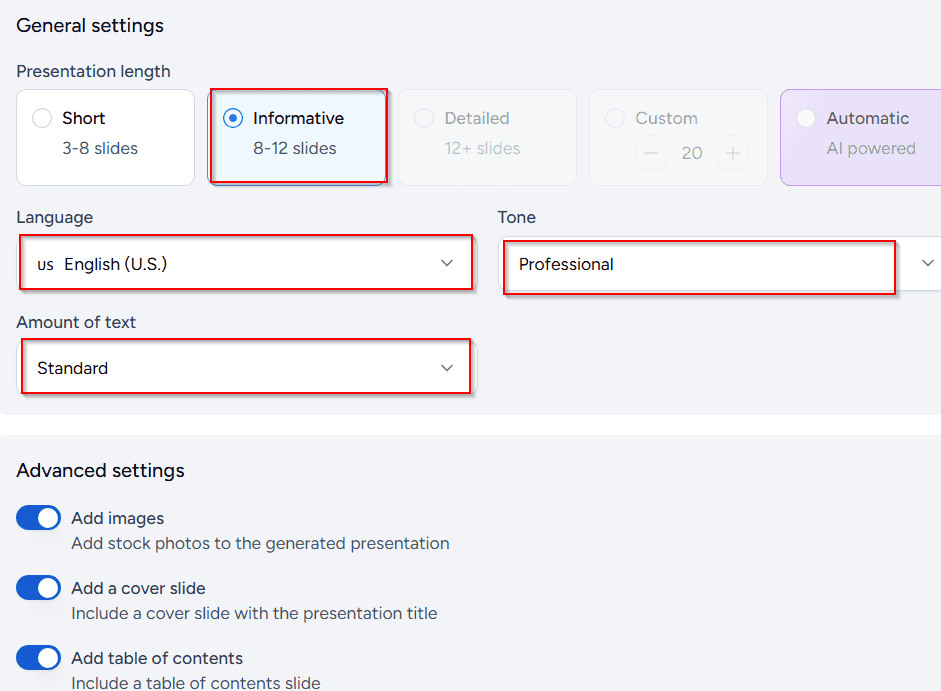
➤ This will show you a wide range of Default Templates and Custom Templates. Choose the one that best suits you.

➤ Give any extra information if you want to add.
➤ SlideSpeak will generate an outline first as per your instructions. Review, check it, and add more slides or content if needed.
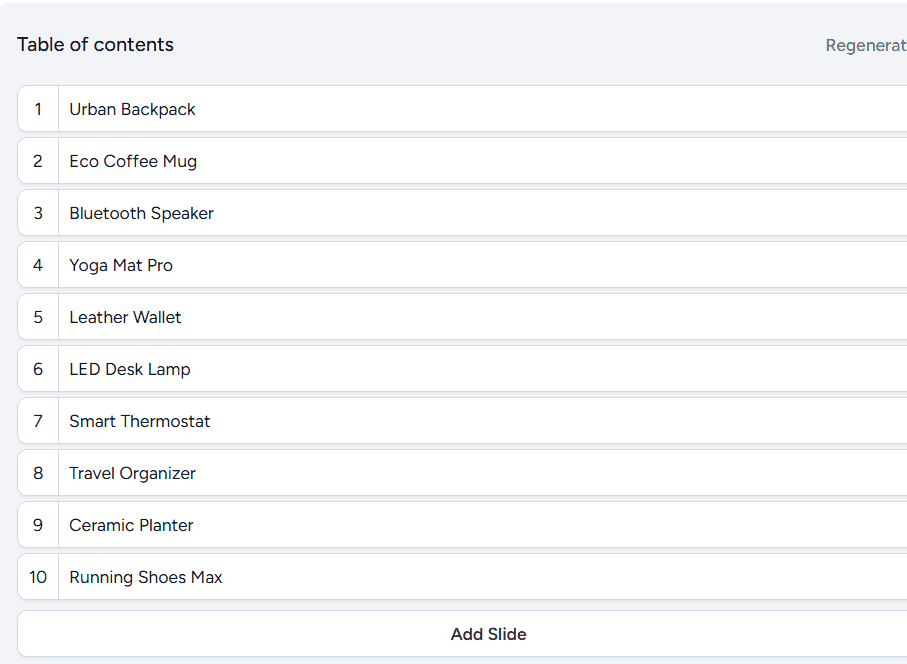
➤As you click on Generate, it will automatically generate 10 slides, including a cover page, table of contents, and outro with interactive designs.
Note:
It is a premium tool, and needs paid features to get the best experience out of it.
Along with ChatGPT and SlideSpeak, there are other tools like MS Copilot and SlideFabs. You can generate slides with them with a proper flow of instructions. Choose tools that best suit you,
Things to Avoid When Automatically Creating PowerPoint Slides From Excel
It does not matter whether you are using VBA, Python, or AI tools; your data structures in Excel need to be organized properly. Small mistakes in the Excel files can result in incomplete slides, missing information, and confusing layouts. Before deciding on any method, try to know if your Excel has any flaws.
Below are some common mistakes that you must avoid for a smooth PowerPoint experience-
- Using merged cells: Don’t use merged cells. Instead, keep your data unmerged with proper cell alignment and formatting.
- Inconsistent header names: Try to keep the headers the same and consistent across all the sheets.
- Blank rows: Keeping blank rows or cells can be misinterpreted while generating slides. Remove them.
- Excess info in cells: Avoid putting too much info in one cell.
- Irregular file naming: Follow conventional file naming. Don’t use special characters.
- Incompatible file types: Refrain from using incompatible file types, like .xltm, .xlsm, and .cvs.
- Not testing with sample data: Rather than jumping with large datasets, check with sample data first.
Frequently Asked Questions
Can Excel automatically create one slide per row in PowerPoint?
Excel can automatically create one slide per row in PowerPoint. However, for that, you need to use specialized tools like VBA Macro, Excel add-ins, or Python coding. Several AI tools can also do that for you.
Can I include images from Excel data in the slides?
You can include images from Excel data in slides by simply linking them to PowerPoint. Either you copy and paste the image, or you can embed it into your slides for a dynamic update.
Can I schedule slide generation from Excel?
At this moment, scheduling slide generation from Excel automatically is not fully available. However, some premium tools can give you that essence.
Why is my automated slide not showing the correct data?
Your automated slide may not show the correct data for several reasons. The most common of them are using merged cells, blank rows, or excess information in single cells. You can also check your file type to ensure that the system supports it.
Can I automate slide creation using Google Sheets and Google Slides?
Similar to Excel, Google Sheets can also be transformed into Google Slides. For that, you can use Google App Script or automation tools like AI.
Can MS Excel files be directly exported as PPT?
MS Excel files can’t be directly exported as PPT. To convert the data to PPT, you can either copy and embed it into the slide or automatically create PowerPoint Slides using VBA Macros and other tools.
Concluding Words
So, now you know creating PowerPoint slides automatically from Excel is actually not a tough job. Starting from VBA Macros, various add-ins, and Python code to content intelligence tools like AI, you can work with anything based on your skill level. And of course, the key to producing the best and smooth slides lies in consistent and proper data structures.
You might feel overwhelmed by all this info. Go through them one by one, try to do it yourself, and download our workbooks for better learning. Your positive experience is the best feedback for us.