If you’re frequently working with .txt files, especially ones that contain structured or delimited data, manually opening and formatting them in Excel each time can be a hassle. However, Excel provides multiple ways to automatically convert a text file into a fully formatted Excel table, saving time and minimizing errors.
In this article, you’ll learn several practical ways to convert a text file to Excel automatically using built-in tools, Power Query, and VBA automation. Each method suits different file types, automation needs, and Excel versions.
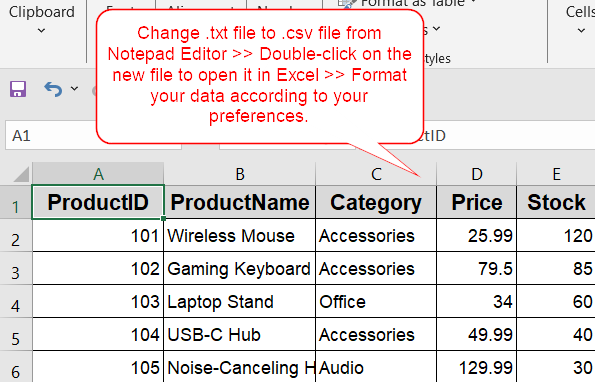
Steps to convert Text file to Excel automatically:
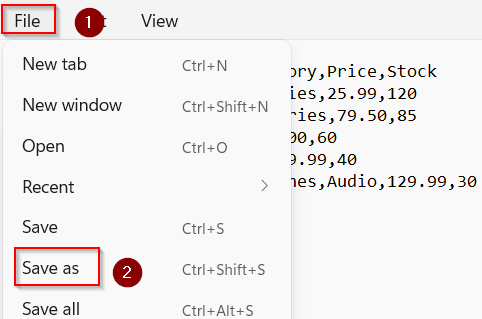
➤ Open the .txt file in Notepad and go to File >> Save As.
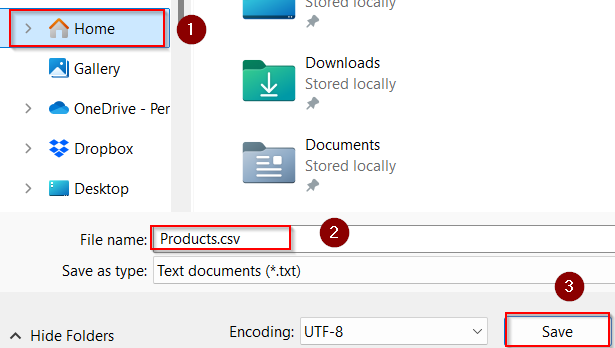
➤ Add .csv extension at end and hit Save after selecting your file location such as Home.
➤ Change the extension from .txt to .csv and press Enter.
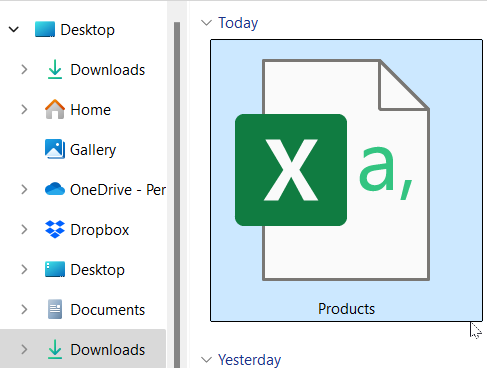
➤ Double-click the file to launch and open the file with values in proper columns in Excel.
Automatically Open and Convert Text File by Changing File Extension
If your text file is CSV-style and well-structured, you can rename the file from .txt to .csv file. Excel will automatically split the values into columns, though it won’t format them as an official Excel table unless you apply it manually
Steps:
➤ Open the .txt file in Notepad and go to File >> Save As.
➤ Add .csv extension at end and hit Save after selecting your file location such as Home.
➤ Change the extension from .txt to .csv and press Enter.
➤ Double-click the file to launch and open the file with values in proper columns in Excel.
This method is super fast but only works well for comma-separated values.

Note:
Your data will appear unformatted. You need to format it manually.
Open the Text File Directly in Excel
This is a straightforward way to import text files without any external tools. Excel’s built-in Text Import Wizard helps guide the process when opening .txt, .csv, or .tsv files directly.
Steps:
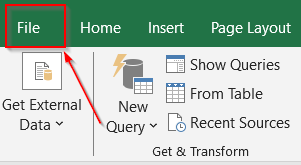
➤ Open Excel and go to the File menu.
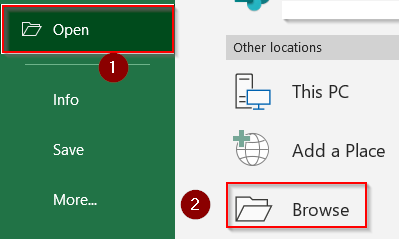
➤ Click Open, then click Browse to find your file location.
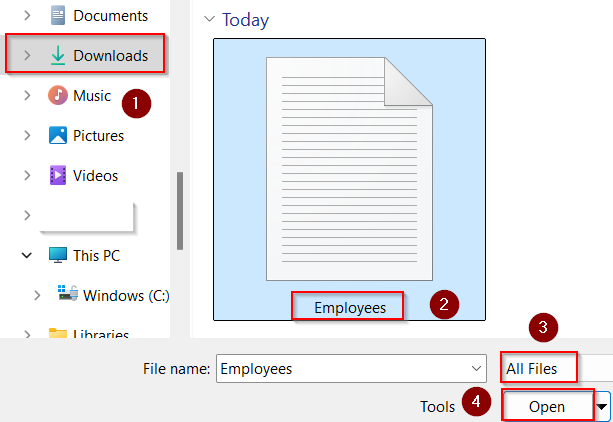
➤ In the dialog box, change file type to All Files.
➤ Select your .txt, .csv, or .tsv file and click Open.
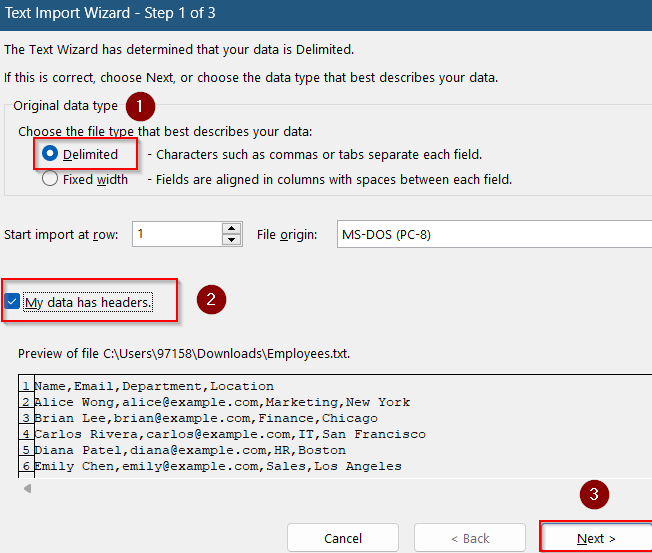
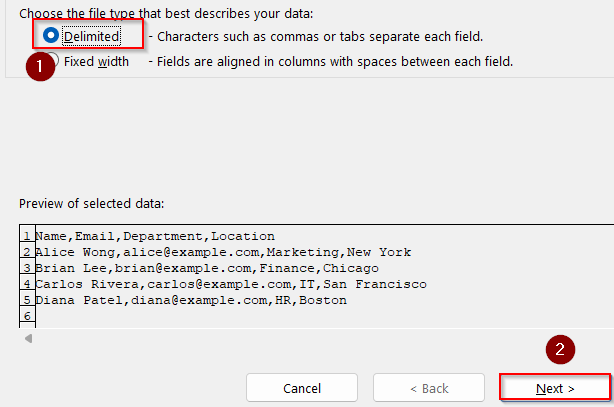
➤ After that, the Text Import Wizard will launch.
➤ In the dialog, choose Delimited >> Check My data has headers and then click Next.
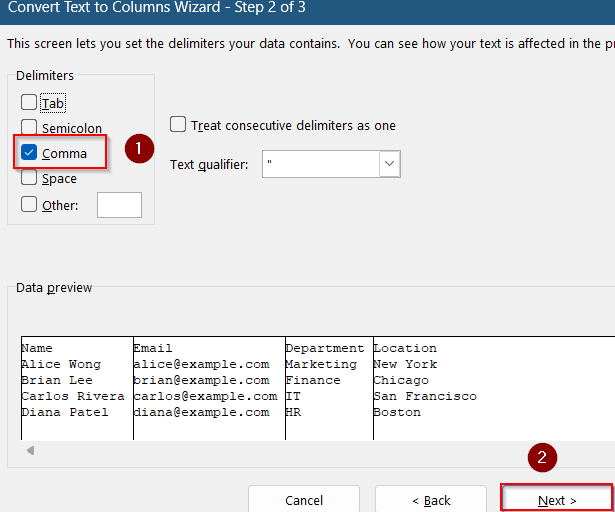
➤ Tick checkboxes for your Delimiters such as Tab, Semicolon, Comma, Space, or Other (input custom characters). Here, we are only checking the box for Comma in accordance to your dataset and hit Next.
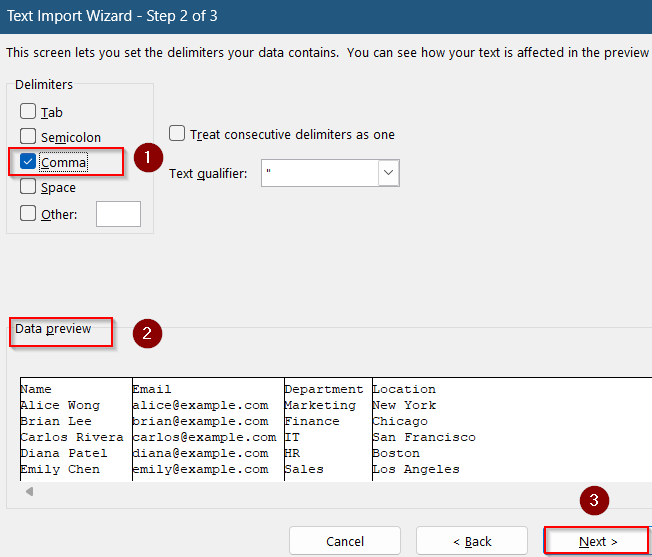
➤ You can also preview your data in the Data preview tab at the bottom.
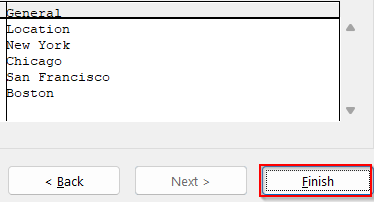
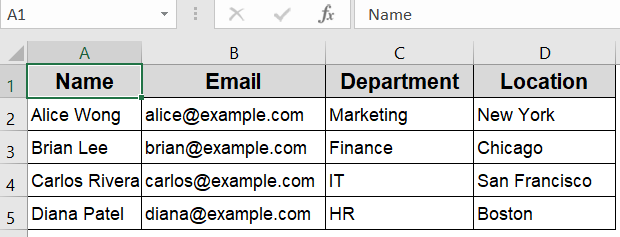
➤ Click Finish to load the structured data into Excel.
Note:
The split data will appear unformatted. You need to apply formatting manually for better presentation.

Manually Split Text into Columns Using Excel’s Text to Columns Wizard
This method is perfect when you already have delimited data pasted into one Excel column (often from Notepad or a raw .txt file). You can use the built-in Text to Columns tool to split the data per your needs.
Steps:
➤ First, copy your text from Notepad or any text editor and then paste your data into Column A.
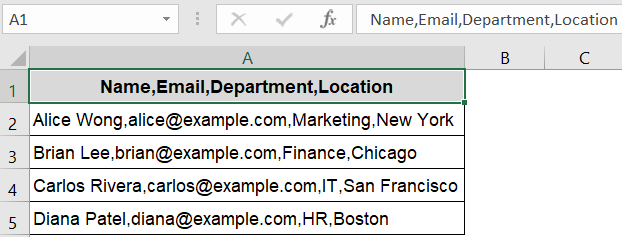
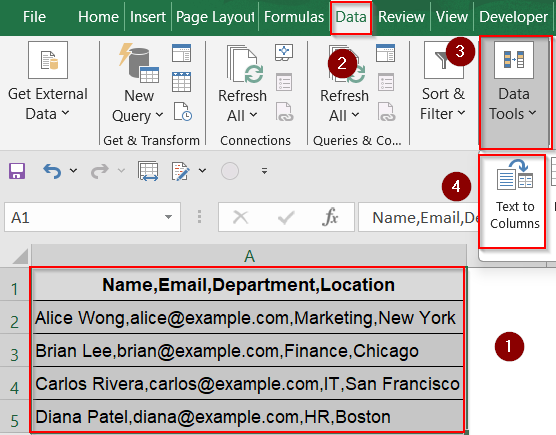
➤ Select the range containing the comma-separated text (e.g., A1:A5).
➤ Go to the Data tab on the ribbon, then click Text to Columns.
➤ In the dialog, choose Delimited, then click Next.
➤ Check the boxes applicable to you such as Comma (uncheck others) and click Next.
➤ Finish the wizard to split text into columns.

Excel will now split each cell’s contents into separate columns based on the commas.
Note:
You need to manually format your split data because it will show without any formatting.
Use Power Query for Automatic and Refreshable Imports
This is the easiest and most reliable method for automatically importing a structured .txt file, especially when it’s delimited by commas, tabs, or semicolons. Power Query is ideal for recurring tasks such as importing updated text files on a schedule or transforming messy data formats.
Steps:
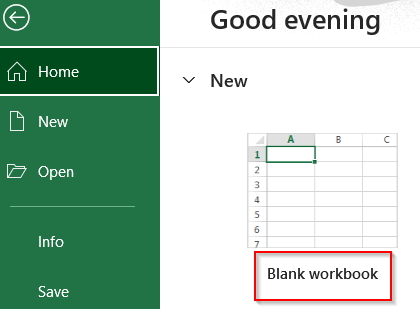
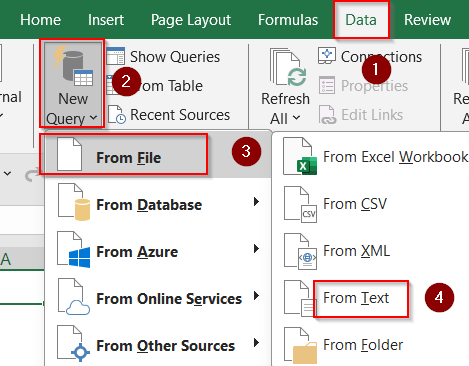
➤ Open a blank Excel workbook and go to the Data tab on the ribbon.
➤ Click Get Data/New Query based on your Excel version >> Choose From File >> From Text.
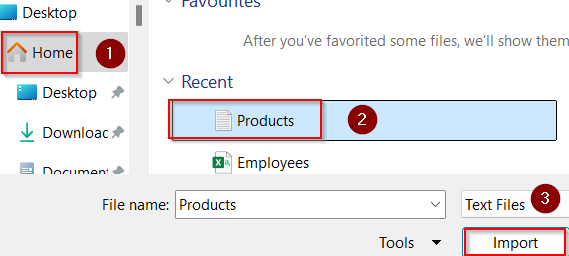
➤ Browse and select your .txt file, then click Import.
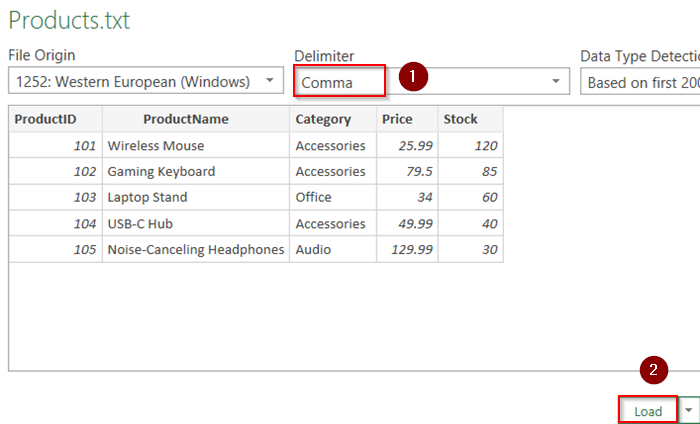
➤ Excel will preview the contents. Choose the correct delimiter (Comma, Tab, etc.) from the dropdown if needed.
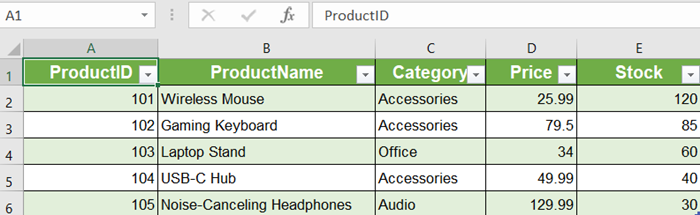
➤ Click Load to insert the converted data directly as a Table into your worksheet.
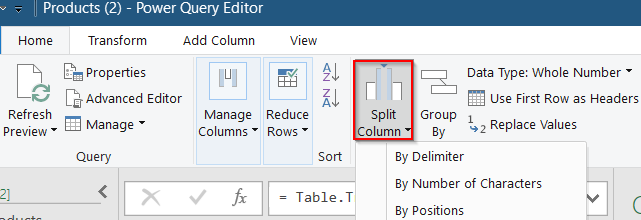
➤ In case you want to make customized changes to make your data look more clean, click Transform Data to open Power Query Editor in the same preview tab.
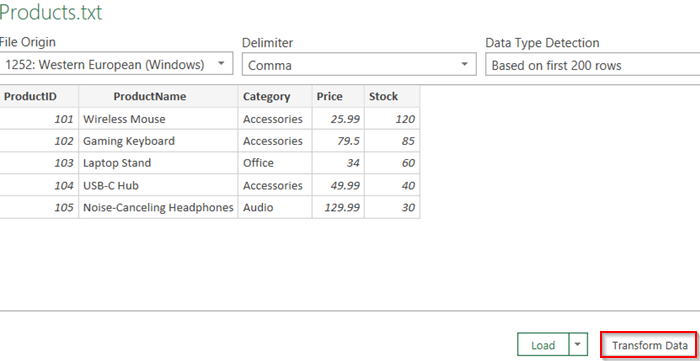
➤ Apply any transformations you need such as Split column, Remove Columns, Change Data Types, or Trim Values.
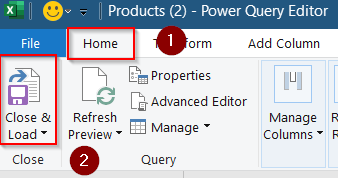
➤ Click Close & Load to send the cleaned data into your worksheet.
➤ Format your table according to your preferences.
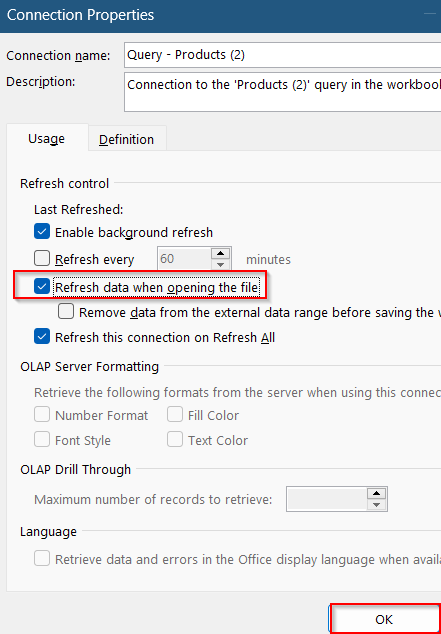
➤ To automatically refresh, go to the Data tab >> Connection Properties under Refresh All drop-down.
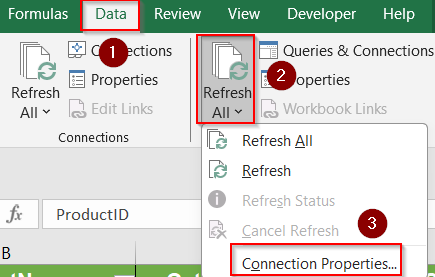
➤ Then, check the box for Refresh data when opening the file and click OK.
Your .txt file is now automatically imported into a well-structured Excel table that stays updated every time you open the workbook.
Apply VBA to Auto-Convert Text to Excel on Demand
For complete automation, especially when working with multiple files VBA can convert text files to Excel instantly with one button press.
Steps:
➤ Press Alt + F11 to open the VBA Editor.
➤ Insert a new module by clicking Insert >> Module.
➤ Paste the following VBA code:
Sub ImportTxtWithFilePicker()
Dim ws As Worksheet
Dim txtPath As String
' Step 1: Open File Picker
With Application.FileDialog(msoFileDialogFilePicker)
.Title = "Select a TXT File to Import"
.Filters.Clear
.Filters.Add "Text Files", "*.txt"
If .Show <> -1 Then Exit Sub ' Exit if user cancels
txtPath = .SelectedItems(1)
End With
' Step 2: Add a new worksheet
Set ws = ThisWorkbook.Sheets.Add(After:=Sheets(Sheets.Count))
ws.Name = "Imported_" & Format(Now, "hhmmss")
' Step 3: Import TXT file using QueryTables
With ws.QueryTables.Add(Connection:="TEXT;" & txtPath, Destination:=ws.Range("A1"))
.TextFileParseType = xlDelimited
.TextFileCommaDelimiter = True ' Set your delimiter here
.TextFileTabDelimiter = False
.TextFileSemicolonDelimiter = False
.TextFileConsecutiveDelimiter = False
.Refresh BackgroundQuery:=False
End With
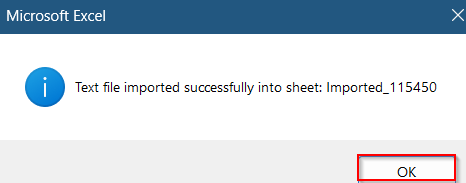
MsgBox "Text file imported successfully into sheet: " & ws.Name, vbInformation
End Sub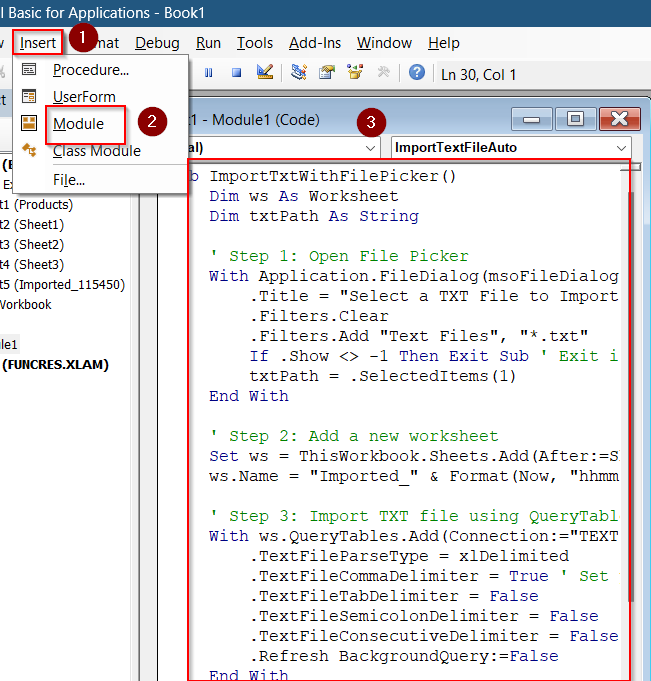
This code allows you to browse through your file and select your file without worrying about getting the file location right inside the code.
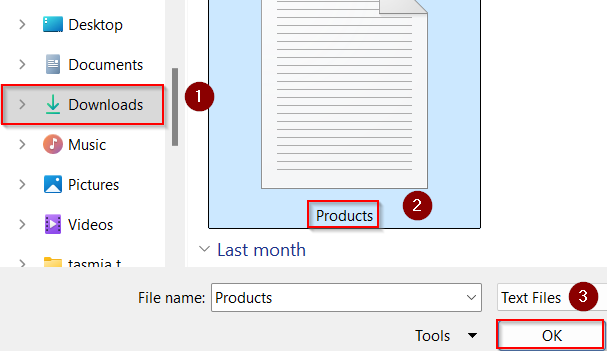
➤ Now, select your file from the correct location and click OK.
➤ Press F5 to run the macro. Your text file will be loaded into Excel.
➤ Click OK on the system message.
➤ Your data will appear unformatted. You can format it according to your choice.

Frequently Asked Questions
Can Excel convert text files automatically?
Yes, Excel can automatically convert text files using tools like Power Query, VBA macros, or saved import settings. These allow you to load, transform, and refresh data without manual steps.
What if my text file uses tabs instead of commas?
Not a problem because Excel handles tab-delimited files easily. Use either the Text to Columns feature or Get Data/New Query >> From Text, and simply select “Tab” as your delimiter during import.
Can I open a .txt file in Excel without formatting issues?
Yes, if the text file has a consistent structure with proper delimiters. If not, tools like Power Query let you define column breaks and clean up messy formatting during import.
Does Excel support importing from multiple .txt files at once?
Yes, you can use Power Query or a VBA macro to batch import multiple .txt files from a folder. They can be combined into a single table for analysis or automation.
Wrapping Up
In this tutorial, we learned how to convert a text file to Excel automatically using different methods like Get Data/New Query, Power Query, VBA, built-in import tools and file extension tricks. Whether you’re importing a single file or automating regular updates, Excel provides multiple flexible tools to fit your needs. Feel free to download the practice file and share your feedback.