Theme colors are applied to text, shapes, charts, tables, and more. Each theme includes 12 colors: 6 for text/background and 6 for accents/hyperlinks. Changing theme colors in Excel is an easy way to give our spreadsheets a fresh look. It makes our data easier to read. It doesn’t matter where we are working on reports, dashboards, or charts, it is a good practice. Adjusting the theme colors ensures our Excel file looks professional and visually aligned with your needs.
To change theme colors in Excel, follow these steps:
➤ Open your Excel workbook and go to the Page Layout tab.
➤ In the Themes group, click on Colors.
➤ Select from the built-in color themes or click Customize Colors to create your own.
This guide shows how to change built-in theme colors, create custom themes, and apply a saved theme file.
Apply a Built-in Theme to Change Theme Colors In Excel
A built-in theme feature in Excel is good when we want to change the overall look of our spreadsheet, including fonts, colors, and effects. This method is best when we want to apply a professional design across the entire worksheet without changing the content.
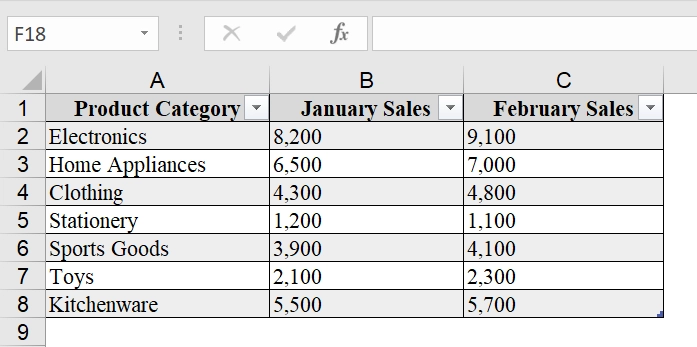
We have taken a dataset that contains monthly sales reports by product category for a small business. We will change the theme color of the dataset applying the Built-in Theme feature to make the report more professional and visually appealing.
Steps:
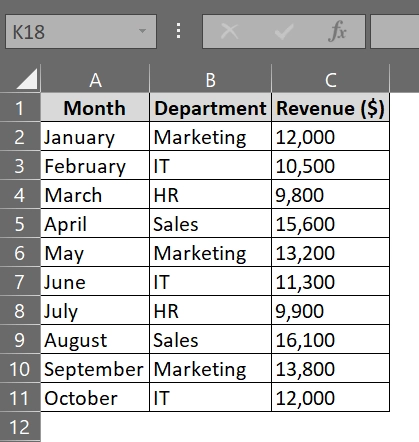
➤ Open the Excel spreadsheet. Here, we have taken a dataset that contains Product Category in column A, January Sales in Column B, and February Sales in Column C.
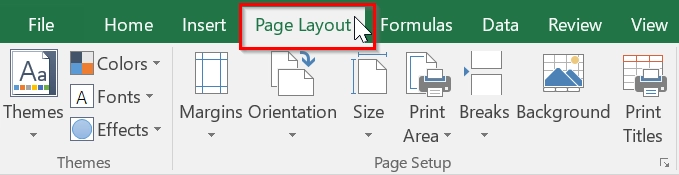
➤ Then, at the top of Excel, click on the Page Layout tab. This tab contains tools related to themes, margins, and page setup.
➤ In the Themes group on the far-left side, click on the Themes drop-down button. A list of built-in themes will appear.
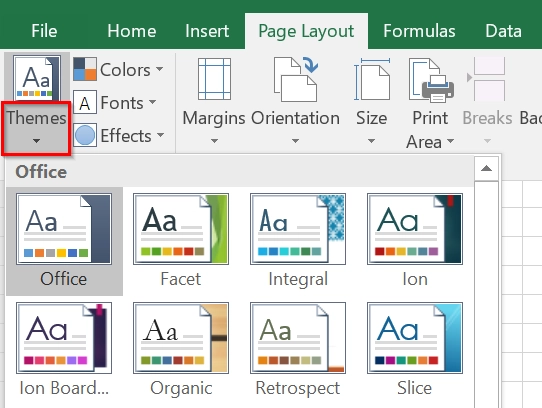
➤ Find a theme that fits your needs (e.g., “Ion”, “Office”, “Facet”). For example, we will select the Banded theme.
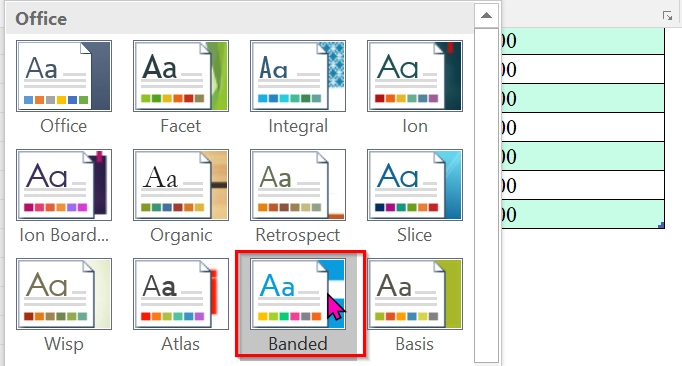
➤ As soon as you click on the theme, the theme color will appear like this.

Note:
➥ Apply a Built-in Theme feature to changes the look of the entire workbook, not just one table.
➥ Themes also affect chart colors and SmartArt, if used in the worksheet.
➥ If you want to go back to the original style, simply reselect the Office theme or any other preferred default.
Create a Custom Theme to Change the Theme Colors in Excel
A custom theme feature in Excel allows us to personalize the look and feel of our spreadsheet, including colors, fonts, and effects,to match specific branding or design preferences. This method is best when we want to maintain a consistent visual identity across multiple worksheets without changing the content.
We have taken a spreadsheet that shows the monthly marketing expenses for three major campaigns. We will apply a custom theme color to the dataset using Excel’s Custom Theme feature to better align with the brand and make the report more visually consistent and professional.
Steps:
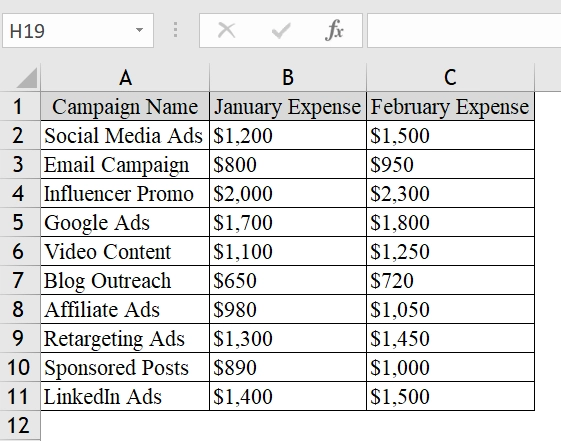
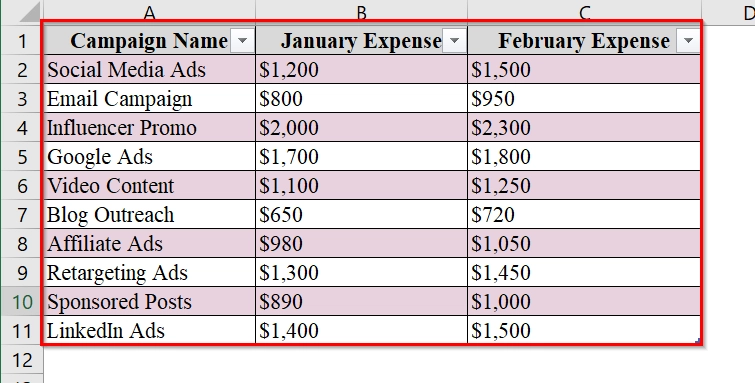
➤ Open your Excel file. We have taken an Excel sheet where we have Campaign Name in column A, January Expense in Column B and February Expense in Column C.
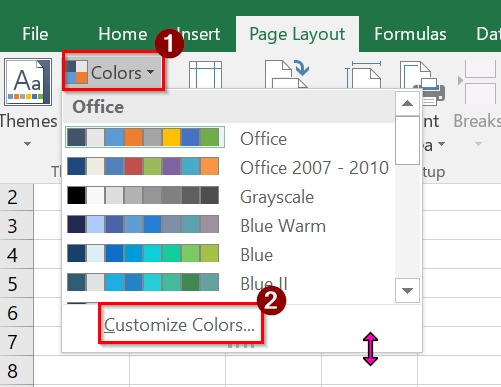
➤ Now, click on the Page Layout tab in the Ribbon. This tab contains options for themes, colors, fonts, and effects.

➤ Click on the Colors Dropdown in the Themes group. Here you will see built-in color themes. To create your own, click on “Customize Colors…”
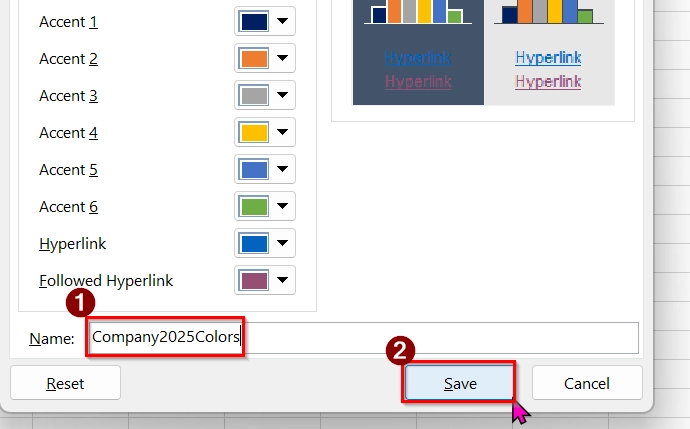
➤ Then, a dialog box will appear. You can assign specific colors to different elements (e.g., Accent 1, Hyperlink).
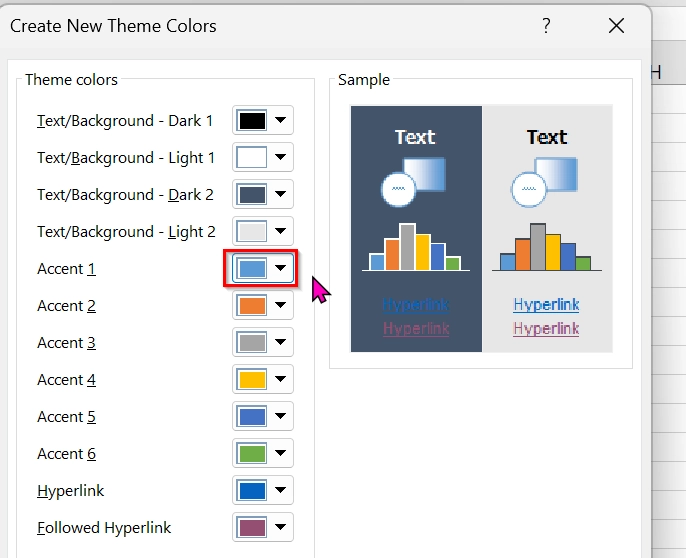
➤ Click the color box next to each element to choose your custom colors (e.g., dark blue).

➤ Now, provide a Name of your custom theme colors and click Save. Use a relevant name like “Company2025Colors.”
➤ Select your data table again. Under the Home tab, go to Format as Table and choose a style.
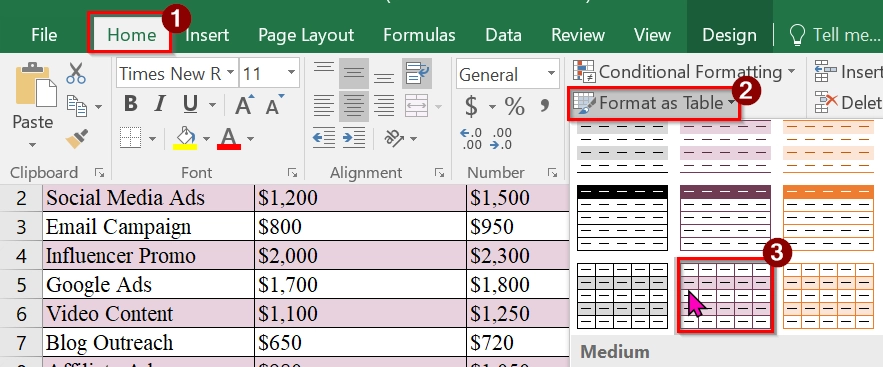
➤ You will see your custom theme colors in the new table style.
Note:
➥ Custom theme colors only affect theme-aware elements (tables, charts, SmartArt, etc.).|
➥ You may need to reapply table styles after changing the theme if the table was formatted before applying the custom theme.
Apply a Theme File (.thmx) to Change Theme Colors In Excel
A theme file in Excel is best when we apply a consistent color palette, fonts, and effects across Excel worksheets. We use this method when we already have a file saved as a .thmx file and want to apply it to our Excel file. It is good for professional reports, presentations, and team dashboards.
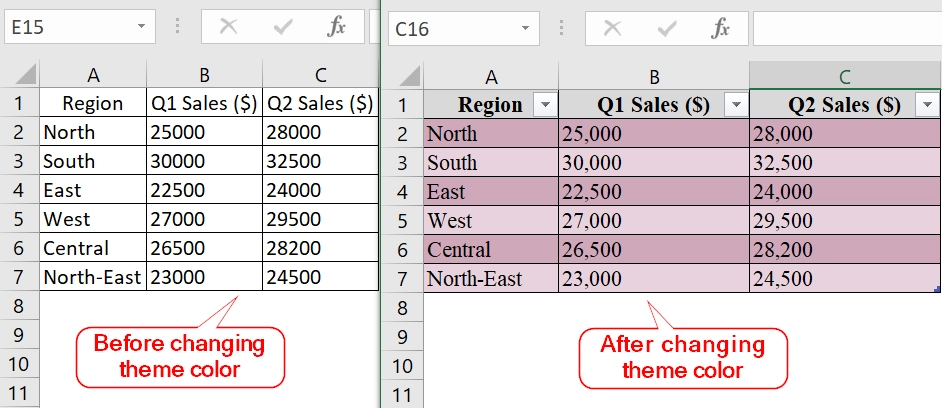
Here, we will create a quarterly sales report for a retail store chain. We will apply a theme file to ensure each region’s sales data uses the company’s branded color theme, to make the report more consistent, professional, and visually aligned with corporate style.
Steps:
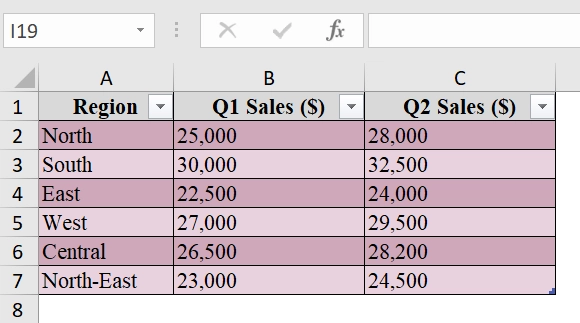
➤ Open your Excel file where you want to apply the theme. Here, in the Excel sheet we have Region Name in column A, Q1 Sales ($) in Column B and Q2 Sales ($) in Column C.

➤ At the top of the Excel toolbar, click on the Page Layout tab, containing tools for themes, margins, orientation, etc.

➤ In the left side section, click the Themes drop-down. You will see a list of built-in themes and an option to “Browse for Themes…”
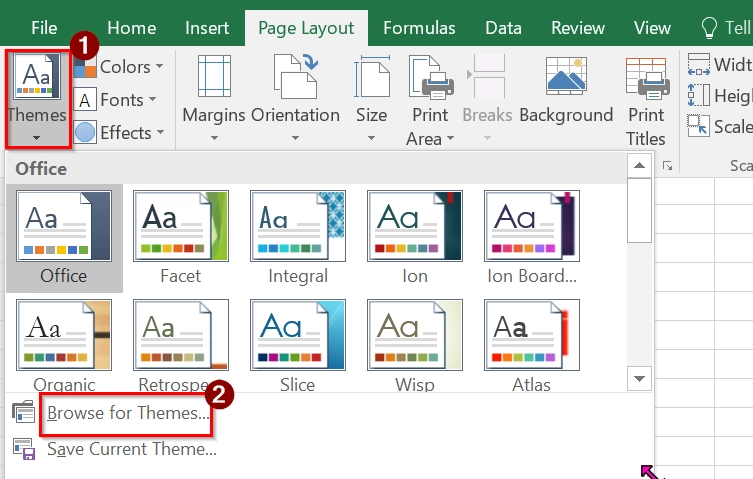
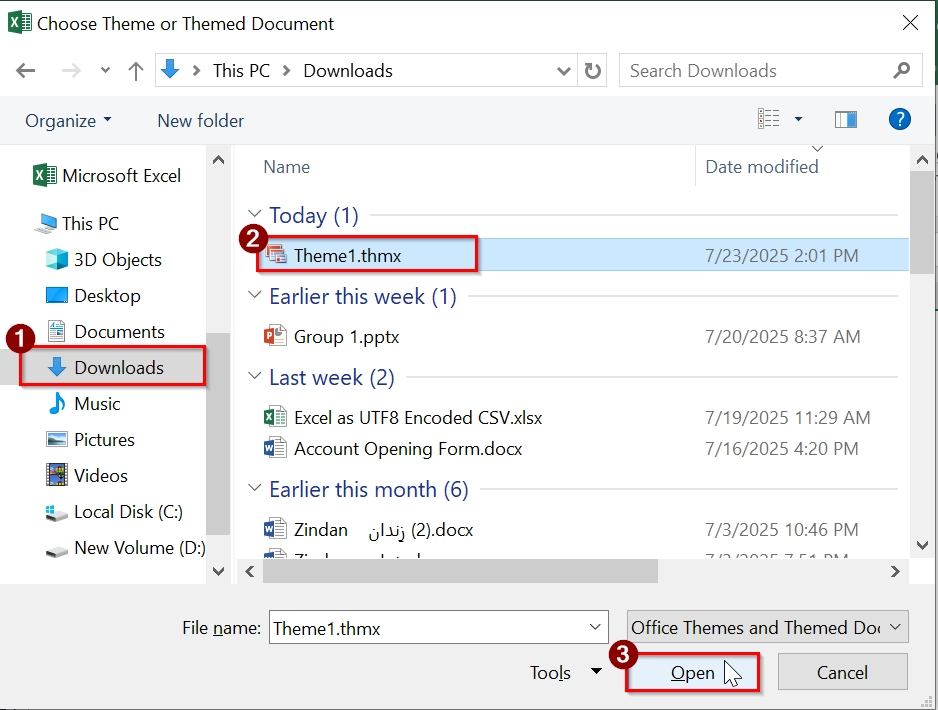
➤ Select “Browse for Themes…”. A file browser will open. Navigate to the folder where your custom theme file is saved (usually .thmx format), select it, and click Open. For example, we have the file in the download folder.
➤ Formatting of the .thmx file will apply to the current file.
Note:
➥ You can apply a theme before or after entering data.
➥ This change is workbook-wide; all sheets in the file adopt the new theme.
➥ If your theme does not apply correctly, make sure it is not corrupted or unsupported.
Using Excel Settings to Change Theme Colors
This method includes changing Excel’s overall theme (like switching between Colorful, Dark Gray, or White) through the Excel Options window. It is good when we want to personalize our Excel theme for comfort or accessibility. This method only affects the interface theme, not the workbook’s color themes.
Sometimes, we use Excel for long hours and the bright screen hurts your eyes. To make it easier to look at, we will change the Office Theme to Dark Gray. This does not change our data but makes the Excel window darker and more comfortable to use.
Steps:
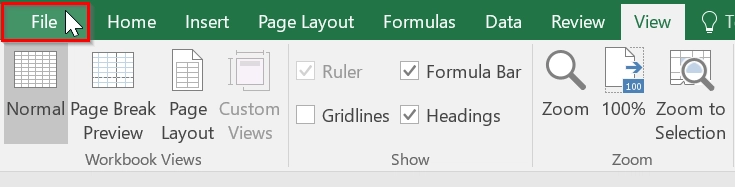
➤ Start Excel and click on the “File” tab in the top-left corner of the screen.
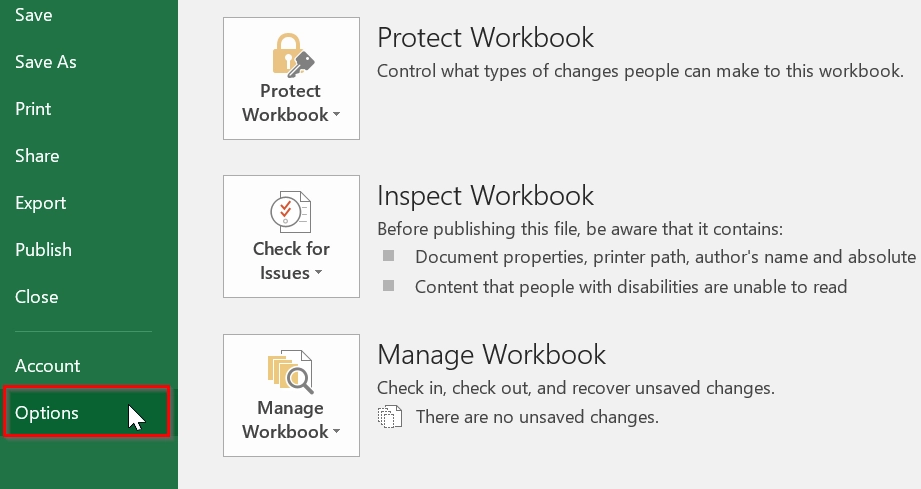
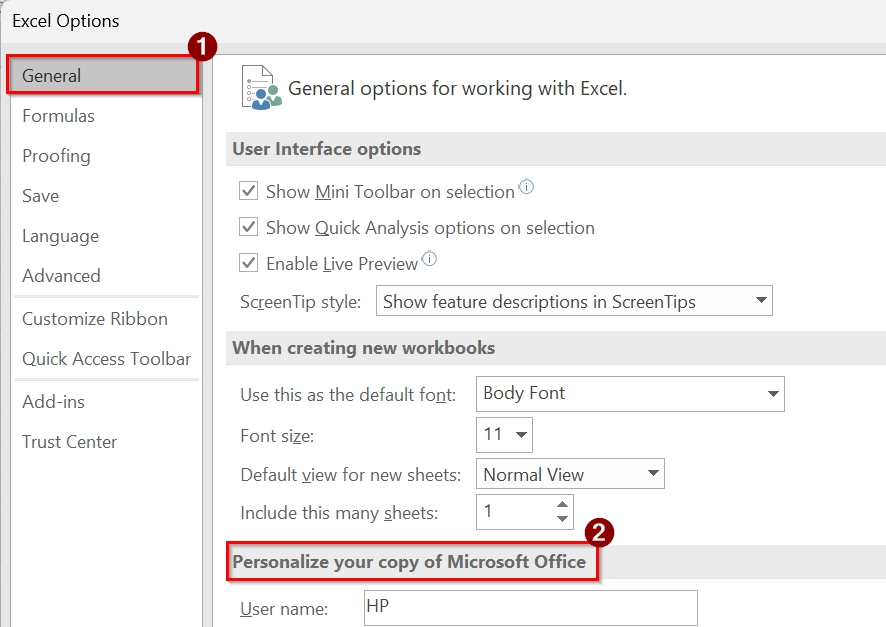
➤ From the sidebar that appears, scroll to the bottom and click “Options.” This will open the Excel Options dialog box.
➤ In the “General” section, find ‘Personalize your copy of Microsoft Office’
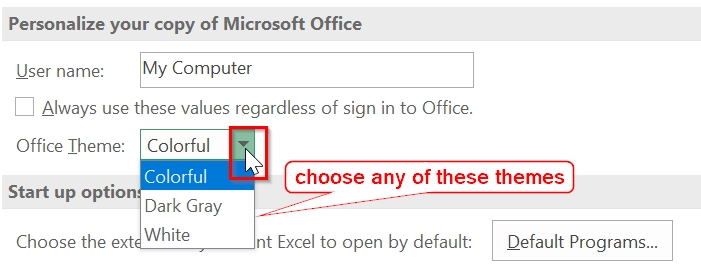
➤ Click the dropdown next to “Office Theme.” You can choose between themes like Colorful, Dark Gray, or White. Select the one that suits your preference.
➤ Once selected, click “OK” at the bottom of the Excel Options window.
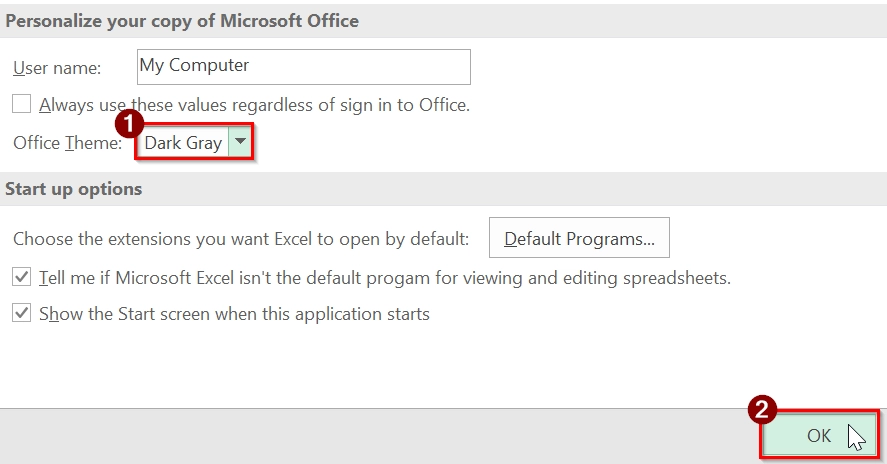
➤ Excel’s appearance will change immediately to reflect your selected theme.
Note
➥ This method changes the appearance of the Excel interface only (not the document’s color scheme).
➥ Useful for users with visual sensitivity or those working in dark environments (e.g., choosing Black theme).
➥ These settings apply to all Office apps, not just Excel.
Frequently Asked Questions (FAQs)
Will changing theme colors affect my data or formulas?
No, theme colors only change the appearance (visual style) of your sheet. Data and formulas remain untouched.
Can I apply the same theme to multiple Excel files?
Yes, you can save a custom theme as a .thmx file and apply it to any Excel workbook.
What happens if I copy cells from one theme to another?
The cell formatting will follow the destination workbook’s theme unless you paste with “Keep Source Formatting.”
Are theme colors available on Excel for Mac?
Yes, the feature is also available in Excel for Mac with a slightly different interface.
Concluding Words
Changing theme colors in Excel is a simple and powerful way to update your spreadsheet’s appearance. By using built-in themes, customizing colors, or applying theme files, you can ensure your workbook looks consistent. Try the Customize Colors method to create a personalized color palette that matches your project or brand.

