You may find yourself dealing with delivery schedules, subscription renewals, or project deadlines in Google Sheets. Such cases require editing the date by incrementing it by a fixed number of months.
Suppose you run a job schedule on delivery timelines, and, for some reason, there are some delays, which require you to advance all delivery dates by two months. Doing that manually for hundreds of entries is not ideal; that is where Google Sheets takes over. You can quickly add months to a date by using a built-in function called EDATE. It’s fast, correct, and easy once you find out how.
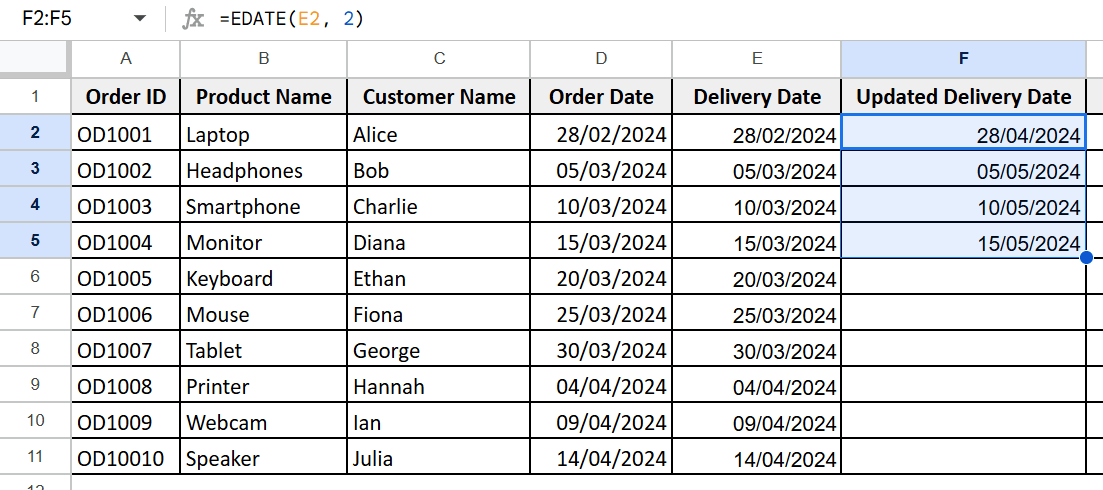
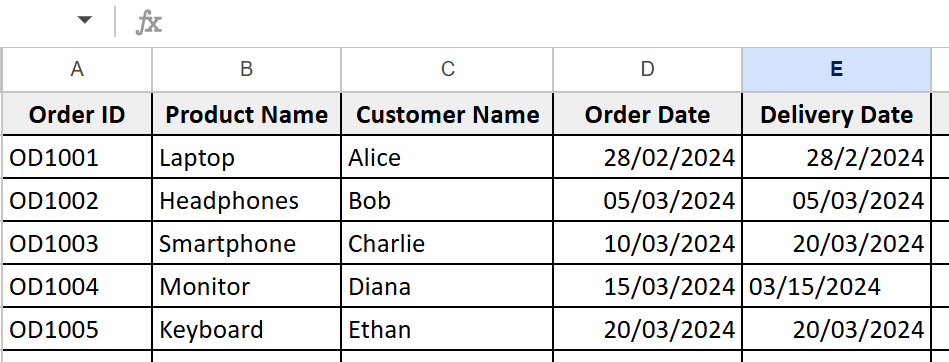
To add months to a date in Google Sheets: ➤ Select your destination cell where you want the new date to go. The Google Sheets EDATE function permits you to increase or decrease the number of months from a given date. It has the syntax: =EDATE(start_date, months) ➤ start_date is the initial date you’re working with. For example, =EDATE(“15-May-2025”, 2) will return 15-Jul-2025. We have a product delivery schedule in which the original delivery dates of delivery have to be postponed or delayed by 2 months. The new delivery dates will appear right next to the current ones. Steps: ➤ Double-click the first blank cell beside the “Delivery Date” (let’s say it’s F2). ➤ This means take the date from cell E2 and add another 2 months. ➤ Place the cursor now at the bottom-right corner of the cell where you have entered the formula, and a small blue box called the Fill Handle will appear. ➤ Click and drag this square down through the rest of the column to automatically apply the formula to all of the rows in your data set. This will fill in each delivery date based on its corresponding order date. Note: In the real world, you might be asking for flexibility. Let’s say the number of months to add varies per order. Steps: ➤ Create a new column, “Months to Add” (G2 through G11). You can write different numbers here, like 1, 2, 3, etc. ➤ Fill down the formula. Note: This is useful when discussing multiple delivery regions (or priority dispatching ) issues. Sometimes, Google Sheets can show the output in a simple number or decimal number format instead of dates or times. Let’s see now how we can change the format to date properly. Steps: ➤ Select the column with the updated dates. This is how you can solve your formatting issues with just a few clicks and maintain proper formatting. Use =EDATE(date_cell, 6) to add six months to a date. Yes, just use a negative number. =EDATE(date_cell – 3 ) cuts three months off. EDATE will automatically readjust the date to the last valid day (Jan 31 + 1 month = Feb 29 [/Feb 28]). Yes, you can use an IF formula like =EDATE(date_cell, IF(condition, 2, 0)) to add months conditionally. No, Google Sheets requires some type of formula/script to automatically update the date values. For deadline-driven projects or delivery schedules, manually changing dates can be a hassle. The Google Sheets EDATE function is a timesaver to make bulk updates accurately. All you require is a formula and a drag down a bit, no matter how big or small the dataset is. If you have any feedback or queries about the procedures shown in this article, let us know in the comments section!
➤ In this cell, type the formula: =EDATE(reference_date_cell, number_of_months)
➤ Hit Enter.
➤ Use the fill handle to drag the formula down. 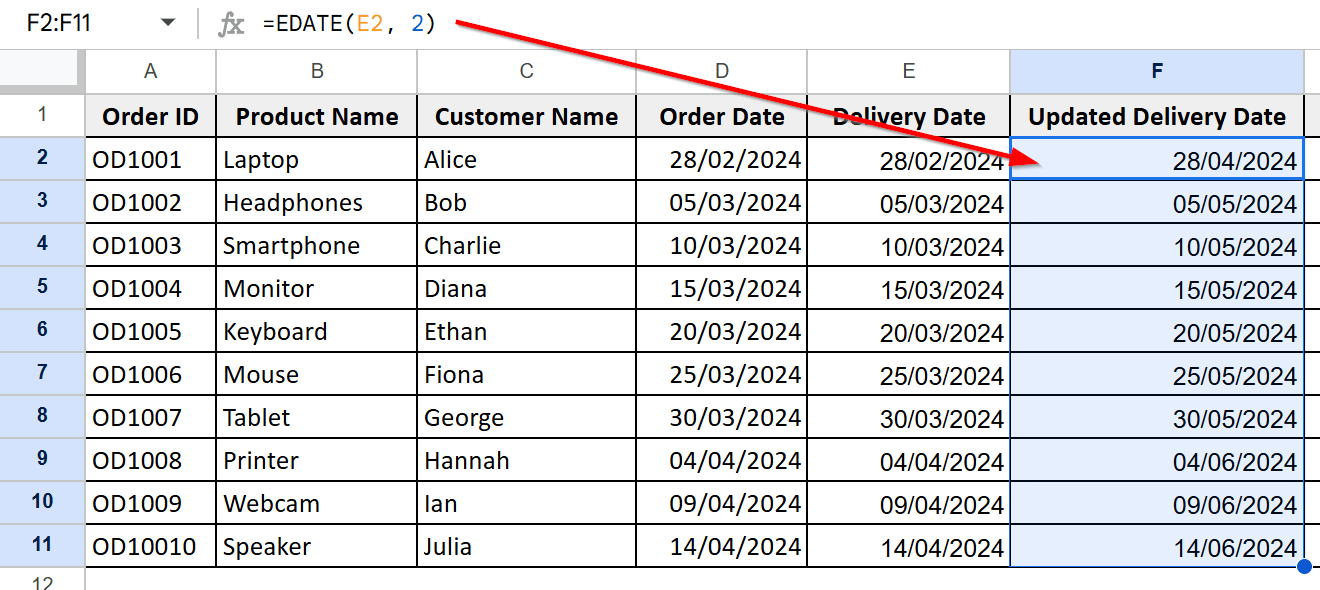
Adding Months to a Date Using the EDATE Function
➤ months is the number of months you want to add (use a negative number if you want to subtract months). 
➤ Enter the following formula:=EDATE(E2, 2)
➤ Hit Enter. Google Sheets will automatically calculate the new date.
➤ Press and hold the fill handle to apply it to the rest of the rows.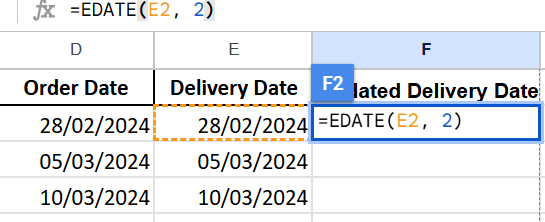
➨ The EDATE function will automatically pick up months with different numbers of days (Feb, April).
➨ You can subtract months using negative values, e.g., =EDATE(E2, -2)
➨ You can also use the autofill option instead of the fill handle to minimize time. Add Months Dynamically Using a Separate Column
➤ Now use this formula in the “Updated Delivery Date” field:=EDATE(E2, G2)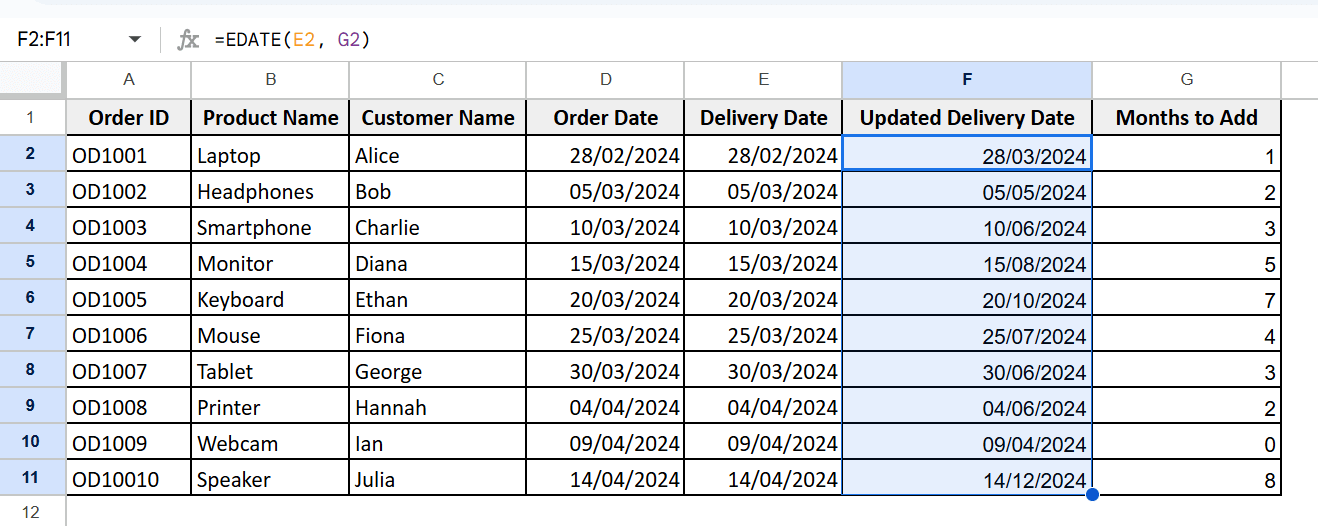
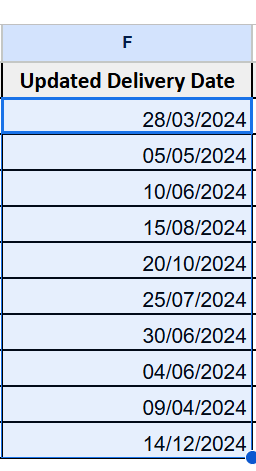
Solving Date Formatting Issues in the Output Cell
➤ Go to Format > Number > Date again to restore proper formatting. 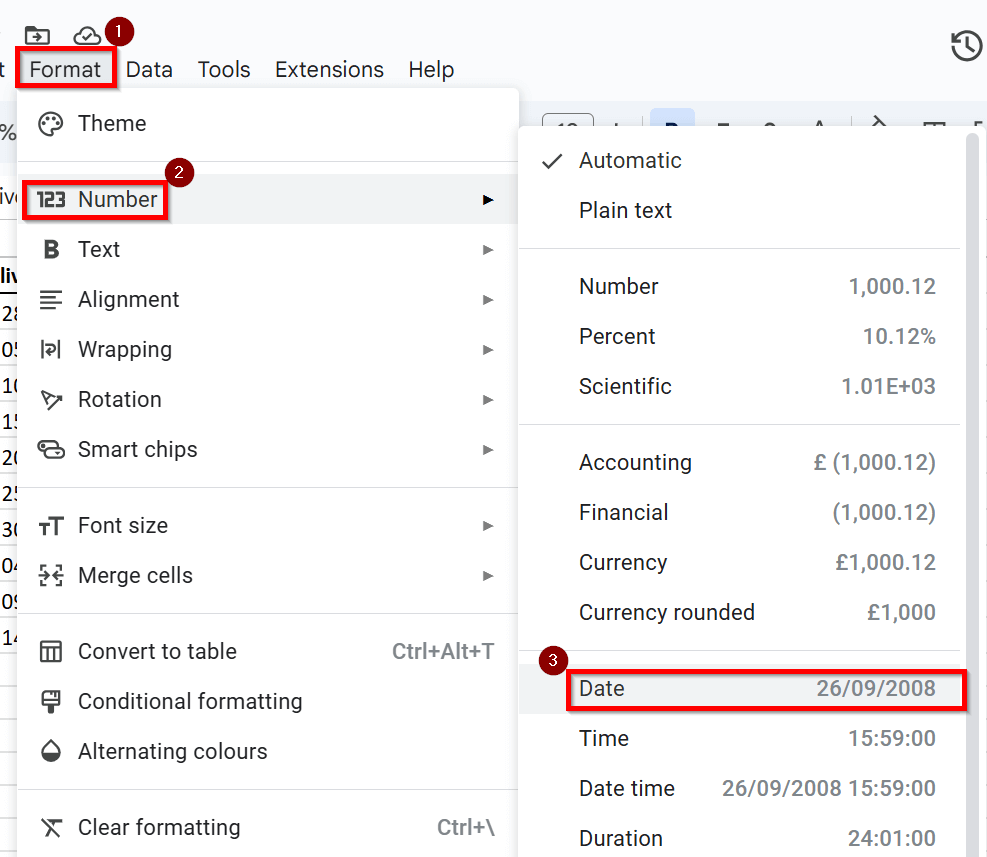
Frequently Asked Questions (FAQs)
What formula adds 6 months to a date in Google Spreadsheets?
Can I subtract months using EDATE?
What happens if it’s a month with fewer days than the original date?
Can I add months based on a condition?
Is there a way to add months without a formula?
Concluding Words