Excel, though versatile, often needs to be converted to PDF while sharing reports, printing documents, or presenting financial documents. However, this experience is usually awful, as the users rarely get the desired layout of the original file. Issues like cut-off tables, improper layouts, and different font styles are quite common. To avoid this mishap, users not only need to configure the file properly but also know the right steps.
If you want to convert Excel to PDF without losing formatting, you can follow the steps below –
➤ Open your Excel file and go to the Page Layout tab.
➤ Under the Page Setup, select your Print Area, choose Margin, and Orientation.
➤ Choose proper scaling (width, height, and scale) from the Scale to Fit option,
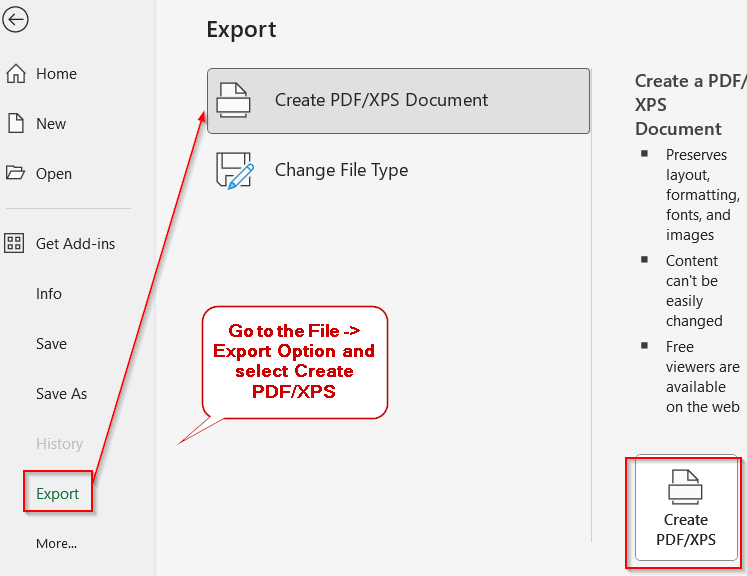
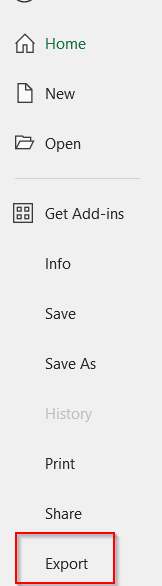
➤ When done, go to the File tab -> Export
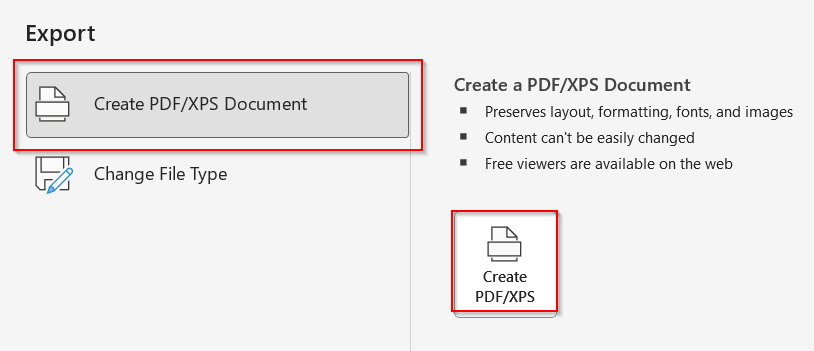
➤ Click on Create PDF/XPS Document.
➤ In the Save As window, click on Options to expand more options.
➤ Mark the Entire Workbook or Selection as per your requirements.
➤ Hit the Save button to save it.
So here we will dive into how to convert Excel to PDF without losing formatting. You will get pinpoint ideas for each step, from basic export and print-to-pdf options to professional tools like VBA Macros and online apps. Each method is paired with a step-by-step guide, visuals, and examples to help you choose the right one for you.
Prepare Your Workbook File To Avoid Formatting Problems
To avoid formatting issues, there is no perfect method; it depends on how well you can prepare and set up your workbook beforehand. By setting your workbook properly, you can solve issues like cut-off tables, broken page alignment, and missing content.
Steps:
➤ Open your workbook and select the entire table.
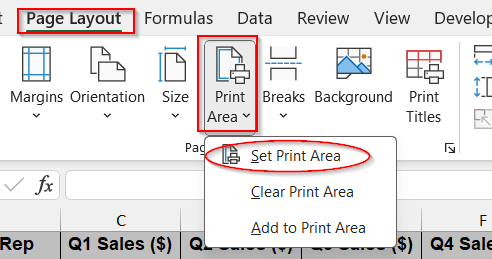
➤ Go to the Page Layout -> Print Area and choose Set Print Area.
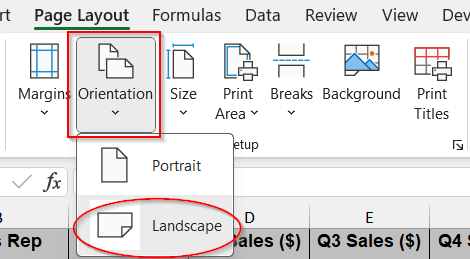
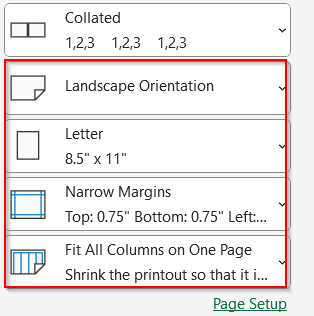
➤ Under the Page Setup option, go to Orientation and choose Landscape.
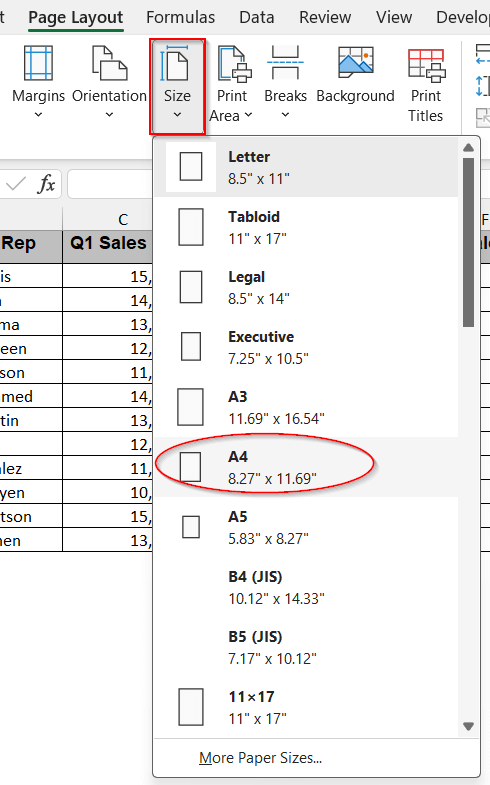
➤ Click on Size and choose A4 or your desired format.
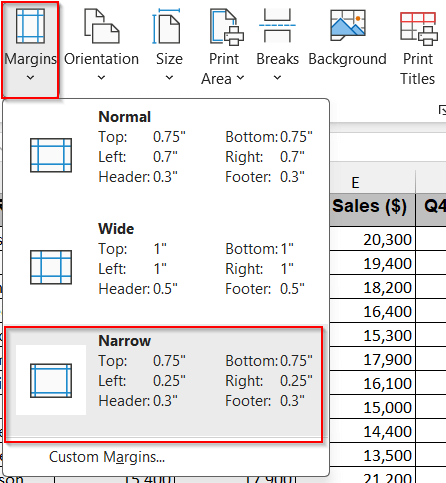
➤ To adjust margins, click Margins under the same option and choose Narrow or Custom Margin per your requirements.
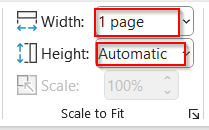
➤ On the Scale to Fit option, set Width to 1 page, and keep the Height Automatic.
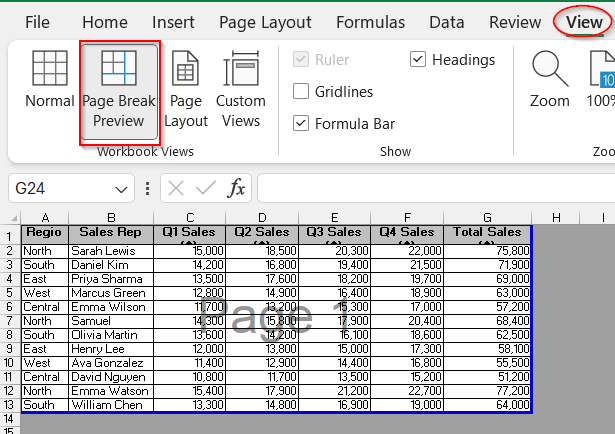
➤ Lastly, go to the View tab -> Page Break Preview to ensure a clean page transition.
Note:
➨ Use Landscape Orientation if your table has many columns.
➨ If your rows are being cut off, adjust the Height option from Scale To Fit.
Use Built-in Excel’s Export Option for Quick Conversion To PDF
The most common way to convert Excel to PDF is to use the built-in Export option. It retains the table’s layout, structure, and format regardless of whether you are working in a single workbook or multiple sheets. With minimal effort, it can generate a PDF from an Excel file with proper cell styling and alignment.
Steps:
➤ Open the Excel workbook and go to the File tab -> Export.
➤ Click on Create PDF/XPS.
➤ In the Save As window, click the Options button to set PDF preferences.
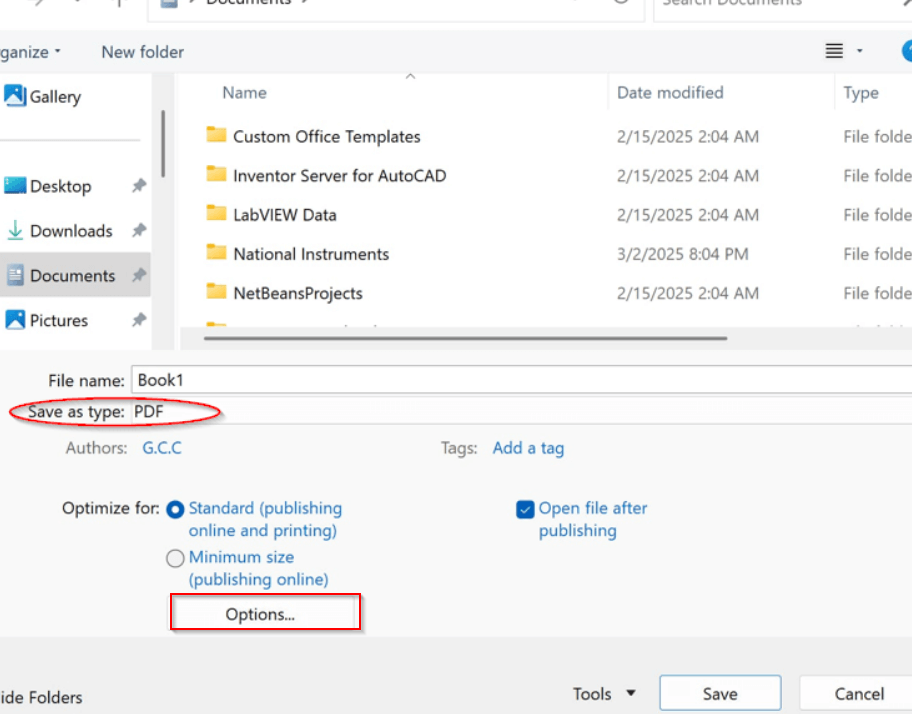
➤ If you want to convert the entire workbook containing multiple sheets, click on Entire Workbook. If you want to convert the selected ones, click on Selected. Otherwise, only the Active Sheets will be converted to PDF.
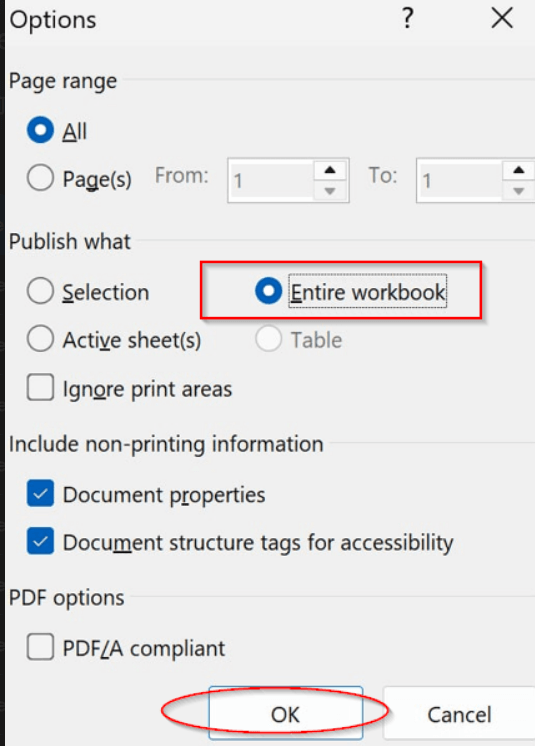
➤ Click OK and hit the Save button.

Note:
Always see the Print Preview of the file before exporting to ensure the proper layout.
Print-To-PDF Option For Precise Page Control
The Print-to-PDF option gives you the utmost control of the sheets and the PDF you will generate. It enables you to fine-tune layout, margin, page orientation, scaling, and solve common issues. Keeping the format intact, it uses the default Microsoft system to convert to PDF.
Steps:
➤ Go to the File tab -> Print on your Excel file.
➤ From Printer, choose the Microsoft Print To PDF option.
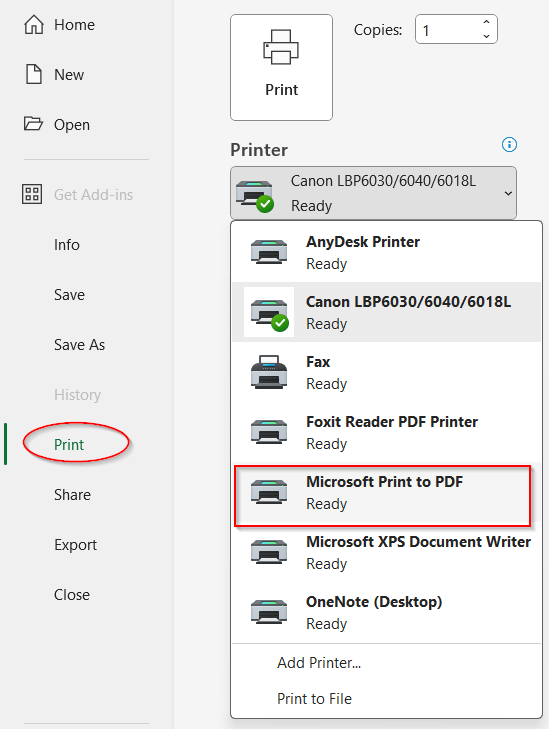
➤ From the Setting, choose Entire Workbook, Active Sheets, or Print Selection depending on your requirements.
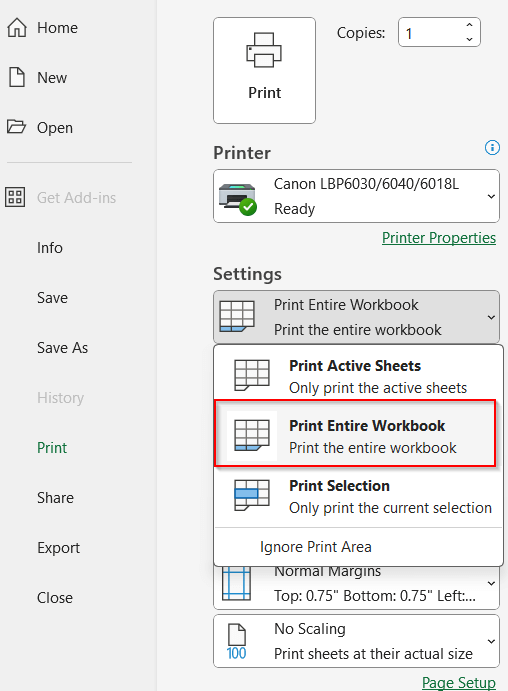
➤ Choose Margin, Orientation, and Size from here as per your requirement. Instant preview will help you identify the issues.
➤ Click the Print option, and a Save As dialog box appears.

➤ Save the file to get the PDF version of the Excel.
Note:
Preview all the settings for the best output, especially when working with large reports and multiple sheets.
Automate Specific Excel Sheets to PDF with VBA Macros
For frequent conversion from Excel to PDF, manual and built-in options can seem daunting. In that case, VBA Macros can save you time and effort. It lets you convert specific sheets or custom ranges into one PDF with actual formatting and styling.
Steps:
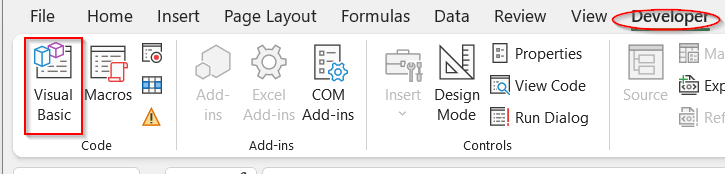
➤ Go to the Developers tab -> Visual Basic in your Excel file.
➤ A new window of the VBA editor launches. Click on the Insert menu and choose Module from the dropdown menu.
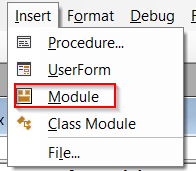
➤ A blank space will appear for the VBA script to be written.
➤ Paste the below code –
Sub SaveSheetsAsPDF()
Dim wsArray As Variant
Dim SavePath As String
' Define the sheets you want to export
wsArray = Array("Regional Sales Summary", "Product Inventory Overview")
' Set the export file path
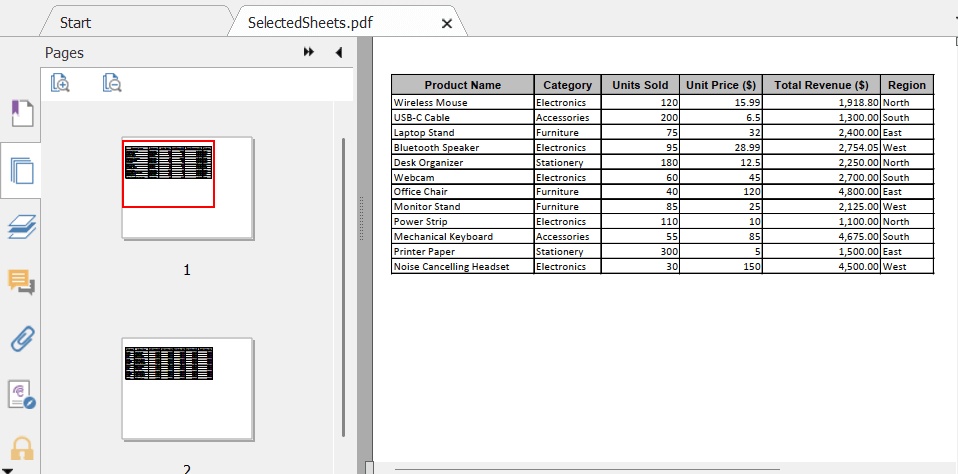
SavePath = ThisWorkbook.Path & "\SelectedSheets.pdf"
' Export the selected sheets as one PDF
Sheets(wsArray).Select
ActiveSheet.ExportAsFixedFormat Type:=xlTypePDF, Filename:=SavePath, Quality:=xlQualityStandard
End Sub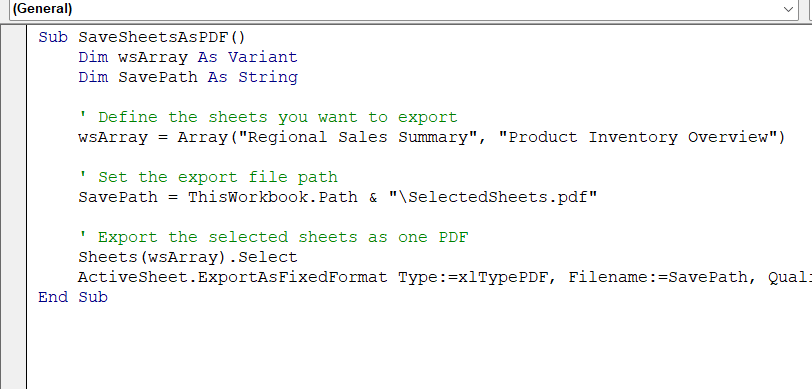
➤ Click the Save option to save the VBA code snippet and close the window.
➤ Now, click the Macros option beside Visual Basic on the Developers tab.
➤ The Macros window appears with the customized function name you created with VBA.
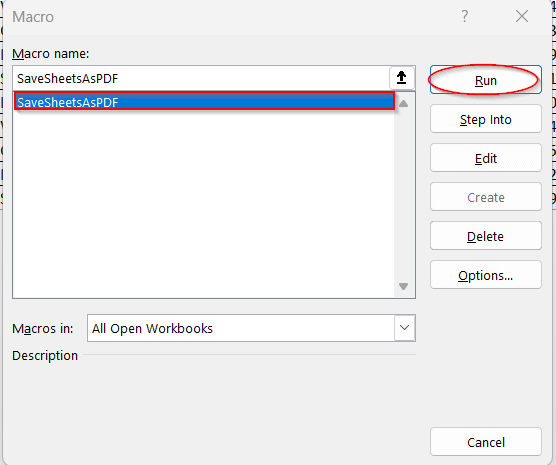
➤ Choose the function and click Run to automatically export the Excel to PDF.
Note:
Change the name of the sheets from the line number 9 with your sheet names to avoid errors.
wsArray = Array(“Regional Sales Summary”, “Product Inventory Overview”)
You can also modify the VBA script to export only selected cells or columns.
One-Click PDF Using Online Free Tools
When you don’t have a lot of time on hand, or your device has not installed Excel, online tools can be handy. They are easier to use, and work smarter and faster. Free to use, they can convert an Excel file to a well-converted PDF, maintaining layout, margin, and your required styling.
One of the most famous and reliable online tools is Adobe Acrobat. The steps below are curated for this tool.
Steps:
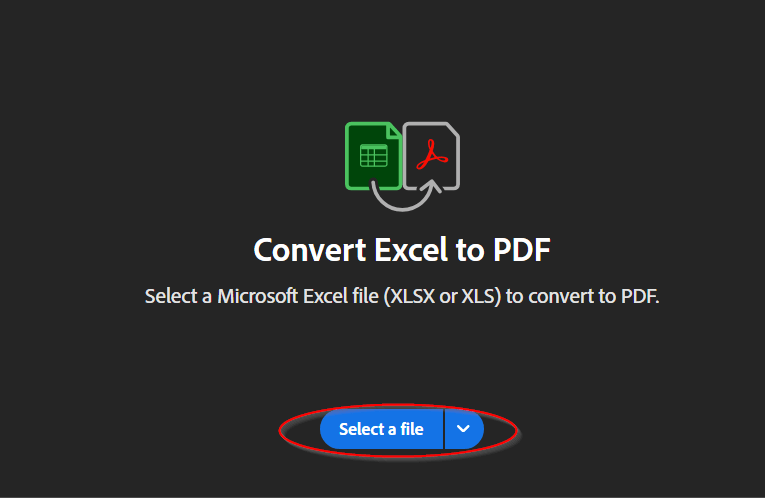
➤ Search on Chrome for Adobe Excel to PDF converter or click this link.
➤ Click on Select a file and upload your required file.
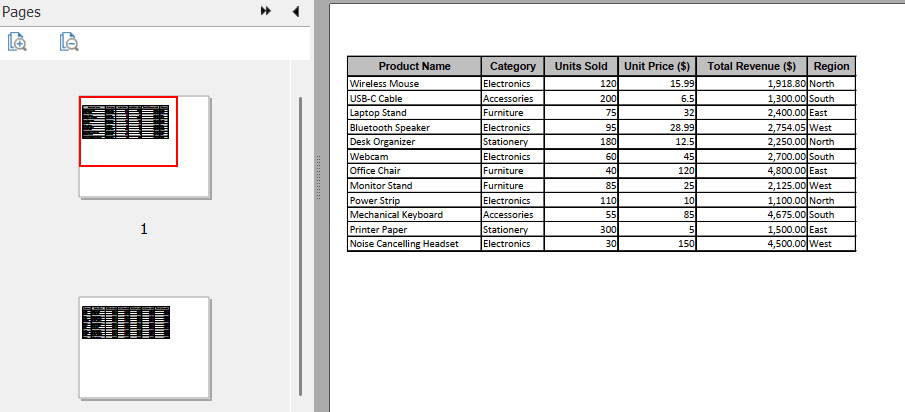
➤ It will take a minute or less to convert the file to PDF.
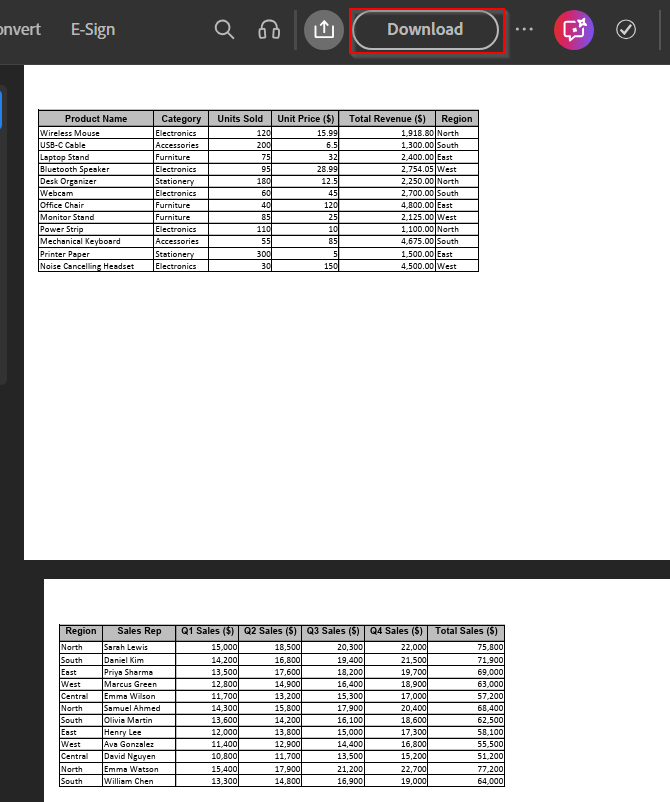
➤ The preview of the PDF will appear. Click on Download option at the top to save the PDF file to your device.
You can also use various other free tools for this. ILovePDF, SmallPDF, and Online2PDF are some of the most common ones that you can use.
Note:
To show the gridlines, change the setting of the Excel file before uploading it to the website.
Frequently Asked Questions
What is the best way to convert Excel to PDF without page breaks?
Go to the Page Layout tab and manipulate the options under Page Setup. Set the size to A4 and the orientation to Landscape. Under the Scale To Fit option, set the Width to 1 page and Height to Automatic. Also, view the Page Breaks Preview from the View tab for the final touch.
Why is my Excel file getting cut off in the PDF?
The Excel file can get cut off if you have scaling issues, incorrect page settings, or improper column width. To ensure proper formatting, go to Page Layout to change the options before converting the file to Excel.
How do you export multiple Excel sheets to one PDF?
To export multiple Excel sheets to one PDF, you need to change the PDF settings preferences. In the Save As window, click on Options to expand more settings. Mark the Entire Workbook to convert multiple sheets into one PDF.
Why do fonts change after converting to PDF?
Sometimes fonts can also change after converting the Excel to PDF. This mainly happens if you’re using a font that is incompatible or is embedded. Apart from that, the conversion process can also be responsible for this. To avoid this, check PDF settings and use widely available fonts.
How do I convert Excel to PDF without losing alignment?
To ensure you do not lose the proper alignment of your Excel file while conversion, configure the sheets beforehand. Change the settings for Print Area, Scaling, and Page Breaks according to your requirements.
Concluding Words
Converting an Excel file to a PDF, avoiding formatting issues, is actually easy if you know how to prepare your workbook and follow the right approach. We tried to cover all the possible ways for you so that you can explore and find out the best way for you. You can too get a professional, polished, and print-ready PDF with a few clicks.
Go through each step and our workbooks if you find any difficulty. Leave us your feedback to let us know your experience.