When printing an Excel sheet, it’s common to run into formatting issues where the text or tables appear too small on paper. This often happens because Excel tries to fit everything on the page without considering how readable it will be. Whether you’re working with financial reports, inventory lists, or large data tables, printing them in a legible and optimized format is essential, especially when sharing with clients or team members.
In this article, we’ll show you how to make your Excel spreadsheet print bigger and more readable using various built-in Excel tools and printer settings.
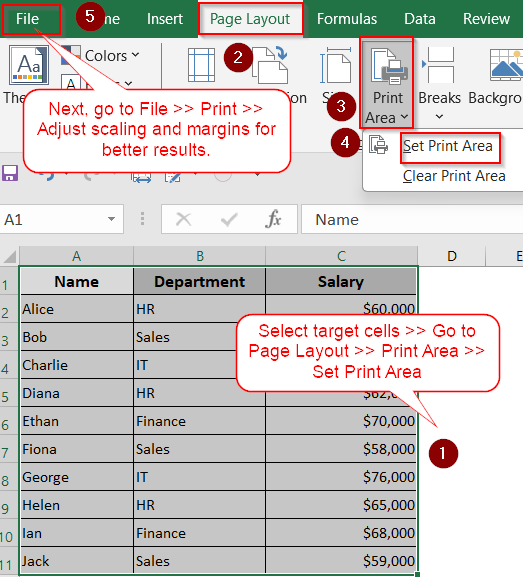
➤ Select the specific cells that you want to appear on the printed page.
➤ Click on the Page Layout tab from the ribbon.
➤ Choose Print Area >> Set Print Area to lock your selection as the printable zone.
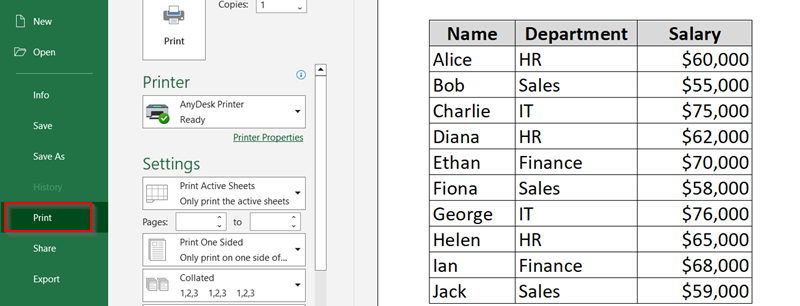
➤ Now go to File >> Print to check how your selection fits on the page.
➤ Combine this with other tools like scaling or margin adjustments for best results.
Scale the Sheet to Fit the Page
If your printed Excel sheet looks tiny, Excel’s scaling options can automatically stretch your content to fill the page without distorting it. This is a great quick fix when you want the entire sheet to print in a readable size.
Steps:
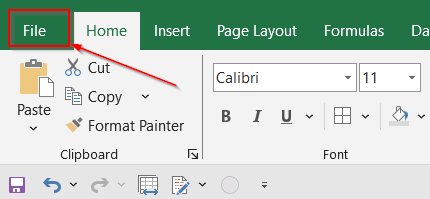
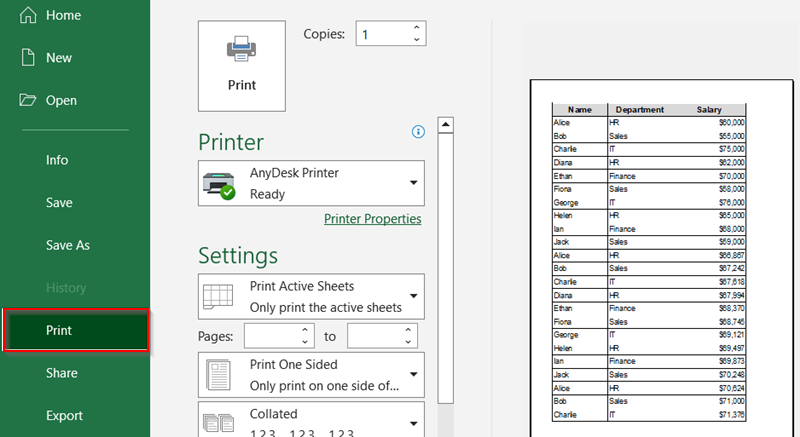
➤ Click on the File tab in the top-left corner of Excel to open the backstage view.
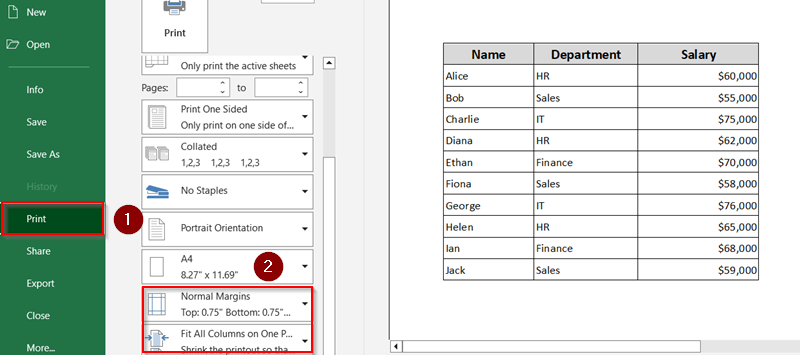
➤ Select Print from the left-hand panel. This will bring up the Print Preview screen.
➤ Look for the Scaling dropdown under Settings which controls how Excel fits your data to the page.
➤ Choose one that best fits your needs. For example, Fit All Columns on One Page which keeps rows flowing but ensures no columns spill over.
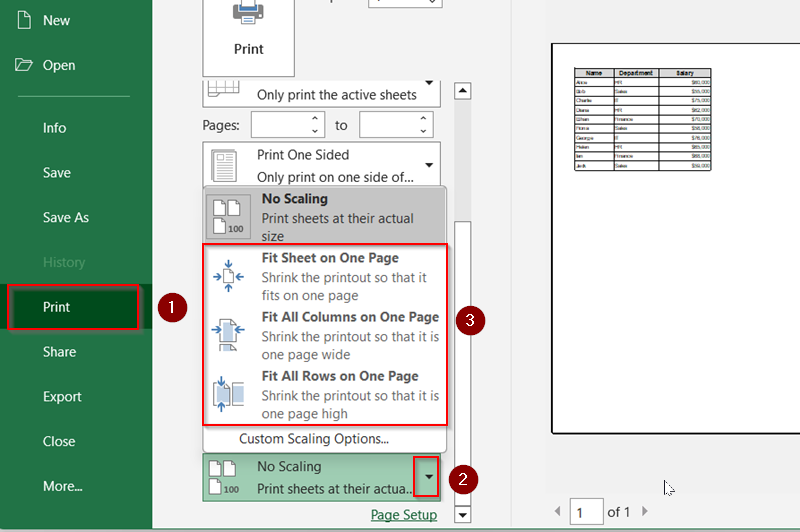
➤ Review how your worksheet looks in the preview window.
➤ Once you’re happy with the layout, click Print to proceed.

This is one of the fastest ways to make a spreadsheet appear larger and better proportioned on paper without having to manually resize anything.
Increase the Print Area Using Page Layout Settings
If Excel’s preset scaling still makes your printout look too small, you can take control by manually increasing the scale percentage. This method lets you fine-tune the sizing rather than rely on Excel’s automatic guesses.
Steps:
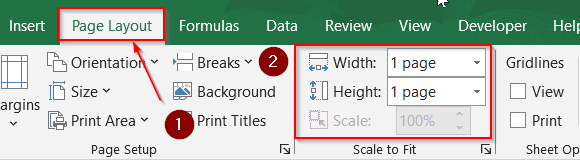
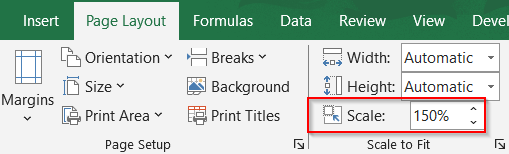
➤ Go to the Page Layout tab on the ribbon at the top of Excel.
➤ Look for the Scale to Fit group, which includes Width, Height, and Scale settings.
➤ Increase the Scale value gradually. For example, change it from 100% to 120% or 130% to enlarge everything slightly.
➤ Optionally, set Width and Height to “1 page” to force Excel to fit all content horizontally and vertically onto one sheet.
➤ Click on the File tab in the top-left corner of Excel to open the backstage view.

➤ Click Print to view how your changes affect the printed output.
➤ Continue tweaking the Scale until your sheet fills the page nicely without being cut off.
This method gives you more granular control than the basic scaling dropdown in the Print menu.
Use Larger Fonts and Cell Sizes
Sometimes, the problem isn’t Excel’s print settings, it’s your actual spreadsheet formatting. If your font size is too small or your rows are cramped, the printout will be hard to read no matter how you scale it.
Steps:
➤ Select the entire worksheet (Ctrl + A) or just highlight the area you plan to print.
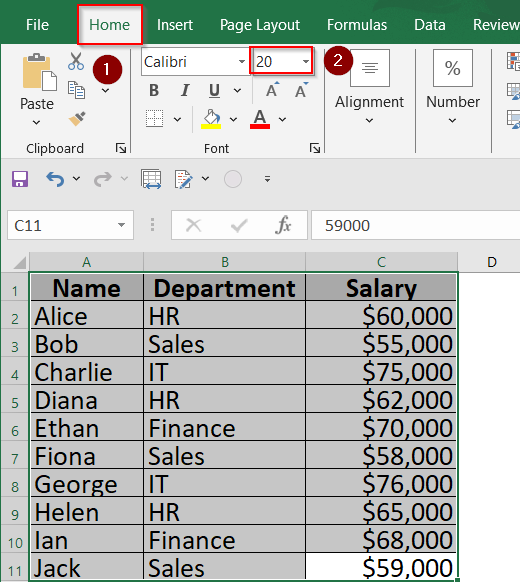
➤ Go to the Home tab on the ribbon.
➤ Increase Font Size until the text looks more readable.
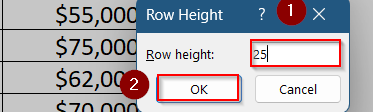
➤ To create more space around the text, adjust the row height by clicking on the small square between row and column and then, right-clicking anywhere in the sheet.
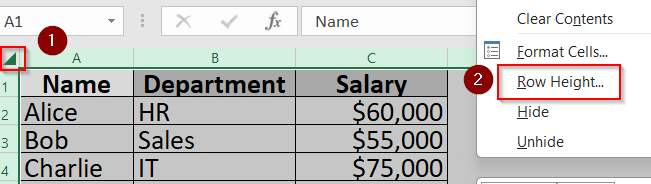
➤ Increase Row Height to 25 and click OK.
➤ After resizing, head to File >> Print and review how everything appears.
➤ Make further adjustments if the content still feels too cramped or oversized.
Larger text and spacing can significantly improve the legibility of printed documents.
Set a Custom Print Area
If Excel tries to print everything including empty rows or columns, it may shrink your content to fit the excess data. Setting a defined print area tells Excel exactly what to print, allowing more room for what matters.
Steps:
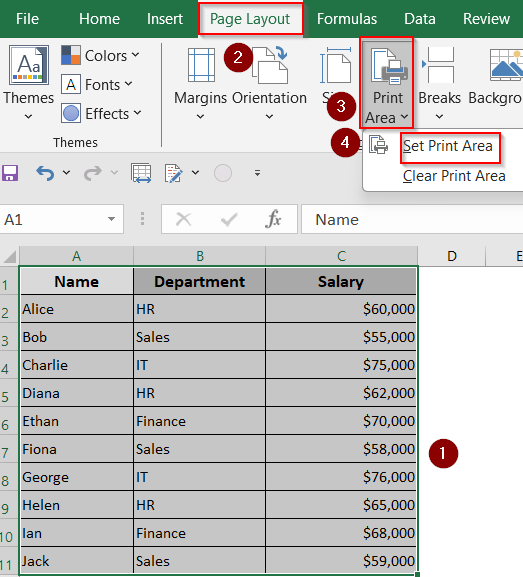
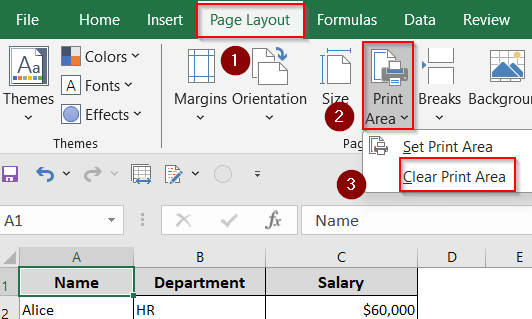
➤ Select the specific cells that you want to appear on the printed page.
➤ Click on the Page Layout tab from the ribbon.
➤ Choose Print Area >> Set Print Area to lock your selection as the printable zone.
➤ Now go to File >> Print to check how your selection fits on the page.
➤ Combine this with other tools like scaling or margin adjustments for best results.
➤ If you want to clear this later, go back and click Print Area >> Clear Print Area.
This method ensures that only the important part of your spreadsheet gets printed without unnecessary blank space or irrelevant data.
Adjust Paper Size from Print Settings
Sometimes you just need more room. If your printer supports larger paper sizes, switching to formats like A3 or Legal gives Excel more breathing space, which means bigger fonts and better layout.
Steps:
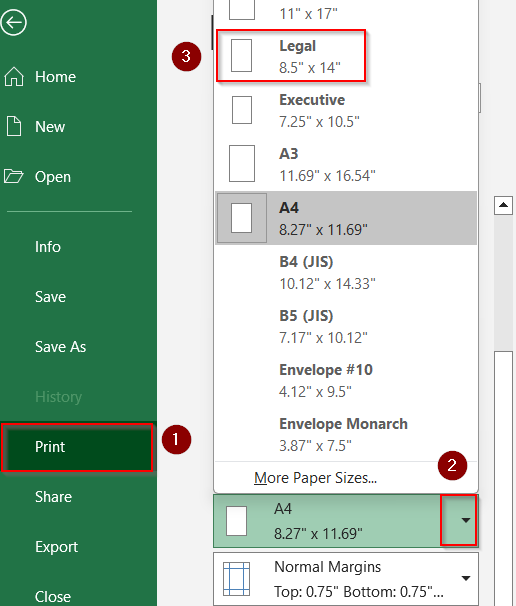
➤ Go to File >> Print to open the print preview screen.

➤ Under Settings, find the dropdown that lists the current paper size (usually set to Letter or A4 by default).
➤ Click it and select a larger size like A3, Legal, or Tabloid, depending on what’s available and what your printer supports.
➤ Excel will automatically readjust the layout based on the new dimensions.
➤ Combine this with scaling or font size adjustments if needed for optimal results.
➤ When satisfied, click Print.
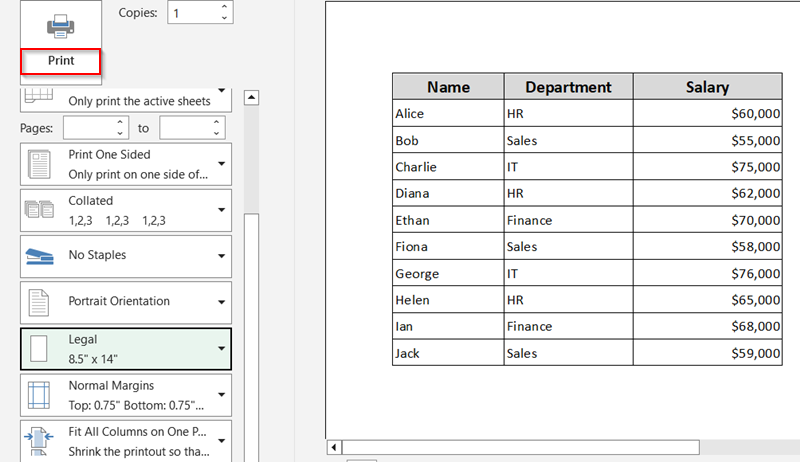
This option is especially helpful for large spreadsheets or formal printouts that need more detail.
Frequently Asked Questions
Why is my Excel printout so small?
Excel automatically scales content to fit the default page size and margins. If your sheet has many columns or rows, it shrinks everything to fit, resulting in tiny text.
What is the best scaling option for large sheets?
Try “Fit All Columns on One Page” to avoid horizontal clipping while still enlarging the layout. For smaller datasets, “Fit Sheet on One Page” works well.
Will increasing font size affect how my spreadsheet looks on-screen?
Yes. If you increase font size and cell dimensions, it will apply both to the screen view and printed version.
Can I preview changes without printing every time?
Absolutely. Use File >> Print to open the Print Preview pane. It updates live as you make changes to layout, scaling, or margins.
What if the Convert or Scaling option isn’t available in my Excel version?
You can still manually scale the page or use Save As to recreate the document with updated settings. All Excel versions from 2010 onward support these basic print tweaks.
Wrapping Up
In this tutorial, we learned multiple ways to fix the issue of Excel spreadsheets printing too small. From adjusting the scaling options and increasing the font size to switching page orientation or modifying margins, each method gives you more control over how your data appears on paper. Feel free to download the practice file and share your feedback.