Excel offers several functions and formatting options to change its default date format in your preferred data type. If you want to remove the year from a date to better organize your sales or project data, you can easily do it with the cell formatting feature or an easy TEXT formula.
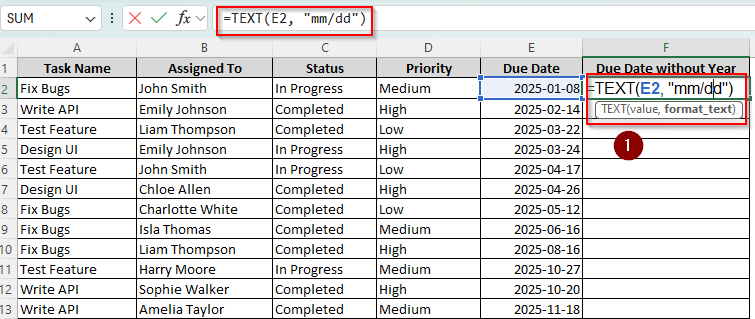
➤ Select a neighboring cell to your preferred data string and start typing the formula:
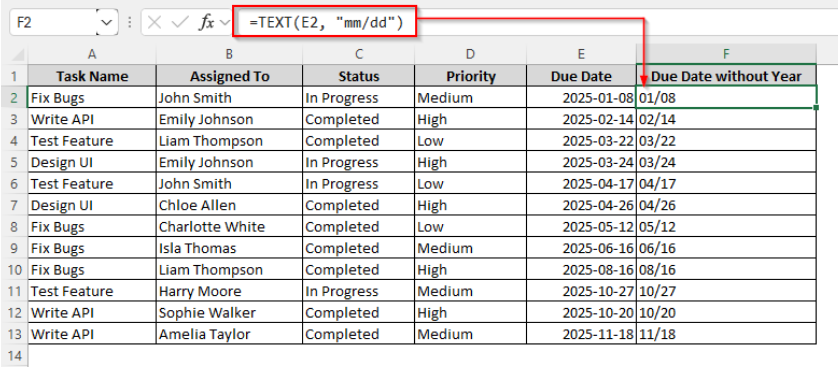
=TEXT(E2, “mm/dd”)
➤ Replace E2 with the cell reference containing the date you’re formatting. Also, you can use “m/d” or “mmmm/dd” to format the result with decimals or month names.
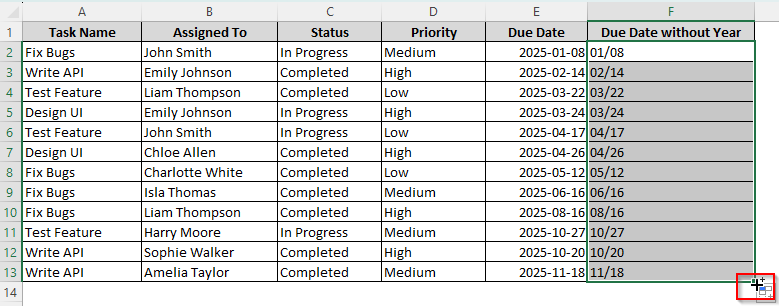
➤ Finally, drag the autofill handle to apply the formula for the remaining cells of the column.
Apart from this quick method, there are more ways to remove the year from any date or simply hide it using custom formatting, flash fill, and VBA macro. This article covers each of them with a proper guideline and visualization.
Remove Year from Date with Custom Cell Formatting
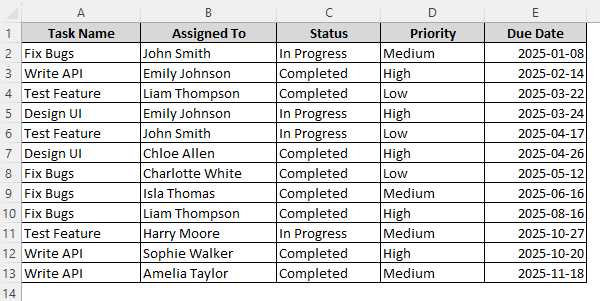
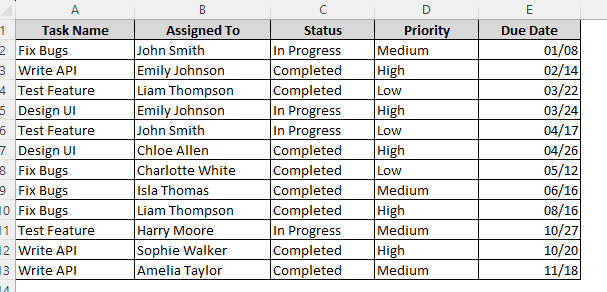
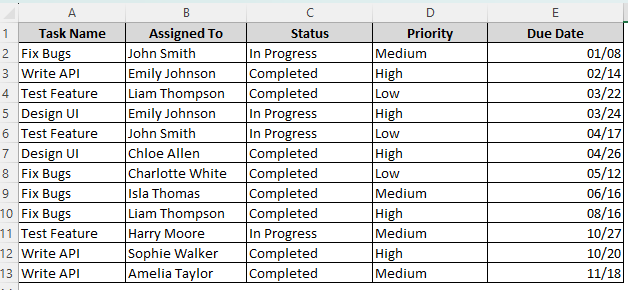
In our reference workbook, we’ll use a project task workbook and work on the due dates column formatted as yyyy-mm-dd. To distinguish our result column, we are applying the mm/dd date format.
Remember that this method only hides the year from the dataset instead of removing it entirely. While it’s good to make prints, anyone can discover the years from the name box.
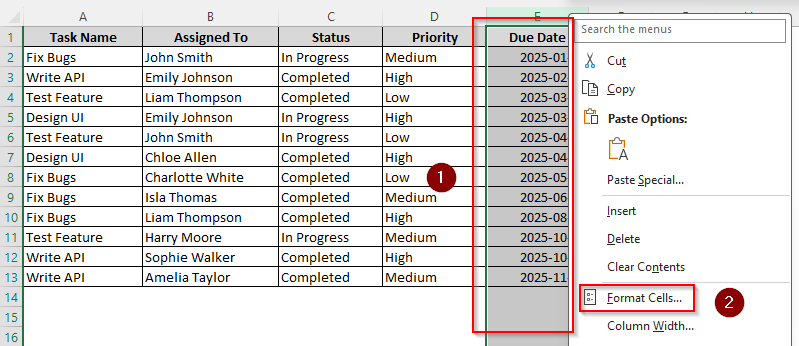
➤ Select the entire column or specific cells containing the dates you want to change.
➤ Right-click on your mouse and go to Format Cells. You can also use the keyboard shortcut Ctrl + 1 .
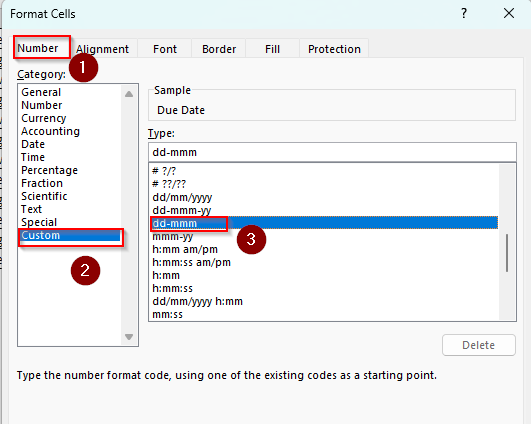
➤ As the Format Cells dialog box appears, open the Number tab and go to Custom.
➤ Check the Type box to see if any of the available formats meet your needs and Click Ok. For example, you can either choose dd-mmm, as displayed in the following picture, where the year is eliminated from the date.
➤ In case you want a different format, enter any of the following date formats in the empty field beneath the Type box:
- mm/dd (displayed as 01/08)
- dd/mm (displayed as 08/01)
- mm-dd (displayed as 01-08)
- mm dd (displayed as 01 08)
- m/d (displayed as 1/8)
- dd (displayed as 01.08)
- mmm-dd (displayed as Jan-08
- mmmm dd (January 08)
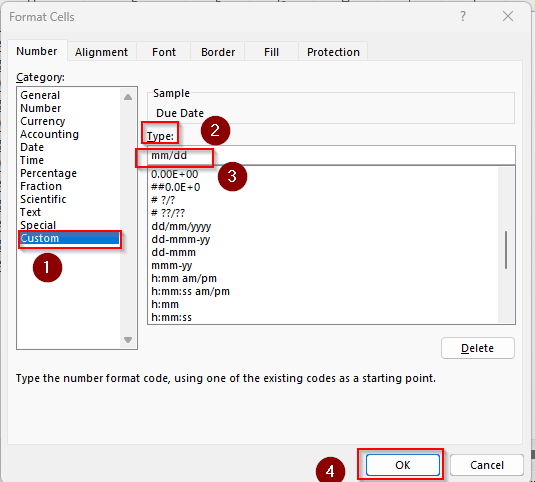
➤ Click Ok and the selected cells will display the day and month only.
Using the Flash Fill Feature to Deduct Years
As we use the Flash Fill feature, Excel recognizes a data pattern and applies it to all the subsequent cells in a column. Below is the process of using this feature for a quick date transformation:
➤ First, create a helper column to place the converted dates without years.
➤ Select the column, go to the Home tab, and select Text in the empty field in the Number group. This will prevent Excel from automatically changing your date format while working.

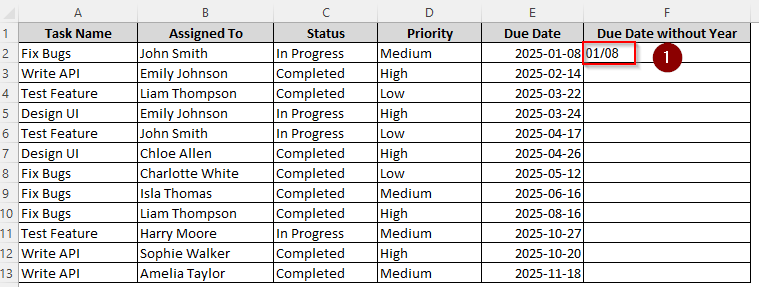
➤ Select an empty cell right beside the first text string featuring the date. Type the date in your preferred format without the year as shown in the picture below:
➤ Now, Excel will recognize the changes you made and apply them to your chosen cells.
➤ Select all the cells in your column where you want to convert data.
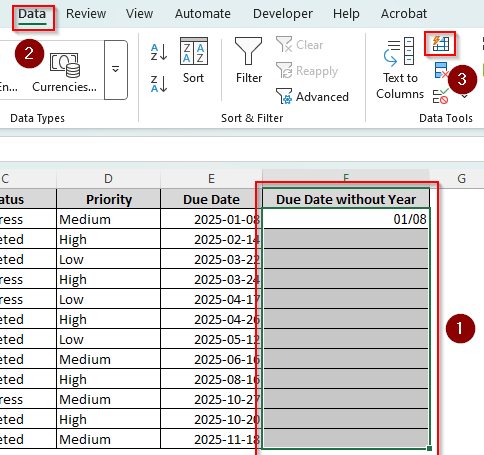
➤ Use the board shortcut CTRL + E to quickly fill the cells stripping out the years. Another way is to go to the Data tab, navigate through the Data Tools group, and click on the Flash Fill icon.
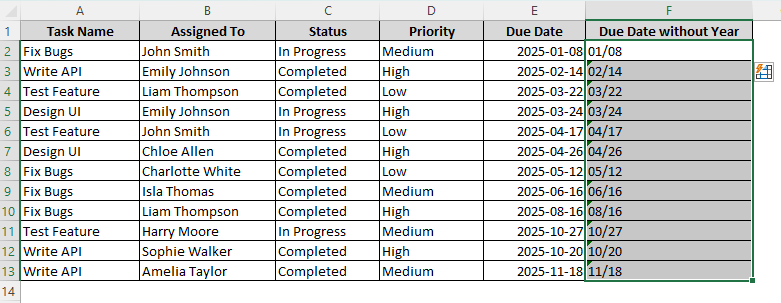
➤ You might have to repeat the steps multiple times for a longer dataset. Here’s the dataset after transformation:
Applying TEXT Function to Eliminate Numbers
If you want to permanently delete the years from the dates of your dataset, you can use array formulas. The easiest one is the TEXT function, which converts a text string into a specific format that you define. Here’s how you can do it:
➤ Choose a helper column to extract the date without numbers and select a cell. Type either of the following formulas:
=TEXT(E2, “mm/dd”)
Or,
=TEXT(MONTH(E2), “00”) & “/” & TEXT(DAY(E2), “00”)
➤ Replace E2 with the original cell reference containing the date you’re working on. Also, you can change the date-month format according to your preferences.
➤ Click Enter and Excel will remove the year from the date. Click on the fill handle (the + sign on the side of the cell) and drag it until all the rows containing the dates are covered.
Combining DAY and MONTH Functions
Another simple way to keep only the day and month in a cell is to use the DAY and MONTH functions. While the MONTH function returns a specific month number from a given date, the DAY function extracts the day of the month.
So, when you combine them and add a delimiter, Excel returns the specific day and month number from the date in your selected cell. Let’s see how to use them to eliminate a year from a date.
➤ Select a helper cell in a new column and type the following formula:
=MONTH(E2) & “/” & DAY(E2)
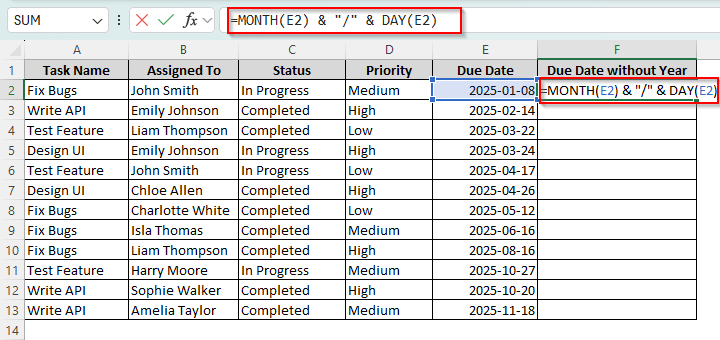
➤ Enter the cell reference of your data instead of E2 and use a space, period, or hyphen inside the quotation marks if you prefer a different format.
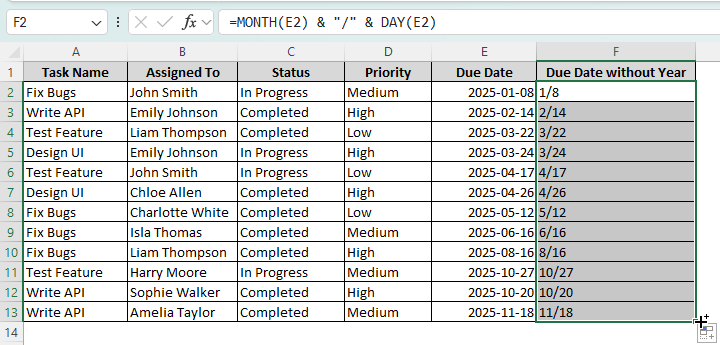
➤ Press Enter, and drag the formula through the following cells to extract the day and month for each date.
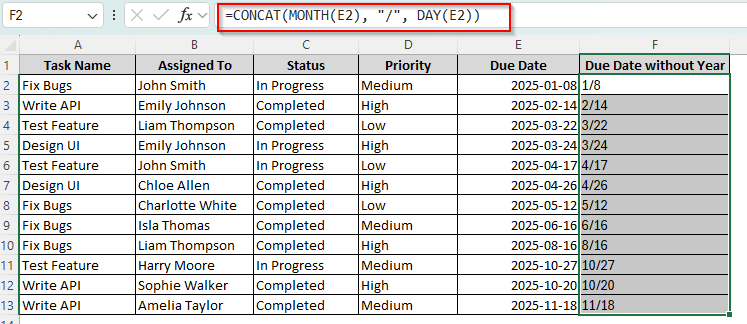
Enter CONCAT Function to Remove Year
When we use the CONCAT or CONCATENATE function, it joins the specified parts of a date into a single text string. To use it, follow the steps given below:
➤ In an adjacent empty cell of your date column, type the following formula:
=CONCAT(MONTH(E2), “/”, DAY(E2))
➤ If you have an older version of Excel launched before Excel 2016, use the CONCATENATE function instead of CONCAT to ensure compatibility. Don’t forget to use the exact cell reference and delimiter according to your data string.
➤ Click Enter and drag the formula until the last neighboring cell to your original dates.
Using the Text to Columns Feature to Separate the Year Column
With this method, you can put the years in a separate column or delete them as needed. Let’s take a look at the steps:
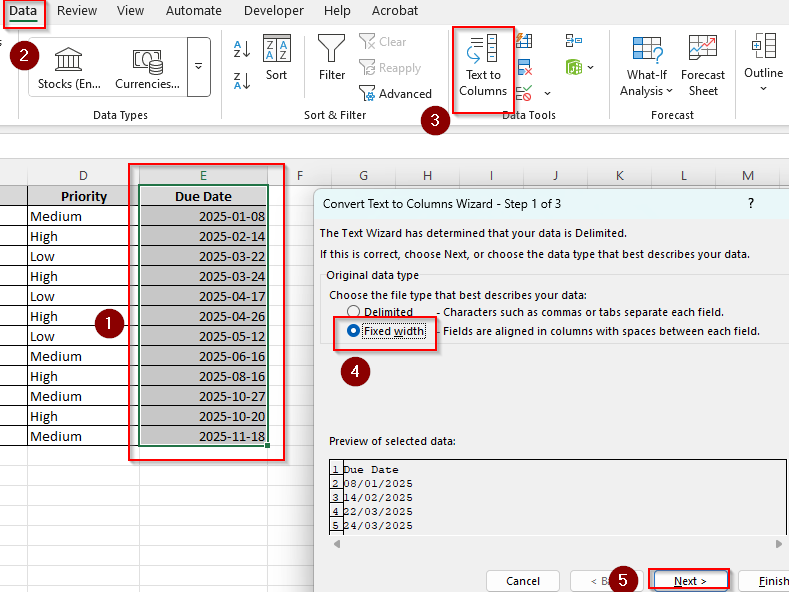
➤ Select all the cells with dates, go to the Data tab, and click on Text to Columns from the Data Tools group.
➤ As the Convert Text to Columns Wizard dialog box opens, select Fixed Width and click Next.
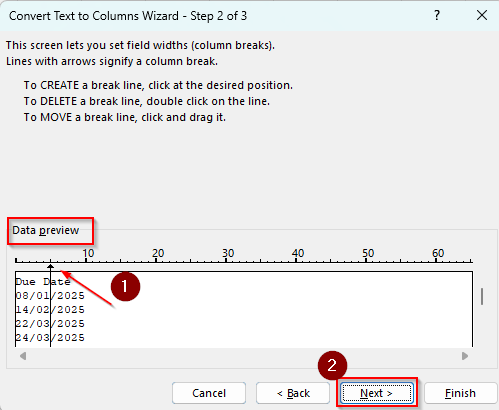
➤ Now, we need to create a break line to separate the year in a new column. As instructed on the screen, check out the Data Preview box and move the line with the arrow right before the year.
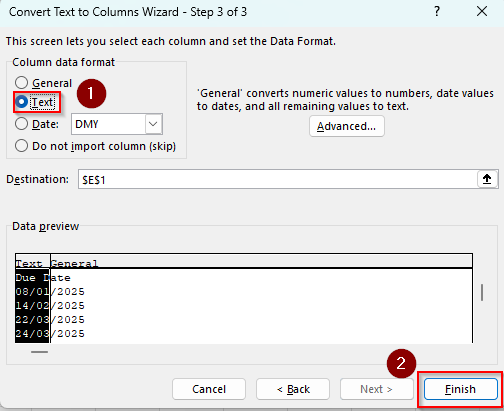
➤ Press Next and select Text from the column data format group. Review the Destination and Data Preview sections and click Finish.
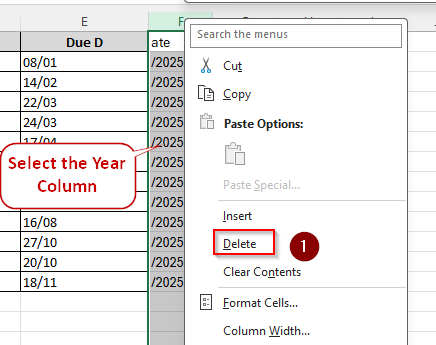
➤ Now, Excel has put the year in a separate column. If you want to delete it, select the column and right-click. From the menu, choose Delete to get rid of the data completely.
➤ As you can see, Excel might split the column header while separating the values. Fix it manually by double clicking on the header cell and enter your preferred title. Here’s what our data look like after the manual fixes:

Get Rid of Years with a VBA Macro
For more complex datasets, VBA offers an efficient solution for a wide variety of data transformations. To separate the year from date with VBA, follow the steps given below:
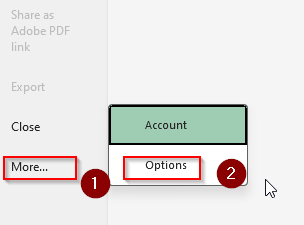
➤ First, check if your version of Excel has the Developer tab on the main ribbon. If not, click on the File tab >> More >> Options.
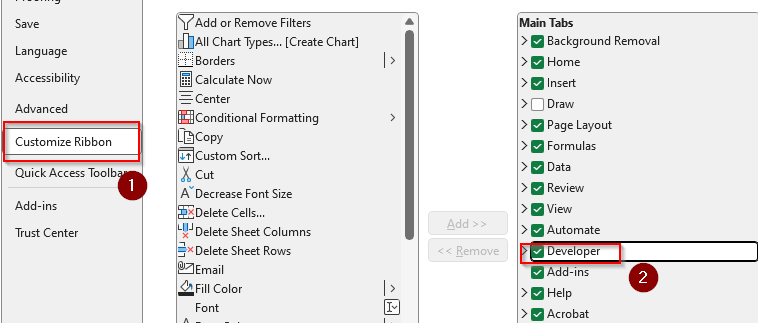
➤ Navigate to the Customize Ribbon, select the Developer option, and press Ok.
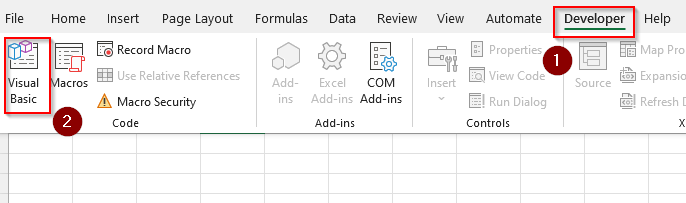
➤ Now, select the cells you want to convert. The VBA macro will be applied only to these selected cells. After that, go to the Developer tab and press on Visual Basics to open the VBA Editor. You can also use the keyboard shortcut Alt + F11 .
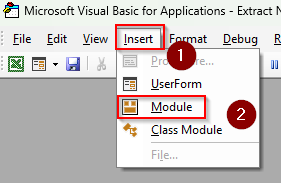
➤ Click on the Insert tab, choose the Module option, and paste the following code into the new screen:
Sub RemoveYearFromDates()
Dim cell As Range
Dim dt As Date
For Each cell In Selection
If IsDate(cell.Value) Then
dt = CDate(cell.Value)
' Format as day/month only
cell.NumberFormat = "mm/dd"
' Optional: Reassign the value with current year to ensure formatting sticks
cell.Value = DateSerial(Year(Date), Month(dt), Day(dt))
End If
Next cell
End Sub
➤ We used the mm/dd format for our dataset. You can replace it within the code to set a different date format.

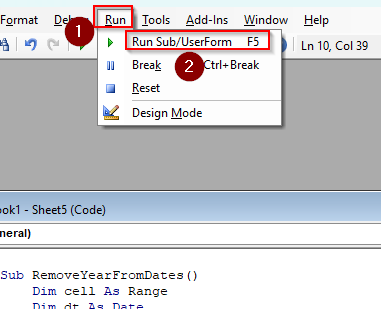
➤ Now, open the Run tab and choose Run Sub/UserForm. Go back to the Excel tab and review the dates.
➤ Finally, to save the changes, you must save the workbook in the correct .xlsm format. For this, click on the File tab and select Save As.
➤ When you choose your preferred location to save the file, make sure to select Macro-Enabled Workbook in the Save as Type box.
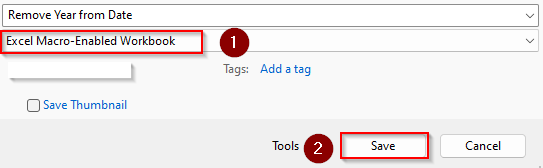
➤ Click Save to successfully store the coding and related changes. Here’s our final result:
Frequently Asked Questions
How do I separate dates by year, month, and day in Excel?
To separate each element of a date in separate columns, go to the Data tab and select Text to Columns. In the Wizard box, select Delimited and click Next. From the following page, choose the right delimiter that separates the day, month, and year in your dates. If it’s not in the options, manually type the delimiter in the Other box and select Next. Finally, select Text and click Finish.
How do I make a date with only year in Excel?
Click on the adjacent cell to your preferred date and type the following formula:
=YEAR(A1)
Replace A1 with the correct cell reference featuring the date you want to convert.
How do I change the date format in Excel?
Start by selecting the dates you want to convert and press CTRL + 1 . Or, you can right-click and select Format Cells. Now, on the Number tab, choose Date and select your preferred date format from the list. Use the Custom option to customize your desired format.
Concluding Words
Removing a year from a valid date is pretty easy with all the above-mentioned procedures. Using the Flash Fill feature and the TEXT function are the easiest ways to complete the task. Keep in mind that if you don’t specify a format while working on the methods, Excel will use the original format of the raw data in the new cell.