
Large numbers without commas can be difficult to read at a glance. Adding commas to numbers improves readability, makes your data more professional, and helps prevent mistakes in financial or business reports.
For example, a value like 1250000 looks cluttered, while 1,250,000 is much easier to understand. In Excel, there are several ways to add commas to numbers depending on how your numbers are stored.
In this article, we’ll learn different ways to add commas to numbers using a variety of Excel features. Each method solves a slightly different problem, so you can pick the one that works best for your dataset.
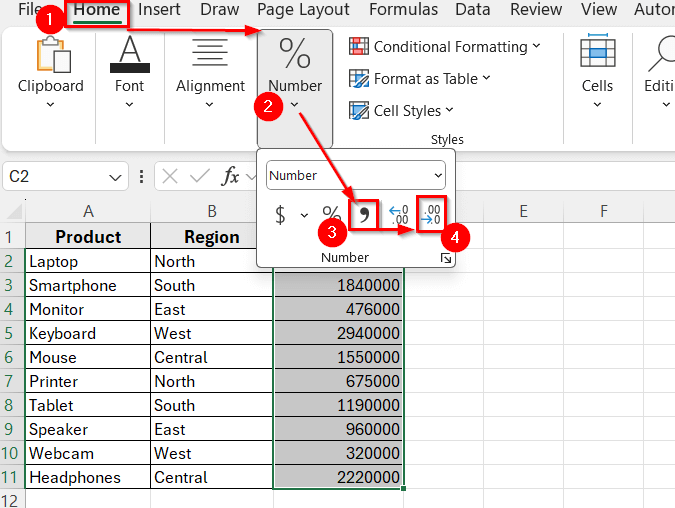
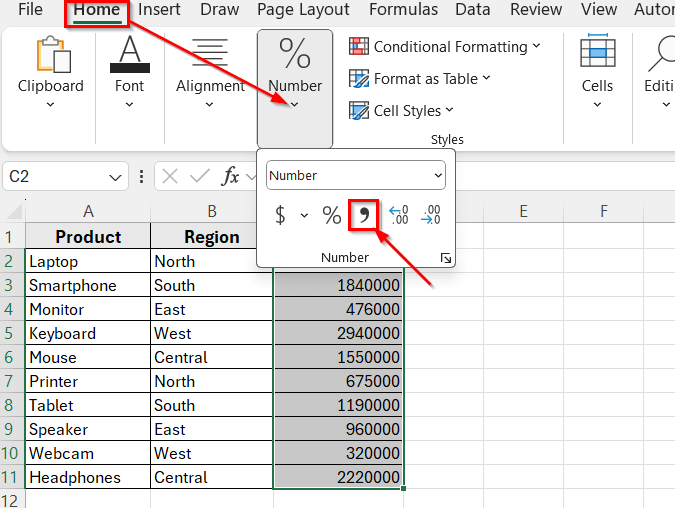
Here’s how to put commas in numbers using the Comma Style button:
➤ Select the cell range from C2 to C11, which contains the total revenue values.
➤ Go to the Home tab on the Excel menu.
➤ In the Number group, click the Comma Style (,) button.
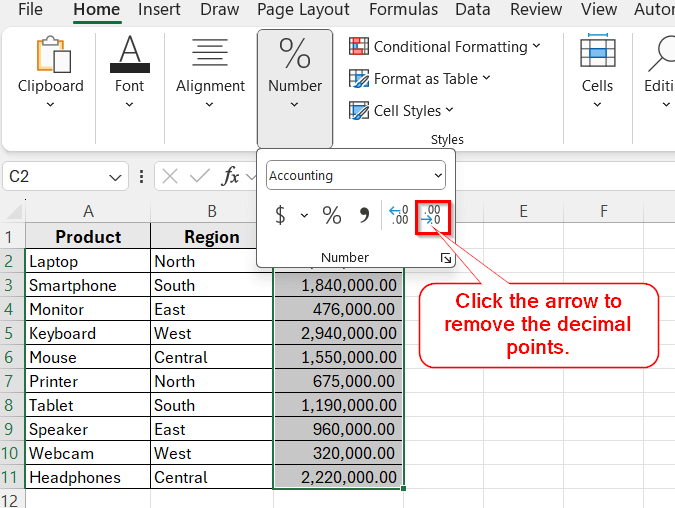
➤ Excel will automatically format the numbers with commas and add two decimal places. For example, 1250000 will appear as 1,250,000.00.
➤ If you want to remove the decimal points, you can use the Decrease Decimal button right next to it.
Apply Custom Formatting to Add Commas
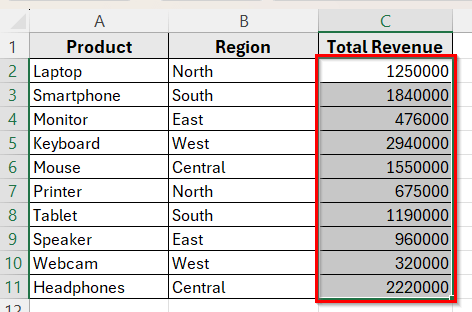
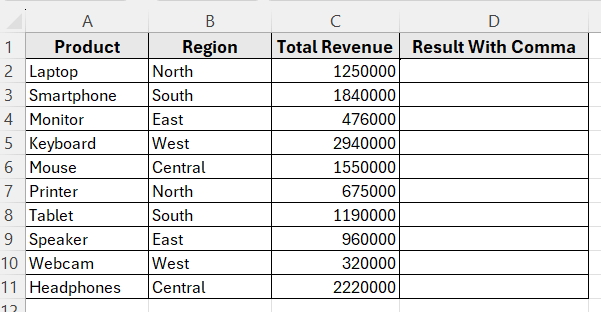
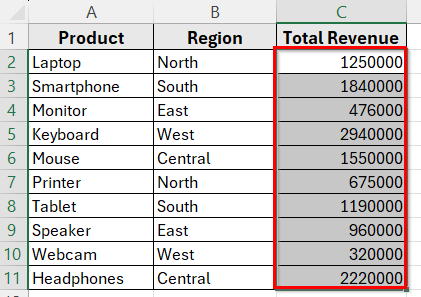
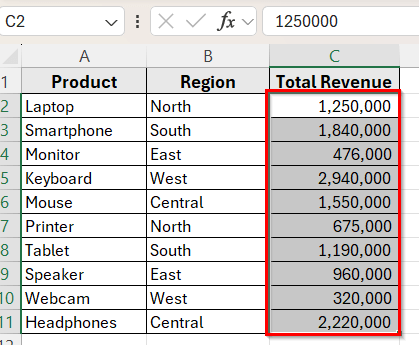
In the following dataset, we have a simple sales report that includes product names, regions, and total revenue values. Column A lists the Product Names, Column B shows the Sales Region, and Column C contains the Total Revenue for each item. All the numbers in the Total Revenue column are currently displayed without commas.

We’ll use this dataset to demonstrate different ways to insert commas in Excel.
One of the easiest ways to add commas in Excel is by applying a number format. This method changes how the number looks in the cell but keeps the original value the same. It is ideal when your data is stored as numeric values and you only want to improve readability.
Here’s how to apply this formatting step by step:
➤ Open your dataset in Excel.
➤ Select the range C2:C11, which contains the Total Revenue values.
➤ Go to the top Menu and click the Home tab.
➤ You’ll get the Format option in the Cells dialog box.
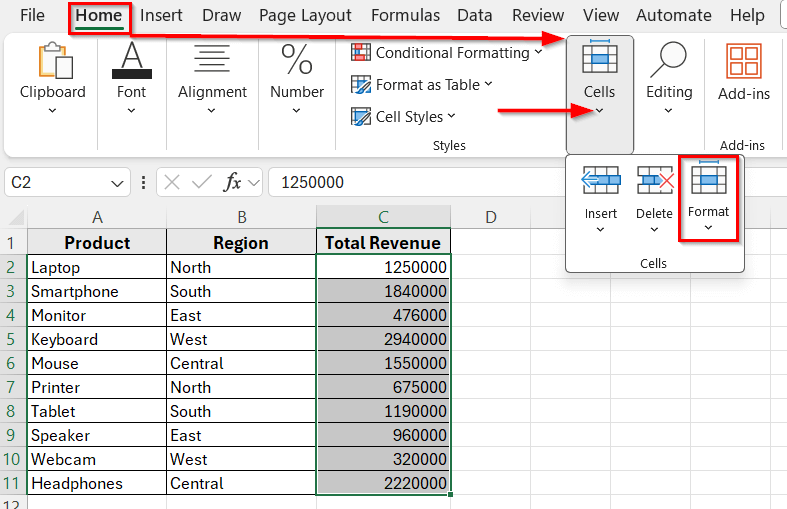
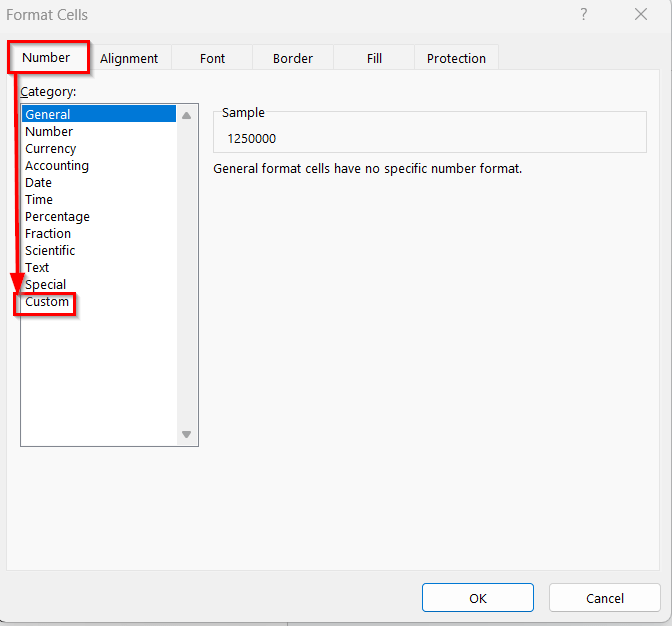
➤ Click the drop down and select Format Cells.
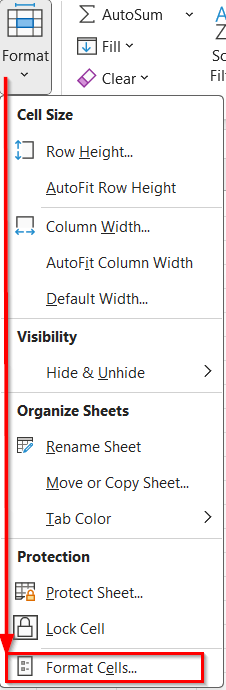
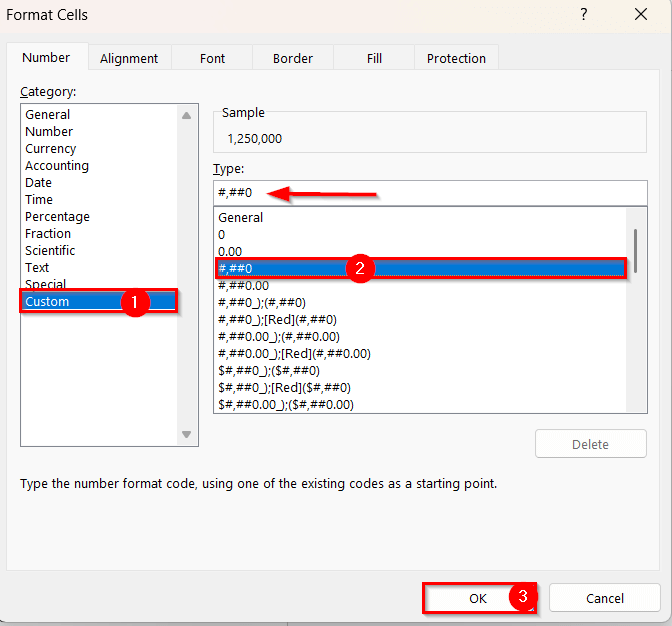
➤ A dialog box will open, click Custom from the Number page.
➤ In the Type box, enter any symbols with commas that fit your dataset. For example, let’s select #,###0 to put commas in the numbers in Column C.
➤ Now, click OK.
➤ You’ll see all the values in Column C will be displayed with commas. For example, 1250000 will now appear as 1,250,000.

Use the TEXT Function to Convert Numbers with Commas
If you want to create a new column that shows numbers with commas as part of a text string, the TEXT function is a great option. Let’s add Column D, titled Result With Comma, is where we’ll apply this method and show the updated values with proper comma formatting.
This method is useful when you want to display numbers in a specific format, or when the output needs to be used as text.
Let’s use the TEXT function to convert the Total Revenue values and add commas in a new column.
Here’s how to do it:
➤ Click on cell D2, where you want the formatted number to appear.
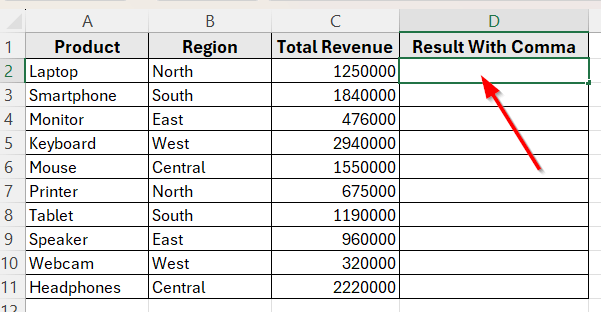
➤ Type the following formula
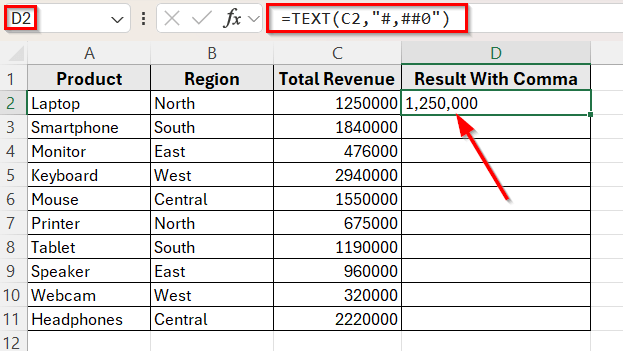
=TEXT(C2,”#,##0″)
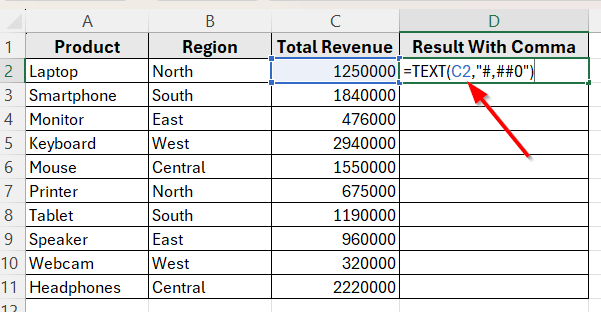
➤ Press Enter.
➤ The number 1250000 will now appear as 1,250,000 in text format.
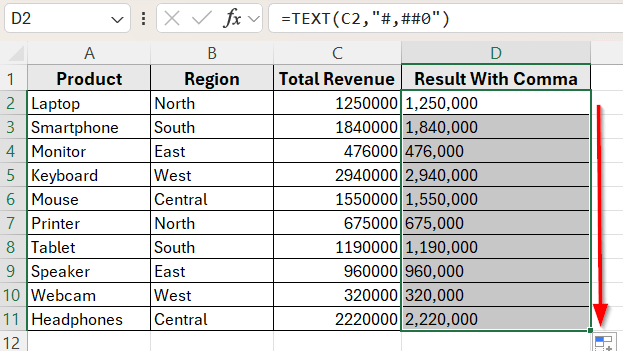
➤ Drag the fill handle down from D2 to D11 to apply the formula to the rest of the rows.
Note:
This method turns the number into a text value that includes commas. You won’t be able to use the result in numeric calculations unless you convert it back to a number.
Add Commas Based on Conditions Using the IF Function
In some cases, you might want to add commas only when a certain condition is met. For example, you may want to format large numbers with commas but leave smaller values unchanged. The IF function helps you apply formatting selectively.
In this method, we only want to add commas if the revenue is greater than 999. We’ll combine the IF and TEXT functions to make that happen.
Here’s how to apply this method:
➤ Click on cell D2, where you want the result to appear.
➤ Enter the following formula
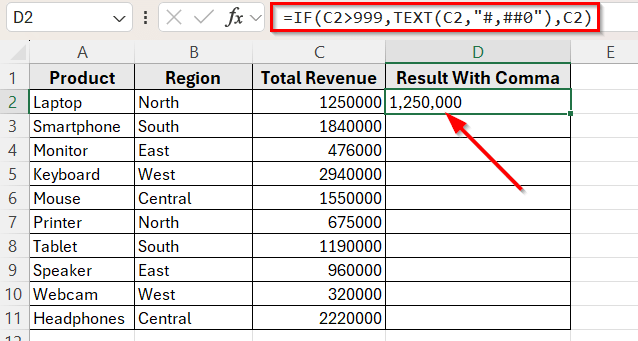
=IF(C2>999,TEXT(C2,”#,##0″),C2)
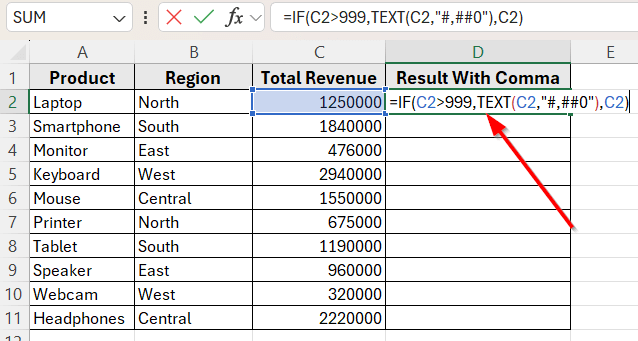
➤ Press Enter.
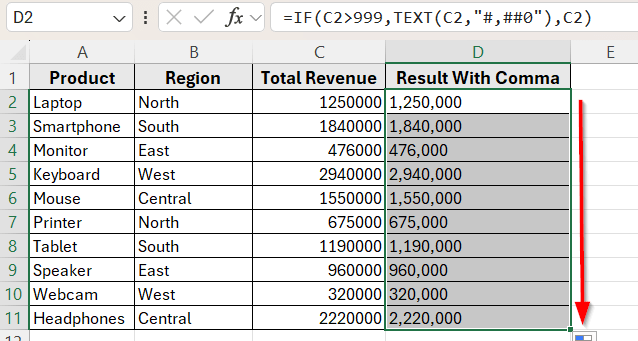
➤ This will return 1,250,000 for large values, but smaller numbers will remain unchanged.
➤ Drag the formula down from D2 to D11 to apply it for the rest of the rows.
Note:
You can customize the logic in the IF function to match any rule you need.
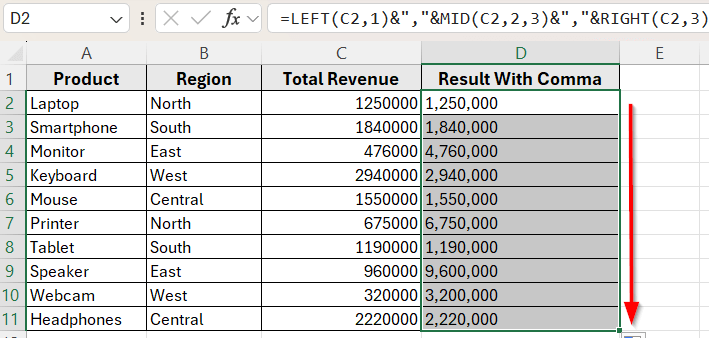
Combine LEFT, MID, and RIGHT to Insert Commas in Fixed-Length Numbers
When your numbers are stored as text and follow a consistent length, you can manually insert commas using a combination of LEFT, MID, and RIGHT functions. This gives you full control over how the number is split and where the commas are placed.
In this method, each number in Column C has exactly 7 digits. We’ll break these into three parts: the first digit, the next three digits, and the last three digits.
Here’s how to apply this method:
➤ Click on cell D2, where you want to display the formatted result.
➤ Enter this formula
=LEFT(C2,1)&”,”&MID(C2,2,3)&”,”&RIGHT(C2,3)
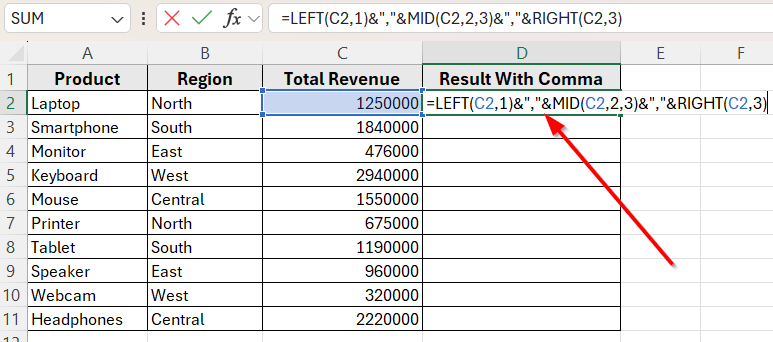
➤ Press Enter.
➤ This will convert 1250000 into 1,250,000.
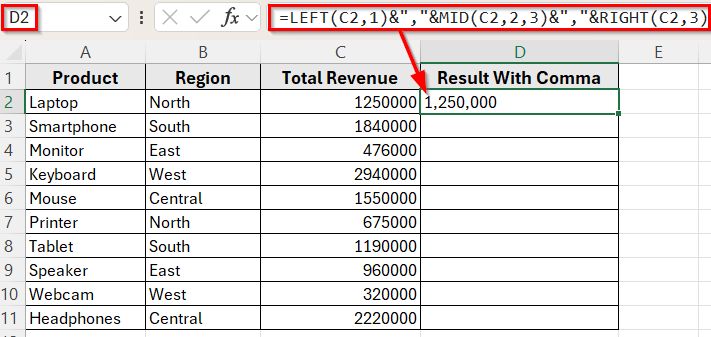
➤ Drag the formula down to D11 to apply it to the rest of the column.
Format Numbers Instantly Using the Comma Style Button
If you want to quickly format numbers with commas and no extra formulas, the Comma Style button is the fastest way. This built-in Excel feature adds commas and two decimal places by default. This tool makes large values easier to read in just one click.
Here’s how to use it:
➤ Select the cell range from C2 to C11, which contains the total revenue values.
➤ Go to the Home tab on the Excel menu.
➤ In the Number group, click the Comma Style (,) button.
➤ Excel will automatically format the numbers with commas and add two decimal places. For example, 1250000 will appear as 1,250,000.00.
➤ If you want to remove the decimal points, you can use the Decrease Decimal button right next to it.
➤ Now, you’ll see the final result after decreasing two decimal points.
Frequently Asked Questions
How do I add commas to numbers in Excel?
You can use Excel’s built-in number formatting. Select your cells, press Ctrl + 1 , choose the Number category, and check the box for “Use 1000 Separator (,)“. This will display commas with decimal points.
What is the difference between formatting with commas and using the TEXT function?
Formatting with commas only changes how the number looks, while the TEXT function converts the number into a text string. If you plan to use the result in further calculations, stick with formatting. Use TEXT only when you need the value as text.
Can I use formulas to insert commas into numbers that are stored as text?
Yes. You can use a combination of functions like LEFT, MID, and RIGHT to break the number into parts and insert commas manually. This formula will work when the text values follow a consistent length, such as 7-digit numbers.
Wrapping Up
There are many ways to add commas to numbers in Excel, depending on how your data is stored and how you want it to appear. You can use simple formatting tools like the Comma Style button or the Format Cells option for quick results.
If your numbers are stored as text, you can use the functions like TEXT, MID, LEFT, and RIGHT. Combining these functions gives you full control over how commas are inserted.
You can also use the IF function to apply commas conditionally. Each method serves a different purpose, so it’s important to choose the one that works best for your dataset. Try out these methods and see which one fits your Excel task the best.