Text boxes are great for annotations and dashboard callouts but when they’re no longer needed, removing them keeps your worksheet tidy and easier to read. Excel offers several ways to delete text boxes depending on whether you’re removing a single box, a handful, every shape on a sheet, or automating the cleanup with VBA.
In this article, we’ll walk through multiple different methods to delete Text Boxes in Excel using built-in features and VBA code. Let’s get started.
Steps to delete text box in Excel:
➤ Click the text box’s border so the selection handles appear (if you click inside the text you may enter edit mode, click the edge instead).
➤ Press Delete (or Backspace) to remove the selected text box.
➤ To delete multiple visible boxes manually, hold Ctrl (or Shift) and click each text box’s border to multi-select, then press Delete .
➤ Alternatively, right-click the selected text box and choose Cut from the context menu to remove it.

Use the Delete Key or Cut Option to Remove a Text Box Manually
When you’re cleaning up a worksheet and only need to remove one or a few text boxes, this straightforward method is the quickest solution. It doesn’t require any advanced tools or settings, just a simple click and a keystroke. Because it works instantly, it’s perfect for quick edits or small adjustments in dashboards or reports. However, if your sheet contains a large number of text boxes, using this approach repeatedly can become time-consuming compared to bulk removal options.
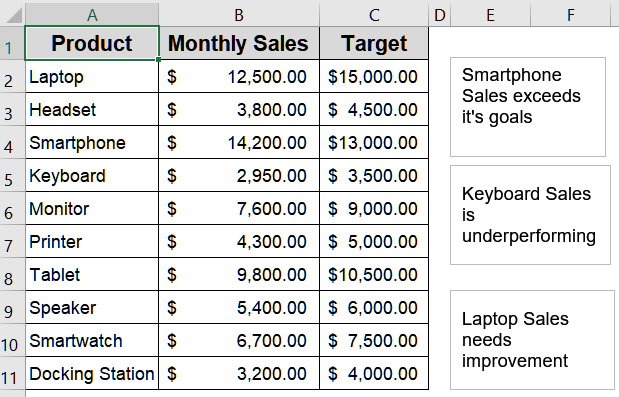
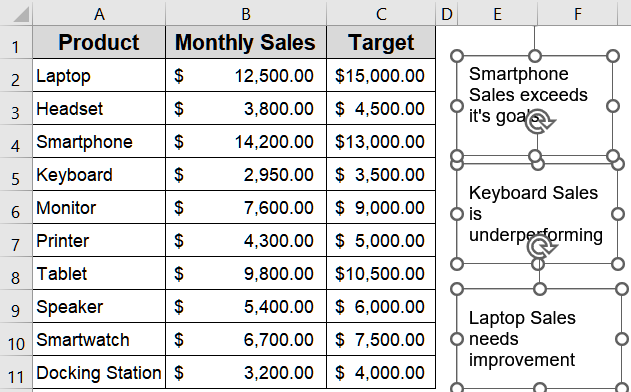
This is the dataset we will be using:
Steps:
➤ Click the text box’s border so the selection handles appear (if you click inside the text you may enter edit mode, click the edge instead).
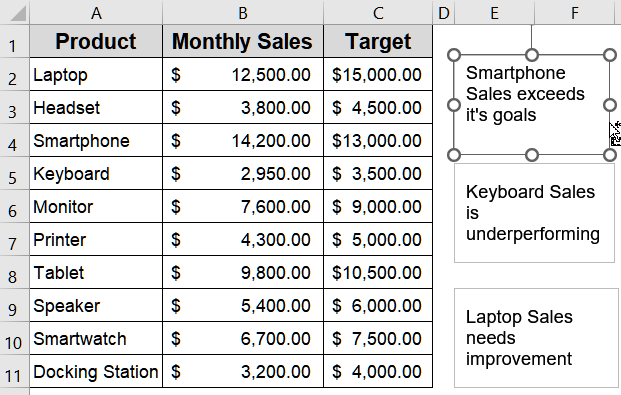
➤ Press Delete (or Backspace) to remove the selected text box.
➤ To delete multiple visible boxes manually, hold Ctrl (or Shift) and click each text box’s border to multi-select, then press Delete .

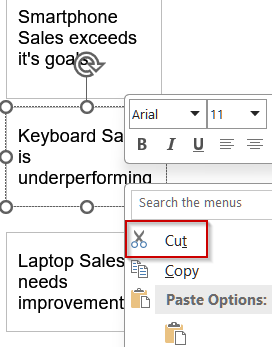
➤ Alternatively, right-click the selected text box and choose Cut from the context menu to remove it.
Now our worksheet is clear of all the textboxes.

Make Use of Go To Special Feature to Delete Text Boxes at Once
When you need to quickly clear an entire worksheet filled with text boxes, shapes, or other objects, Excel’s Go To Special feature is your most efficient tool. This method is especially useful for cleaning up dashboards or large reports where manual selection would be tedious. By selecting all objects in a single step, you can remove clutter in seconds. However, since it selects every object on the active sheet including charts, images, and form controls, you’ll want to proceed carefully or use the Selection Pane if you need finer control.
Steps:
➤ Press F5 (or Ctrl + G) to open the Go To dialog.
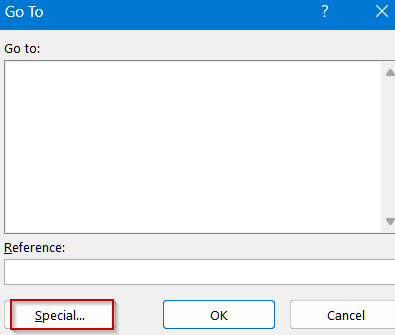
➤ Click Special…, select Objects, and click OK. Excel will select every object on the active sheet.
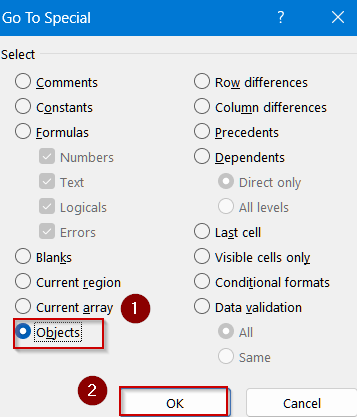
➤ Press Delete key to remove them all. This removes charts, pictures, shapes and form controls too.
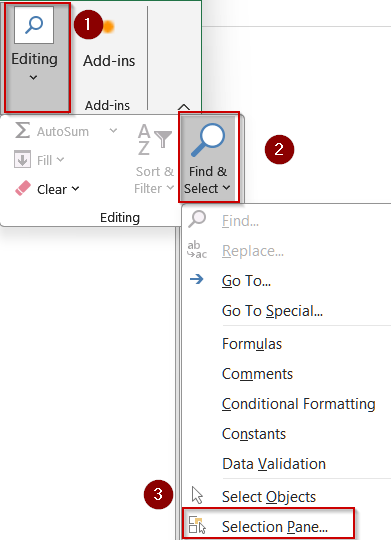
➤ Alternatively, use the Selection Pane (below) to selectively delete items from the Home tab, click on Find & Select under Editing group >> Click on Selection Pane.
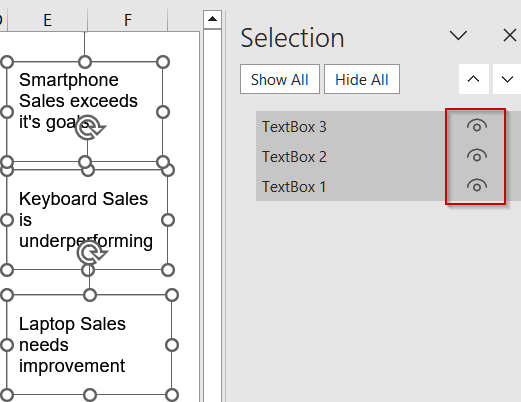
➤ Use the pane to locate text boxes by name (toggle the eye to hide/unhide, click a name to select it), then press Delete .
Note:
Renaming objects in the Selection Pane before deleting helps avoid mistakes.

Now we have all the textboxes removed.
Run VBA Code to Eliminate Text Boxes Automatically
When you’re faced with dozens or even hundreds of text boxes scattered across multiple worksheets, manually deleting them is inefficient. This is where VBA (Visual Basic for Applications) comes in. With just a short macro, you can target only text boxes (ignoring charts, images, or other shapes), sweep through a single sheet or the entire workbook, and clear everything in seconds. Because macros can’t be undone with Ctrl + Z , always save a backup and only enable macros from trusted files. Let’s see how to get the job done.
Steps:
➤ Press Alt + F11 to open the VBA editor.
➤ Go to the Insert tab >> Click on Module.
➤ Paste the macro code into the module window to delete all text boxes on the active sheet:
Sub DeleteAllTextBoxes()
    Dim sh As Shape
    For Each sh In ActiveSheet.Shapes
        If sh.Type = msoTextBox Then sh.Delete
    Next sh
End Sub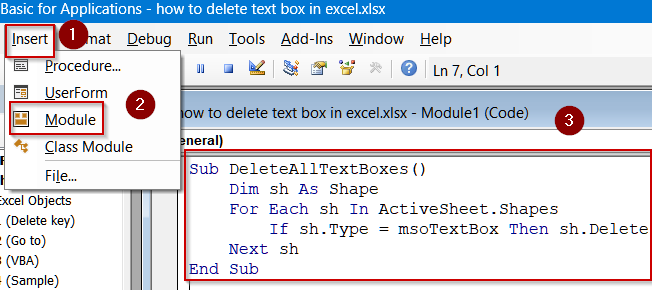
➤ Alternatively, use this macro to delete all text boxes in the entire workbook:
Sub DeleteAllTextBoxesInWorkbook()
    Dim ws As Worksheet
    Dim sh As Shape
    For Each ws In ActiveWorkbook.Worksheets
        For Each sh In ws.Shapes
            If sh.Type = msoTextBox Then sh.Delete
        Next sh
    Next ws
End Sub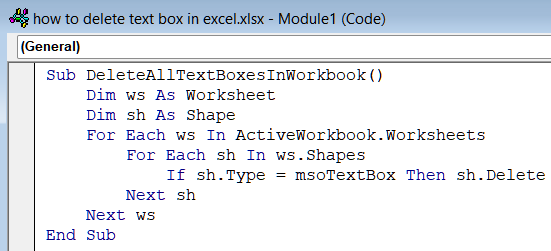
➤ Press F5 key to run the macro.

Now all the textboxes have been removed from the active sheet or the entire workbook depending on the macro you used.
Frequently Asked Questions
Can I undo a deleted text box in Excel?
Yes, you can undo a deleted text box by immediately pressing Ctrl + Z after deletion. However, if you used VBA to remove text boxes, you’ll need to restore from a backup copy instead.
Does deleting a text box affect my worksheet data or formulas?
No, deleting a text box does not affect your underlying data, formulas, or formatting. Text boxes are independent objects layered over the grid, so your spreadsheet content remains completely safe when you remove them.
How do I delete multiple text boxes quickly without selecting each one?
Use F5 key >> Go To Special >> Objects to select all objects on a sheet and press Delete . Alternatively, use Ctrl/Shift-click to multi-select only specific boxes you need to remove in Excel.
What’s the safest way to delete text boxes but keep charts and pictures?
The safest method is using the Selection Pane or a VBA macro targeting only Text Boxes. This approach prevents accidental deletion of other objects like charts, shapes, or images on your worksheet.
Wrapping Up
In this tutorial, you learned how to delete text boxes in Excel using multiple methods suited for different scenarios. From quickly selecting a single text box and pressing Delete to removing all objects with Go To Special or automating the process using VBA, these techniques keep your spreadsheets organized and professional. Feel free to download the practice file and share your feedback.