An unexpected crash means losing unsaved work in Excel. Suppose you’re working with a product inventory tracker where you have to update the file regularly. You’ve just added new data when your PC crashes or shuts down suddenly. Don’t worry! Microsoft Excel offers several methods to recover your file after a system or application crash. Here, I have discussed six easy ways to help you restore files that were either auto-recovered, saved on OneDrive, or even overwritten.
After a crash when you open your PC, do the following things to recover the unsaved Excel files:
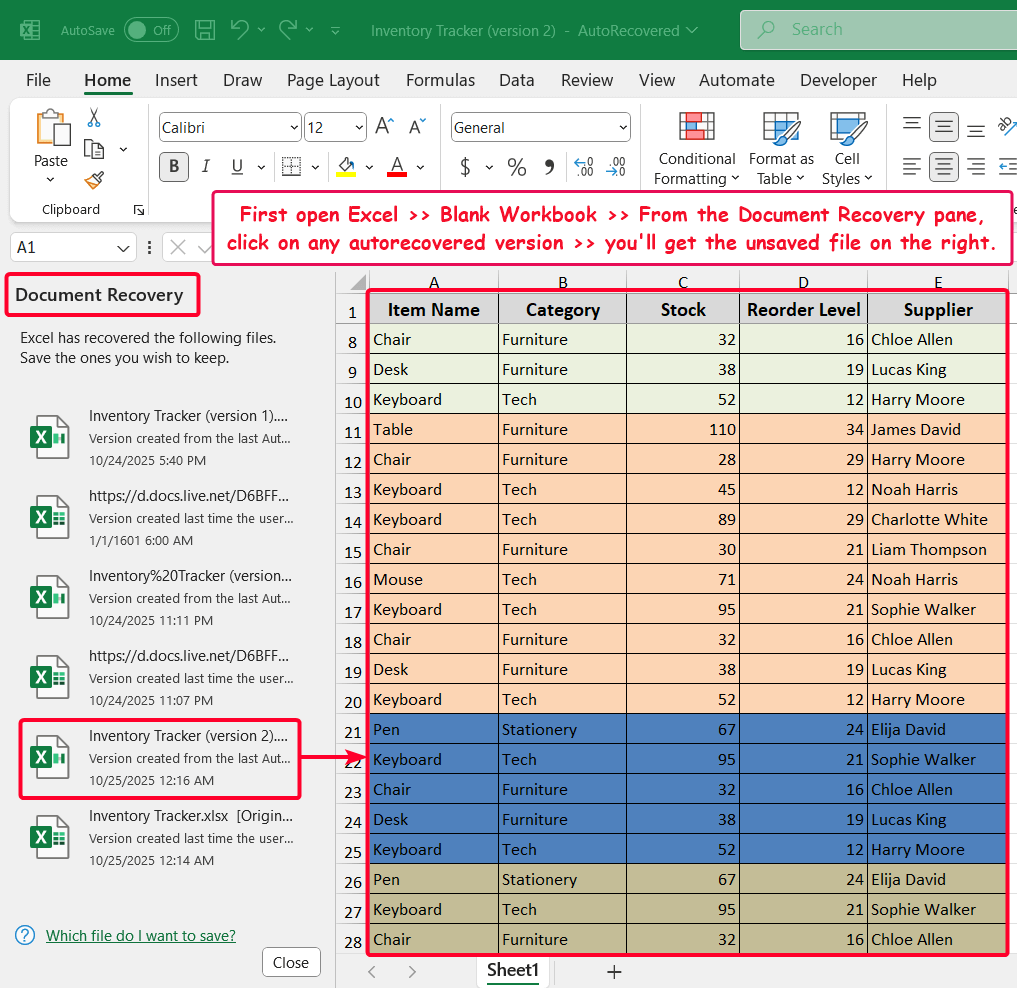
➤ First open the Excel app >> open a Blank workbook.
➤ By default, you’ll see the Document Recovery pane on the left.
➤ Click on any version that Excel has auto-recovered, and you’ll get the unsaved version on the right soon.
➤ Now pick a suitable location and save your version.
This article focuses on six easy methods to recover an Excel file after a crash, with real-life examples.
Use the Document Recovery Pane
The Document Recovery pane is the simplest way, popping up after a crash, to show recovered versions after a crash.
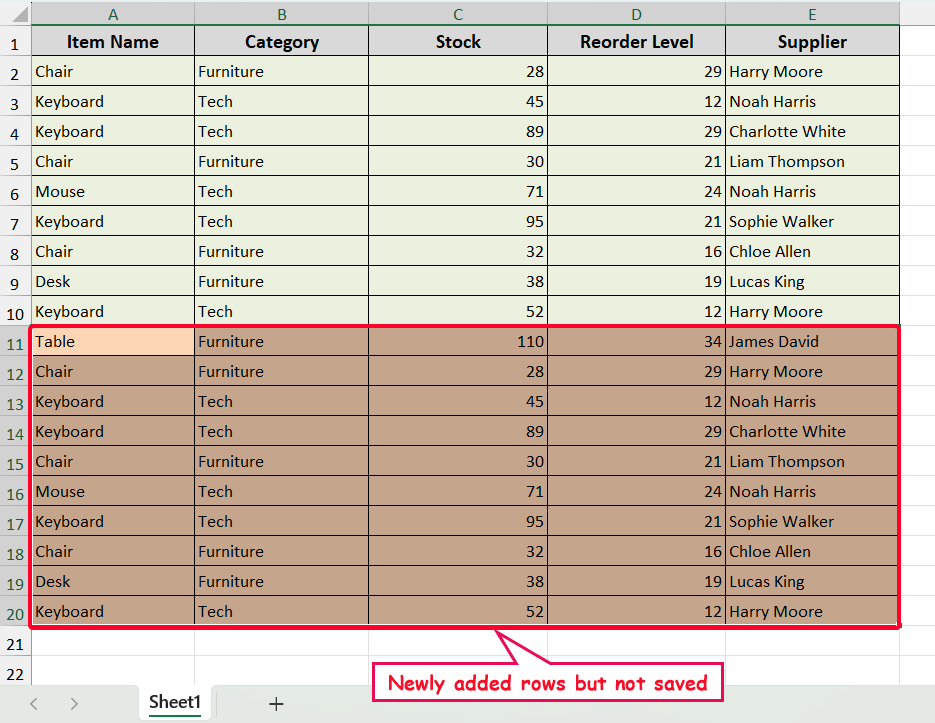
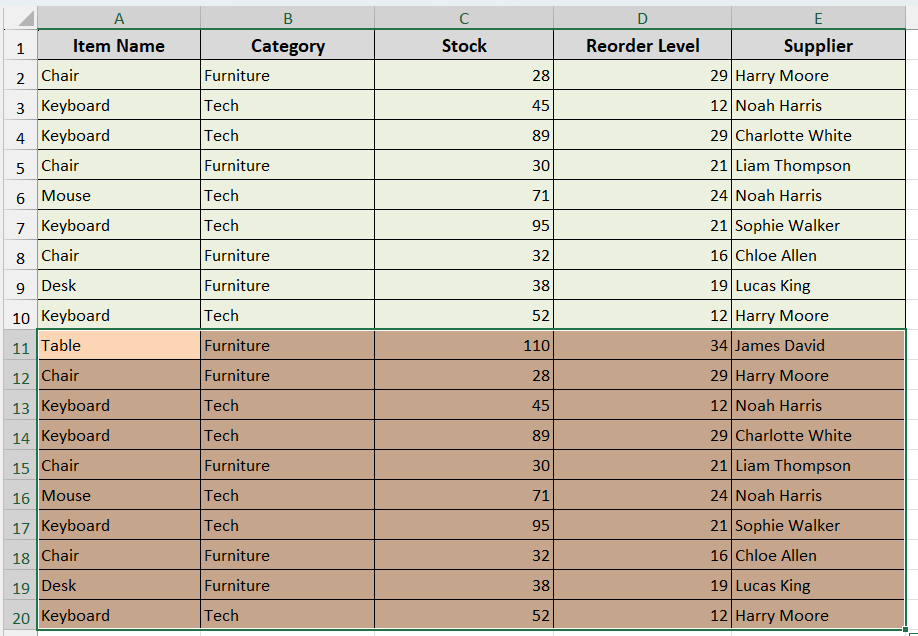
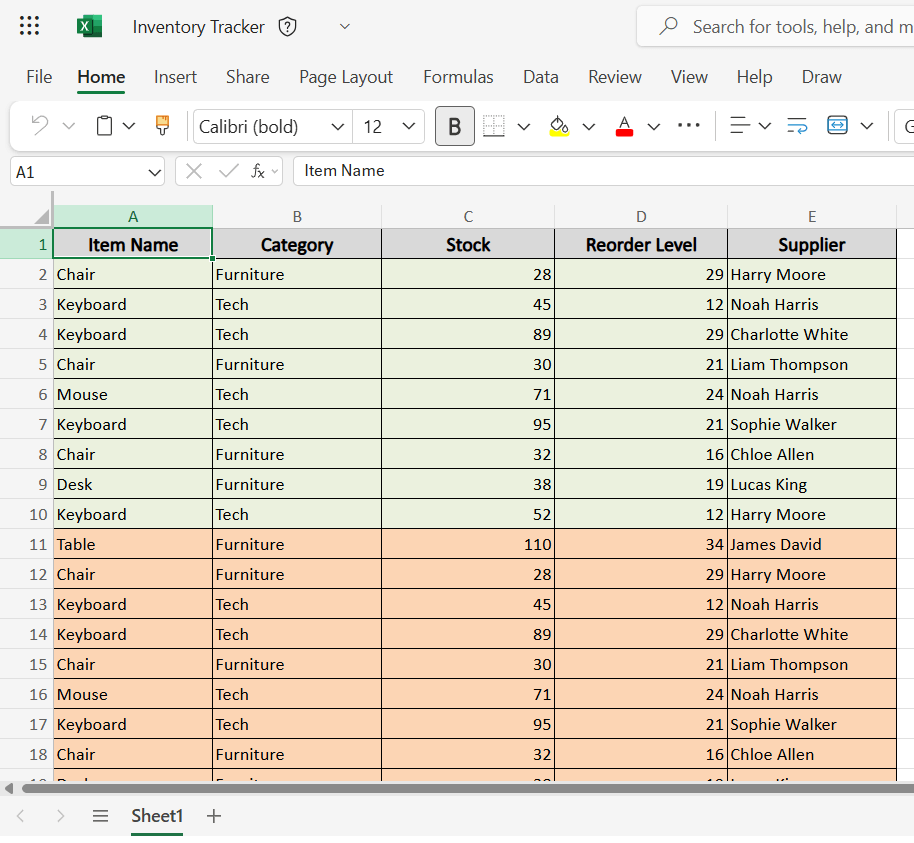
Let’s have a look at the dataset. Here, we had some product inventory data (A2:E10 cells). Later, I added some rows (A11:E20), but the PC crashed, and I forgot to save the file.
To recover the file, do the following steps.
Steps:
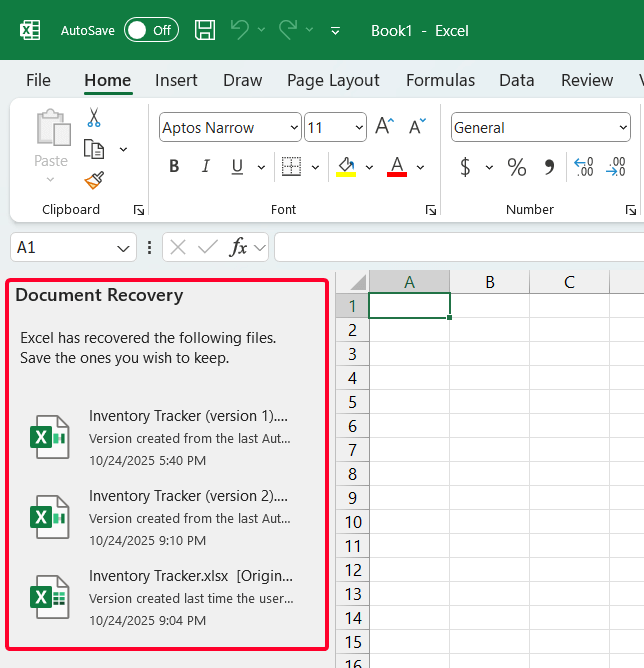
➤ Open the Excel app and create a Blank workbook.
➤ The Document Recovery pane will appear on the left of the window.
➤ Click on the drop-down menu of any version or original file.
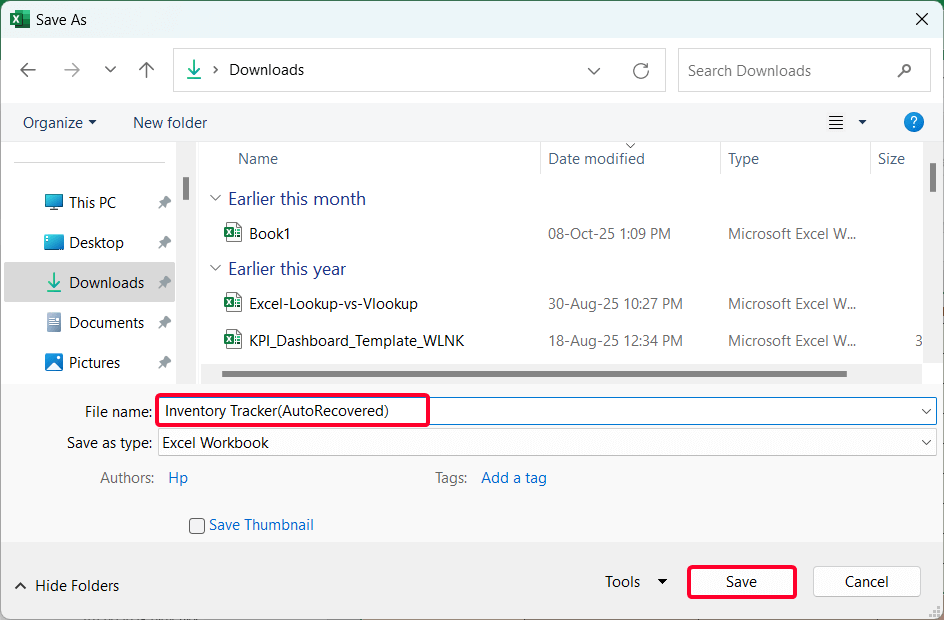
➤ Choose the Save As… option from the context menu.
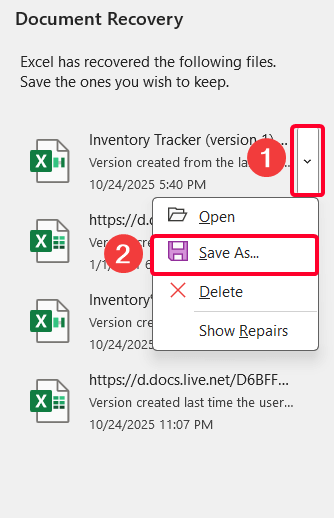
➤ Now, pick a suitable location and save the file.
➤ See the recovered file. That’s it!
Note:
AutoRecover saves temporary versions of your workbook at intervals (default is every 10 minutes).
Recover Unsaved Workbooks
If you didn’t save the Excel file and your PC crashes, this method offers a perfect solution.
Steps:
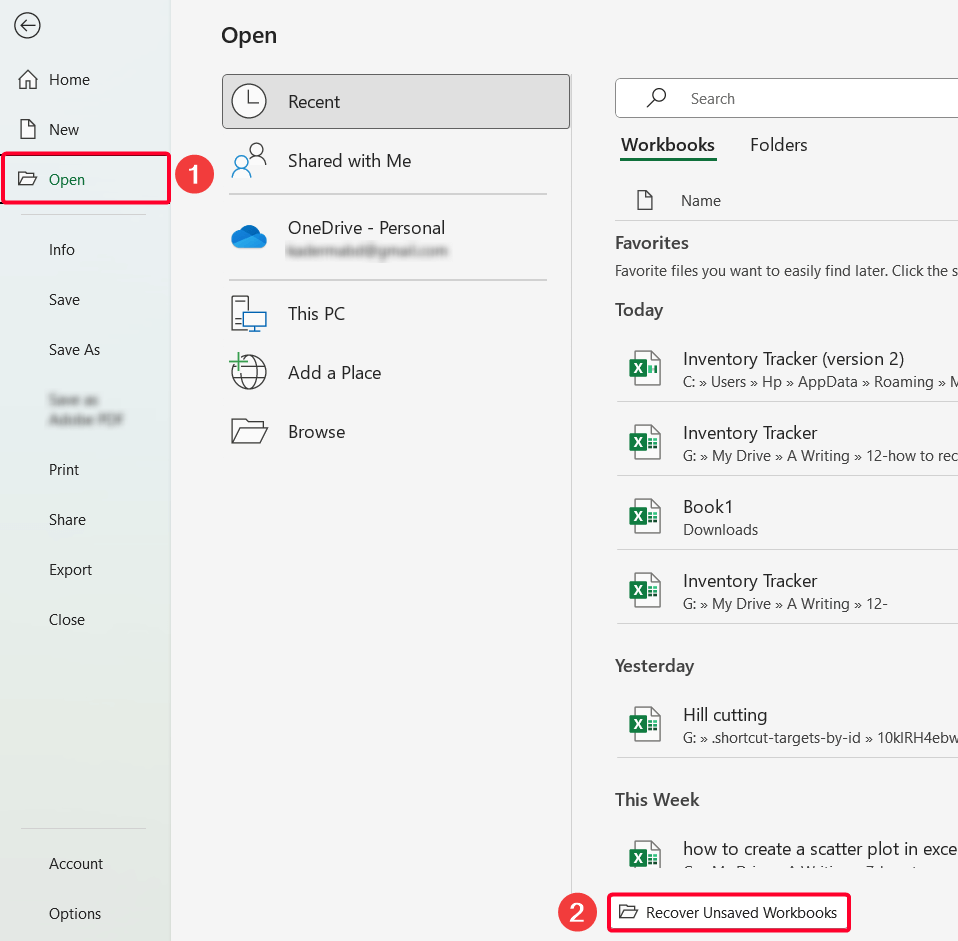
➤ Go to File >> Open.
➤ From Workbooks, choose the Recover Unsaved Workbooks option.
Access the AutoRecover File Location Directly in File Explorer
Also, you can access the file after reaching the location where the AutoRecovered files are stored by default.
Steps:
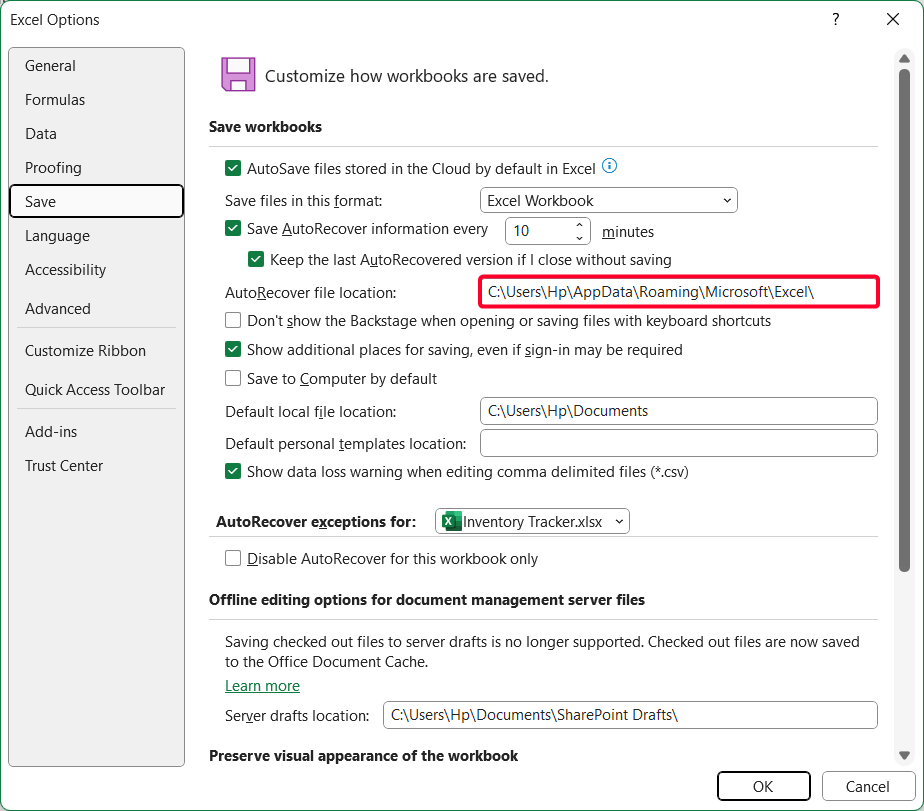
➤ Go to File >> Options.
➤ From the Excel Options window, go to the Save option, and you’ll see the location of AutoRecovered version. The default directory is:
C:\Users\[YourUsername]\AppData\Roaming\Microsoft\Excel\
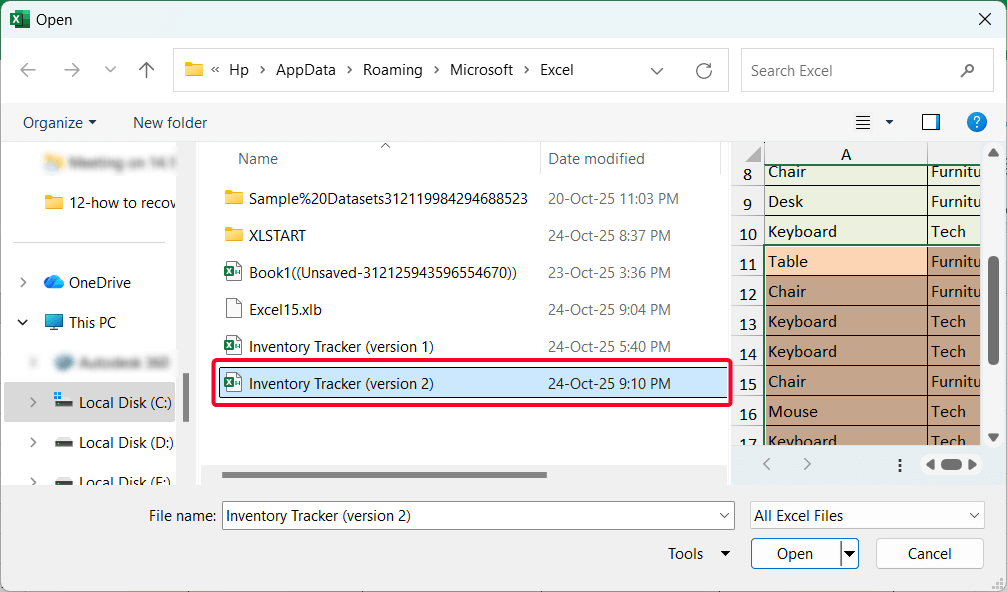
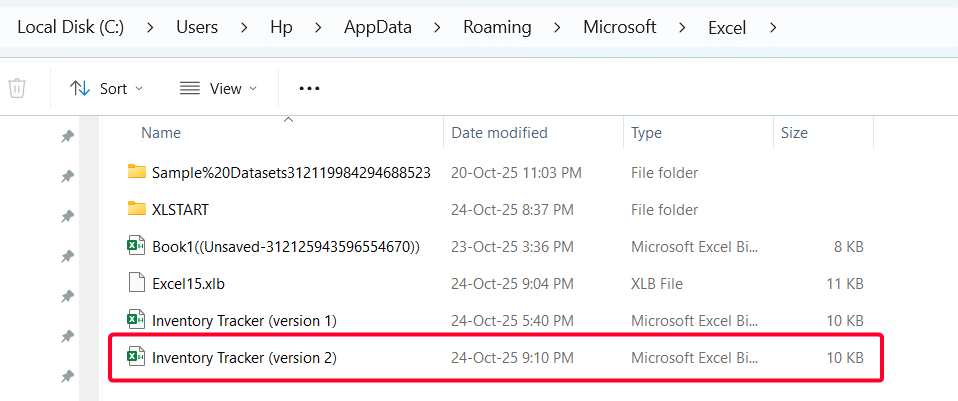
➤ Then, go to File Explorer and go to the directory. And you’ll see the AutoRecovered version.
Recover Saved File from OneDrive
If you have a Microsoft 365 subscription and have turned on the AutoSave, OneDrive will provide you with tremendous support.
Steps:
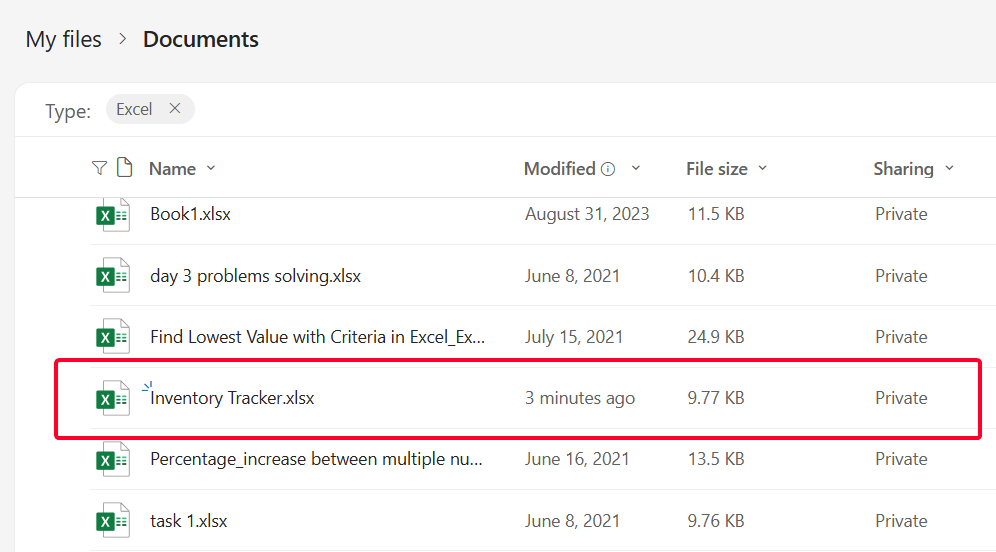
➤ Open your browser >> go to OneDrive >> log in with your account.
➤ Go to My files >> Documents.
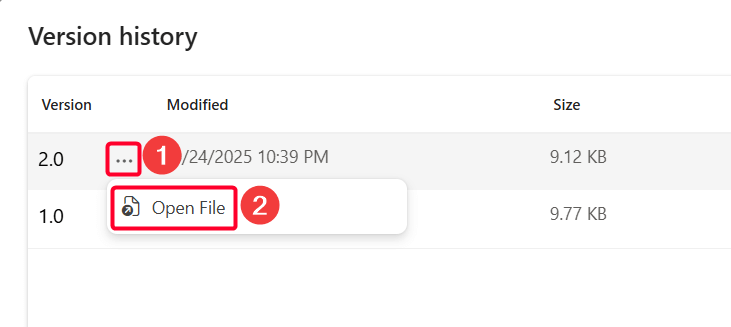
➤ Go to your saved file >> click on the three dots (…) next to the desired version >> pick Version history option from the context menu.
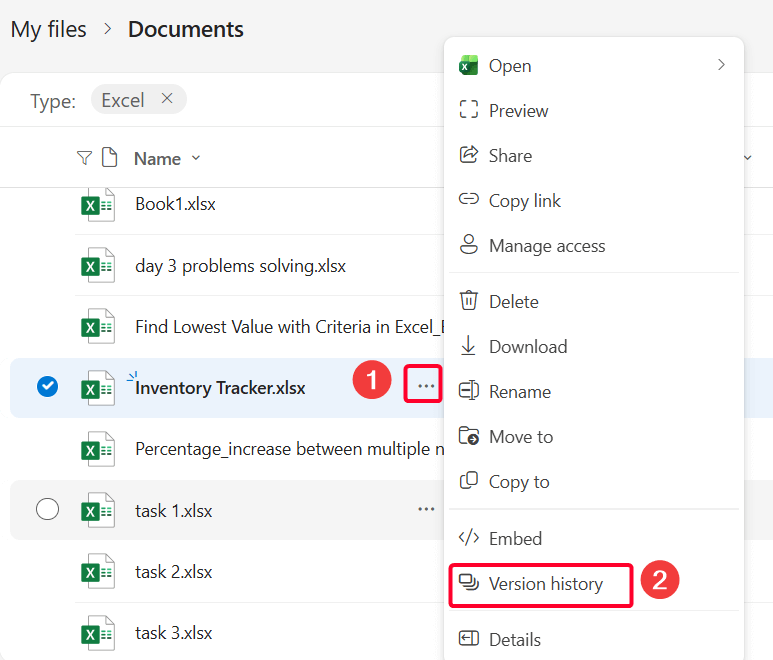
➤ Again, click on three dots (…) >> Open File.
Soon, you’ll get version 2 that is AutoSaved on your OneDrive account.
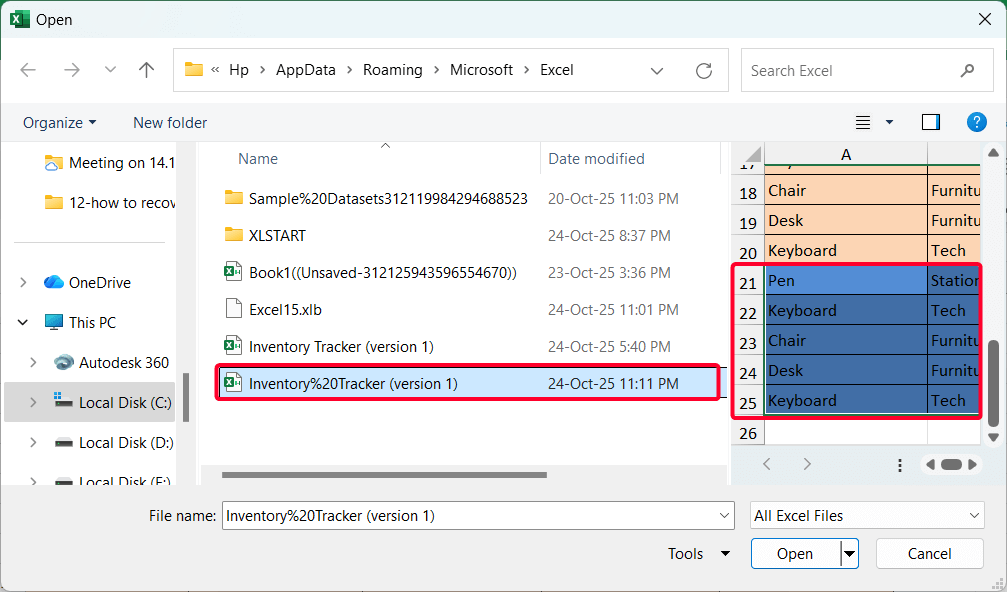
Recover Overwritten Excel File After Crash
The AutoRecover option saves your Excel file on an interval basis. But what if you miss the interval and your PC has crashed?
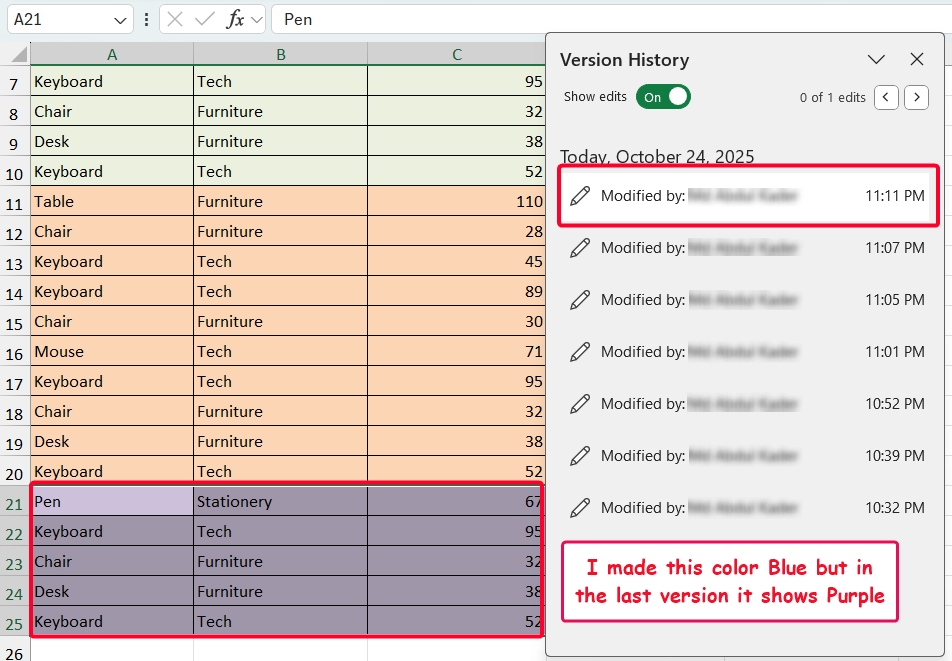
For example, I made the cell color of product inventory data (A21:E25 cells) blue, but AutoRecover option wasn’t able to recover the version.
Note:
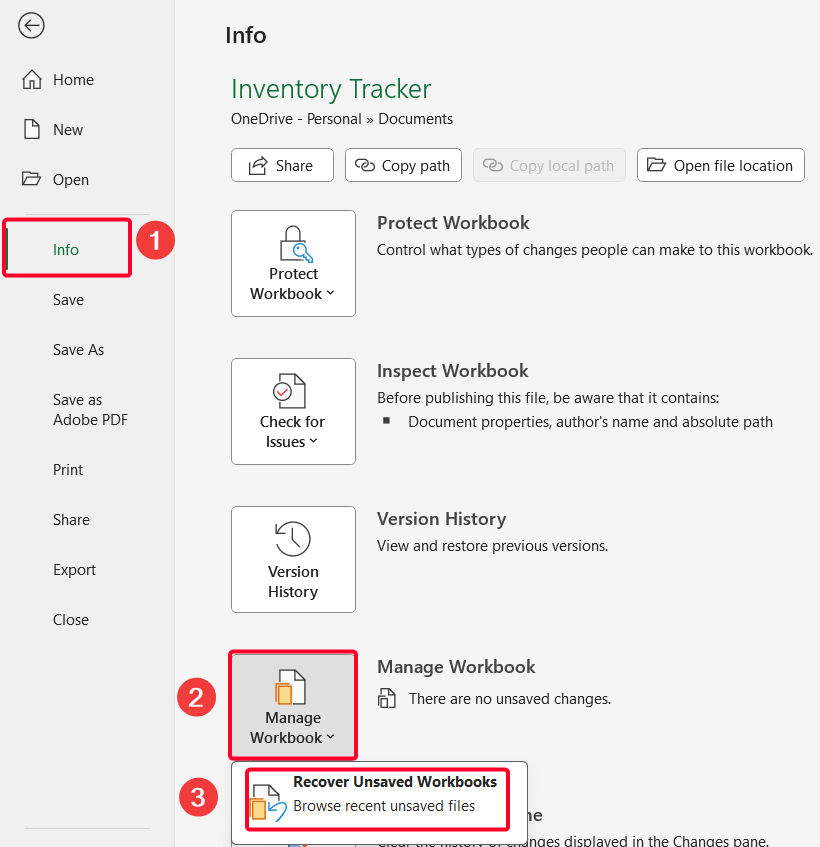
To turn the Version History on the Excel app, go to File >> Info >> Version History.
Steps:
➤ Go to File >> Info >> Manage Workbooks >> Recover Unsaved Workbooks.
Now I get the file where the blue color shows in the preview pane.
Find Temp Files from File Explorer
Last but not the least, you can access the Temp file from File Explorer if any of the previous methods doesn’t work.
Steps:
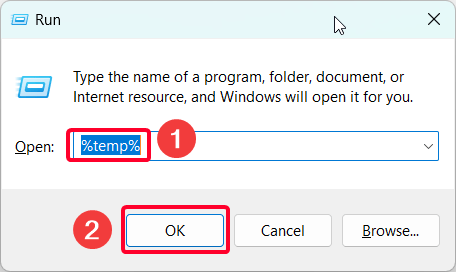
➤ Open the Run dialog box (Win + R).
➤ Type %temp% >> click OK. This opens the local temporary files folder.
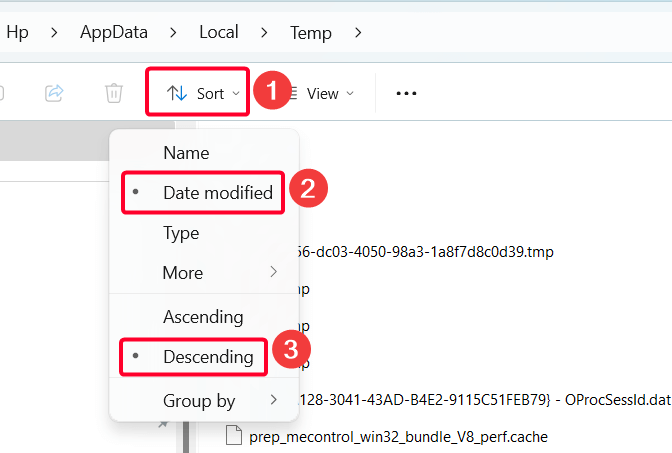
➤ Sort the files by Date modified in descending order to find the most recently created temporary files.
➤ Find the expected files to recover. If found, change the file extension to .xlsx and try to open it in the Excel app.
But there is a great possibility that the previous steps might not work! In that case, just go to File Explorer and go to the following directory.
C:\Users\[YourUsername]\AppData\Local\Microsoft\Office\UnsavedFiles
Frequently Asked Questions
How to Activate AutoSave and AutoRecover Options in Excel?
To turn on AutoSave in Excel (Microsoft 365 subscription required):
➤ Turn On the AutoSave switch top-left corner of the Excel ribbon and sign in with your OneDrive account.
To enable AutoRecover settings in Excel:
➤ Go to File >> Options >> Save.
➤ Check both Save AutoRecover information every X minutes and Keep the last AutoRecovered version if I close without saving options.
What is the difference between AutoSave and AutoRecover?
AutoRecover saves temporary versions of your workbook at intervals (default is every 10 minutes) to a local folder on your PC. However, AutoSave automatically saves your file in real-time if you store it on OneDrive or SharePoint (requires a Microsoft 365 subscription).
Is It Possible to Restore Previous Versions on Windows?
Yes, restoring previous versions on Windows is possible, but this feature only works if the file history or system restore points were enabled beforehand. Do the following steps.
➤ Go to your folder where the Excel file exists >> right-click and choose the Restore previous versions option.
➤ In the Properties window, you’ll get the previous version.
Wrapping Up
This is how you can recover Excel after a crash. However, try to backup your Excel files regularly. Also, enabling the AutoSave & AutoRecover features properly will save you from future crashes. Feel free to download the practice workbook and share your thoughts in the comments!