Slicers are used to filter data in Excel Tables, Pivot Tables, and Pivot Charts. While they inherit colors from the workbook’s theme by default, you can customize a Slicer’s color to make it look more attractive. In this article, we will guide you through two primary methods: applying one of Excel’s built-in Slicer Styles and creating a Custom Slicer Style for full color and formatting control.
To change Slicer color in Excel, here is one simple solution by using the Slicer Style feature.
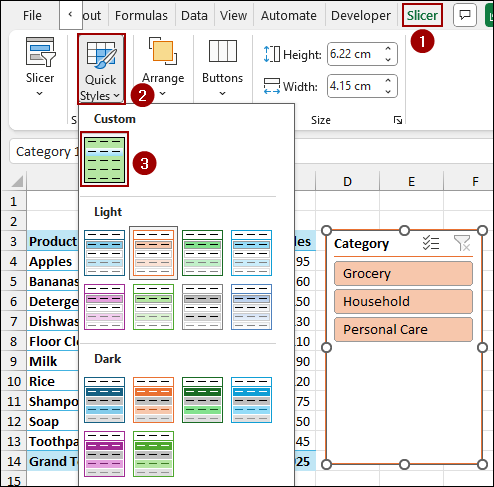
➤ Inserting Slicer, go to Slicer > Quick Styles.
➤ Select the desired style, and you will get the Slicer color changed in Excel.

Using Slicer Style Feature to Change Slicer Color
The fastest way to change a Slicer’s color is by applying one of the many pre-defined styles available in the Slicer tab.
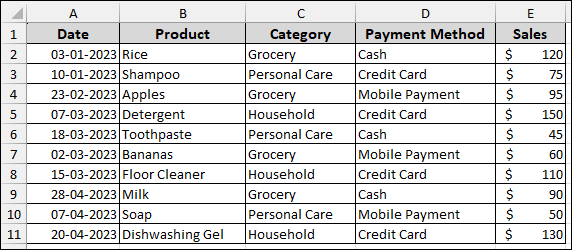
Imagine a sample dataset containing Date, Product, Category, Payment Method, and Sales. To explain the customization methods, we will first set up a basic Pivot Table and insert a Slicer.
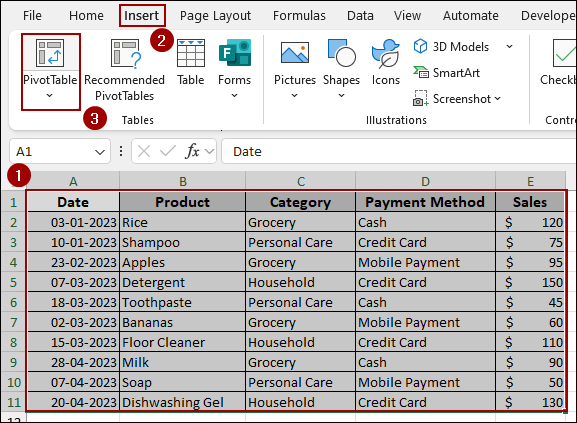
➤ Select your dataset.
➤ Go to the Insert tab and click PivotTable.
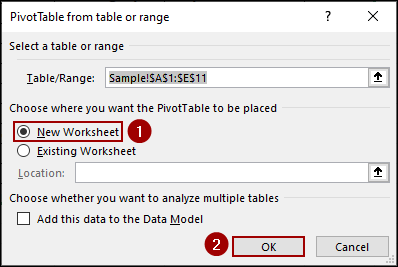
➤ In the dialog box, select New Worksheet and click OK.
➤ In the PivotTable Fields pane, drag both the Product and Category fields into the Rows area.
➤ Drag the Sales field into the Values area.
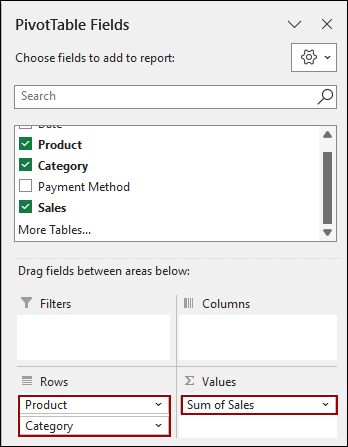
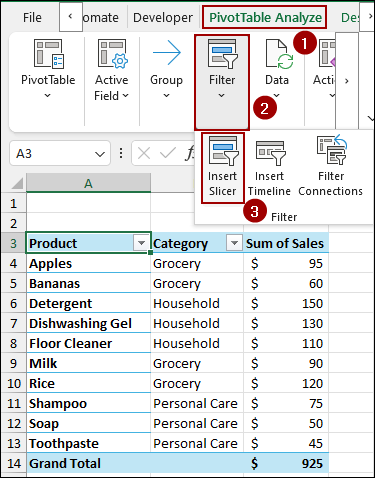
The resulting Pivot Table shows the sum of sales categorized by product and category. Now we will insert a Slicer to use the Category field as a filter.
➤ Select any cell within your Pivot Table.
➤ Go to the PivotTable Analyze tab.
➤ In the Filter group, click Insert Slicer.
➤ In the Insert Slicers dialog box, checkmark the box Category.
➤ Click OK.
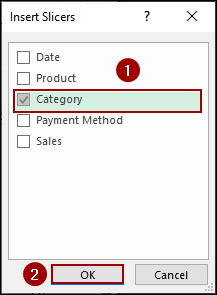
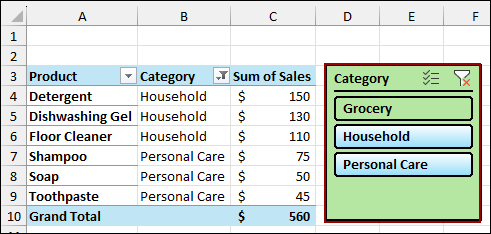
A Slicer pane titled “Category” will appear next to the Pivot Table.
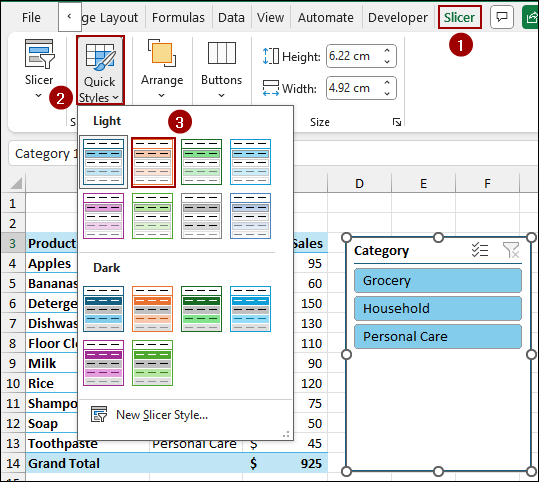
➤ Select the Slicer pane.
The Slicer tab will appear on the ribbon.
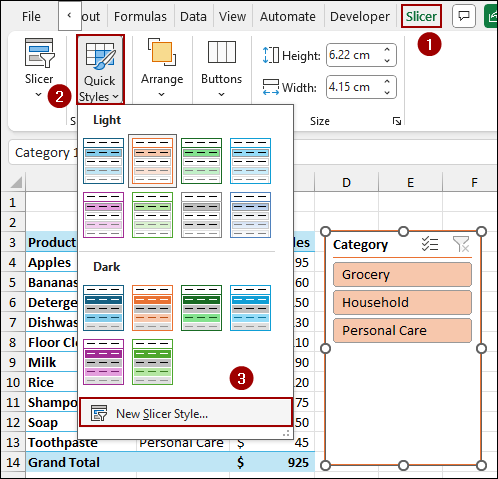
➤ In the Slicer Styles group, click Quick Styles to open the full gallery of available colors and formats.
Hover the mouse over the various styles in the Light and Dark sections to see a live preview of the Slicer color change.
➤ Click on the desired color swatch to apply the new style.
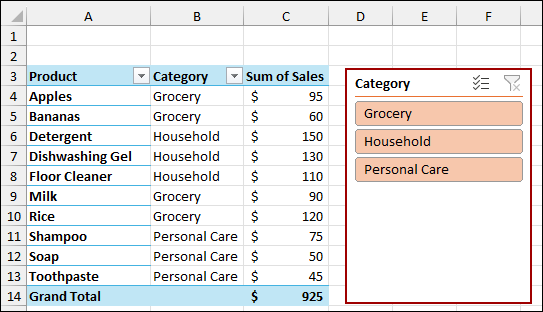
As a result, the Slicer will change to the new color scheme according to the selection.
Creating a Custom Slicer Style with Defined Colors
If the built-in styles don’t meet your design needs, you can create a completely custom style. In custom style, you can define the font, border, and fill color for every element of the Slicer.
➤ Go to the Slicer tab.
➤ Click Quick Styles to open the gallery.
➤ At the bottom of the gallery, select New Slicer Style.
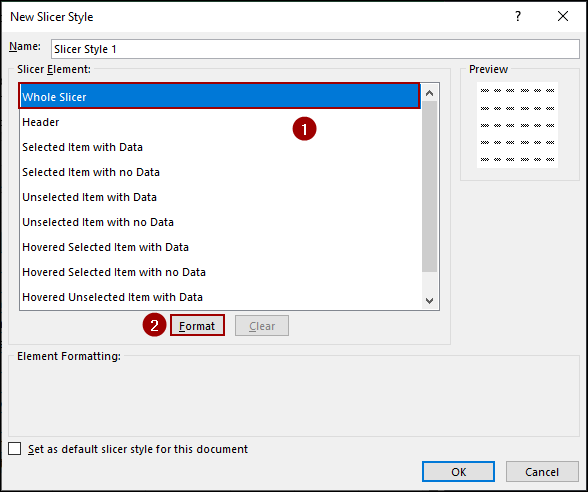
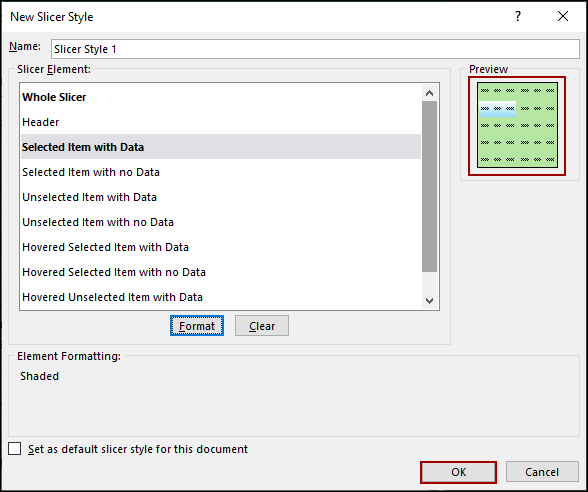
The New Slicer Style dialog box allows you to format each part of the Slicer individually.
➤ In the Slicer Element list, select Whole Slicer.
➤ Click the Format button.
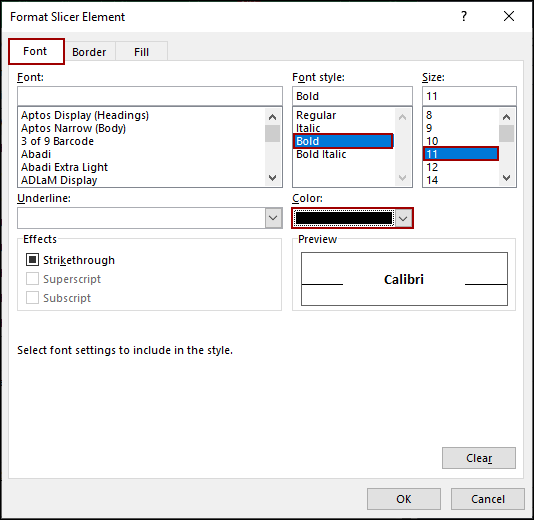
This opens the Format Slicer Element dialog box. We will apply three types of formatting.
➤ Select the Font tab.
➤ Choose the desired Font style and Size.
➤ Select a Color, such as black.
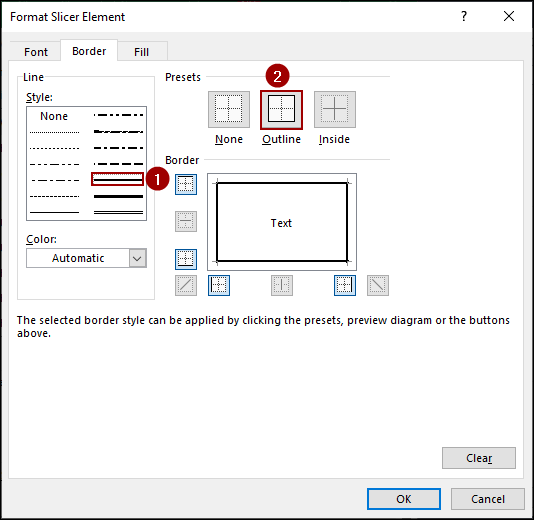
➤ Select the Border tab.
➤ Choose a border Style.
➤ Click on the Outline preset to apply the border to the entire Slicer box.
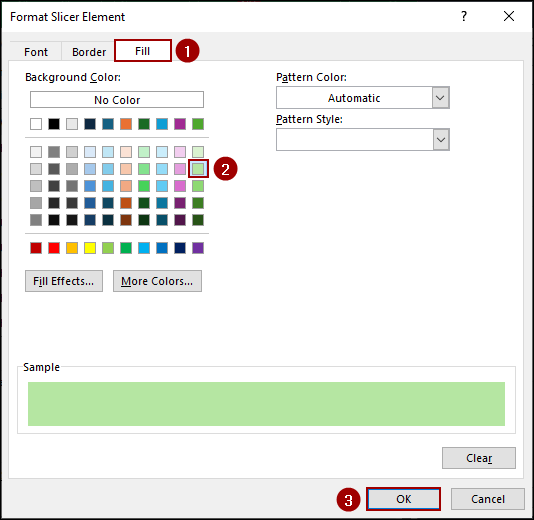
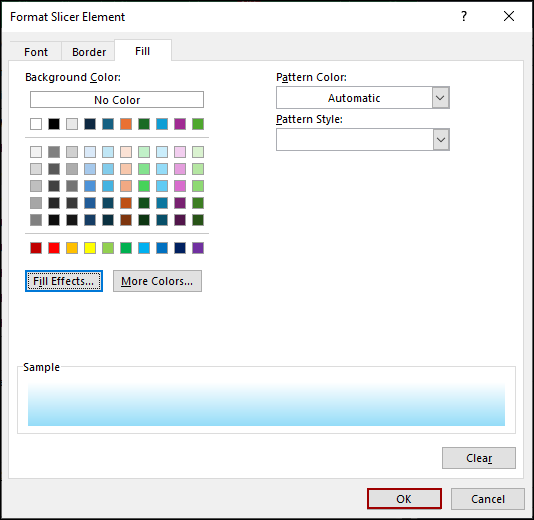
➤ Select the Fill tab.
➤ Choose a solid Background Color, such as light green.
➤ Click OK to return to the New Slicer Style dialog box.
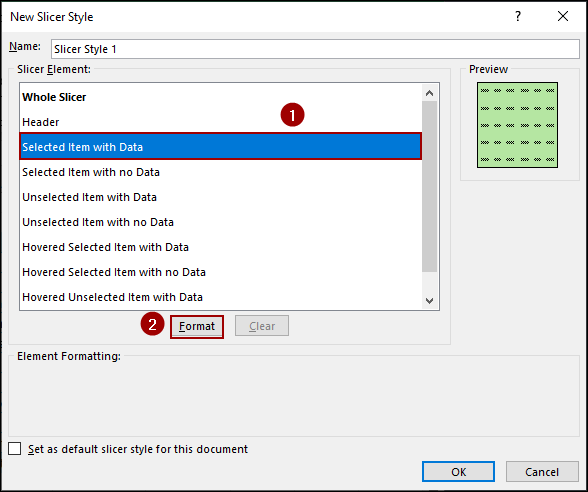
Next, we will format how an item looks when it is actively selected or filtered.
➤ In the Slicer Element list, select Selected Item with Data.
➤ Click the Format button.
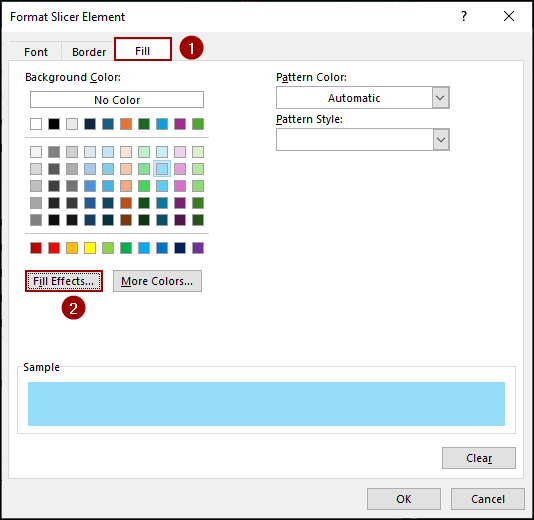
➤ Select the Fill tab.
➤ Click Fill Effects to apply a gradient for a professional look.
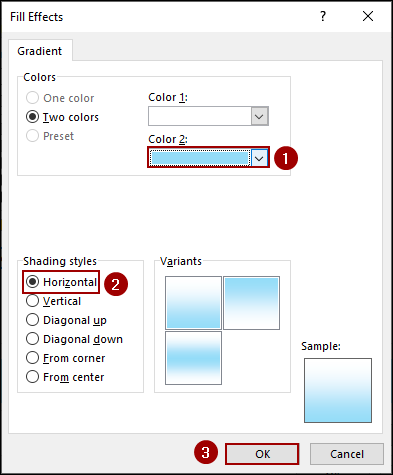
➤ In the Fill Effects dialog, select two colors.
➤ Choose Color 2 (light blue, for instance).
➤ Select a Shading style, such as Horizontal.
➤ Click OK on the Fill Effects dialog box.
➤ Click OK on the Format Slicer Element dialog box.
Now that the custom style is created, you will get a preview of the custom style in the right corner.
➤ Click OK on the New Slicer Style dialog box.
➤ Go to the Slicer tab and open the Quick Styles gallery.
Your custom style will appear in the Custom section at the top of the gallery.
➤ Click on your custom style to apply the unique color and formatting.
Finally, we have successfully changed the Slicer color in Excel, reflecting the custom formatting.
Frequently Asked Questions
Why did my Slicer color change back after I copied it to another workbook?
If you copy a Slicer to a workbook that uses a different workbook theme, the Slicer may appear to change color. This happens because Excel maps the colors used in the Slicer Style to the underlying theme colors (e.g., Accent 1, Darker 50%).
Can I change the color of the scrolling bar on the Slicer?
Unfortunately, no. The scroll bar on the Slicer pane is a standard Windows/Excel interface element and cannot be directly customized using the New Slicer Style feature.
What is the “Clear Filter” icon at the top right of the Slicer? Can I remove or hide it?
The “Clear Filter” icon (often represented by a funnel with a small red ‘X’) is a built-in feature that allows you to instantly reset all filtering applied by that Slicer. You cannot remove this icon, as it is a core piece of Slicer functionality.
Concluding Words
Above, we have explored several methods to change Slicer color in Excel. Applying one of the built-in Slicer Styles is a quick solution for basic customization, while creating a Custom Slicer Style gives you access to create the desired design. If you have any questions, please don’t hesitate to share them in the comments section below.