
When we work in Excel, sometimes we need a continuous list or range of numbers such as invoice IDs, dates, or sequences for data analysis. We can create a range of numbers manually but that can be difficult or way more time consuming. In that case Excel offers quick and efficient ways to generate them automatically. We can create a range of numbers in Excel in seconds.
To create a range of numbers in Excel, follow these steps:
➤ Enter the first number in a cell.
➤ Drag the fill handle down or across to extend the series.
➤ Use the “Fill Series” option to specify the range and increment values.
In this article, we will show how to create number ranges in Excel using the Fill Handle, Fill Series dialog, Vlookup function, RANDBETWEEN Function and Data Validation Option.
Using the Fill Handle tool to Create a Range of Numbers in Excel
The Fill Handle tool in Excel allows us to quickly make a continuous sequence of numbers without typing them manually. This is very useful when we work with datasets that require ordered numbering, such as ID numbers, invoice numbers, or date sequences. This method is best for small or large datasets where we need a predictable pattern.
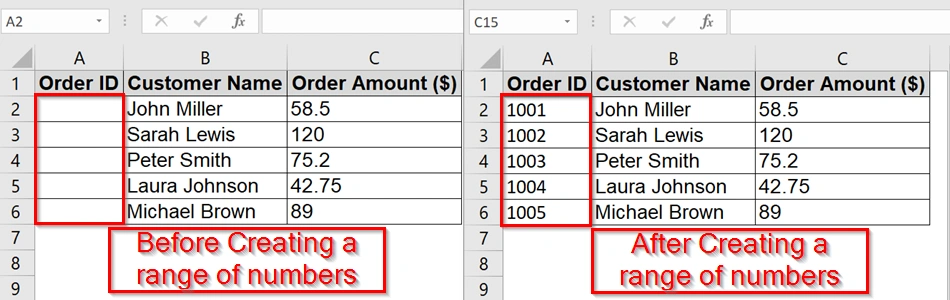
We have a table that shows a list of customer orders. We will create The Order ID column automatically using the Fill handle tool to create a range of numbers starting from 1001 up to 1010 in ascending order.
Steps:
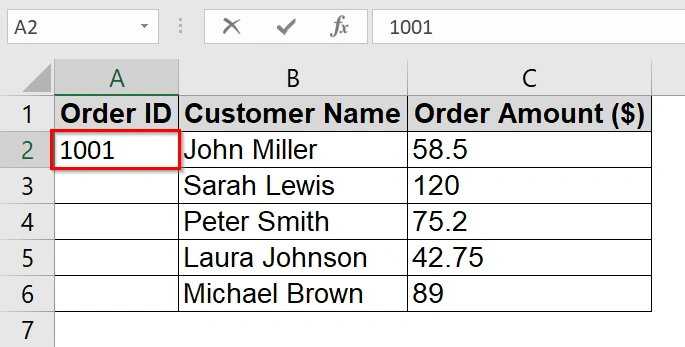
➤ Enter the first number of the desired range into the first cell of the target column.
For example, in cell A2, type 1001.
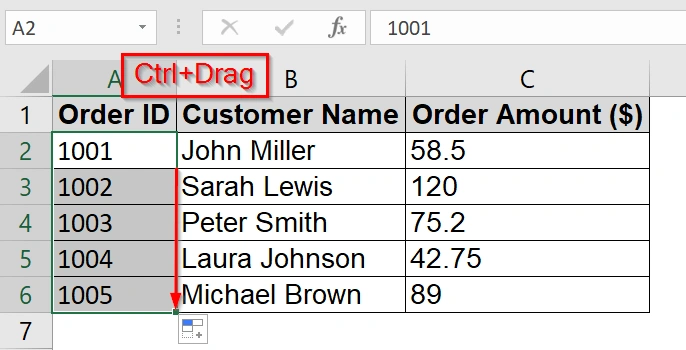
➤ Select the cell containing the first number (A2). Then, hold on Ctrl and click and drag down from the small square at the bottom-right corner of the selection until we reach the desired number of rows.
Note:
➥ If we want to start from a number other than 1, we can type the chosen start value in the first cell.
➥The FILL → Series method is best when know our exact final number beforehand.
Use of the RANDBETWEEN Function to Create a Range of Numbers in Excel
The RANDBETWEEN Function in Excel generates random whole numbers when we specify the limits between two. This is good when we need a quick set of random values for testing, simulations, or creating practice datasets.
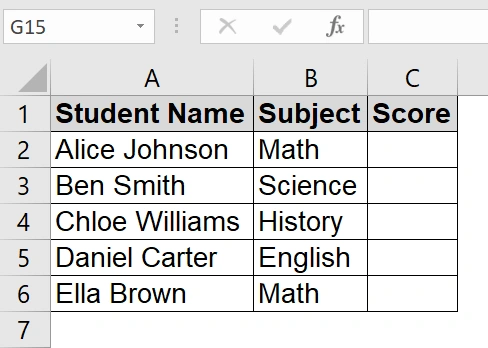
We have a dataset that contains information of a teacher who creates random marks for students in a test. We will quickly generate scores between 50 and 100 for each student in Excel, without typing them manually.
Steps:
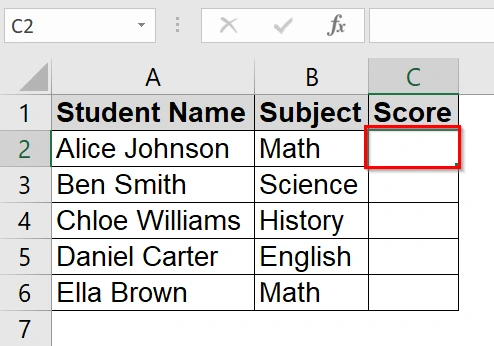
➤ Open the Excel sheet that contains the data. We have taken a table that contains Student Name in Column A, Subject list in Column B, Score (empty) in Column C.
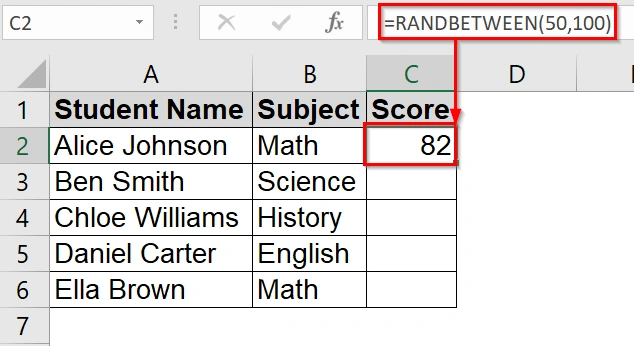
➤ Click on the first empty cell where we want the random number to appear. For our example, click on C2.
➤ Type the formula and press Enter:
=RANDBETWEEN(50,100)
A random number will appear in the selected cell (e.g., 82).
➤ Drag and fill handle down to C11.

Note:
➥ The RANDBETWEEN function recalculates every time the sheet is refreshed or modified, which means the numbers can change unless converted to values.
➥ We can use this method to generate any range of numbers: just replace 50 and 100 with the desired minimum and maximum values.
Create a Range of Numbers in Excel Using the Fill Series Option
The Fill Series option in Excel allows us to quickly make a sequence of numbers in a column or row, which can increase by a specified step until it reaches a stop value. This method is good when we need to create numbered lists such as product IDs, invoice numbers, or ticket numbers without typing each number manually.
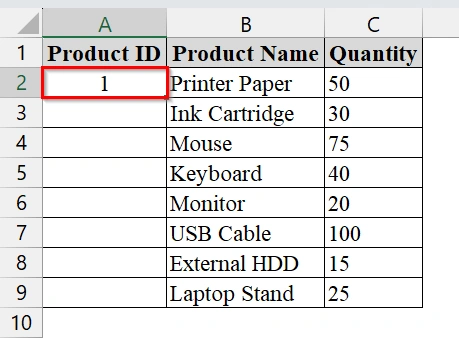
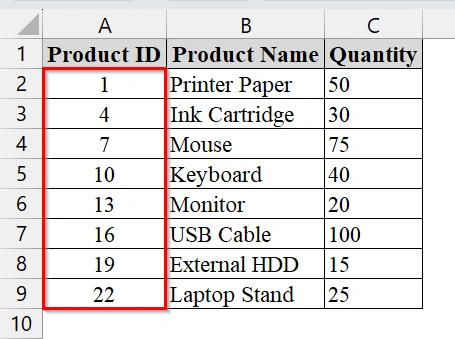
We have a dataset that contains a stock inventory sheet where each product is assigned a unique product ID number in a sequence. Instead of typing each product ID manually, we will create an automatic number sequence that increases by 3 starting from 1 up to 22 to quickly label the items. We will use the Fill Series option to create this sequence.
Steps:
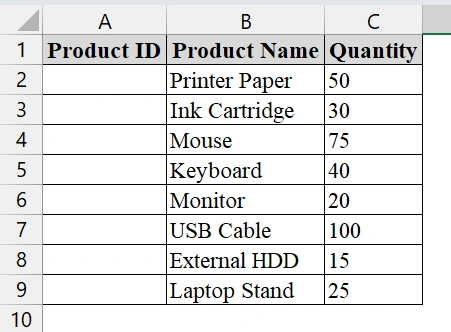
➤ Open the worksheet. We have taken a table that contains Product ID in Column A, Product Name in Column B, and Quantity in Column C.
➤ Click on the cell where you want the first number to appear. For example, select cell A2.
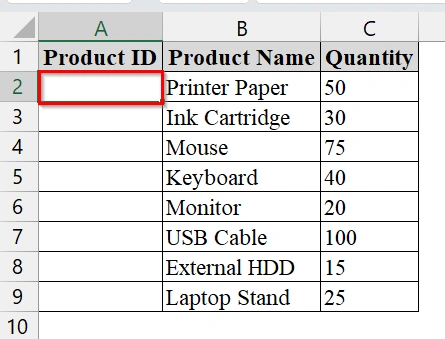
➤ Type the first number of the sequence in the selected cell. For this example, enter 1 in cell A2.
➤ Go to the Home tab on the Excel ribbon.
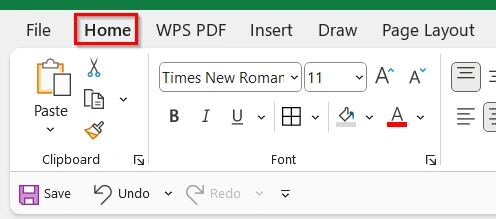
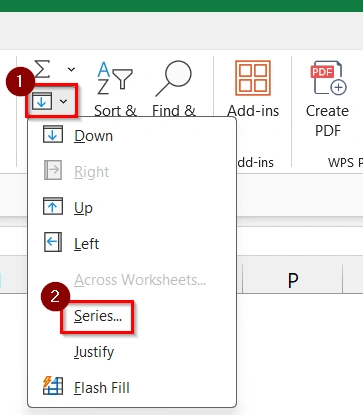
➤ In the Editing group (usually at the right side), click on Fill, then select Series… from the dropdown menu.
➤ In the Series dialog box, set the following options:
- Under Series in, choose Columns.
- Under Type, select Linear .
- In the Step value box, enter the number by which we want the sequence to increase. For example, enter 3.
- In the Stop value box, enter the maximum number we want in the sequence. For example, enter 22.
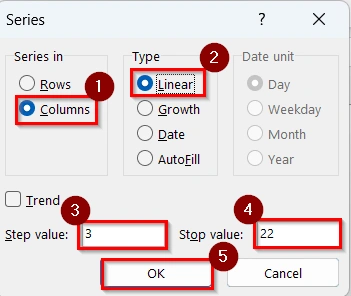
➤ Click OK to generate the number sequence starting at 1, increasing by 3, and stopping at 22. The numbers will fill downward starting from cell A2.
Using Data Validation to Restrict a Number Range in Excel
Data Validation in Excel is a built-in feature that allows us to control the type of data users can enter into a cell. We usually use this method when we need to ensure values fall within a specific range. For example, setting monthly sales between 0 and 500. This method is good for data entry in sales reports, budgets, grading sheets, or inventory logs.
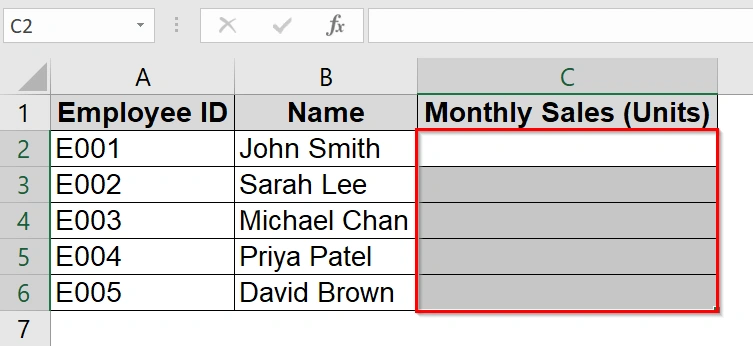
We have a worksheet that represents monthly sales units for employees of a retail company. To ensure accuracy, we will set that the Monthly Sales column can accept only whole numbers between 0 and 500 using Excel’s Data Validation tool. This method prevents incorrect or unrealistic entries (e.g., negative numbers or values above 500).
Steps:
➤ Open your worksheet that contains your data. Click and drag to select the cells where we want to apply the number range restriction. We have selected C2:C6 from the “Monthly Sales (Units)” column.
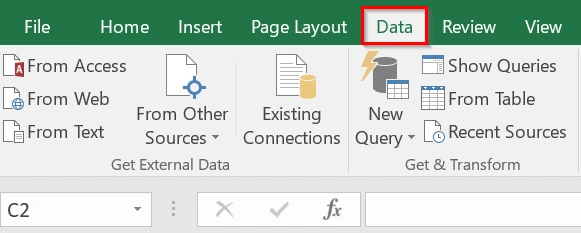
➤ Go to the Data tab on the Ribbon.
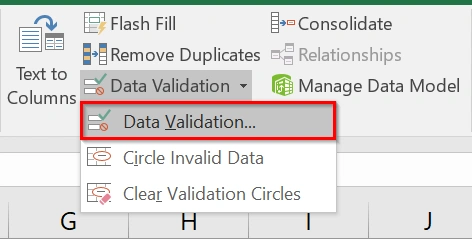
➤ Click Data Validation in the Data Tools group → Select Data Validation from the dropdown.
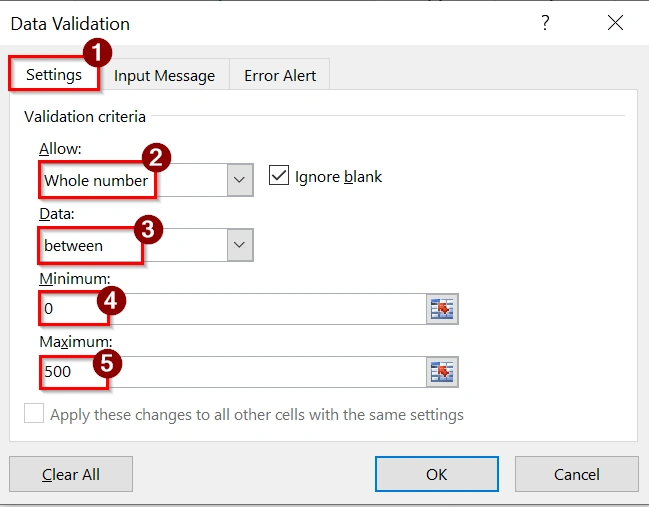
➤ In the Settings tab of the Data Validation window:
- Under Allow, choose Whole number
- Under Data, select between
- Enter Minimum as 0 and Maximum as 500
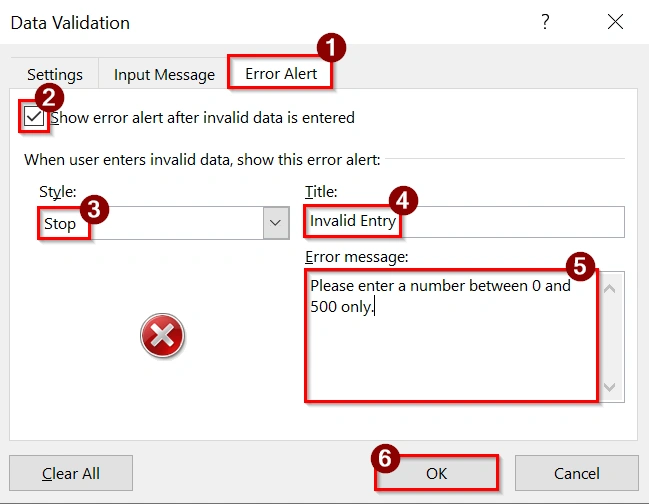
➤ Go to the Error Alert tab.
- Check Show error alert after invalid data is entered
- Choose Stop as the style
- Type a title like “Invalid Entry” and a message like: “Please enter a number between 0 and 500 only.“
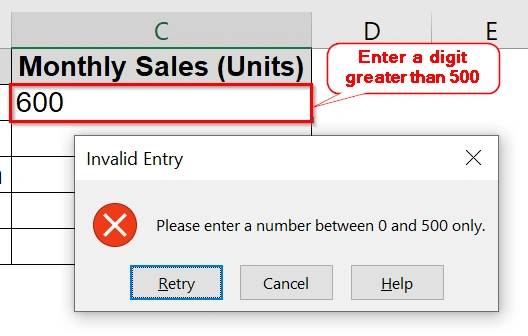
➤ Try entering a value outside the range (e.g., -10 or 600). Excel should block it and display the error message.
Note:
➥ We can apply this method to single cells, ranges, or entire columns.
➥ If we want decimal numbers instead, choose Decimal instead of Whole number in Step 3.
➥ For dynamic ranges, we can link the min/max values to other cells so they can be updated easily.
Frequently Asked Questions
Can I create a range of numbers that skips certain values?
Yes, by using the Fill Series dialog and setting your desired step value, you can skip numbers.
Can I generate a range of numbers using a formula?
Yes, you can use formulas like =ROW(A1) or =SEQUENCE(10,1,1,1) in Excel 365 and newer versions.
Can I create a range of numbers horizontally?
Yes, the Fill Handle and SEQUENCE function work for both vertical and horizontal lists.
Concluding Words
Using Excel’s Fill Series method is the fastest and most beginner-friendly way to create a range of numbers. If you need a short sequence or a large dataset, this method saves time and ensures accuracy.