When working with multiple colleagues on the same document, we may not want everyone to have the same level of access. Setting permissions for a shared file in Excel means deciding who can view the file and who can edit it. For example, managers may need edit access to update project data, while employees may only need read-only access to view updates. In Excel, we can easily set who can view the file and who can make edits.
To set permissions for a Shared File in Excel, follow these steps:
➤ Open your OneDrive or File Explorer and locate the Excel file you want to share.
➤ Right-click the file → Select Give access to → Specific people.
➤ Add the people you want, choose their permission level (Read or Read/Write), and click Share.
In this article, you will learn how to set permissions for a shared file in Excel by marking the Excel file as final, encrypting it with a password, allowing edit range methods, and setting access permissions to the OneDrive file.
Limit Permission Rights by Making the Shared Excel File Final
This method marks the workbook as Final, which is an easy way to set viewing-only permission for all users. This is good when we want to share a file that should not be edited further.
We have an Excel file containing the Sales report of a company that is being shared among the team. We will mark the file as Final so that no one accidentally edits the data.
Steps:
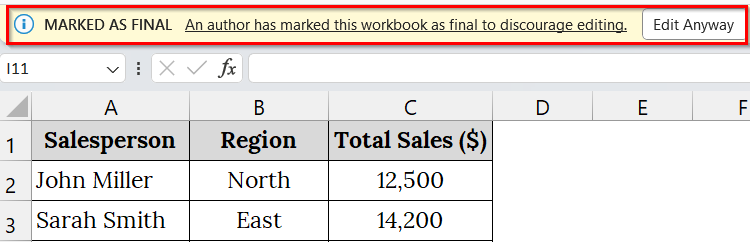
➤ Open the workbook that you want to mark as final. For example, we have taken a dataset that contains Salesperson Name in Column A, Region Name in Column B, and Total Sales ($) in Column C.

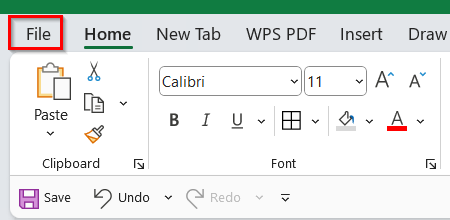
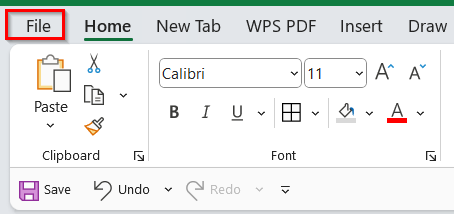
➤ Click on the File tab in the top-left corner of the Excel window. This will open the backstage view.
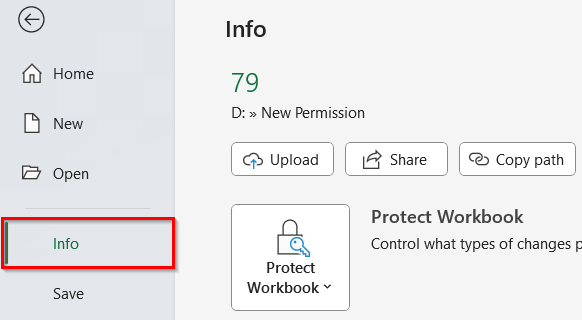
➤ From the left-side menu, click on Info. This shows file-related details and permissions.

➤ Click on the Protect Workbook drop-down. From the list, choose Mark as Final.

➤ Excel will display a dialog box saying “This workbook will be marked as final and then saved.”
➤ Click OK to proceed.
➤ Another message will appear saying “This document has been marked as final to discourage editing.”
➤ Click OK again.
➤ The workbook will now show a yellow bar at the top with the message “Marked as Final.” This means the file is read-only.
Note:
➥ Mark as Final is a soft protection. Users can still remove the “Mark as Final” status if they want, but it discourages unintentional editing.
➥ For stronger protection, you can use password protection or restricted editing permissions.
Encrypt the Shared Excel File with a Password
Encrypting an Excel file with a password ensures that only people who know the password can open and view its contents. This is best for sensitive datasets like employee salary records, company financial reports, or client information.
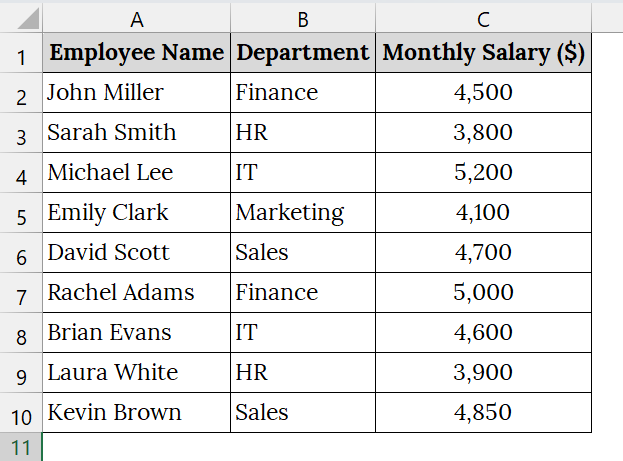
We have a dataset about the salaries of a finance department that contains employee details. Since the file contains confidential information, we want to encrypt the Excel file with a password so that only authorized people can access it.
Steps:
➤ Open your Excel file that contains sensitive information. For example, we have taken a table that contains Employee names in Column A, Department names in Column B, and Monthly salaries in Column C.
➤ Click the File tab located at the top-left corner of the Excel window.
➤ From the left-side panel, select Info to display workbook details and security options.
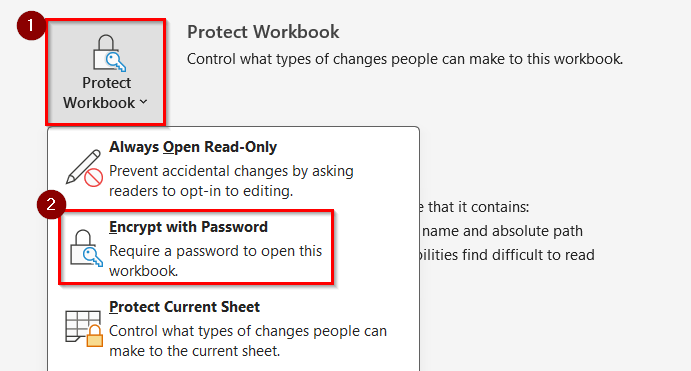
➤ Click on the Protect Workbook drop-down menu, then choose Encrypt with Password.
➤ The Encrypt Document dialog box will appear. Type a strong password in the Password field. Then click OK.
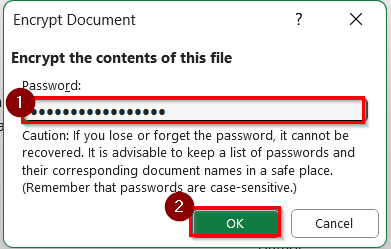
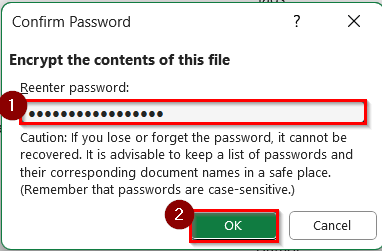
➤ Re-enter the password to confirm and click OK.
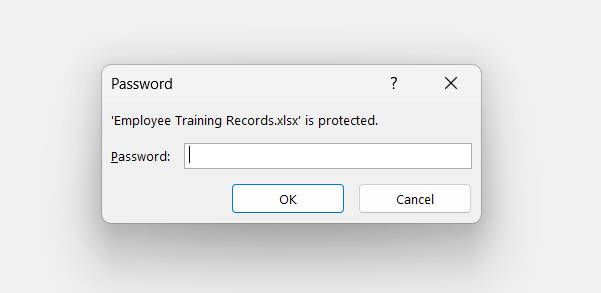
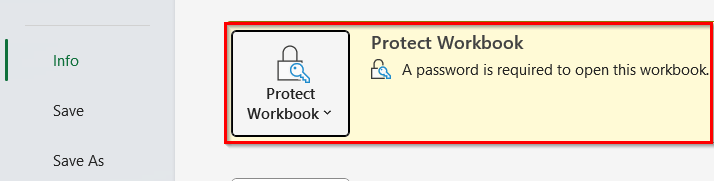
➤ Go back to File > Info, and under the permissions section, you’ll see a note that the workbook is password-protected. Now, whenever anyone opens the file, Excel will prompt for the password.
Note:
➥ If you forget the password, you cannot recover the file. Always store it securely.
➥ Choose a strong password with a mix of uppercase, lowercase, numbers, and special characters.
➥ Unlike “Mark as Final,” this method blocks access entirely until the password is entered.
Set Permissions for Certain Users to Edit Certain Ranges of a Shared File
This method allows us to lock specific parts of our Excel sheet while granting edit access to selected ranges. It is good when we want team members to update only certain cells, like “Status” updates in a project tracker, without modifying the rest of the data.
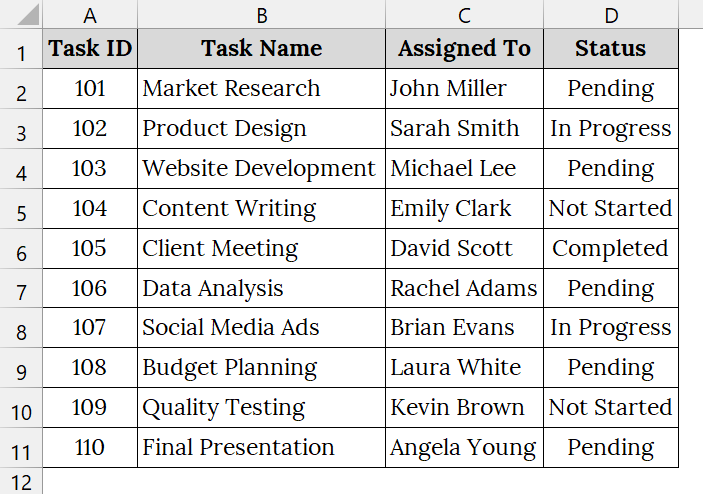
We have a dataset that contains a Project Task Tracker file. We want team members to edit only the selected cells while keeping other details locked. This ensures that employees can only update the selected information.
Steps:
➤ Open the Excel file you want users to edit.
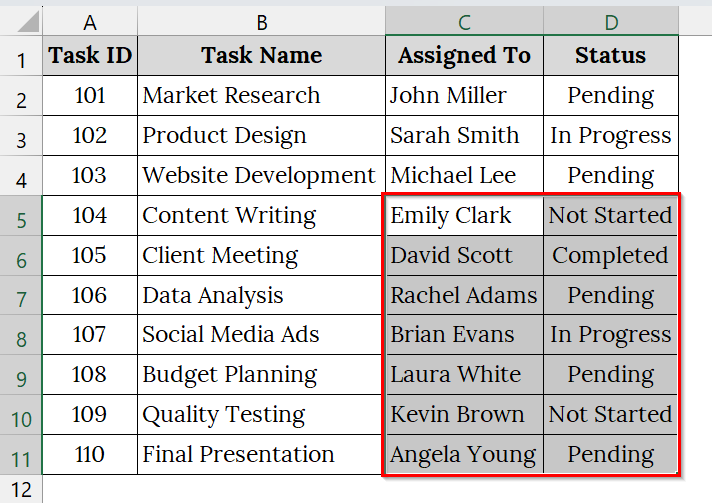
➤ Now, select the cells you want users to edit. For example, select cells C5:D11.
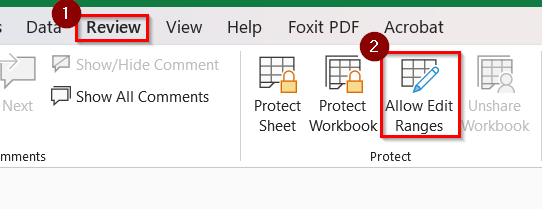
➤ On the ribbon, click the Review tab. Click Allow Edit Ranges in the Protect group.
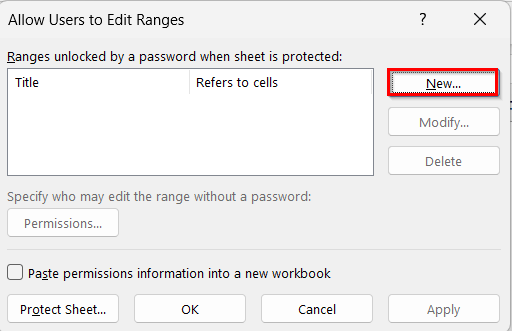
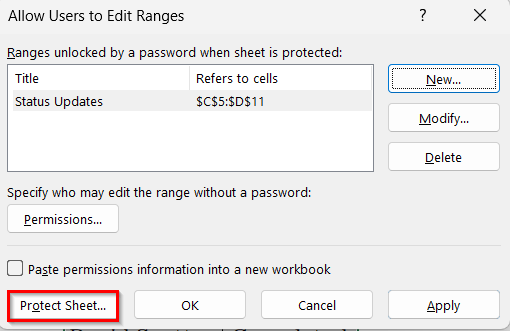
➤ In the Allow Users to Edit Ranges dialog box, click New. A new window will open.
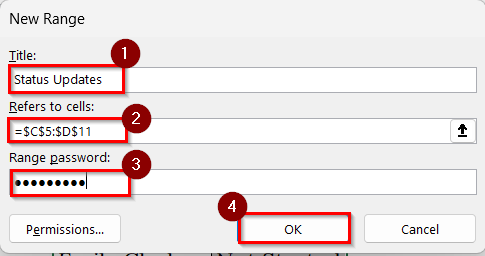
➤ In the Title field, type a name (e.g., Status Updates).
➤ In the Refers to cells box, ensure =$C$5:$D$11 is selected.
➤ In the Range Password field, type a password (e.g., Task#2025).
➤ Click OK.
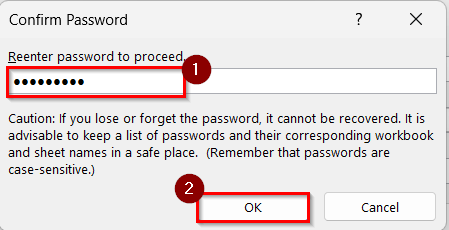
➤ Re-enter the password. Type it again and click OK.
➤ Back in the Allow Users to Edit Ranges dialog box, click Protect Sheet at the bottom.
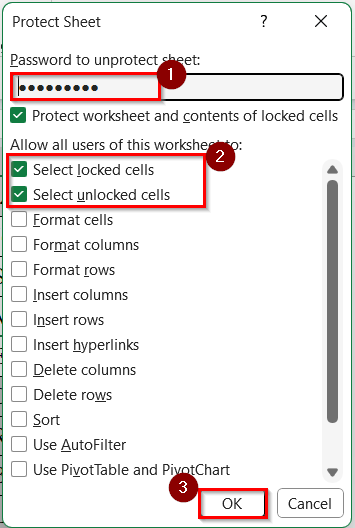
➤ Enter a sheet protection password (same as or different from the range password). Ensure that Select locked cells and Select unlocked cells are checked. Now click OK.
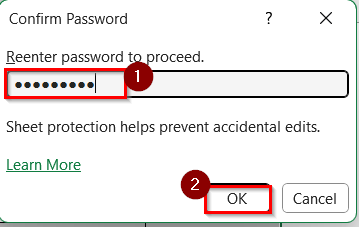
➤ Again, re-enter the password to confirm. Click OK.
Note:
➥ If you don’t assign a password to the range, any user can edit it.
➥ Each defined range can have its own password, allowing different users to edit different sections.
➥ To modify ranges later, use Ranges unlocked by a password when the sheet is protected in the Allow Edit Ranges settings.
Set Permissions for Shared Excel Files in OneDrive
If we work with a shared Excel file that is stored in OneDrive, we can control who can only view the file and who can edit it. This method is good when we collaborate on organizational data, such as training records, financial reports, or attendance sheets, and need to keep the file secure while still sharing access.
We have an Excel file that represents training records of employees at an organization stored in OneDrive as a shared Excel file. We want to set different permission levels for employees to allow some trainers to edit progress data while keeping employees limited to read-only access.
Steps:
➤ Open your OneDrive. Find the Excel file you want to share. Right-click the file and select Show more options.

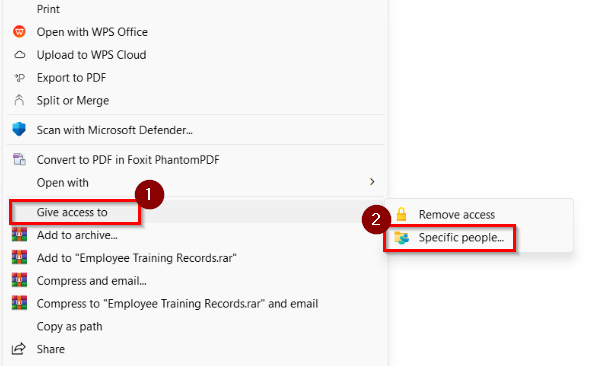
➤ In the extended menu, click Give access to. Then, choose specific people.
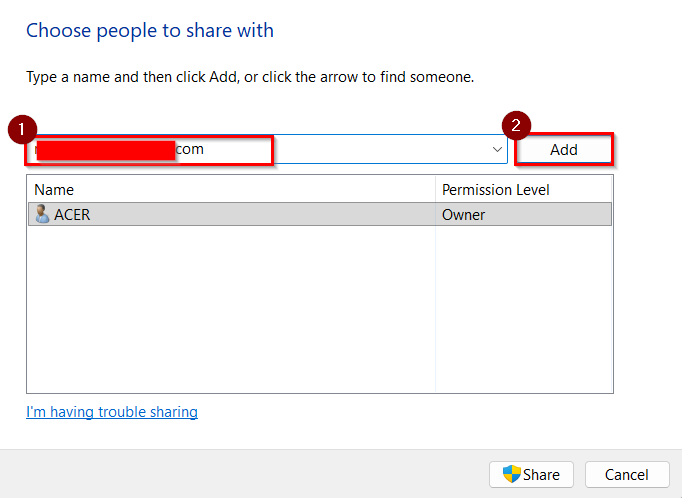
➤ A sharing dialog box will appear. Type the name or email address of the person you want to share with. Then click Add.
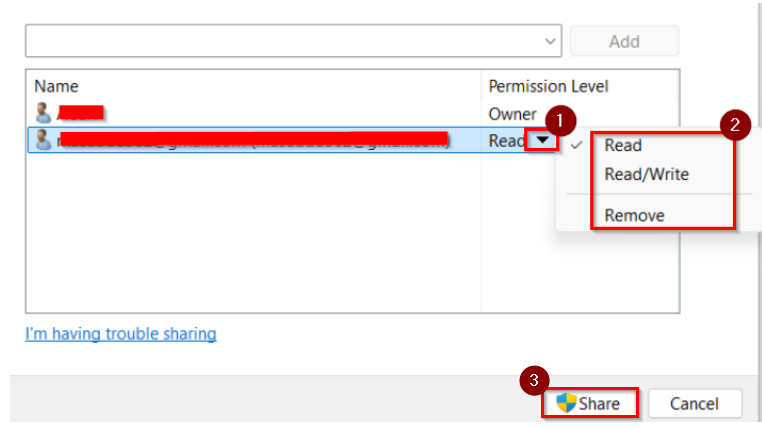
➤ Click the dropdown next to their name. Choose one of the following:
➥ Read → User can only view the file.
➥ Read/Write → User can edit the file.
Once permissions are set, click Share to finalize the access settings.
Note:
➥ Use Read for general staff or employees who only need to view data.
➥ Use Read/Write for supervisors, trainers, or team leaders who must update progress or make changes.
➥ Permissions can be updated anytime through the same menu.
Frequently Asked Questions
Can I set permissions directly in Excel without OneDrive?
No, permissions are controlled when the file is saved in OneDrive, SharePoint, or another cloud storage. Local files only allow password protection.
What’s the difference between Read and Read/Write?
- Read: The user can only view the file, but cannot make changes.
- Read/Write: The user can edit, add, or delete content in the file.
Can I change permissions later?
Yes, you can update permissions anytime by repeating the steps and adjusting the dropdown menu beside each user’s name.
Does setting permissions protect against accidental deletion?
Yes. Users with only read access cannot delete or overwrite the file.
Concluding Words
Setting permissions in Excel is a good way to protect the file from. By assigning Read or Read/Write access or passwords, we can keep your data secure, reduce accidental edits, and ensure the right people have the right level of control. We have uploaded the Excel file we have used in this article, which you can download and use to practice.