
Digital signatures in Excel are an important tool for professionals who want to verify the authenticity of a spreadsheet. If you are sharing financial reports, legal documents, or audit sheets, you might need to add a digital signature that will work as an additional layer of security, ensures integrity, and confirms the identity of the document’s author. Adding a digital signature can be of many types and can be done in a few different ways.
To insert a digital signature in Excel, follow these steps:
➤ Open your Excel file and select the worksheet where you want to add the signature.
➤ Click on any empty cell where the signature line should appear.
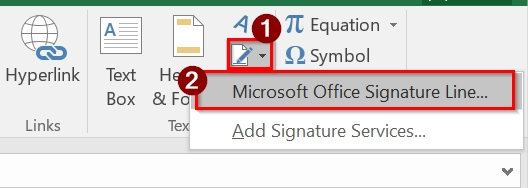
➤ Go to the Insert tab > Text group > click Add a Signature Line > choose Microsoft Office Signature Line.
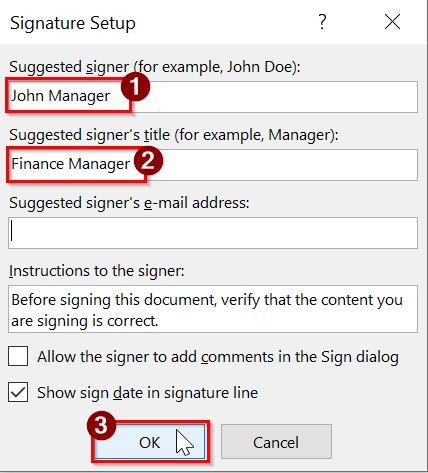
➤ Enter the signer’s details in the pop-up window and click OK.
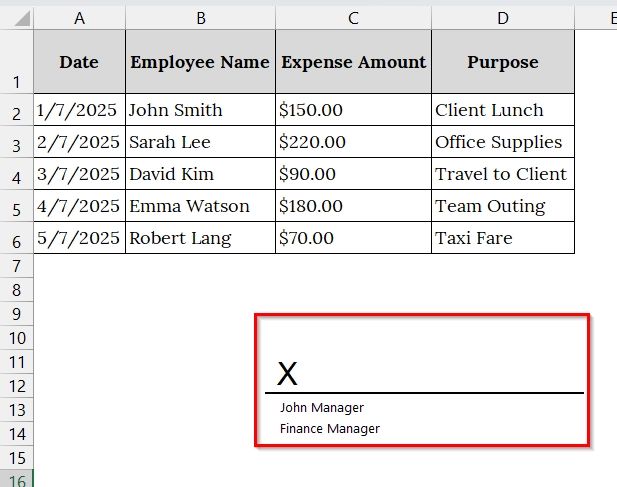
➤ The signature line will now appear in your worksheet. Click on it to digitally sign.
This article walks you through a detailed guide on how to add a digital signature in Excel using the built-in Microsoft Office Signature Line method. Other methods like adding handwritten sign images, electronic signature and more are also explained.
What Is a Digital Signature in Excel?
A digital signature in Excel is a cryptographic stamp that validates the identity of the signer and makes sure that the contents of the file have not been tampered with. It adds an extra layer of security, particularly for official and sensitive documents. Unlike a typed name or image, a digital signature is encrypted and legally binding.
Use Signature Line Option and Insert a Visible Signature
The Signature Line method helps to insert a formal signature line in Excel that allows for a visible and legally recognized digital signature. This is best when we need to officially approve a document or dataset, particularly in corporate, legal, or financial settings.
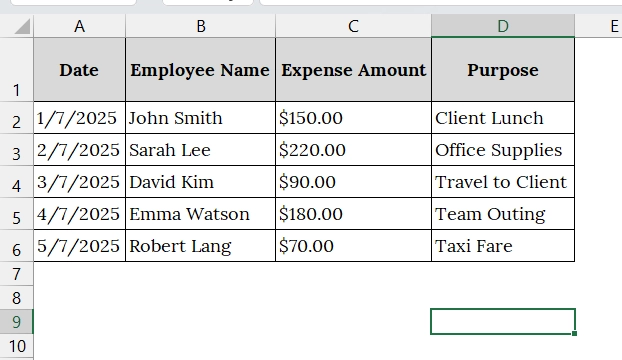
We have taken a dataset that tracks expenses of the company. After all data is filled, we need to use a digital signature to verify the approval.
Steps:
➤ Open the Excel file where you want to add the digital signature. For example, We are using a sheet containing the columns: Date, Employee Name, Expense Amount, and Purpose.

➤ Select a blank cell for the Signature Line.
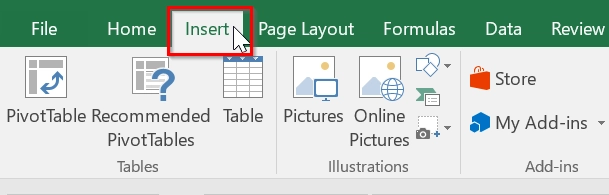
➤ Go to the ribbon and click Insert.
➤ In the Text box group, click Signature Line icon and then Microsoft Office Signature Line.
➤ In the dialog box, enter details such as the suggested signer’s name (e.g., John Manager), title (e.g., Finance Manager), and instructions. Click OK.
➤ Double-click on the signature line you just inserted.
➤ An interface will open to you. Click Yes.
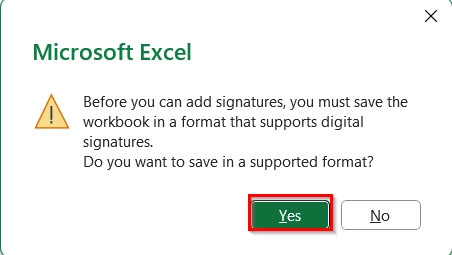
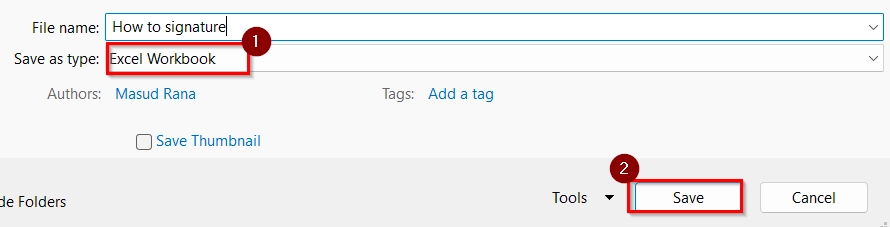
➤ Save your File as Excel Workbook.
➤ A pop-up will appear prompting you to sign. You can type your name, upload an image of your signature, or use a digital certificate if configured.
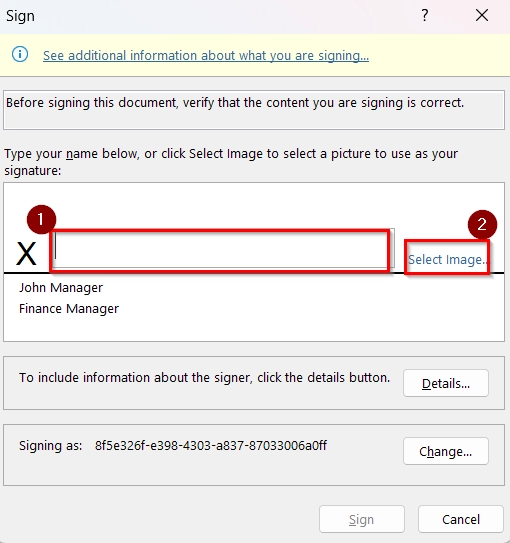
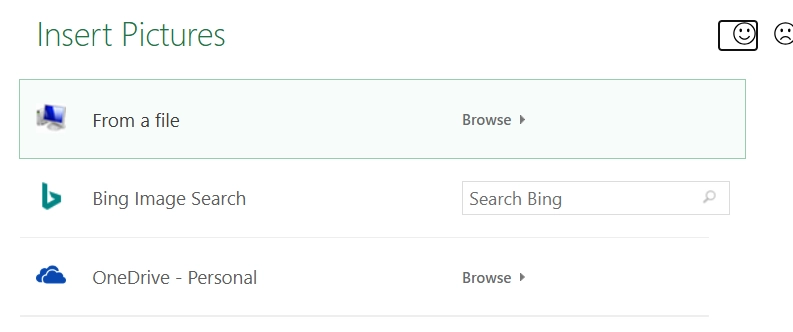
➤ If you click on “Select Image” an interface will open to you. Select any of these where you have put your signature image.
➤ After selecting the image, click Sign.
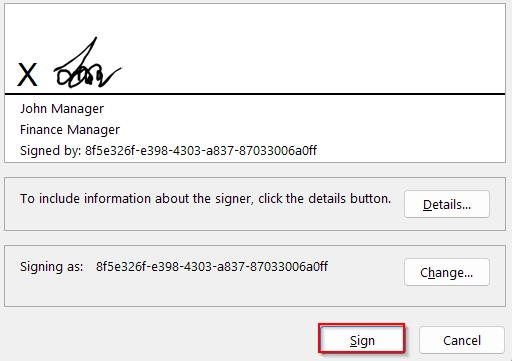
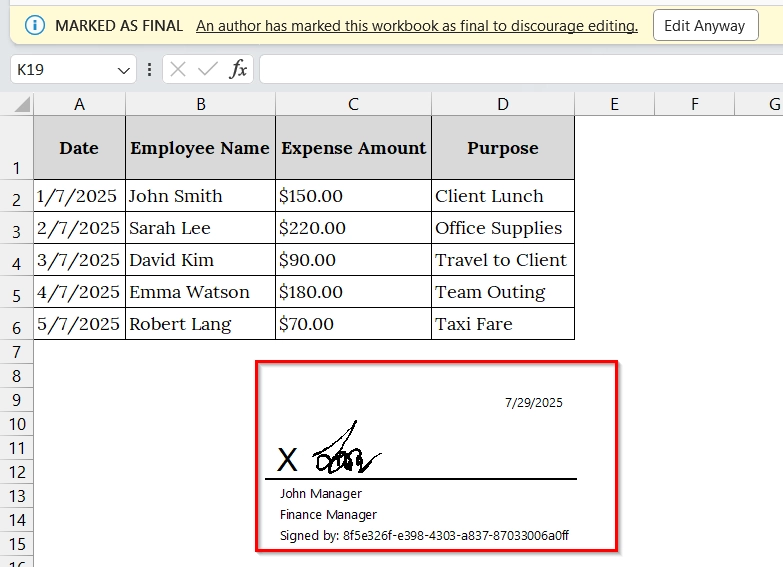
➤ Once signed, the signature will become a visible part of the Excel file. The worksheet becomes read-only by default to maintain integrity.
Note:
➥ A digital certificate is required to create a legal digital signature. You can obtain one from a Certificate Authority or create a self-signed certificate (for internal use only).
➥ Make sure macros and active content are enabled for the signature feature to function correctly.
➥ Do not alter the data after signing; doing so will invalidate the signature.
➥ Digital signatures in Excel are supported only in desktop versions (not available in web version).
Insert Digital Signature in Excel by Typing Your Full Name with Stylish Fonts
Typing your full name in a stylized font simulates a digital signature in Excel. Use this when a basic, non-certified signature is acceptable, such as internal reports or informal approvals. Best for datasets like employee records, invoices, or approval forms where simple authenticity is sufficient.
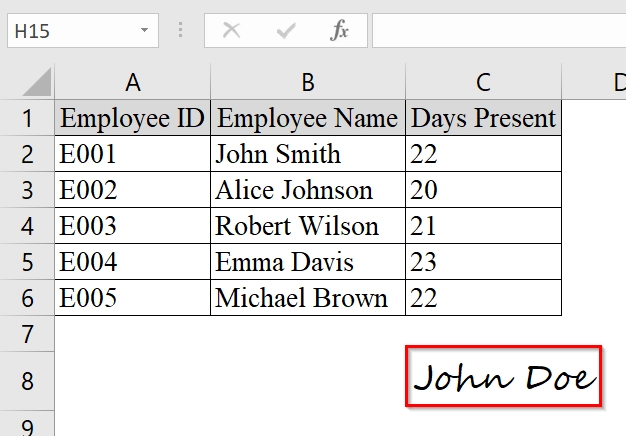
We have taken an excel workbook in which the manager wants to add a digital signature by typing full name in a stylish font at the bottom of an attendance sheet in Excel.
Steps:
➤ Open your Excel sheet where you want to insert the digital signature.
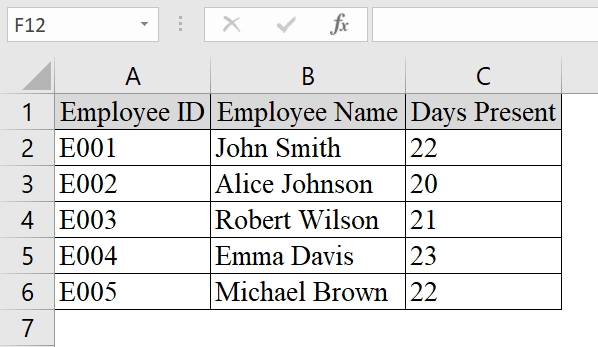
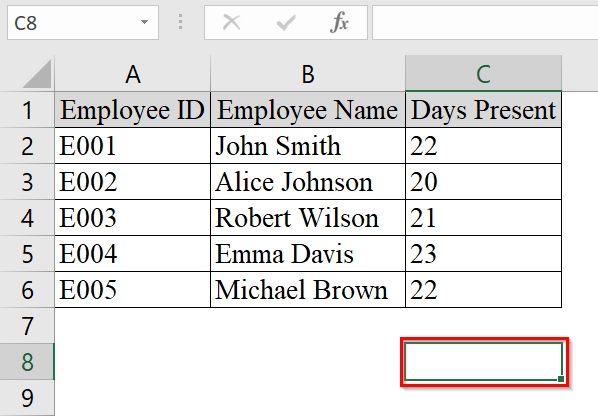
➤ Scroll to the bottom of your dataset or to the designated signature area. For instance, go to Cell C8 (below the last row of your data).
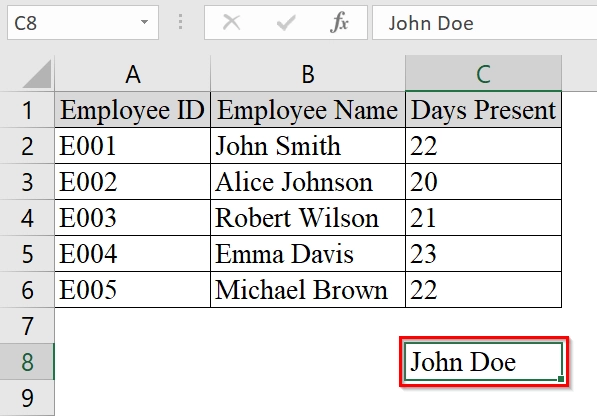
➤ Type your full name in that cell, e.g., John Doe.
➤ Select the cell, go to the Home tab, and click on the Font dropdown. Choose a stylish font like “Segoe Script“, “Lucida Handwriting“, or “Brush Script MT“.
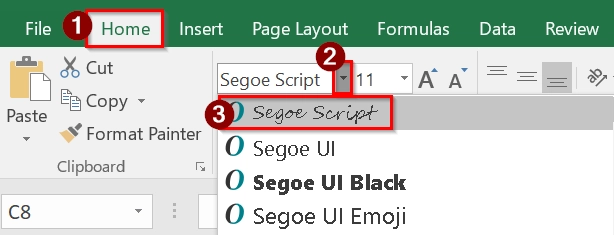
➤ Adjust the font size to make it appear more like a signature, between 14 and 18 pt.
Note:
➥ This method is purely visual and does not verify identity like a digital certificate would.
➥ Use this only in informal or internal contexts.
➥ Make sure recipients understand that this is not a legally binding signature.
Insert Invisible Digital Signatures in Excel
An invisible digital signature in Excel is a secure way to sign a workbook without displaying a signature line in the worksheet. This method is best when we want to protect the content’s authenticity without altering the layout. This is good for financial reports, official logs, or confidential data where signature visibility is not required.
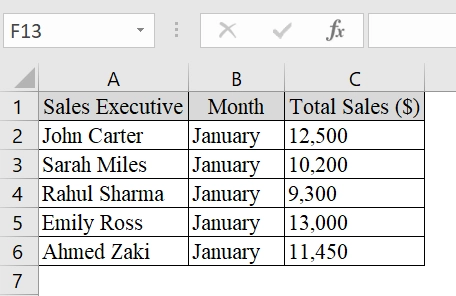
We have a table that represents a company’s sales tracking log. After ensuring all data is correct, we need to insert an invisible digital signature to confirm the document’s authenticity before sharing it with stakeholders. The table itself remains visually unchanged, but its integrity is secured with the invisible signature.
Steps:
➤ Navigate to the Excel file that contains your data.
➤ In the top-left corner, click on File to open the backstage view.
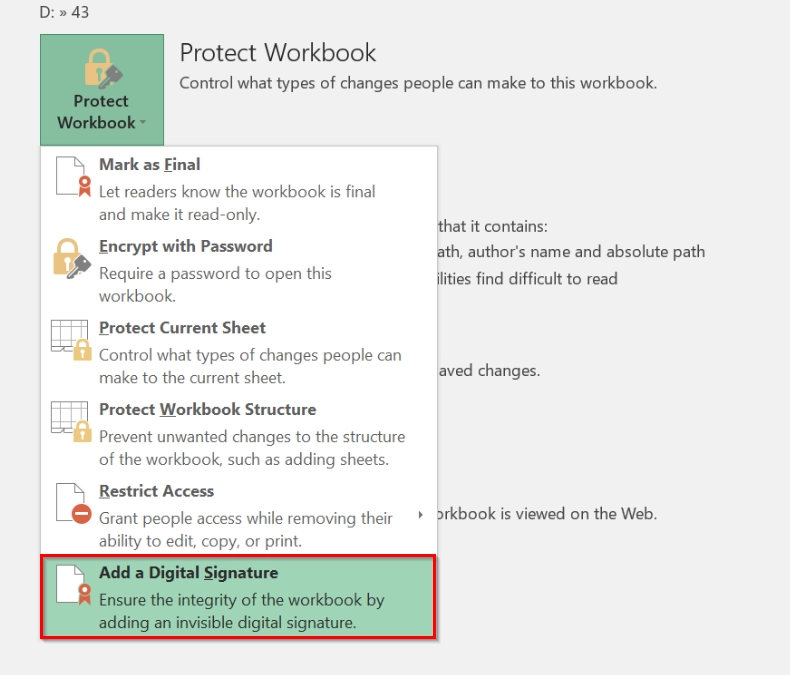
➤ On the left side of the screen, click Info > ‘Protect Workbook’.
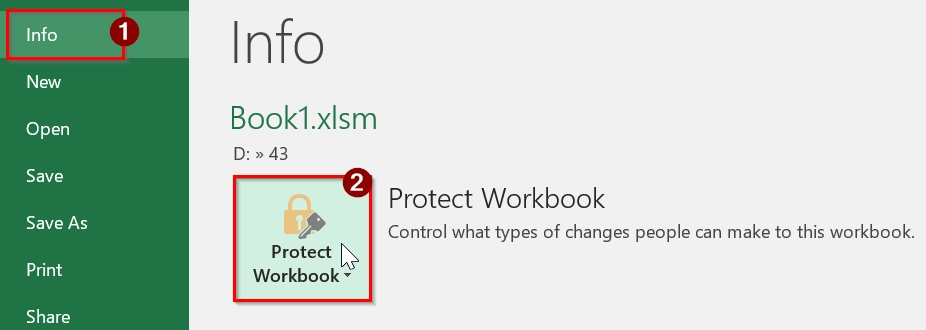
➤ Select Add a Digital Signature (sometimes called “Add a Digital Certificate” or “Sign”).
➤ A dialog box will open asking for purpose and certificate selection. Fill in the Purpose for signing this document (e.g., “Verified by Sales Manager“).
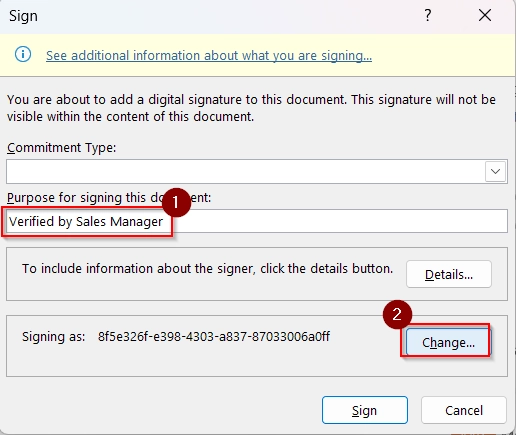
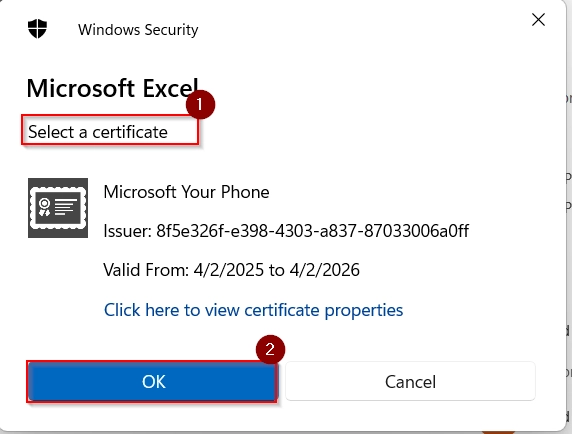
➤ Choose your installed Digital ID/Certificate.
➤ Click ‘Sign’ to complete the process.

Note:
➥ You must have a digital certificate installed on your device. You can get one from a certificate authority (CA), or create a self-signed certificate using “Digital Certificate for VBA Projects” (available with Microsoft Office).
➥ The signature will not be visible on the sheet, but will be reflected in the file’s Info section under File > Info > View Signatures.
➥ If the file is altered after signing, the signature becomes invalid, thus securing the content’s integrity.
Insert Handwritten Digital Signatures in Excel
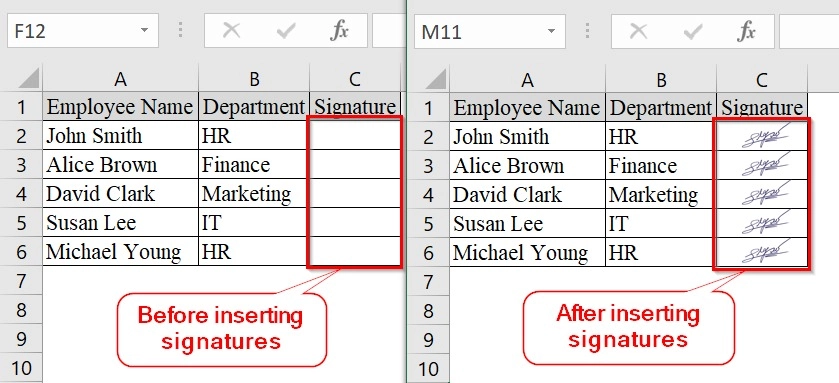
Handwritten Digital Signatures involves inserting a scanned or image-based version of a person’s handwritten signature into an Excel file. This is good for approval workflows, leave applications, invoice approvals, or HR records that require visual signature validation.
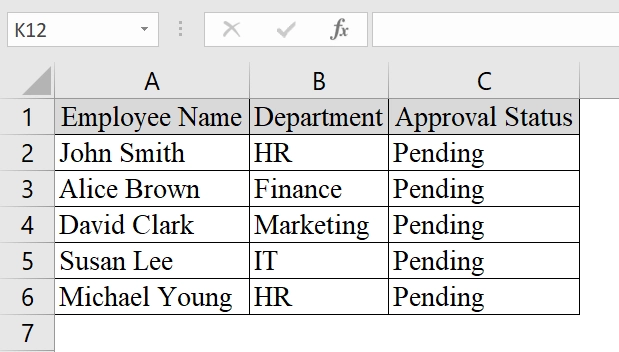
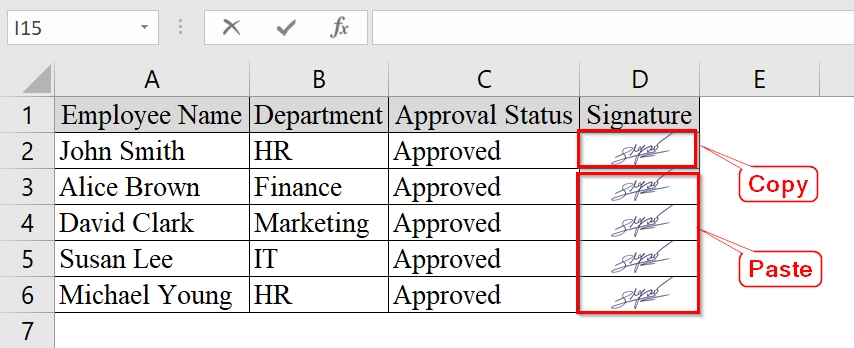
We have an Excel worksheet that simulates a real-world approval log in a corporate HR or operations setting where employee records are validated and signed off by department managers. Each row corresponds to an employee whose data gets approved and finalized with a handwritten signature inserted digitally in Excel.
Steps:
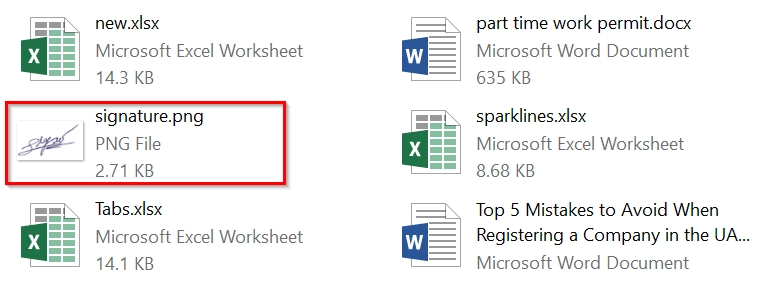
➤ Write your signature on paper, scan it, or take a clear photo of it. Save the image as a PNG or JPG file on your computer.
➤ Open the Excel workbook where you want to insert the signature.
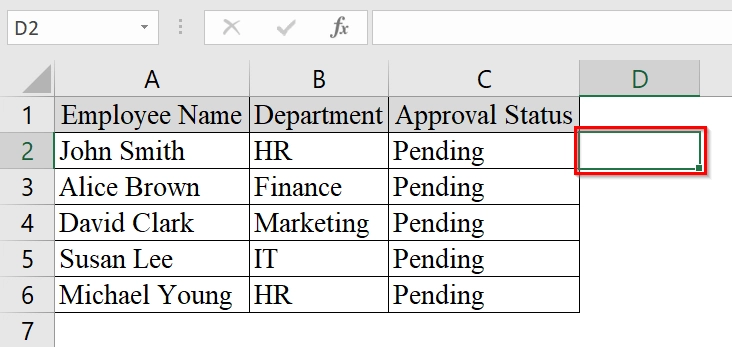
➤ Click on the cell where you want to place the signature (e.g., D2).
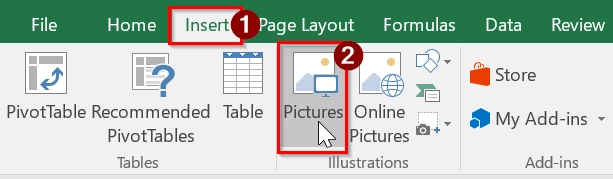
➤ Go to the top ribbon and click on Insert > Pictures.
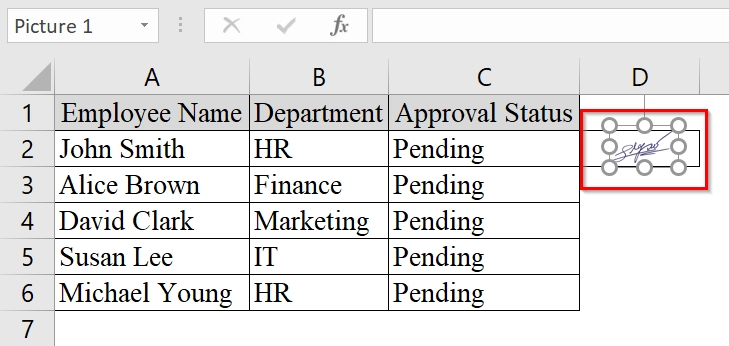
➤ From your device. Locate your saved signature image and click Insert.

➤ Once inserted, resize the image by dragging the corners so it fits inside the target cell neatly. You can also move it using your mouse.
➤ If the same signature is to be used across multiple entries, copy the image (Ctrl + C) and paste it into other cells.
Note:
➥ You can use one image per signature or different ones per person.
➥ Avoid inserting extremely large image files, they may increase file size significantly.
Drawing Your Signature Using Trackpad or Mouse and Insert in Excel
Using Trackpad or Mouse allows us to manually draw our signature in Excel. This is good when we do not have a pre-scanned signature image or certificate and want a quick digital sign-off. This is best for small-scale reporting, attendance sheets, or project checklists that need informal approvals.
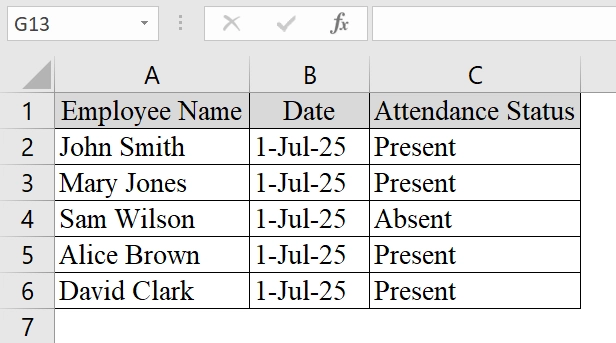
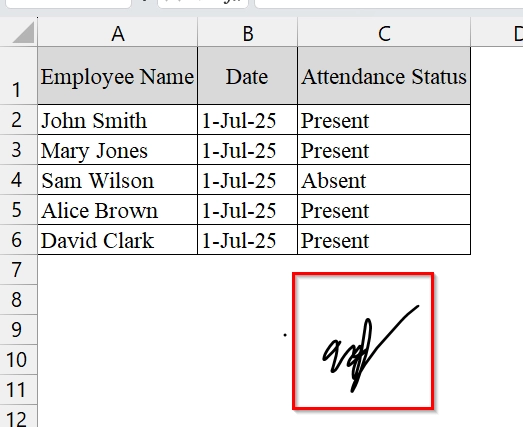
We have a dataset to track employee attendance for July 1st, 2025. After validating the data, we will insert a hand-drawn digital signature using a trackpad or mouse to confirm its authenticity before sending it to HR.
Steps:
➤ Open the Excel workbook containing the dataset (e.g., an attendance sheet or report) that you want to sign.
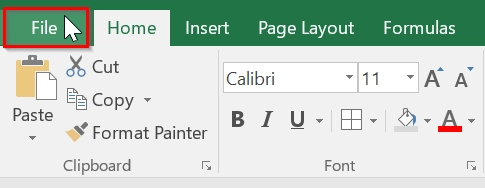
➤ Go to the File tab.
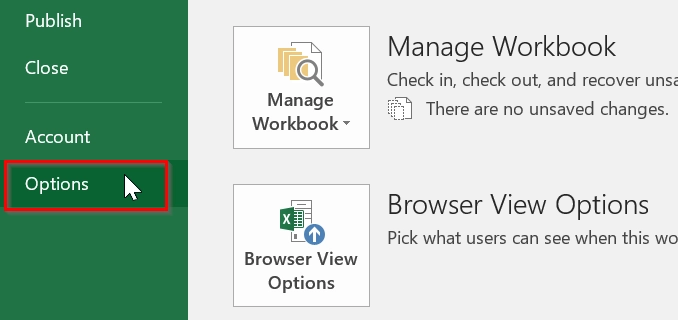
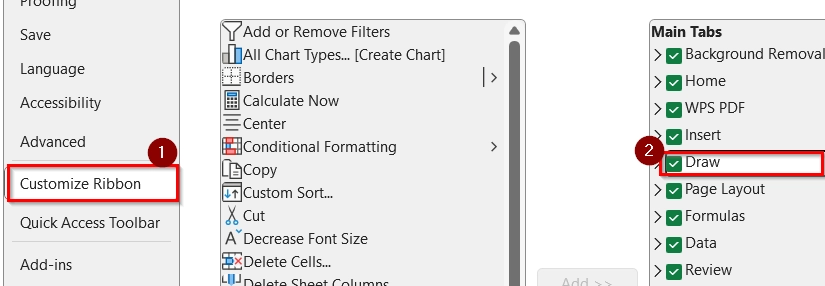
➤ Click Options.
➤ Click Customize Ribbon, and check “Draw” to enable it. Then click Ok.
➤ Click on the Draw from the Ribbon. Under the Draw tab, choose either “Pen” or “Pencil“. You can also customize the color and thickness if needed.
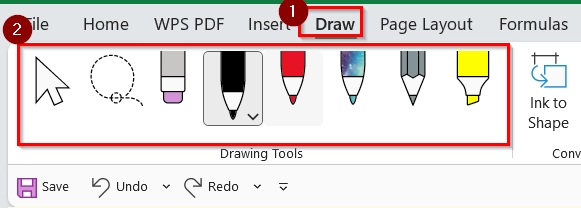
➤ Click on a blank space in the worksheet (preferably a merged cell or empty section) and use your trackpad or mouse to draw your signature manually.
Note:
The “Draw” tab works best on devices with touch support or precision trackpads.
Signing Excel File with Digital Signature as a PDF or Attachment
Signing Excel File as a PDF requires converting your Excel workbook into a PDF and then applying a digital signature to the PDF file. We use this method when we want to protect the integrity of our Excel data but distribute it in a secure, non-editable format.
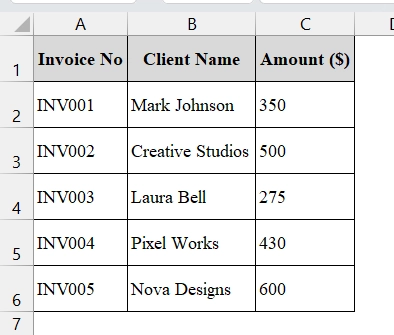
We have an Excel dataset that contains a list of invoices issued by a freelance graphic designer. Once the data is finalized, the Excel sheet is digitally signed to ensure the client receives a verified, tamper-proof PDF version of the invoice.
Steps:
➤ Ensure your data is complete and ready to be signed.
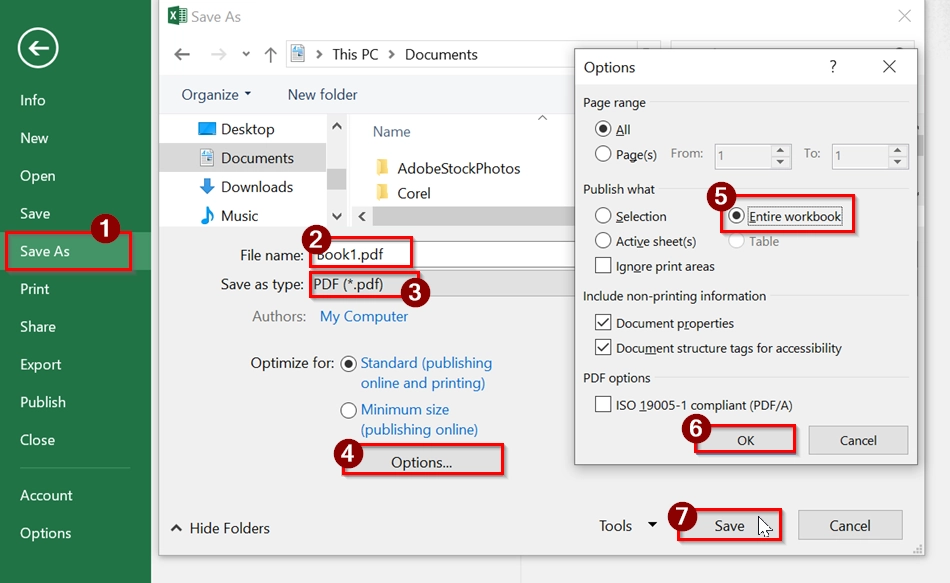
➤ Choose the location to save, then in the “Save as” dropdown, select PDF. Click Options, and choose Entire Workbook in the Publish what section.. Then click Save.
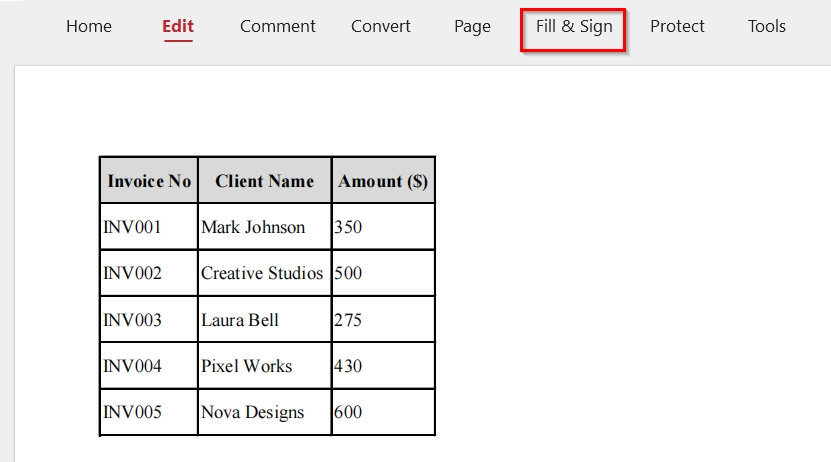
➤ Open the PDF File and Click on “Fill & Sign” → “Sign Yourself“.
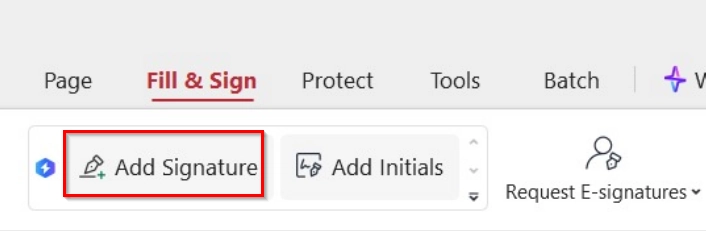
➤ Choose Add Signature.
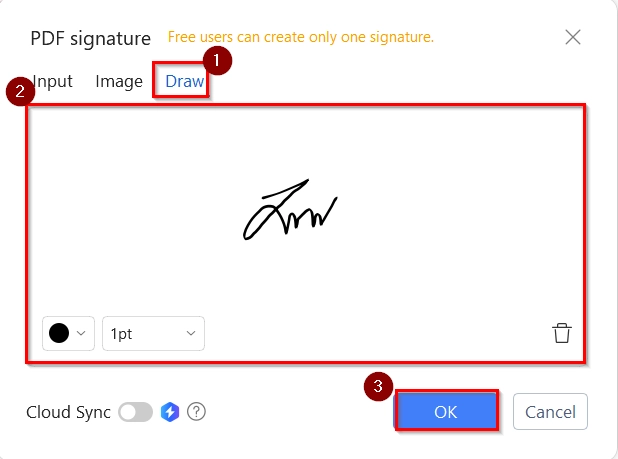
➤ You can type, draw, or upload your signature. Place it at the bottom of the PDF where appropriate.
➤ After signing, save the document. Your excel data is now locked in a digitally signed PDF format.
Note:
➥ This method does not sign inside the Excel file directly but provides a secure and verifiable copy.
➥ Make sure Adobe Acrobat or another signing tool is installed and set up with your certificate for digital signing.
Frequently Asked Questions
Can I insert multiple digital signatures in one Excel file?
Yes, Excel allows multiple signature lines for different signers.
Is a digital signature legally binding?
Yes, when created using a trusted certificate authority, it holds the same legal validity as a handwritten signature in many jurisdictions.
Do I need special software to digitally sign Excel files?
No additional software is needed if you are using Microsoft Office’s built-in tools, but you do need a digital certificate.
Can I remove a digital signature once added?
Yes, but removing it invalidates the signed status of the document.
What is the difference between a digital signature and a signature image?
A digital signature is cryptographically secure and verifiable, while a signature image is just a visual element without security or authenticity.
Concluding Words
Adding a digital signature in Excel using the Microsoft Office Signature Line is a simple and easy way to protect your documents. It makes sure that the recipients of the authenticity and integrity of the file and makes it important for professionals handling sensitive or official spreadsheets. We have shown 6 methods to add a digital signature in your excel file. You can use any of these methods for your excel file.