Adding a watermark in Excel is a great way to indicate confidentiality, brand your worksheets, or highlight draft documents. Watermarks can be images, logos, or text that appear subtly behind your data, making your spreadsheets look professional and secure.
In this article, we will explore three practical methods to insert watermarks in Excel, including inserting a picture, using WordArt text, and adding a background image. Let’s get started.
Steps to insert watermark in Excel:
➤ Open your Excel workbook and select the sheet where you want the watermark.
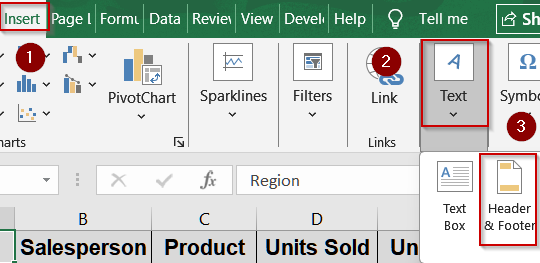
➤ Go to the Insert tab and click Header & Footer in the Text group.
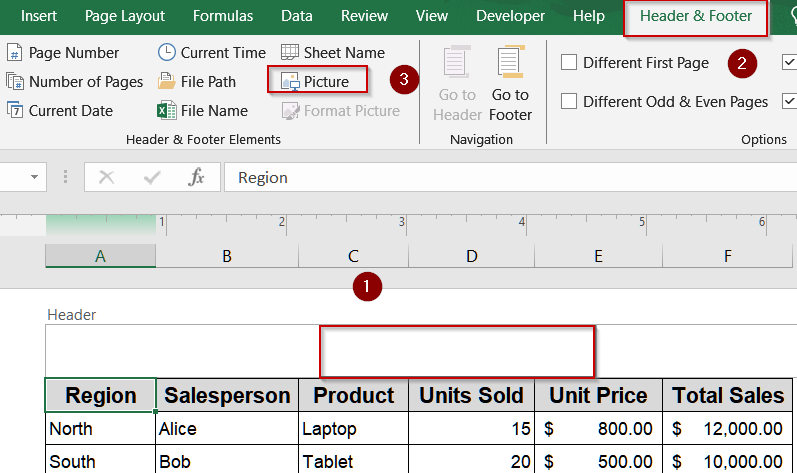
➤ Click the center header box (commonly used for watermarks).
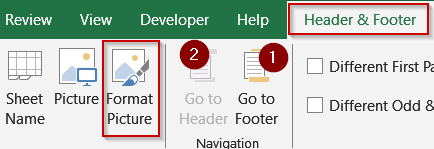
➤ On the Header & Footer Tools Design tab, select Picture from the Header & Footer Elements group.
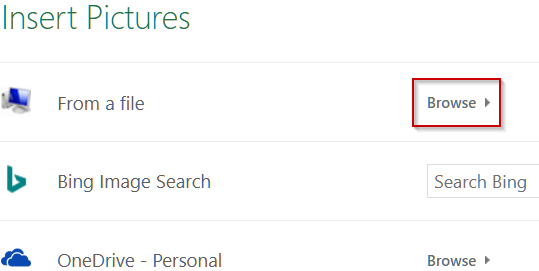
➤ Choose From a file and browse to select your watermark image.
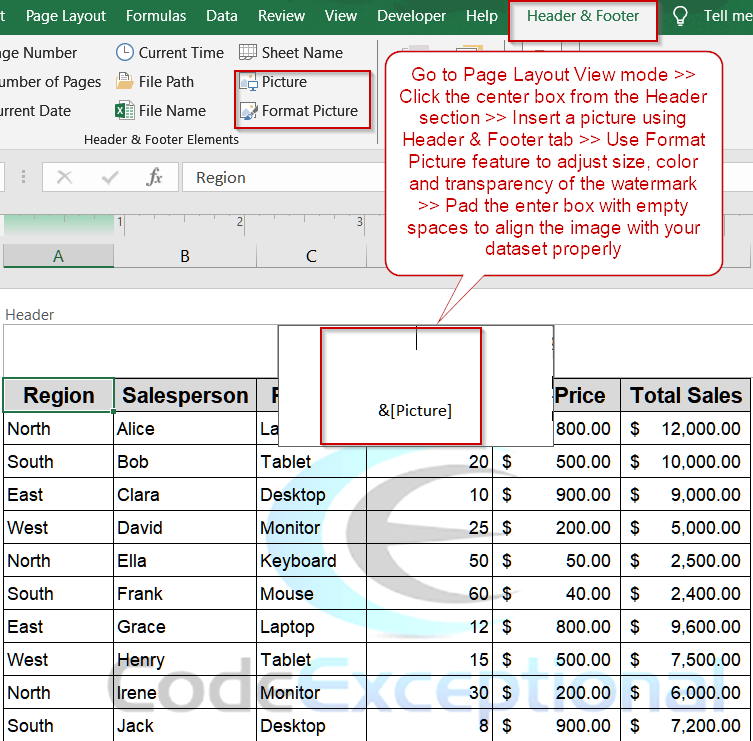
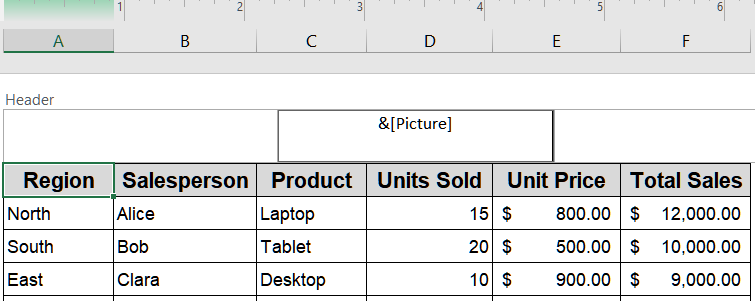
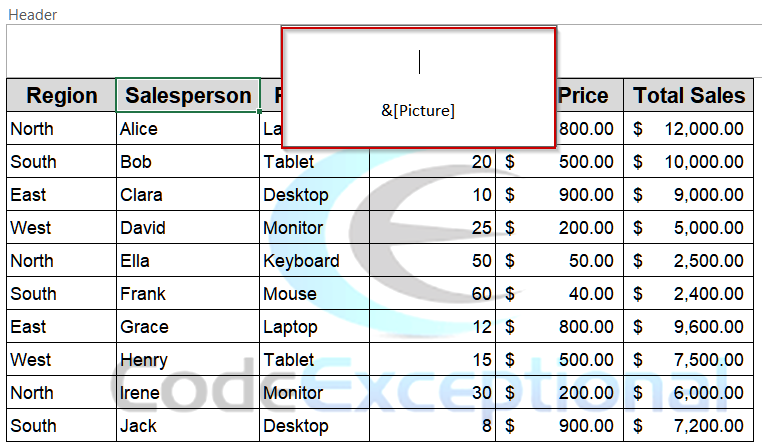
➤ Click Insert and the &[Picture] message appears in the header box.
➤ Click anywhere outside the header to view the watermark on your sheet.
➤ To format the watermark, return to the header and select Format Picture.
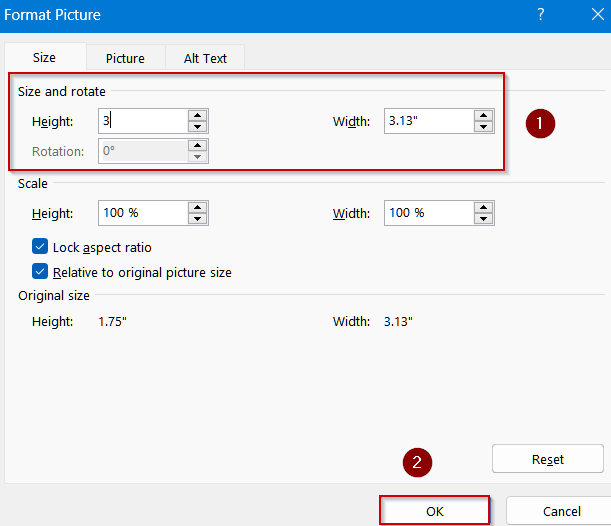
➤ Adjust height, width and scale from the Size tab.
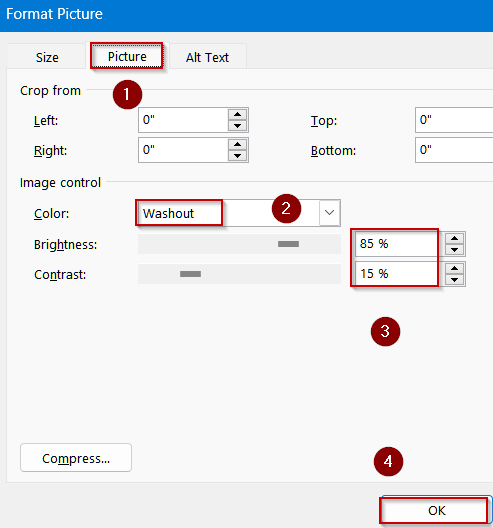
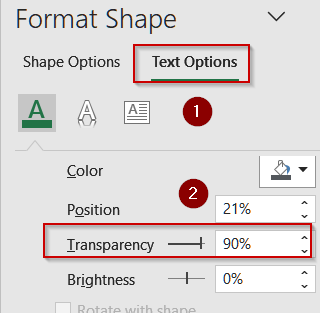
➤ Switch to the Picture tab and pick a color style and adjust transparency.
➤ Reposition the watermark by pressing Enter within the header to move it down the page.
Adding a Watermark Image via Header & Footer Tab
The Header & Footer tab provides a convenient way to insert images directly into your worksheet’s header area, allowing them to appear as watermarks on printed pages. This feature is especially useful when you want to brand reports or mark documents as drafts. It is also ideal for adding company logos, confidential stamps, or branding graphics, as it offers flexibility to adjust the image’s size, position, and transparency for a polished look.
Steps:
➤ Open your Excel workbook and select the sheet where you want the watermark.
➤ Go to the Insert tab and click Header & Footer in the Text group.
➤ Click the center header box (commonly used for watermarks).
➤ On the Header & Footer Tools Design tab, select Picture from the Header & Footer Elements group.
➤ Choose From a file and browse to select your watermark image.
➤ Click Insert and the &[Picture] message appears in the header box.
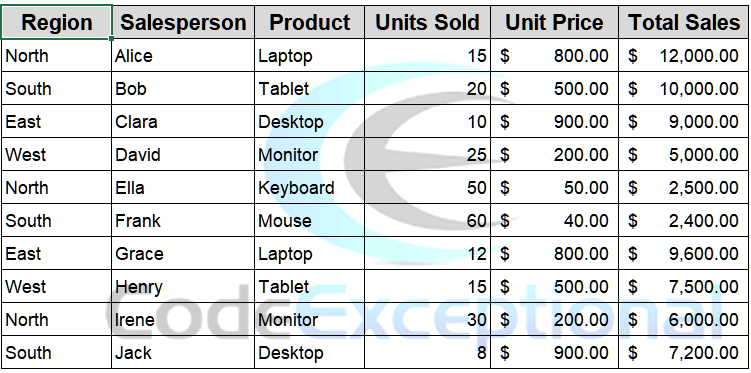
➤ Click anywhere outside the header to view the watermark on your sheet.

➤ To format the watermark, return to the header and select Format Picture.
➤ Adjust height, width and scale from the Size tab.
➤ Switch to the Picture tab and pick a color style and adjust transparency.
➤ Reposition the watermark by pressing Enter within the header to move it down the page.
Now you have a clean and perfectly aligned watermark for your dataset.
Using WordArt Text as a Watermark in Excel
WordArt gives you a creative way to add a text-based watermark directly to your worksheet. You can stylize the text with custom fonts, angles, and transparency to make it stand out yet remain subtle behind your data. This method is ideal when you don’t have a logo image or want to use words like “DRAFT”, “CONFIDENTIAL”, or your company name as a watermark. It’s both quick to set up and highly customizable for professional-looking sheets.
Steps:
➤ Switch your worksheet to Page Layout View from the View tab.
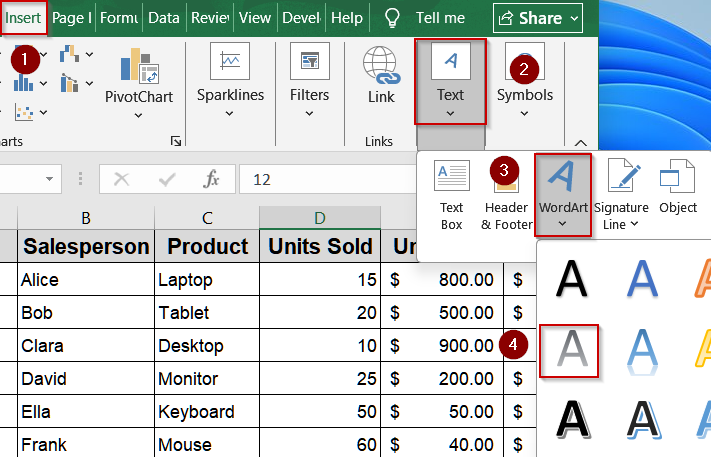
➤ Go to the Insert tab, then in the Text group, click WordArt.
➤ Select a WordArt style and type the text you want as a watermark (e.g., your company name).
➤ Format the text by adjusting font, size, color, and angle.
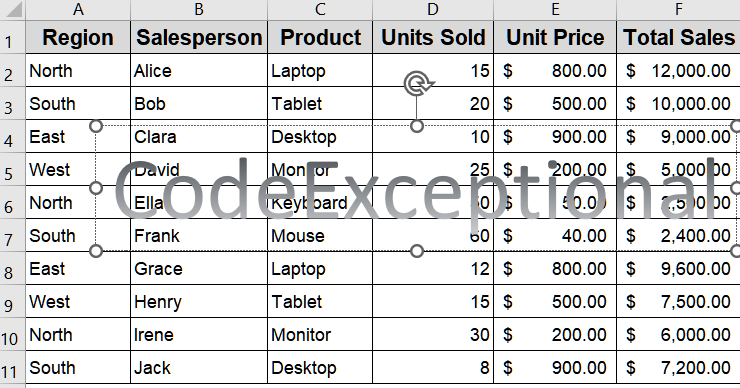
➤ Drag the WordArt to position it behind your data as desired.
➤ Right-click the box to open the Format Shape pane to adjust transparency, rotation, or alignment for a professional look.
Now the WordArt will appear as a watermark behind your data.
Inserting a Background Image as Watermark
If your worksheet is primarily meant for on-screen viewing, adding a background image can enhance its visual appeal. It displays across the entire sheet but doesn’t affect your data or editing process. This method is ideal for digital reports, dashboards, or presentations, since the image won’t print, making it a perfect option for non-printable watermarks or visual branding in shared Excel files.
Steps:
➤ Go to the Page Layout tab.
➤ In the Page Setup group, click Background.
➤ Select an image from your computer or an online source.
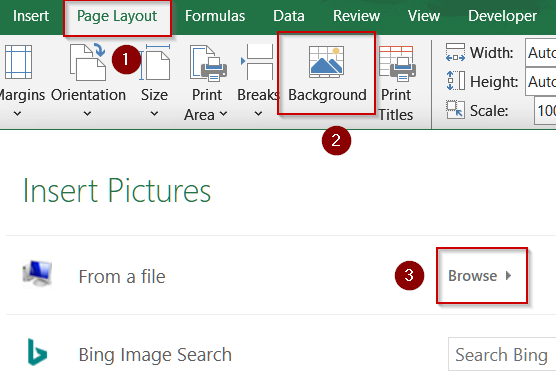
➤ The image will now appear as the background across the entire worksheet.
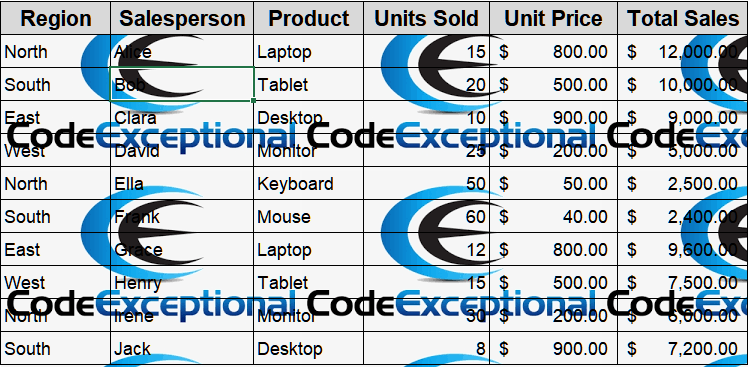
Note:
This image will not print which makes it ideal for digital sharing or presentations.
Frequently Asked Questions
Can I print a watermark added via WordArt?
Yes, watermarks created using WordArt appear on printed worksheets. You can format transparency, size, and rotation to ensure the text is visible but subtle, preserving the clarity of the data underneath.
Will a background image watermark print automatically?
No, background images inserted via Page Layout >> Background are only visible on-screen. They are not printed, so this method is suitable for digital use, presentations, or online sharing rather than physical reports.
Can I adjust the transparency of an image watermark?
Yes, after inserting a watermark via Header & Footer, select the header, click Format Picture, and adjust transparency under Picture or Fill options. This makes the watermark subtle and avoids obscuring worksheet data.
How can I remove a watermark in Excel?
To remove a watermark, go to the header where the image is located, select the &[Picture] or WordArt object, and press Delete. For background images, go to Page Layout tab >> Delete Background.
Can multiple watermarks be added to the same sheet?
Yes, you can combine multiple WordArt text objects or insert several images using Header & Footer, but ensure proper positioning and transparency so the watermarks do not overlap or obscure worksheet data.
Wrapping Up
In this tutorial, we covered three methods to insert watermarks in Excel using an image in Header & Footer, WordArt text, and a background image. You now know how to create professional, branded, or draft watermarks for both print and digital worksheets. Feel free to download the practice file and share your feedback.