We often hide rows that contain unwanted, irrelevant rows in Excel, and it often seems harmless. But these rows can be equally dangerous to your dataset as erroneous data. A hidden row containing outdated values can sneak into your formulas, charts, and analysis. The result is the misleading data that you can never avoid. Imagine calculating payroll for former employees as part of the total. It is a disastrous business decision! As a result, deleting the hidden rows not only saves you from this hassle but also cleans up the sheet visually and professionally.
To delete the hidden rows in Excel, follow these steps-
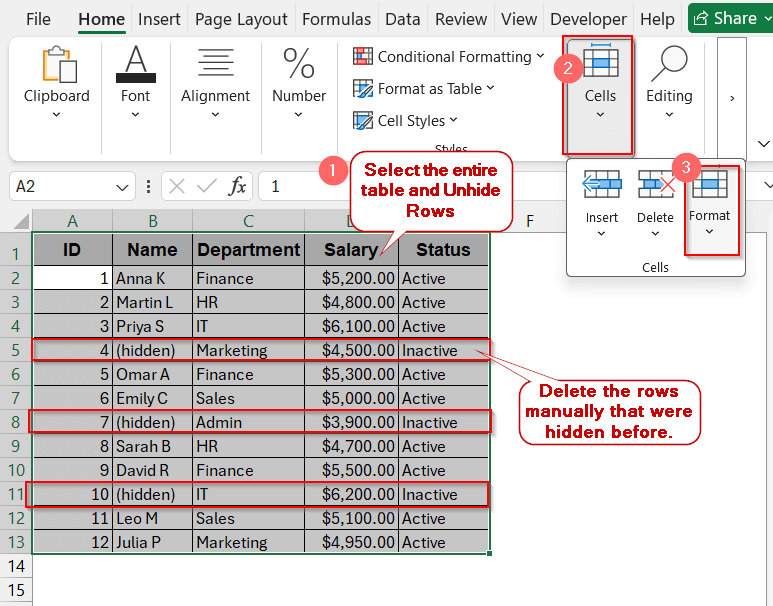
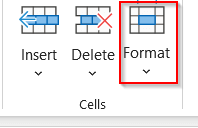
➤ Select the entire table and click on the Format option under the Cells.
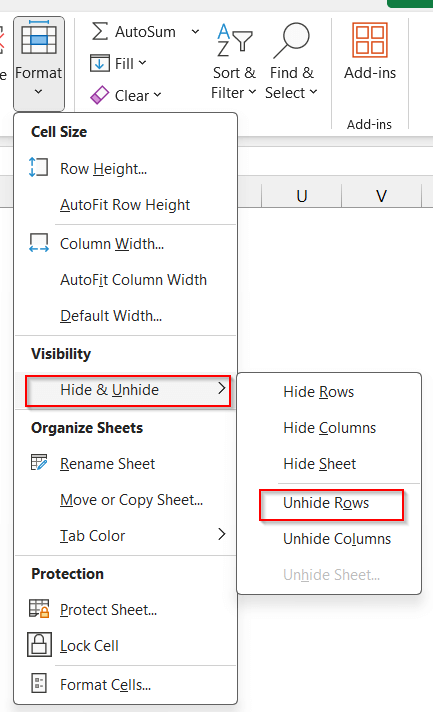
➤ Click on Unhide Rows to unhide the hidden rows.
➤ All the hidden rows are now visible.
➤ Delete them manually one by one.
This is just the first step. We have more methods from the AutoFilter, Go To Special options, to advanced ways like Inspect Document and VBA. By the end, you’ll know exactly what methods are actually needed for you. Whether you want to clean your dataset or remove all unwanted entries, dive in and uncover how to delete hidden rows in Excel for good.
Manually Delete Hidden Rows in Small Worksheets
For smaller worksheets, you do not need any formalized method or any rocket science to delete the hidden rows. This is the simplest and easiest thing you can do for your smaller datasets. Just unhide the rows, review them, and identify which you do not need. Delete the ones that you do not need. Though it is not ideal for large datasets, it is quite good at ensuring no accidental removals happen.
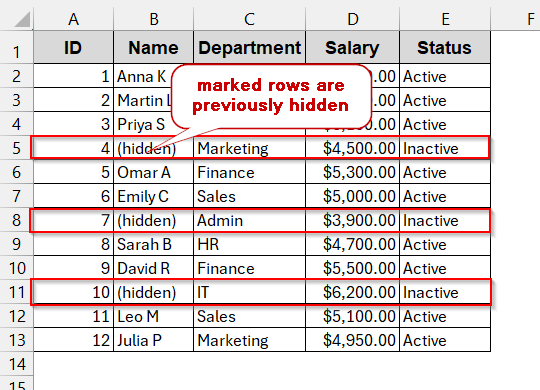
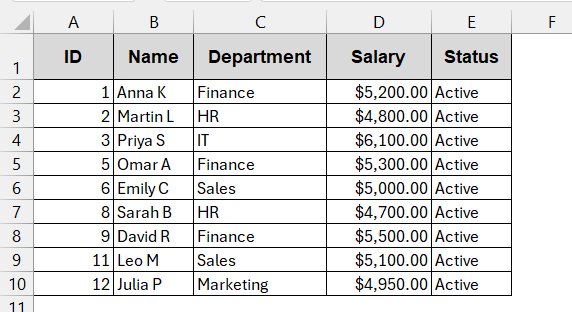
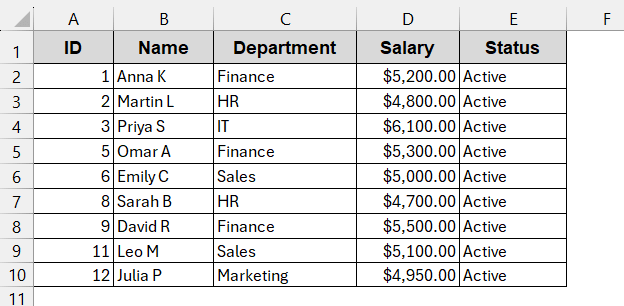
The following dataset will be used as an example here-

The rows 5, 8, and 11 are hidden here, which need to be deleted.
Steps:
➤ Select the entire table and click on Format under Cells in the Home tab.
➤ In the dropdown menu, click on Hide & Unhide below the Visibility section. Choose Unhide Rows.
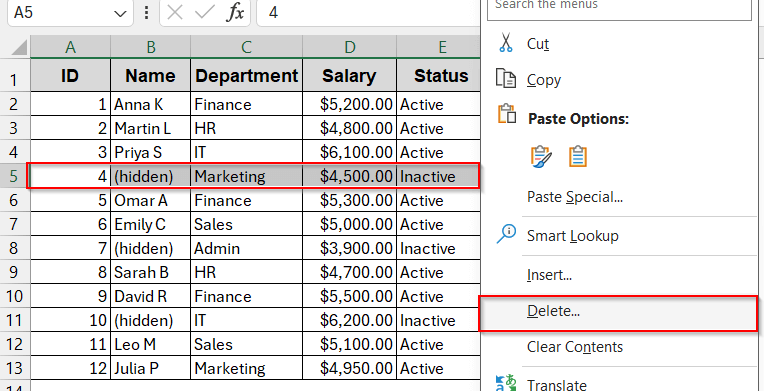
➤ This will reappear the hidden rows like 5, 8, and 11.
➤ Select the rows that are not needed, right-click, and choose Delete...
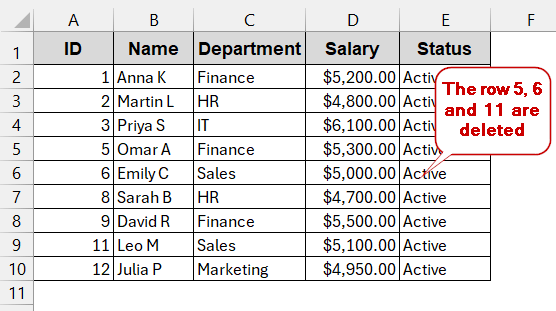
➤ Delete the other unwanted cells similarly to get the sheet with only the relevant data.
Notes:
After clicking on Delete, select Shift cells up to remove the visible gap of the deleted rows.
Delete Hidden Rows Created by Filter Option
When rows are hidden due to a Filter, they behave differently from the normal hidden cells. Filtering automatically flushes out cells that do not contain the specific criteria, which makes it easier to delete them. This method is particularly useful when the hidden rows have a common pattern or text that is not present in other visible ones.
Steps:
➤ Unhide all the rows if they are hidden.
➤ Identify if the hidden rows have a similar pattern in the values of the column.

Notice that in our dataset, rows 5, 8, and 11 are hidden. All of them have the status ‘Inactive’. We can use this attribute as a Filter to delete the unwanted cells.
➤ Select the entire table and go to the Filter option under the Data tab.
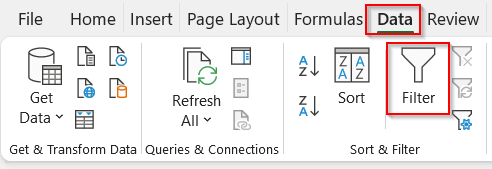
➤ This generates the dropdown Filter option in each header.
➤ Select the attribute of the hidden rows (here it is Inactive from the Status column).
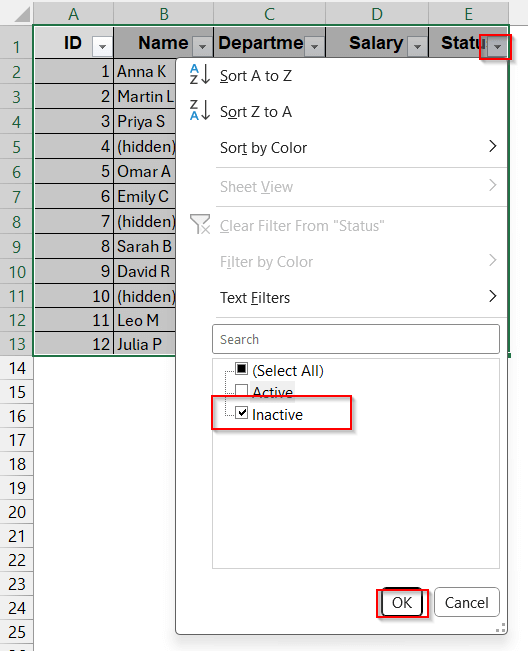
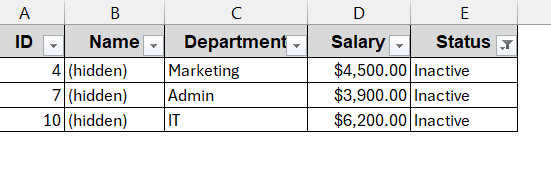
➤ This will only display the hidden rows.
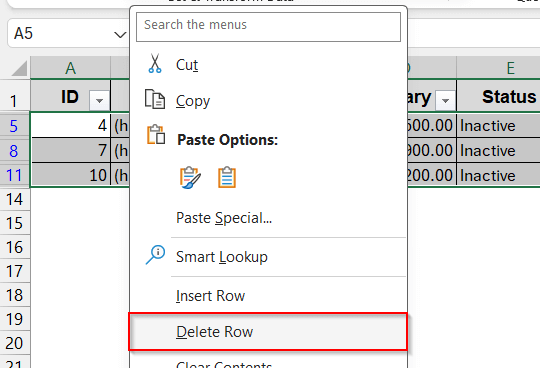
➤ Select the entire table (without the headers), right-click, and select Delete Row.
➤ Then again, go to the dropdown menu under the Status column and now click on Select All.
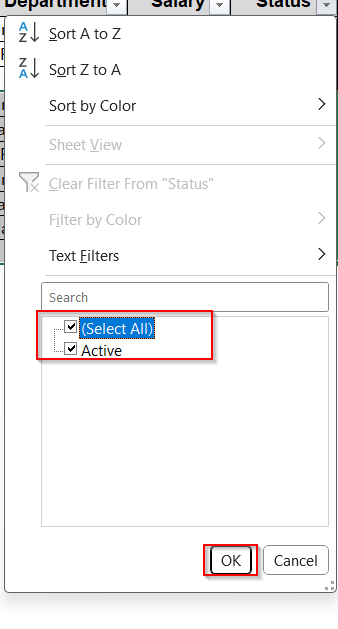 ➤ This will remove the previously hidden rows based on the Filter option and display only the required ones.

Notes:
This method does not filter cells that are originally hidden. To filter them, you need to Unhide Rows.
Use Go To Special Selection to Clean Hidden Rows
Instead of manually deleting or filtering the cells, you can also remove the hidden rows by simply copying the unhidden cells. When copied normally, even the rows that are the hidden rows are still present when they are pasted. In such cases, we can use the Go To Special option to paste only the visible cells to get rid of the unwanted, hidden rows.
Steps:
➤ Open the dataset that has hidden rows.
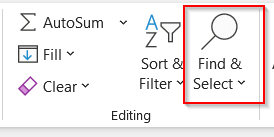
➤ Select the entire table and click on Find & Select.
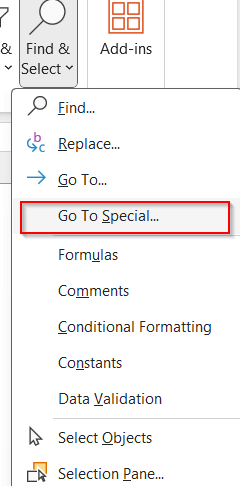
➤ On the Find & Select dropdown menu, choose the Go To Special option.
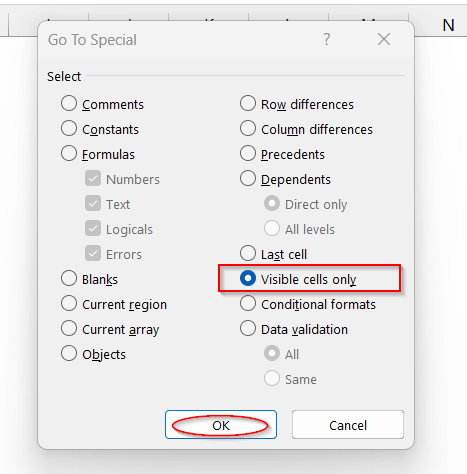
➤ In the Go To Special window, select the Visible cells only and click OK. This will only keep the visible cells, and the hidden ones will not get selected when the entire table is selected.
➤ Select the table again and copy the datasets to paste them into the new worksheet.
➤ This will remove the hidden rows permanently. Replace the previous sheet with the new sheet.
Notes:
You can use the shortcut key Alt + ; to instantly select the visible cells.
Remove Hidden Rows with Excel’s Built-in Inspector
The smartest way to remove the hidden rows is to use Excel’s built-in tool – Inspect. It is most helpful when you need to share documents, and hidden rows can reveal personal information that you don’t really want to share. This tool is especially built to remove hidden elements – rows, columns, sheets, and comments – in one go for your privacy and security purposes.
Steps:
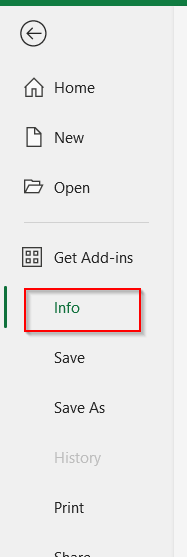
➤ Open the dataset that has hidden rows and go to the File tab -> Info.
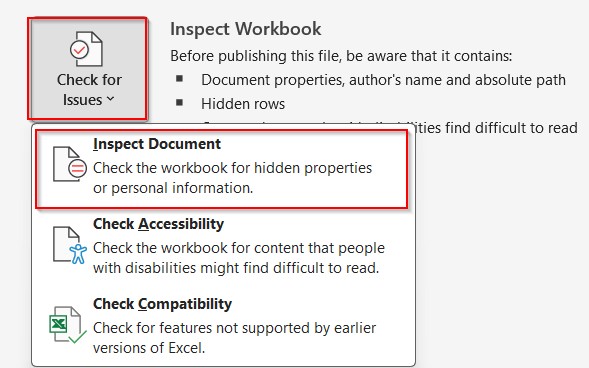
➤ In the Info window, click on Check for Issues -> Inspect Document under Inspect Workbook.
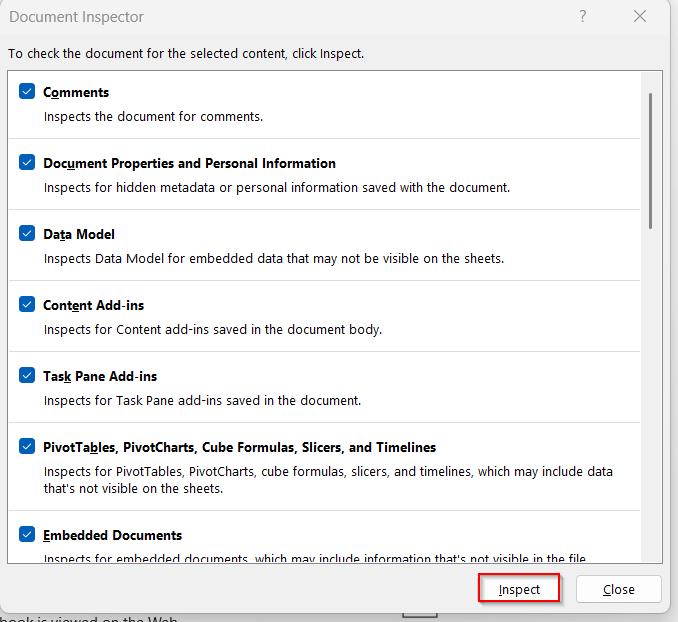
➤ In the Inspect Document, click on the Inspect button.
➤ Along with other attributes, find the attribute for hidden rows and columns. When identified, click on Remove All.

➤ This will remove all the hidden rows from the dataset.
Notes:
➨ Once Inspect Document deletes any row or column, it can’t be undone. It is permanently deleted.
➨ If rows are hidden by filters, Inspect Document will not be able to delete them.
One-Click VBA Script to Clean Hidden Rows for Large Datasets
Doing the same clean-up of the hidden rows time and again in the large datasets is not efficient. It is most likely to cause errors, making the entire workflow twice as slow as before. The best way in this case is to automate the deletion of hidden rows using the VBA Macros. With this, you can create a VBA script that manually scans the worksheet for hidden rows and deletes them in an instant.
Steps:
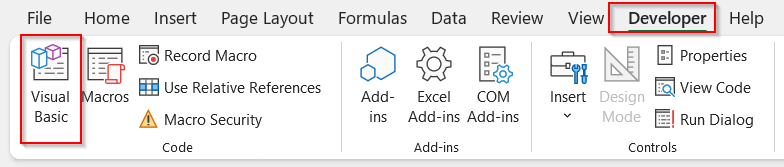
➤ Open the dataset and go to the Developers tab -> Visual Basic.
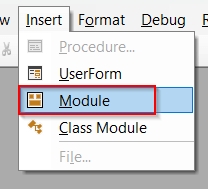
➤ In the launched VBA window, click on the Insert tab and choose Module.
➤ In the blank space of the Module, write the following VBA script-
Sub DeleteHiddenRows()
    Dim ws As Worksheet
    Dim rng As Range
    Dim cell As Range
    'Loop through each worksheet if needed
    For Each ws In ActiveWorkbook.Worksheets
        ws.Activate
        Set rng = ws.UsedRange
        For Each cell In rng.Rows
            If cell.EntireRow.Hidden = True Then
                cell.EntireRow.Delete
            End If
        Next cell
    Next ws
End Sub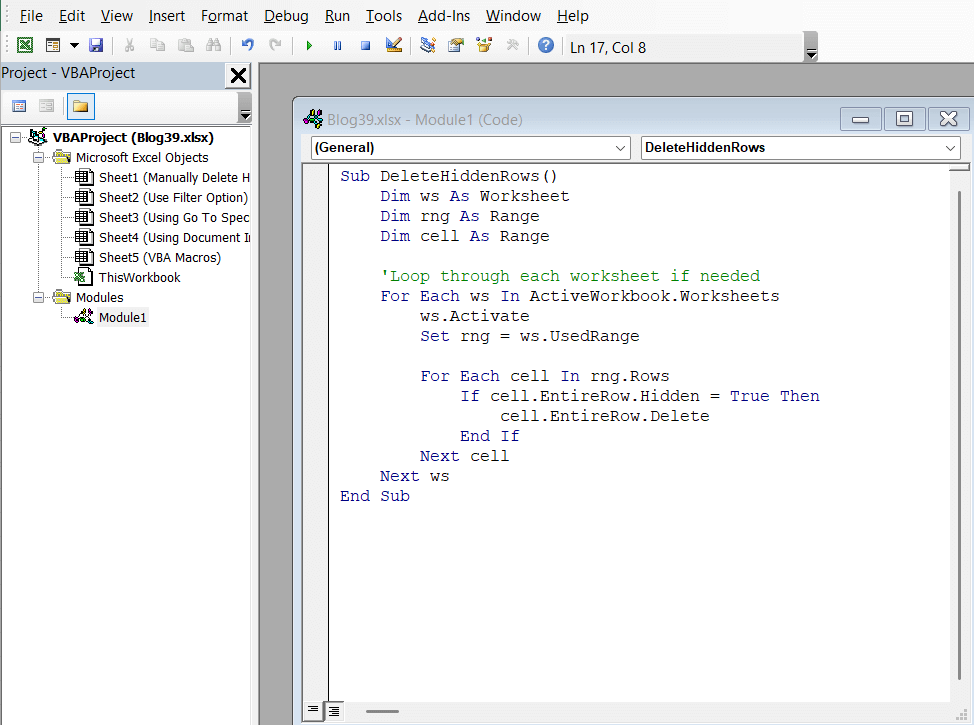
➤ Save the macros by Ctrl + S and close the window.
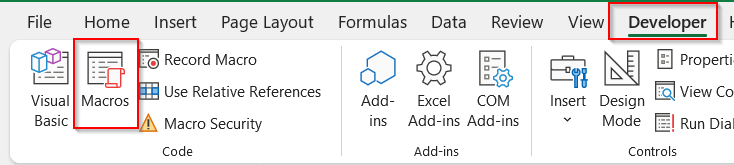
➤ In the Developer tab of the Excel sheet, click on Macros now.
➤ In the Macro window, select the newly created VBA formula (DeleteHiddenRows) and click on Run.
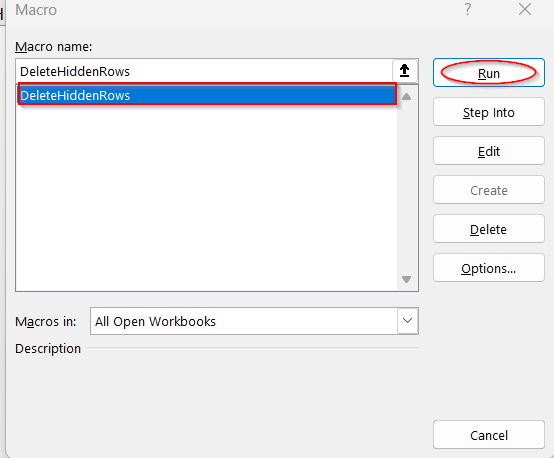
➤ This will delete all the hidden rows from the current worksheet.

Notes:
The VBA code works for hidden rows, whether they are filtered or manually hidden.
Frequently Asked Questions (FAQs)
How do I know whether rows are hidden or filtered?
For the hidden rows, you will usually see the gaps in the row numbers. For example, if rows 3 and 5 are hidden, in the Excel row number, these numbers will not appear, and after 2, it will jump to 4 and then 6. On the other hand, the Filter option hides the rows, but the row number remains the same without any gaps.
Can I undo if I delete hidden rows by mistake?
Depending on the method you used, you can undo the deletion of the hidden rows. If you use manual deletion or the AutoFilter method, you can undo the deletion of the hidden rows by Ctrl + Z . However, if you use the Inspect Document or a VBA script, the change is permanent and cannot be undone.
Will Document Inspector remove anything other than the hidden rows?
The Inspect Document option can remove hidden columns, comments, worksheets, and even personal information. This ensures the privacy and the security of the worksheets. The change is permanent and once done, can’t be undone.
How do you delete hidden rows without using Macros?
You can delete the hidden rows using the Document Inspector option. It is present in the Info option under the File section, and provides faster automation like VBA Macros.
How do you delete hidden rows across multiple sheets/workbooks automatically?
To delete hidden rows across multiple sheets or workbooks, it is better to create the VBA Macros. The code snippet will be programmed to loop through all the sheets of the workbooks and scan for hidden rows to delete. Alternatively, you can also do this using PowerShell.
Concluding Words
Hidden rows can quietly distort reports, inflate totals, and expose sensitive data. To delete these rows, you can follow several methods in Excel. Either you can manually delete them one by one by unhiding, you can use Filters and Go To Special section, or you can use the automated approach of Document Inspector or VBA Macros. Each method gives you a certain type of flexibility and together enables you to handle any type and size of dataset. As you master all these methods and download your workbooks for hands-on experience, you get the entire toolkit to delete hidden rows in Excel.