Still writing product labels by hand and sticking plain text codes on the boxes? This is not only old but also risky as a bet. A wrong digit can lead to misplaced stocks, missing shipments, and finally frustrated customers. No one wants that. The better solution is to print the barcode labels directly from Excel. It only makes your spreadsheet professional with scannable labels, and it also keeps your workflow organized and error-free.
To print barcode labels in Excel, you can just follow the steps below.
➤ Make a copy of the worksheet to try your printing at first.
➤ Generate a barcode using Code 128 or Code 39 for each code.
➤ Set the barcode font to 16 to 24 pts.
➤ Go to View -> Page Layout to adjust the width and height.
➤ Set the width to 2.625 inches and height to 1 inch.
➤ Go to Files -> Export -> Create PDF to export the worksheet to PDF.
➤ Try test printing and resize if needed.
In the rest of the article, we will walk you through how to print barcode labels in Excel properly. We will cover how to set up label layouts and follow best practices to print properly. Ultimately, we will find ourselves confident enough to print labels, whether ten or a thousand.
Using Word Mail Merge with Excel Data
There might be many ways to print labels, but nothing beats Word’s Mail Merge feature. It is reliable and comes with built-in label tools and formats like Avery and Mail Merge. Once you create the barcodes, the Mail Merge aligns them properly in the label format. It saves you the hassle of resizing the data type and takes care of your labels perfectly.
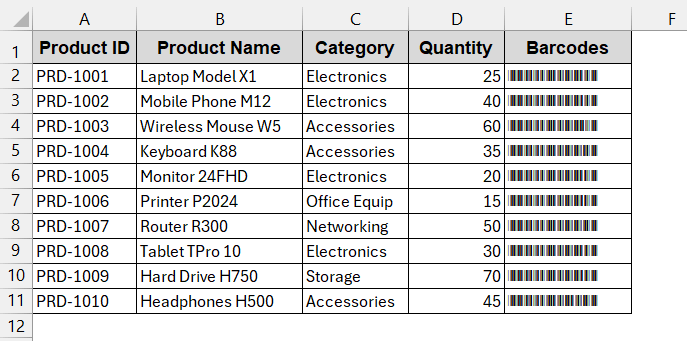
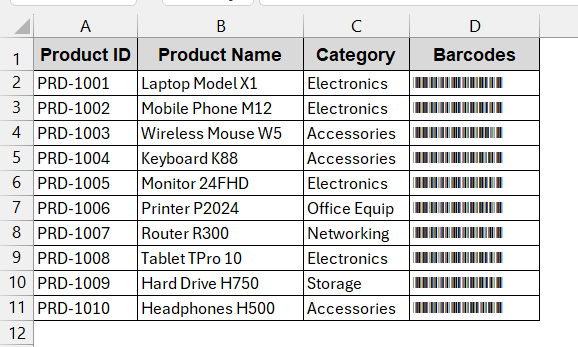
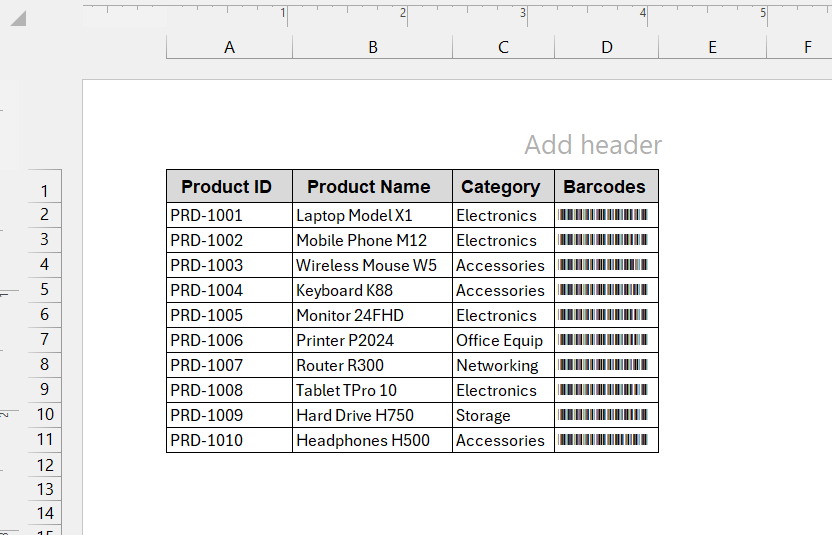
For this example, we will be printing labels for the following datasets. It contains the barcode Code 39. You can use anything – Code 39, Code 128, or QR.
Steps:
➤ Make sure to create the barcodes in your Excel (Use fonts or Web API installation for this).
➤ Once you have prepared your datasheet, open Microsoft Word.
➤ In the new document, go to Mailings -> Start Mail Merge -> Labels.

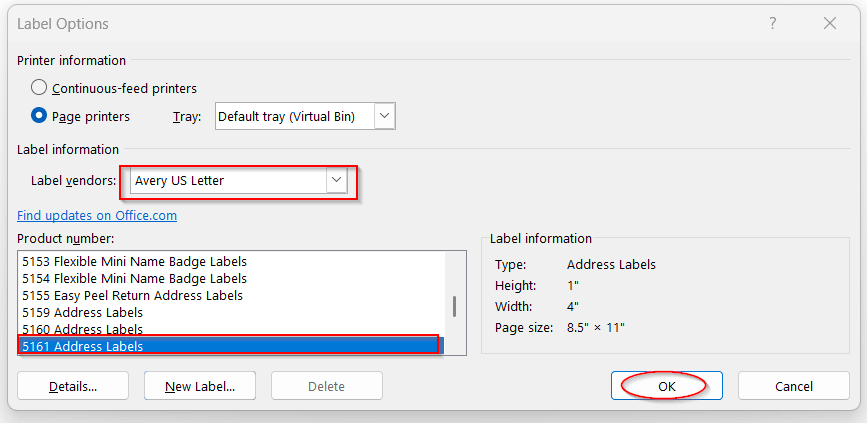
➤ In the Label Options, select the Label vendors as Avery US Letter and Product number 5161 Address Labels. Click OK to apply the format.
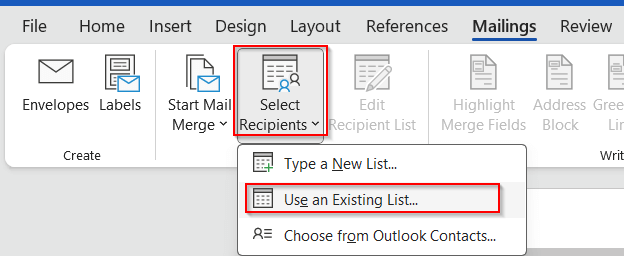
➤ Now, go to Mailings again and select Select Recipient -> Use an Existing List.
➤ Select the Excel file from the preferred file location.
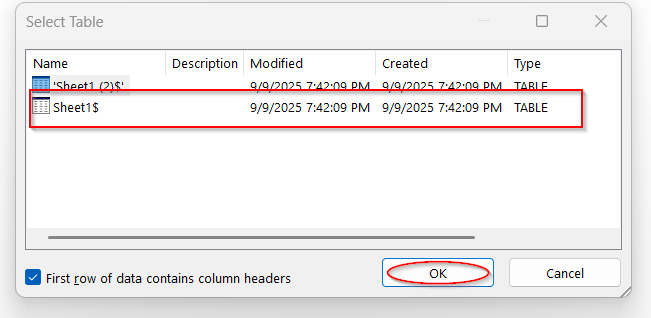
➤ Choose the sheet name and click OK.
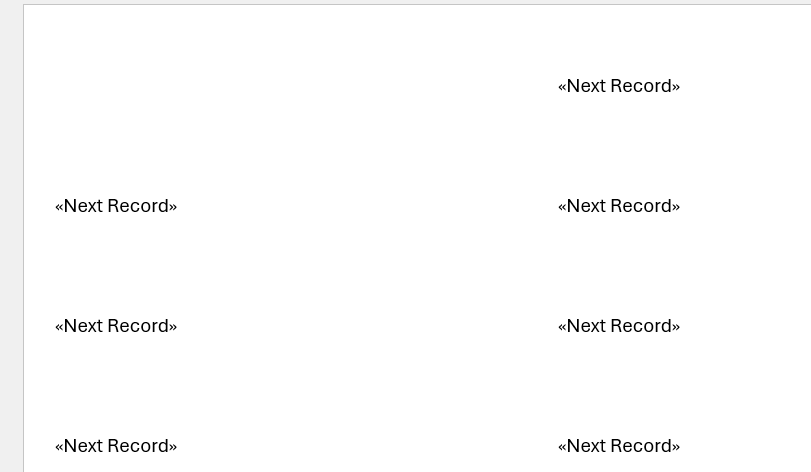
➤ The Word document will look similar to this due to the Avery label.
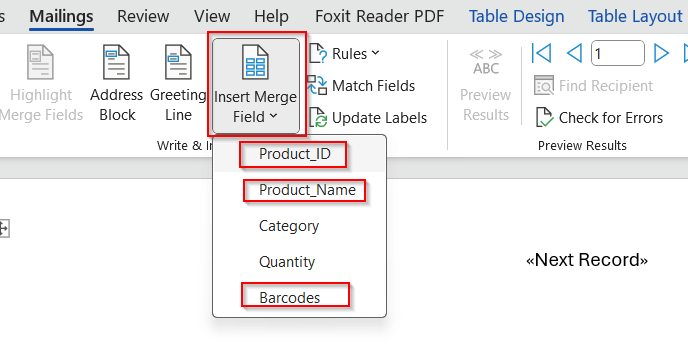
➤ Click on Insert Merge Field located in the Mailings and pick the fields you want to include. You can omit the irrelevant ones.
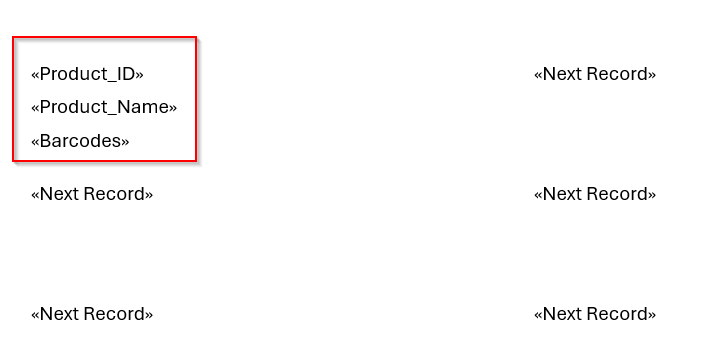
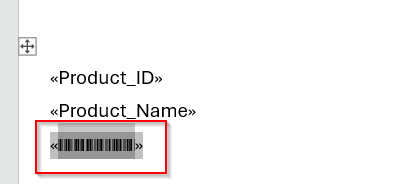
➤ The first label space will look like this after selecting the required fields.
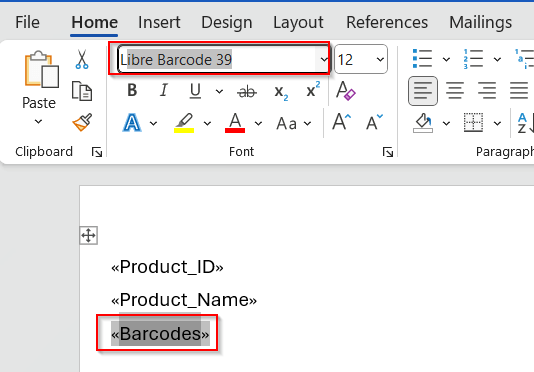
➤ Select the barcodes column name (or whatever column you have stored barcode) and change the Font to Libre Barcode 39 or Libre Barcode 128. Make sure you use the same code that you used in your Excel.
➤ It will convert the code to an actual barcode from your Excel file.
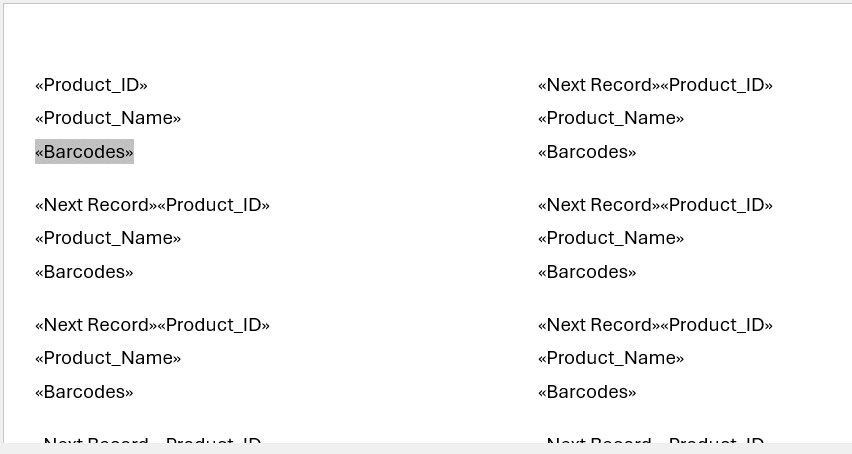
➤ Go to the Mailings tab again and click Update Labels.
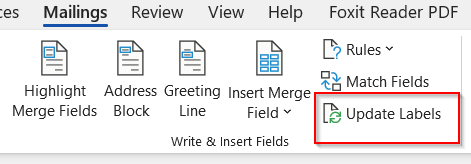
➤ This will change all the Next Records to the same format as the one we generated.
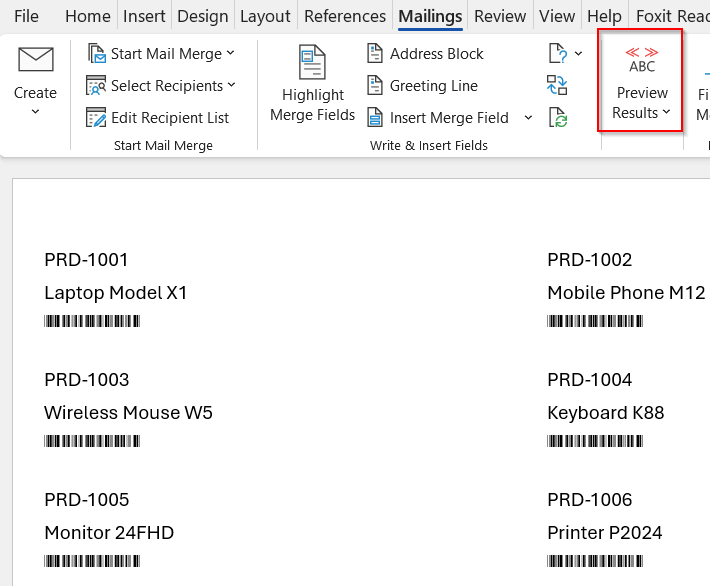
➤ Now, click on Preview Results to see all the labels with values.
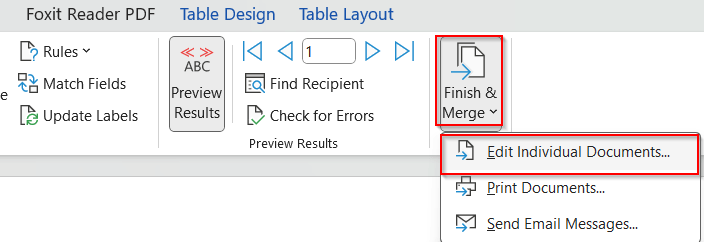
➤ Click on Finish and Merge from the Mailings tab. Choose the Edit Individual Documents option.
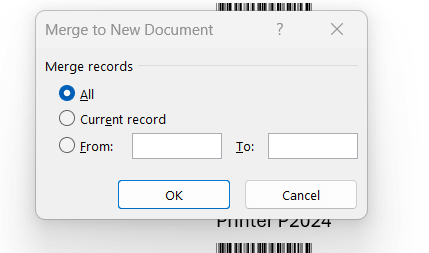
➤Merge to New Document window is opened. Select All. This will generate the same document with the same formatting, with the name of Label1.
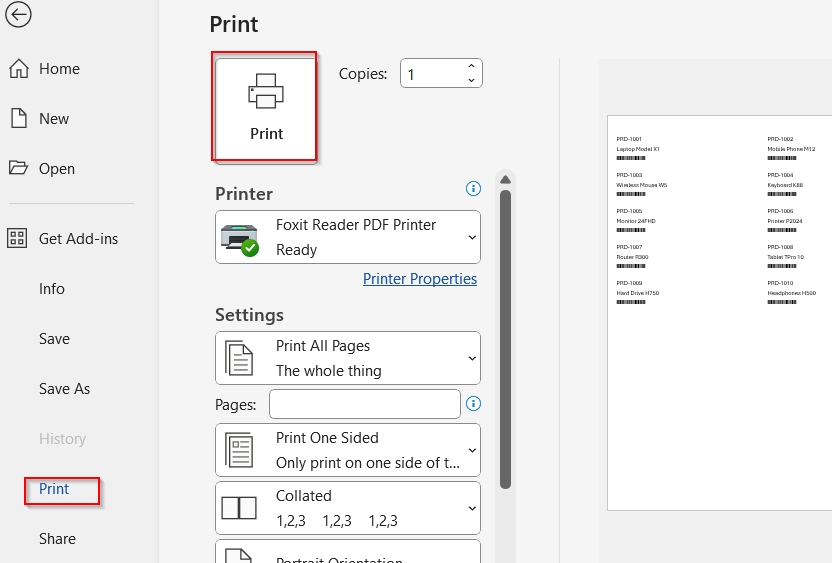
➤ Now in the new document on Label1, go to File -> Print.
➤ See the preview, ensure proper width, height, and page layout, and finally click the Print option.
Notes:
➨ Ensure you have downloaded the Libre Barcode 39 or 128 font. Without the font installed, you will not be able to choose it from the Font section.
➨ If the labels are misaligned, verify the Avery code and the printer scaling.
Designing and Printing Labels Directly in Excel (Alternative Method)
We know that not everyone wants to switch between Word and Excel to print labels. The good thing is that you can print and design the labels in Excel with some tweaks. The main challenge is to make sure your Excel cells line up properly, like the label paper. With the right step, the rest of the steps are smooth.
We will be assuming we have the following dataset and the barcodes of Code 39.
Steps:
➤Create the barcodes first.
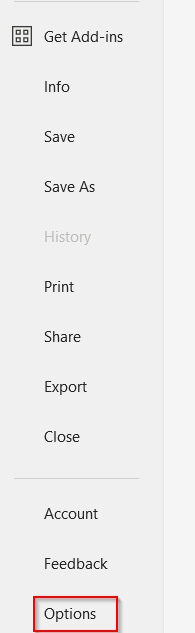
➤ Change the Page Layout to inches. Go to File -> Options
➤ In the Options window, go to Advanced. Under the Display option, change the Ruler unit to Inches from the Default unit.

➤ Now, go to the View tab -> Page Layout. This will show the Inches ruler above the datasets.
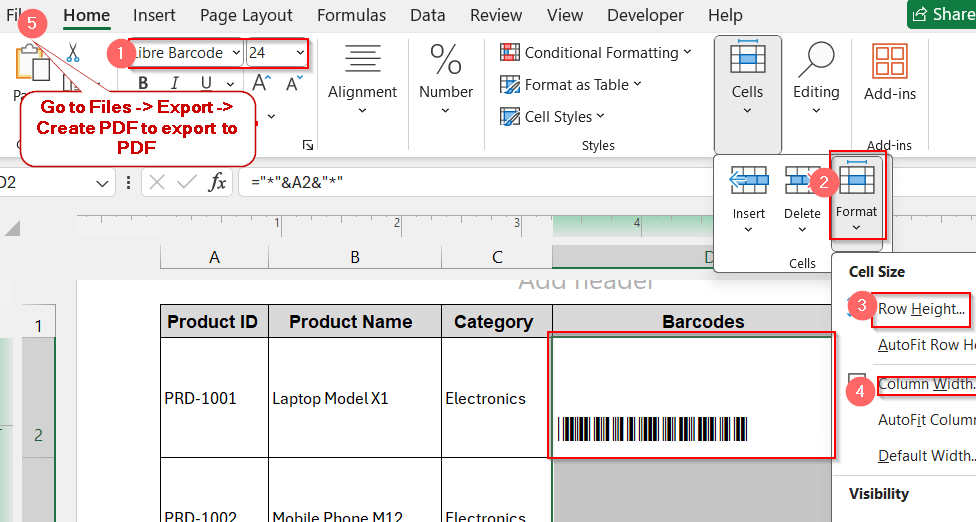
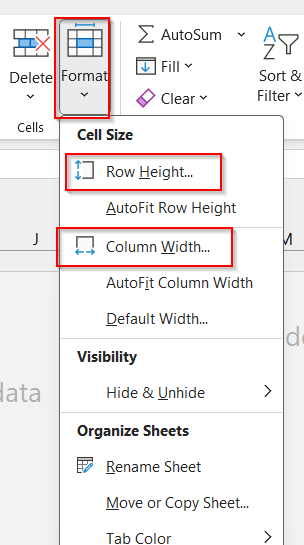
➤ Now, in the Home tab, go to the Format option under the Cells section. Click on Row Height and Column Width to adjust them as per the label.
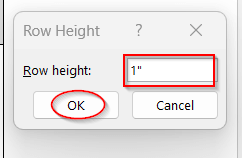
➤ Set the Row Height to 1 inch and click OK.
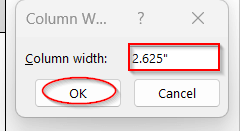
➤ Set the Column Width to 2.625 inches and click OK.
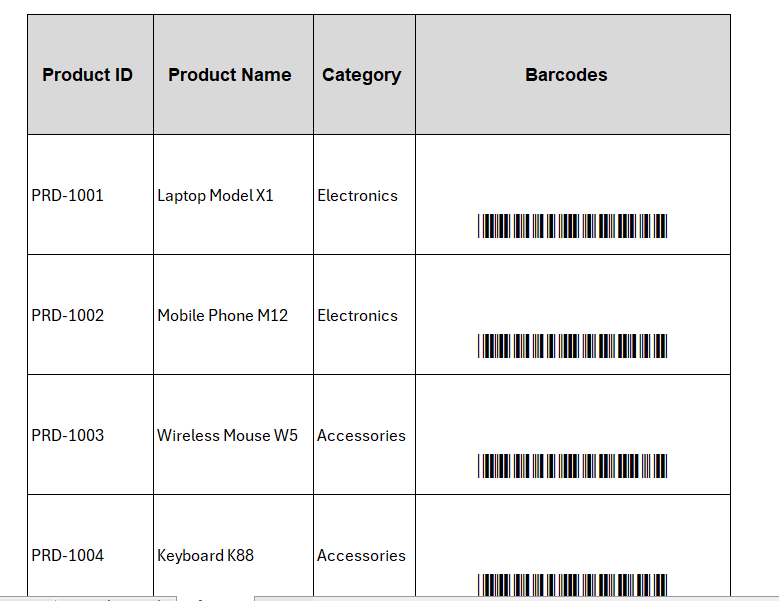
➤ This will change the table’s rows and columns layout as the label.
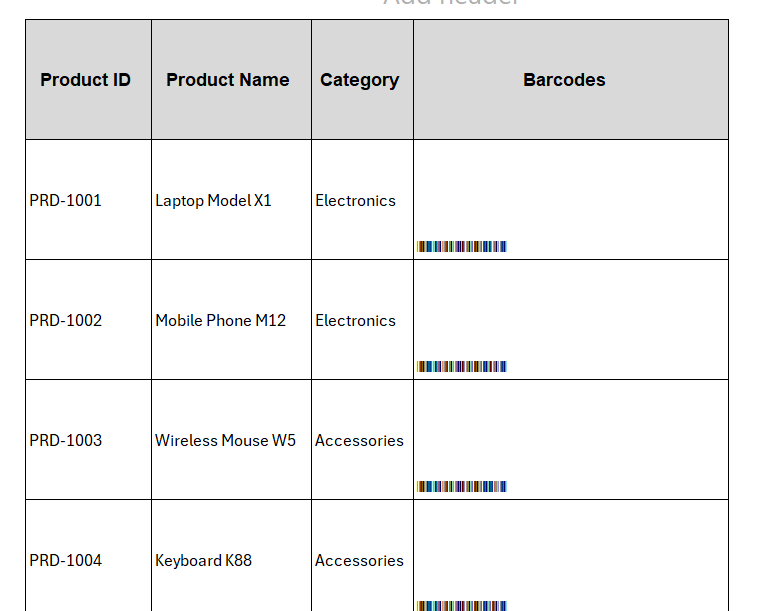
➤ Increase the barcode’s font size (16 to 24 pts) and align it to the center.
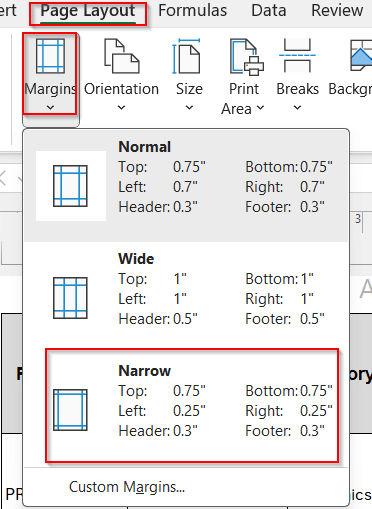
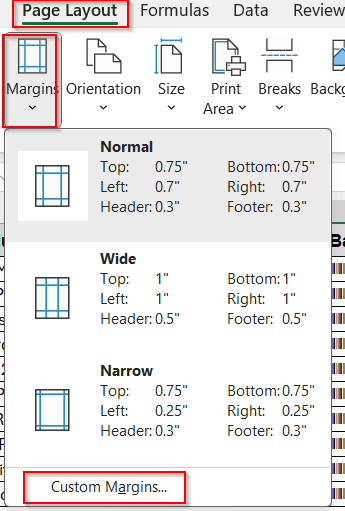
➤ Go to Page Layout tab -> Margin. Select Narrow from the drop-down menu.
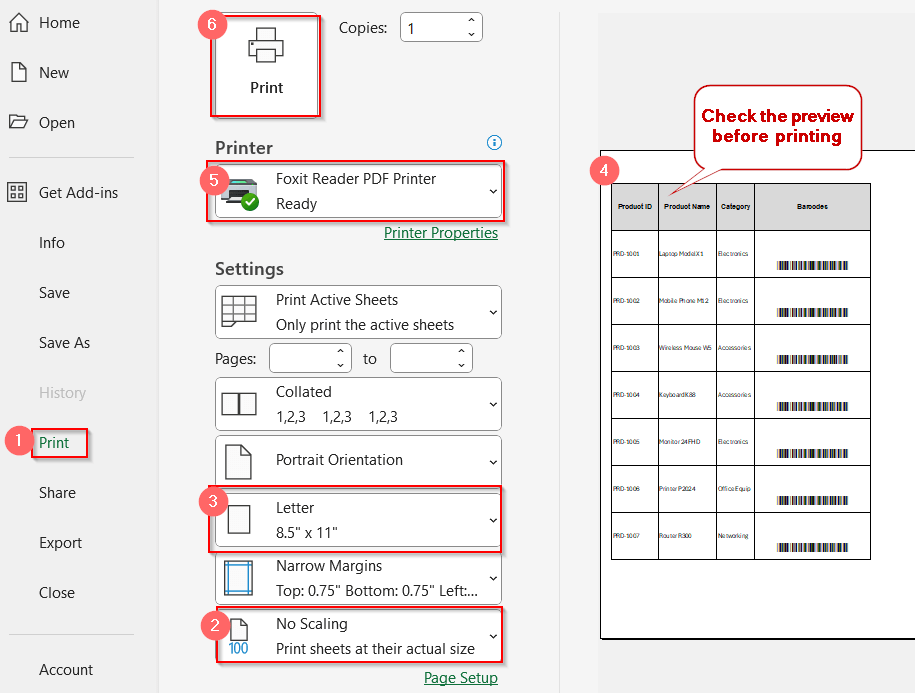
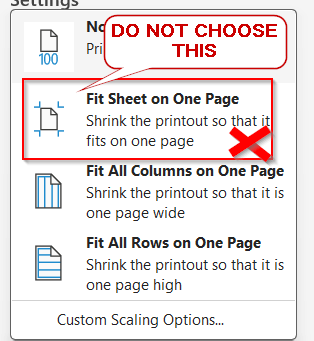
➤ Click on the File tab and go to the Print option. Ensure No Scaling is selected under Settings. Ensure other options like page layout and preview before clicking the Print button.
➤ Print and test again with a different orientation if required.
Notes:
The inches of row and width are chosen based on the Avery 5160 label. Avery has three columns and 10 rows for each page. That means it has a width of 2.625 inches for each column and a height of 1 inch.
Troubleshooting Common Printing Issues with Barcode Labels
Even after following all the procedures and aligning your label layout, you may find many problems during printing. They might become blurry, misaligned, and ultimately not scannable. These errors have common causes, like printing settings or scaling issues. If you, too, are facing printing problems, go through this section to find your solution.
Barcodes are Blurry or Faded
One of the common issues is blurred barcodes. This problem is not always about your printer’s inkjet. The underlying cause of the problem can be DPI or poor paper quality.
To fix this, follow the steps below –
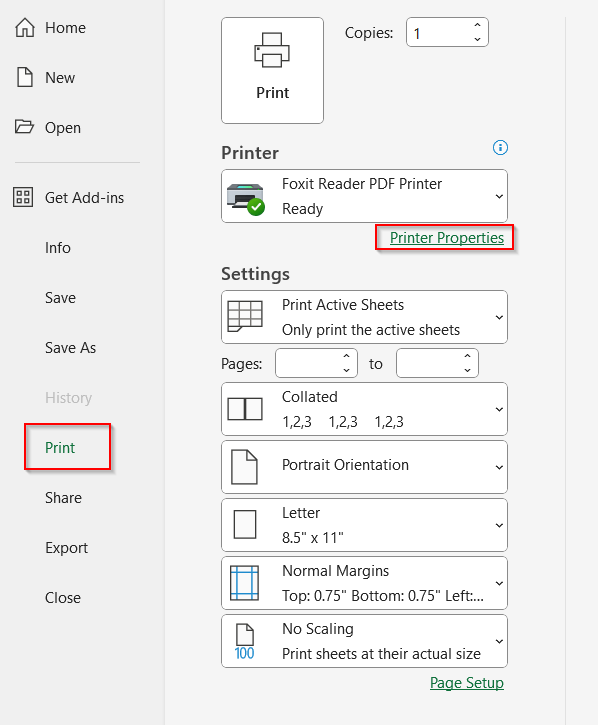
➤ In the Word file or Excel, go to File -> Print.
➤ Click on Print Properties in the Print option.
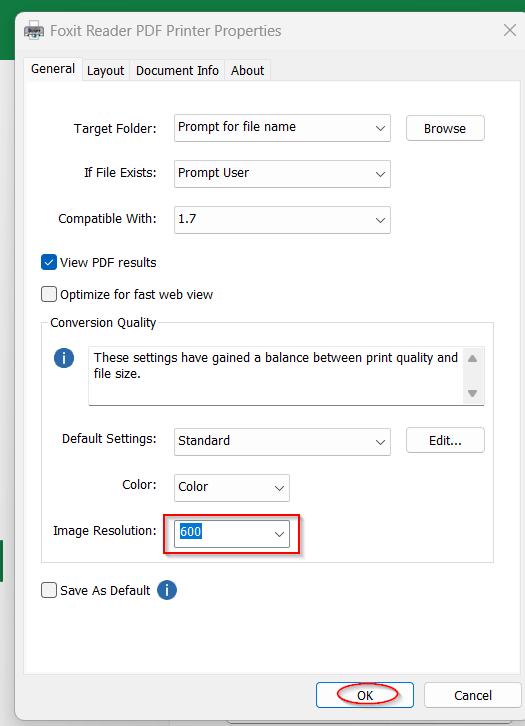
➤ In the Properties section, choose the Image Resolution to have at least 300 DPI (dots per inch). 600 DPI recommended for smaller barcodes.
➤ Use a laser printer for high-quality and smooth labels.
➤ Avoid Draft or Eco in print modes.
Barcodes Misaligned with Labels
Misalignment in labels is one of the major issues in printing. If you find these problems, you must ensure all margins are properly set. Also, ensure the scaling is properly chosen based on your label format.
To fix, follow these steps below –
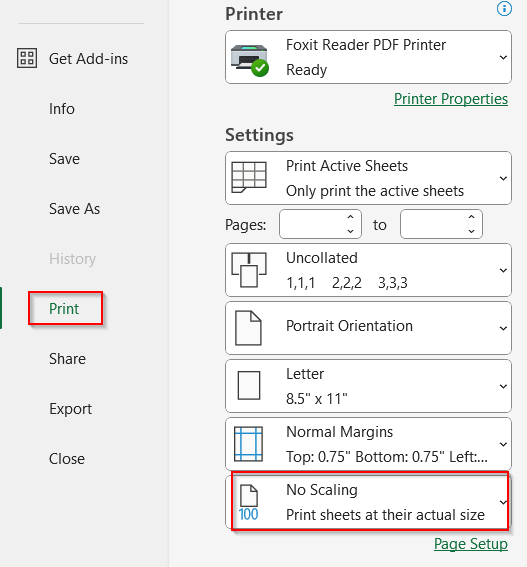
➤ Go to File -> Print in your Word or Excel file.
➤ In the Settings, choose the No Scaling option.
➤ Also, go to the Page Layout tab -> Margins. Select the custom margin and set it according to the label layout.
➤ Print a test paper to see the alignment. Change the margins to 0.05 inches at a time to see the changes and adjust them properly.
Printer Cuts Off Part of Barcode
There are cases like that when some parts of the barcodes are being cut off while printing. This can also be possible due to a mismatch between the margin and the page size. It can also be fixed by changing the layout and margin.
To prevent barcode cut off, follow these steps –
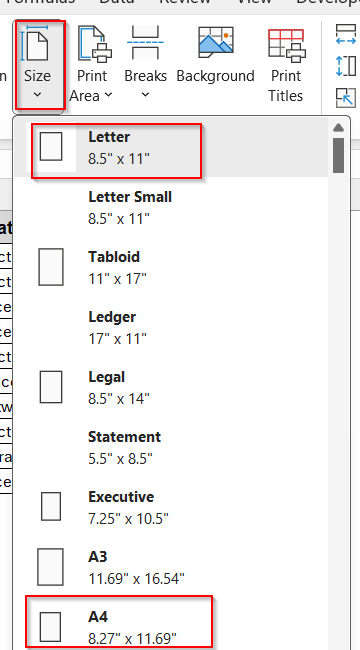
➤ In the Page Layout tab, go to Size. Ensure it is set on Letter or A4, depending on the label format.
➤ In the Settings option in the Print option, ensure you have selected No Scaling. Do not choose Fit to one Page for this.
➤ Do not use the borderless mode.
➤ Ensure the barcodes have quiet zones (margin gap from both sides)
Scanner Doesn’t Recognize the Barcode
Even if all the layout is correctly oriented, your scanner might not always scan the barcodes properly. It is another prominent issue that new users face while printing the barcode. This often happens due to incorrect encoding, missing quiet zones, or improper fonts.
To solve the scanner issue, try these –
➤ Ensure the correct barcode font is applied. Do not mismatch encoding with the barcode fonts of Code 39 or 128.
➤ Leave enough quiet zones or white spaces around both sides of the barcodes. Better to align them in the centre.
➤ For Code 128 barcode, use VBA encoding or web API.
➤ Increase barcode font size to 16 to 24 pts (120–150px size for images).
Frequently Asked Questions (FAQs)
Can I print barcodes directly in Excel without Word?
Yes, you can directly print barcodes in Excel. For that, you must ensure the rows and columns are properly sized according to the Avery 5161 label format. It works well for small to medium batches. For a large sample, Word’s Mail Merger is easier and more accurate.
Which barcode font works best for labels?
Libre Barcode 128 and 39 both work properly for the labels. You can also use a QR code or EAN/UPC. Both free and paid options are available for installing these fonts.
How do I align Avery labels correctly?
To align Avery labels correctly in Excel, resize the barcode cells. Set the column width to 2.625 inches and the row height to 1 inch. Afterwards, test print to ensure the label is correctly placed.
What’s the ideal size for a barcode on a label?
The ideal size for the barcodes is 1.5 inches by 0.5 inches. Also, you need to keep 0.25 inches for quiet zones. The font size is recommended to be over 16 pts up to 24.
Can I export labels to PDF and share them?
Exporting labels to PDF can be the best way to share them. Use Embed fonts to display the barcode fonts. If you have used Web API for barcode images, you are good to go without it.
Conclusion
Printing barcode labels does not have to be a guessing game. With the correct workflow, you can follow the methods that suit you exactly. For large datasets and label batches, go for Word’s Mail Merger for flexibility. However, the faster approach for small batches is to print from Excel directly; just do some layout changes. No matter what you follow, test, can, and recheck time and again. Troubleshoot for any issues that you came across. Once you prep your data, the results will be the most interactive and scannable prints of barcode labels.