
Sometimes we need to extract only the year component for a given date. We see this commonly in financial reports, trend analysis, and organizing datasets based on yearly values. Excel has a few very quick and easy functions that you can use to extract the date. Also you can extract days and months along with years.
To extract year from date in Excel, follow these steps:
➤ Select the cell where you want the extracted year to appear.
➤ Type the formula =YEAR(cell_with_date).
➤ Press Enter to display the year.
In this article, we will cover how to extract the year from a date in Excel using the YEAR function, TEXT function and excel format cells.
Using the YEAR Function to Extract Year from Date in Excel
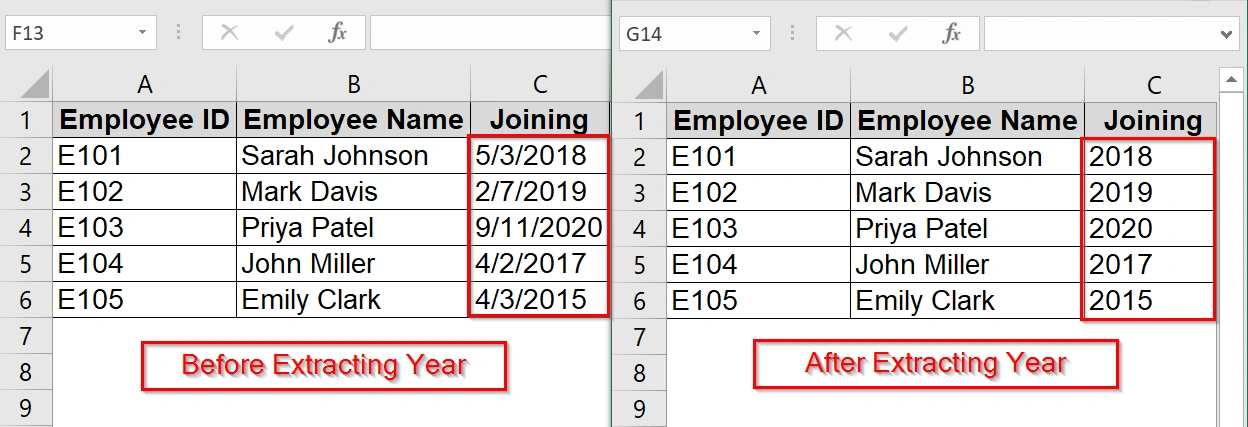
The YEAR function in Excel helps us to extract just the year from a complete date value. This method is good when we have full dates in our dataset but only need the year for analysis, filtering, or grouping purposes.
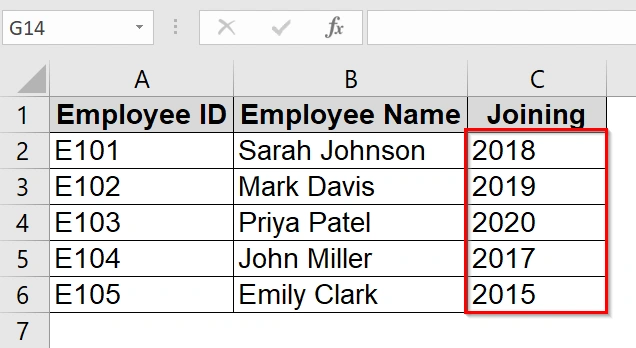
We have a dataset that contains joining dates of a company but we need only the year to create yearly hiring reports. We will use the YEAR function to extract the year from the full date.
Steps:
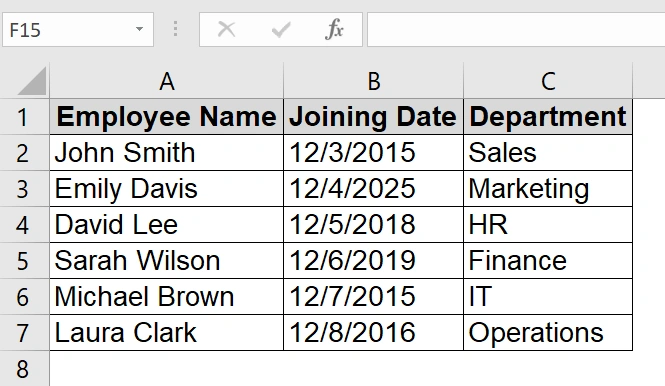
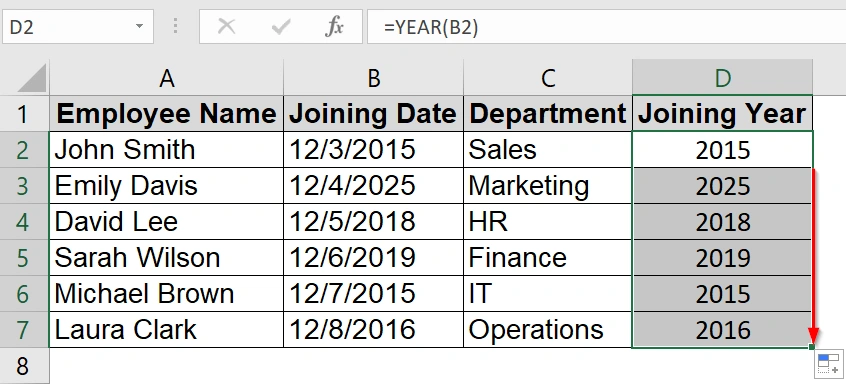
➤ Open the Excel sheet with date values. We have taken a table that contains Employee Name in Column A, Joining Date in Column B, and Department in Column C.
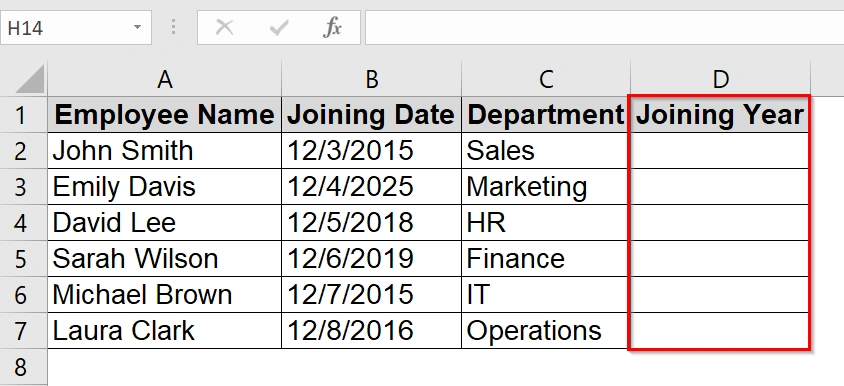
➤ Insert a new column for the year and type a header name such as “Joining Year“. We will store the extracted year in this column.
➤ Click on the first empty cell under “Joining Year” (e.g., D2).
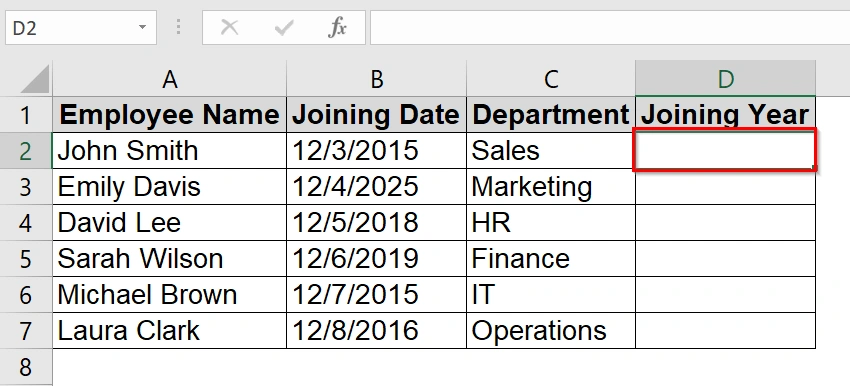
➤ Type the formula and click Enter:
=YEAR(B2)

➤ Hover over the bottom-right corner of D2 until the cursor becomes a small plus sign, then double-click or drag down to apply the formula to all rows.
Note:
Ensure that your date column is formatted as a date, not text, otherwise the YEAR function may return errors.
Use of TEXT Function to Extract Year from Date in Excel
The TEXT function in Excel displays numbers, dates, and times in a specific format as text. This method is good when we need the year from a date without affecting the original date value.
We have another dataset that contains an employee record sheet with joining dates. We want to extract just the year from the joining date to analyze hiring trends over the years. We will use Excel’s TEXT function to separate the year into a new column for reporting purposes.
Steps:
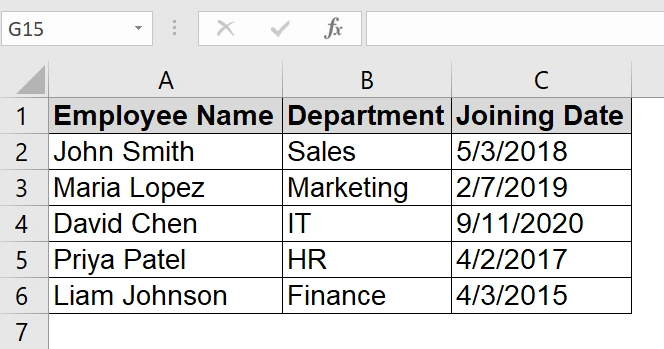
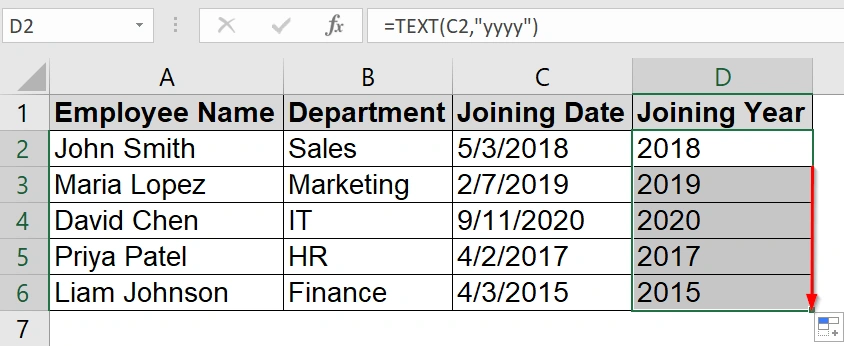
➤ Open the dataset that contains your infromation. For example, we have Employee Name in Column A, Department in Column B and Joining Date in Column C.
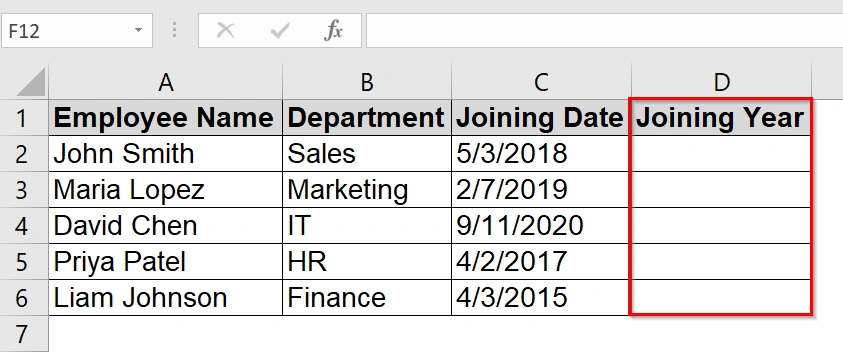
➤ Insert a new column next to the date column. Label it Joining Year. This will hold the extracted year values.
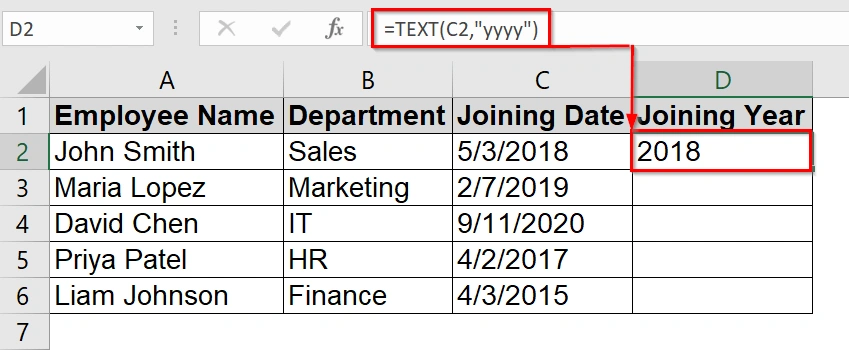
➤ In the first cell of the new column (e.g., D2) and type the formula:
=TEXT(C2,"yyyy")
Here:
➥ C2 refers to the first date cell.
➥ “yyyy” tells Excel to return only the 4-digit year.
➤ Use the fill handle to copy the formula to the rest of the cells.
Applying Cells Format to Extract the Year from the Date
Excel Format Cells change the date display so that only the year appears. This method is good when we want to visually show the year without creating a separate formula, such as in simple reports, HR records, or year-based summaries.
We have a worksheet that contains a list of employees with their joining dates stored in Excel. We will show just the year from these dates to create a report showing how many employees joined each year.
Steps:
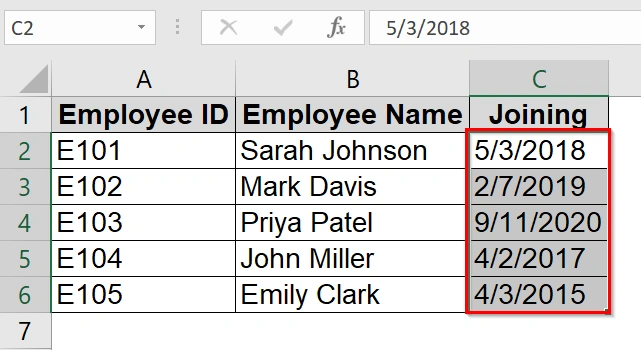
➤ Select the cells containing the dates from which we want to extract the year. For example, in our HR table, we have selected cells C2 to C11 which contain the “Joining Date” column.
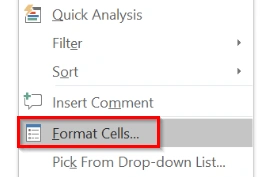
➤ Right-click on the selected cells and choose Format Cells from the menu.
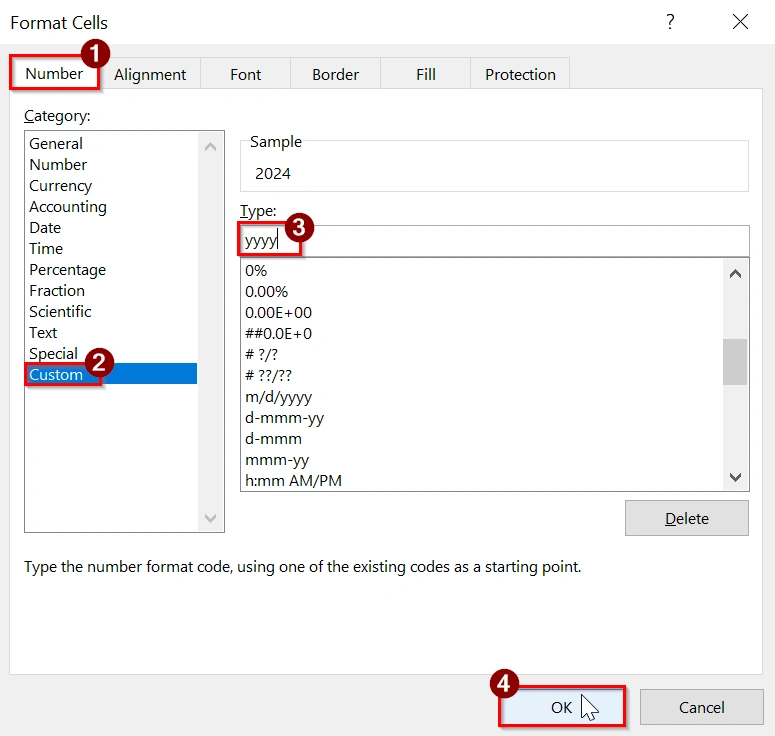
➤ In the Format Cells dialog box, go to the Number tab and click Custom. In the Type field, type yyyy and press OK.
➤ Check the spreadsheet. Now the date column will display only the years while still keeping the underlying full date value.
Note:
This method only changes how the date is displayed, not the actual stored value.
Extracting the Year along with Month & Date Separately
This method uses Excel’s Text to Columns feature to split a date into separate day, month, and year columns. This is good when we have dates stored in a consistent format (e.g., DD/MM/YYYY) and we want to separate them without using formulas.
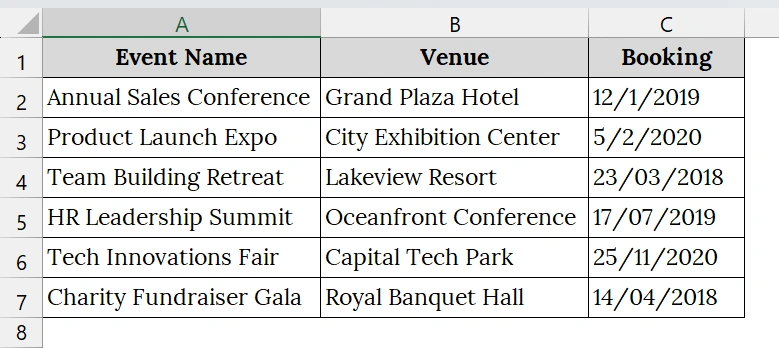
We have a dataset that contains booking dates of various venues for corporate events in a standard date format. We want to quickly extract the year part of each booking date without using formulas. Here, we will use Excel’s Text to Columns feature to extract the year quickly.
Steps:
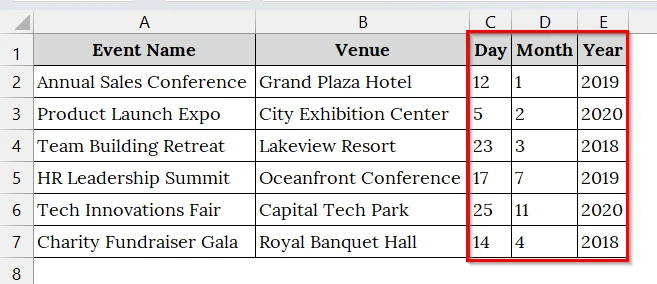
➤ Open your worksheet. We have taken a table that contains Event Name in Column A, Venue in Column B and Booking Date in Column C.
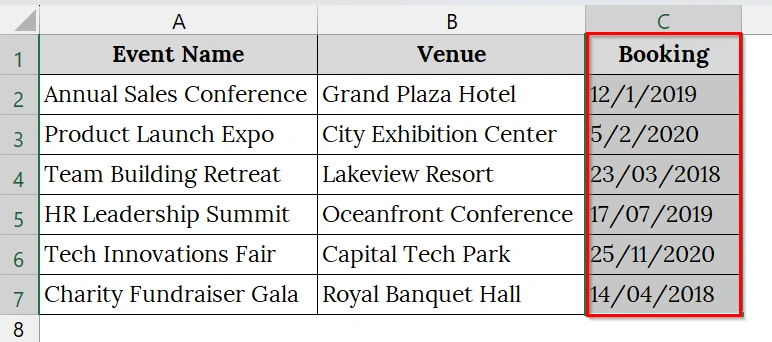
➤ Click the top of the column containing your dates. In this case, click the header C (Booking). This will select the entire column.
➤ Go to the Data ribbon and Click Text to Columns in the Data Tools group.

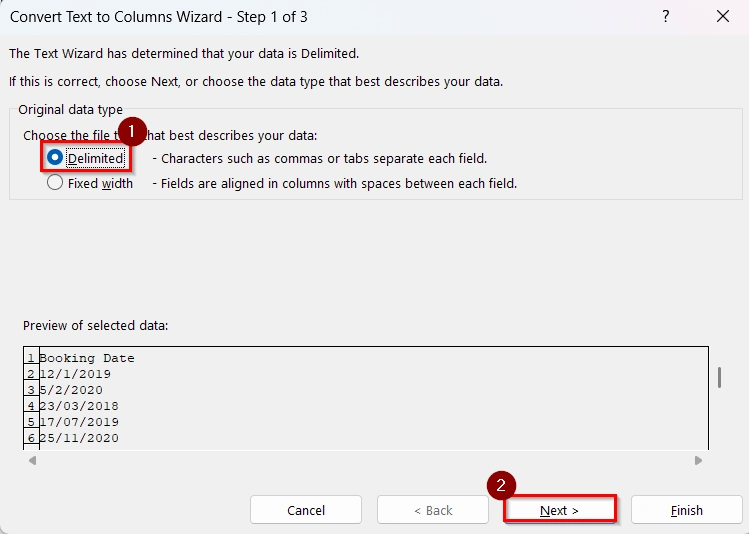
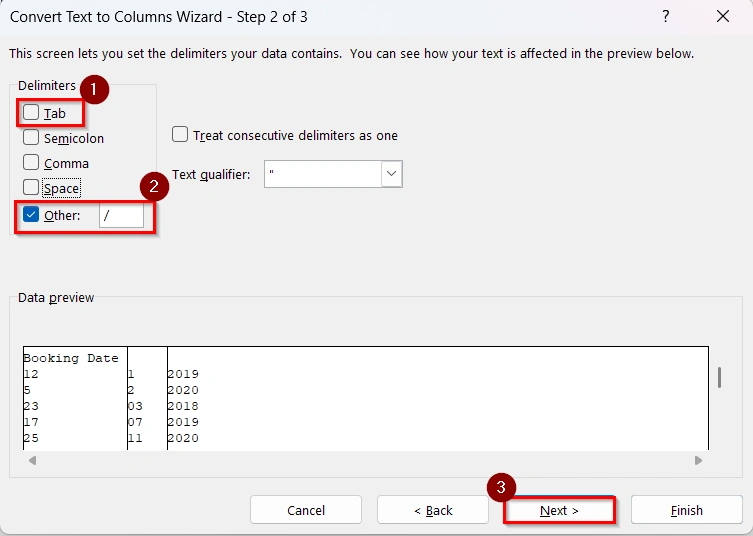
➤ Select Delimited and click Next.
➤ Now deselect Tab and select Other. In the box next to Other, type “/” (forward slash). This will separate the data in our date format. Click Next.
➤ Choose where to put the split data. For example, set the Destination to C1 . Click Finish.
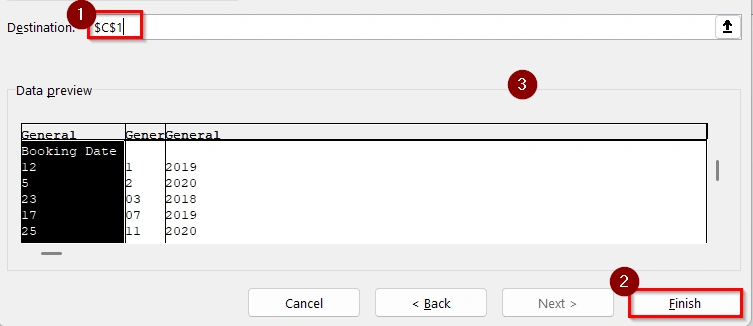
➤ The dates will be split into three columns: Day, Month, and Year.
Frequently Asked Questions
Can I extract the year without using a formula?
Yes, you can format the cell to show only the year by changing the number format to “yyyy”. However, the underlying value remains a full date.
What happens if the cell is blank?
If the cell is blank or contains invalid data, the YEAR function will return an error.
Can I extract the year from a text-formatted date?
No, you must first convert the text to a proper Excel date using the DATEVALUE function or similar methods before using the YEAR function.
Concluding Words
We have shown 4 methods. You can go with any of them. Extracting a year from a date in Excel is relatively easy using the YEAR function. All other methods are also reliable, quick, and work across all versions of Excel, for reports, dashboards, and organized data analysis.