
Mail merge is a great time-saving feature when you need to create multiple labels for different people or addresses. You do not have to type each label one by one. Instead, you can store all the details in Excel and then use Word to automatically place the correct name and address into each label.
This is especially useful for bulk mailing, event invitations, name tags, or product labeling. With just a few clicks, Word can pull data from Excel and generate a complete set of labels ready to print.
In this article, we’ll learn how to mail merge labels from Excel to Word using some simple steps.
Here’s how to mail merge labels from Excel to Word:
➤ Prepare your dataset in Excel with column headers like Name, Address, City, State, and ZIP Code.
➤ Open Word and go to the Mailings tab.
➤ Click Start Mail Merge >> Labels and choose your label type.
➤ Select Use an Existing List and choose your Excel file.
➤ Insert merge fields into your label template.
➤ Click Finish & Merge >> Edit Individual Documents to preview and print.
Steps to Mail Merge Labels from Excel to Word
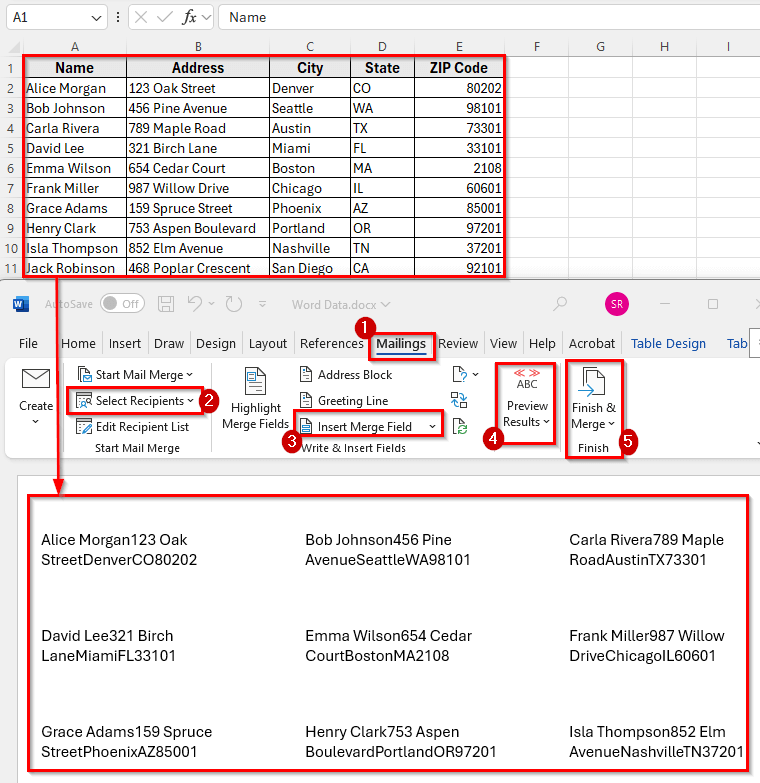
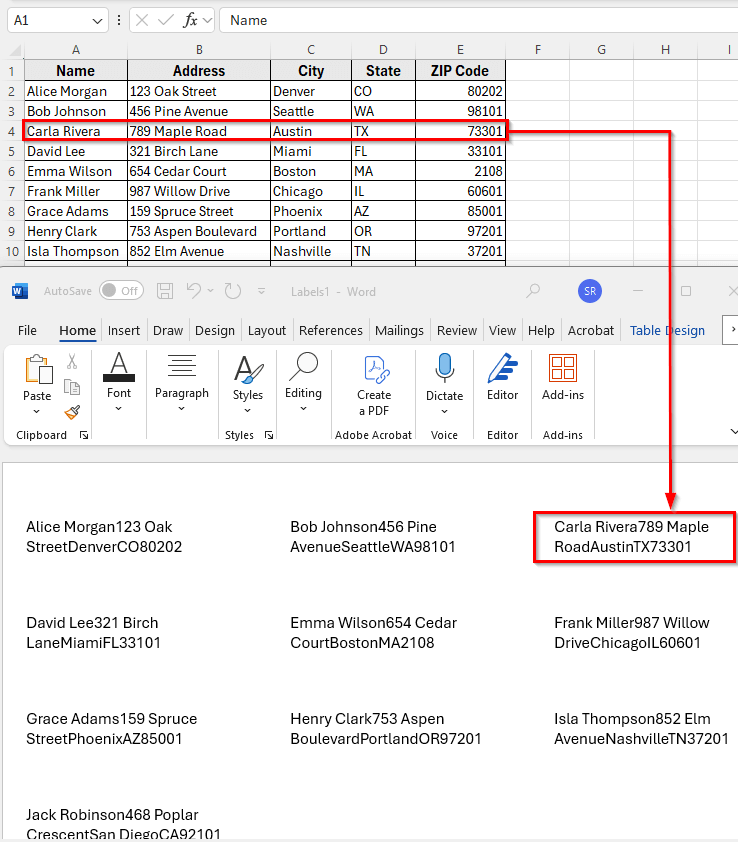
In the following dataset, we have a simple mailing list that contains recipient details for creating address labels. Column A lists the recipient Names, Column B contains their Street Addresses, Column C shows the City, Column D holds the State, and Column E includes the ZIP Codes.
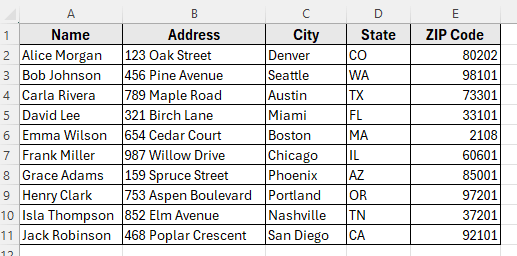
We’ll use this dataset in Excel to demonstrate how to connect it with Word for a mail merge. This will allow us to automatically fill each label with the correct name and address details.
Mail merge allows you to quickly create multiple labels by pulling recipient details from an Excel sheet. With this feature, Word automatically fills each label with names, addresses, and other information, saving time and ensuring consistency across all labels.
In this method, we will start by preparing the Excel dataset, then set up a label template in Word, insert merge fields, preview the results, and finally print the labels. Each step is explained in detail so you can follow along easily.
Step 1: Start Mail Merge in Word
The first step is to create a label template in Word that matches your label sheets.
Here’s how to do it:
➤ Open Microsoft Word.
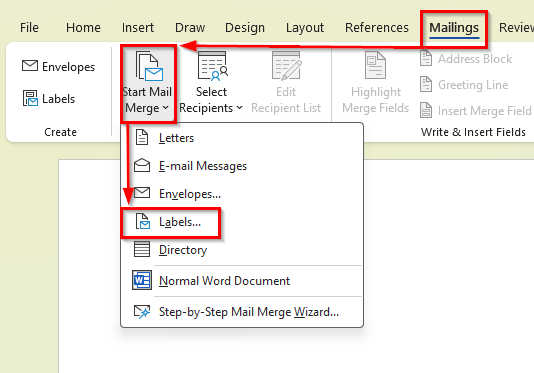
➤ Go to the Mailings tab in the ribbon.
➤ Click Start Mail Merge >> Labels.
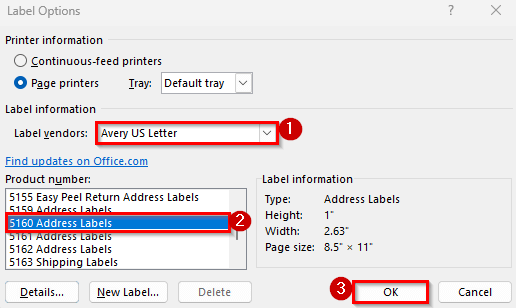
➤ In the Label Options dialog box, choose your label vendor and product number. For example, select Avery US Letter and 5160 Address Labels for standard address labels.
➤ Click OK to confirm.
Step 2: Connect Excel Data to Word
After creating the label template, you need to link it to your Excel dataset so Word can pull the recipient information.
Here’s how to do it:
➤ In Word, go to Mailings >> Select Recipients >> Use an Existing List.
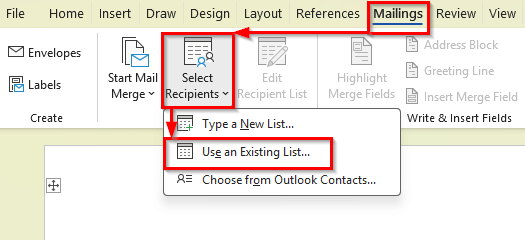
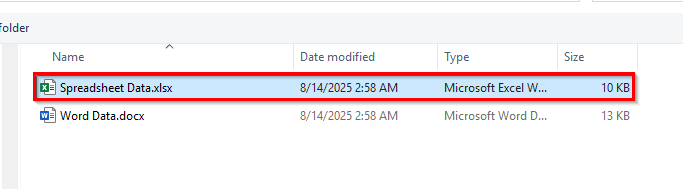
➤ Browse and select your Excel file containing the mailing list.
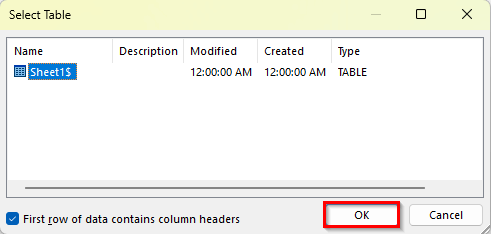
➤ If prompted, choose the worksheet that has your data and click OK.
Step 3: Insert Merge Fields
Next, you will add merge fields to your label template. Merge fields are placeholders that Word replaces with real data from Excel.
Here’s how you can do this:
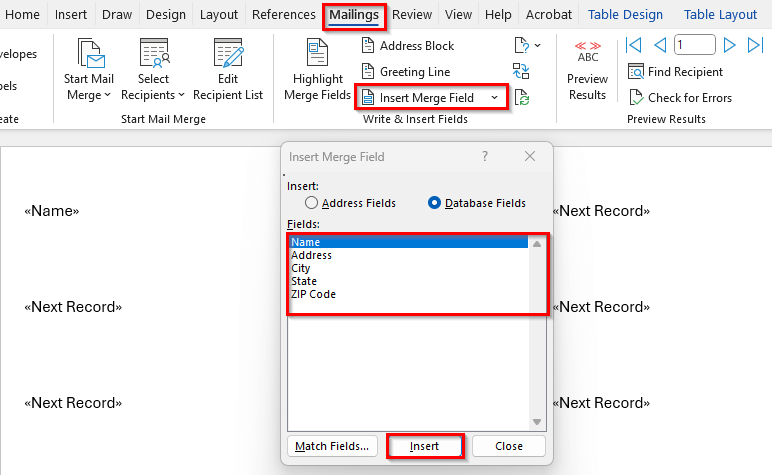
➤ Place your cursor in the first label cell.
➤ Click Insert Merge Field in the Mailings tab.
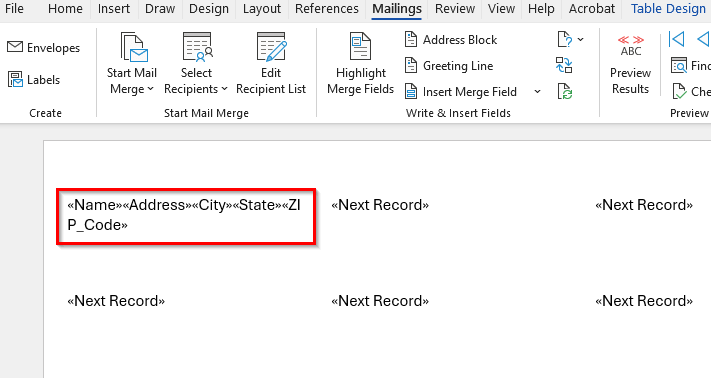
➤ Insert fields in this order:
«Name»
«Address»
«City», «State» «ZIP_Code»
➤ Format the text as needed, such as adjusting font size, style, or alignment.
Step 4: Update All Labels
Once the first label is set up, you need to copy its layout to all other labels on the sheet.
Here’s how to do it:
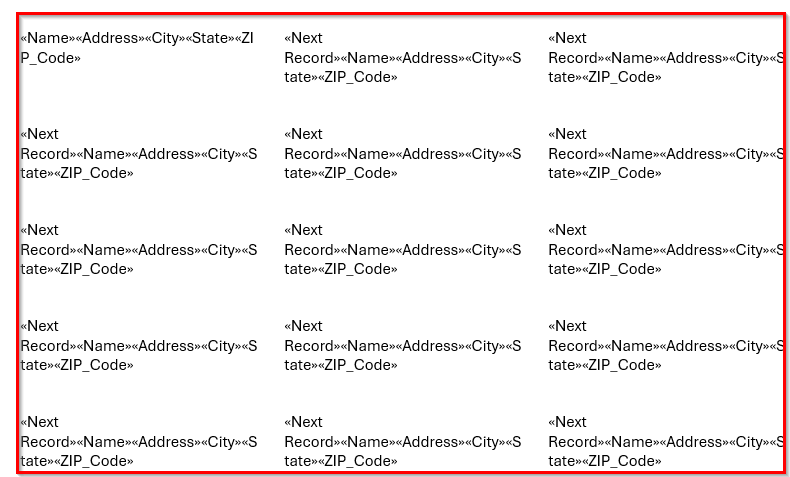
➤ Click Update Labels in the Mailings tab.
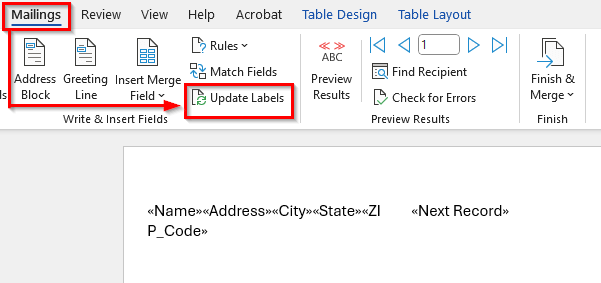
➤ This action ensures that every label on the sheet has the same format and merge fields. It saves you from manually formatting each label individually.
Step 5: Preview and Finish the Merge
Before printing, it’s important to check how your labels will look with the real data.
Here’s the process:
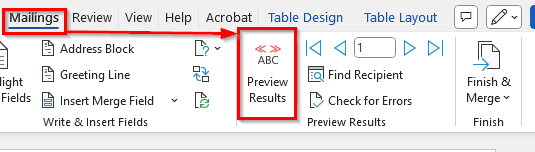
➤ Click Preview Results to see the labels filled with actual names and addresses.
➤ If everything looks correct, click Finish & Merge >> Edit Individual Documents.
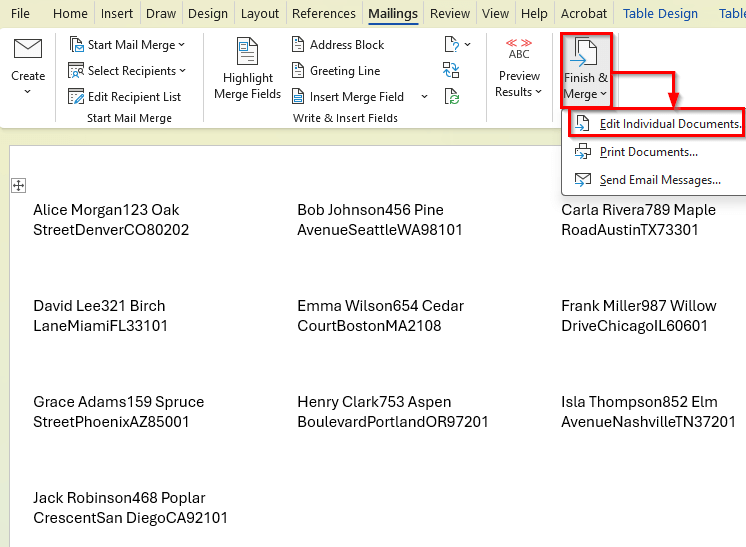
➤ Choose All and click OK.
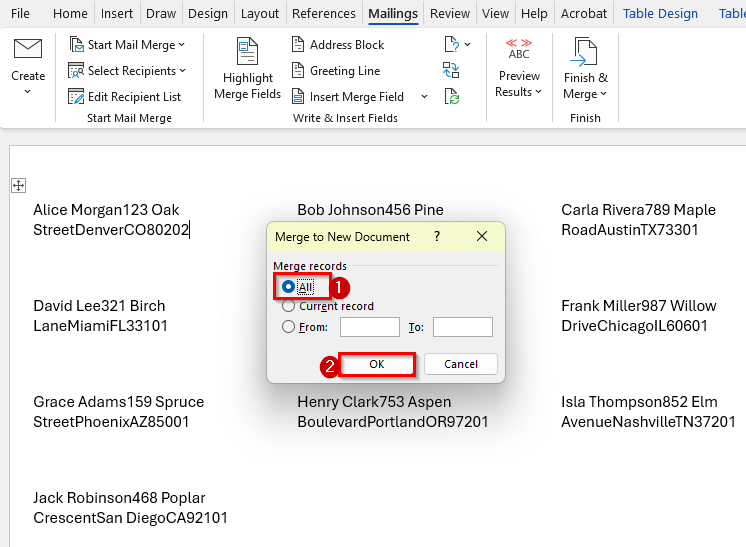
➤ A new Word document opens with all labels populated with the Excel data.
Step 6: Print Your Labels
After previewing, you can print the labels directly from Word.
Here’s how do it:
➤ Insert your label sheets into the printer.
➤ Go to File >> Print.
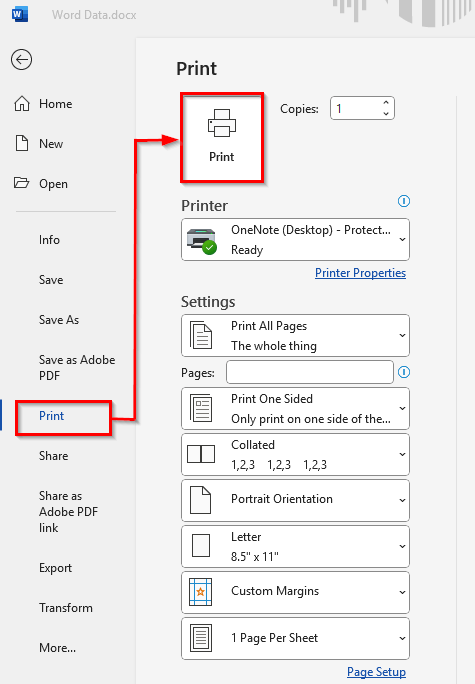
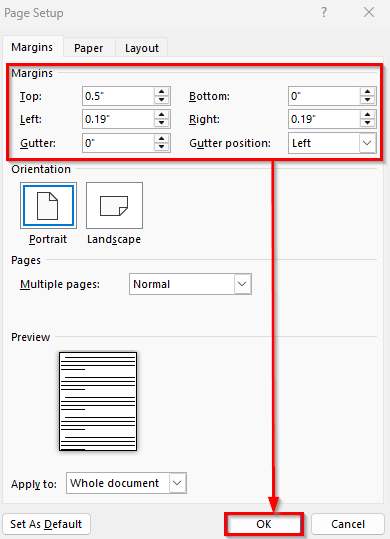
➤ Make sure the page size and margins match your label specifications.
➤ Click Print to produce your labels.
Frequently Asked Questions
How Do You Mail Merge From Excel To Word?
To mail merge from Excel to Word, first prepare your Excel dataset with column headers and data. Here’s how to do it:
➤ In Word, go to the Mailings tab
➤ Choose Start Mail Merge >> Labels
➤ Select your label type
➤ Connect to your Excel file using Select Recipients >> Use an Existing List.
➤ Then insert merge fields, preview the results, and print the labels.
Can I data merge labels in Word?
Yes, Word allows you to merge data from Excel or other sources into labels. Each row in your dataset will create a separate label, and Word automatically fills the label fields with the corresponding information.
Can I change the label layout after connecting to Excel?
Yes, you can adjust fonts, alignment, and spacing in Word. However, any major changes to the label size may require updating the label template under Label Options.
Wrapping Up
Mail merge makes creating multiple labels fast and accurate. By preparing a clean Excel dataset and linking it to a Word label template, you can automatically fill each label with names, addresses, and other details.
This method saves time, reduces errors, and works for mailing lists, event invitations, or product tags. Once you are familiar with the steps, you can generate labels quickly for any project.