Converting an image into a table in Excel means turning a picture that contains tabular data into actual editable cells. You can then work with these cells by sorting, filtering, calculating, and formatting them. This is especially useful if you receive scanned documents, reports, or screenshots containing data and don’t want to type everything manually.
For example, if you have a photo of a sales report or a printed table, you can quickly transform that image into an Excel table within minutes. This saves time, reduces errors, and makes the data ready for analysis right away.
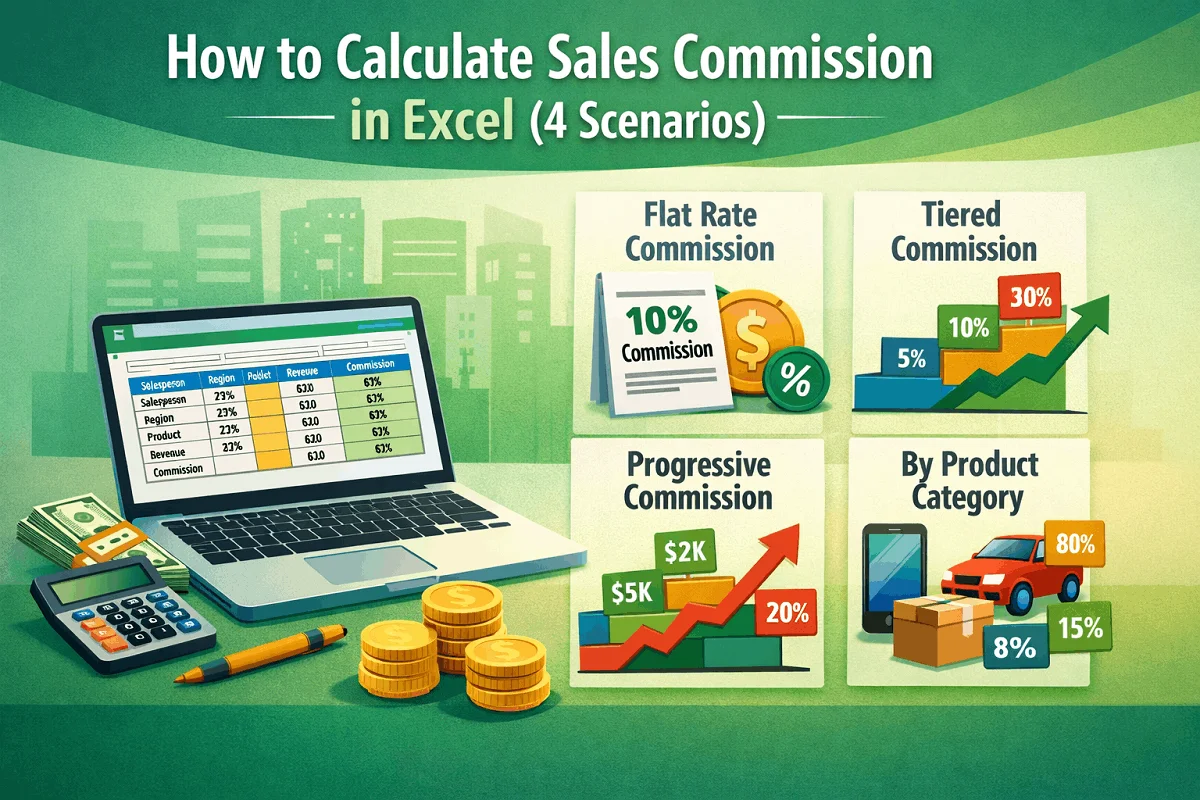
In this article, you’ll learn five simple methods to convert an image to a table in Excel step by step.
Here’s how to convert an image to a table in Excel:
➤ Open your Excel file and go to the Data tab.
➤ Click on From Picture drop-down from Get & Transform Data group.
➤ Choose Picture From File.
➤ Browse and select the image that contains your table.
➤ Excel will scan the image for a few seconds and show you a preview of the extracted data.
➤ Click Insert Data. The image will now convert into a text form inside your worksheet.
➤ Now, to make this data range into a table, select the data range and press Ctrl + T on your keyboard.
➤ Check the My table has headers option and click Ok.
➤ Finally, your image will be converted into a table.

Convert Image to Table Using Excel’s Built-In Feature
In the following example, we’ll work with a sales dataset extracted from an image. This image has 5 columns labeled as Product Name, Category, Units Sold, Price per unit, and Total Sales.

We’ll use this image as an example to demonstrate different ways to convert it into a table in Excel.
The built-in From Picture feature is the easiest way to convert an image into a table directly inside Excel. It uses optical character recognition (OCR) to scan your image and extract data into structured columns and rows.
Here’s how to do it:
➤ Open your Excel file and go to the Data tab.
➤ Click on From Picture drop-down from Get & Transform Data group.
➤ Choose Picture From File.

➤ Browse and select the image from your computer that contains your table. Click Insert.

➤ Excel will scan the image for a few seconds and show you a preview of the extracted data.
➤ Click Insert Data after completing review. A prompt will appear if your data still need review. Click Insert Anyway.

➤ The image will now convert into a text form inside your worksheet.

➤ Now, to make this data range into a table, select the data range and press Ctrl + T on your keyboard.
➤ Check the My table has headers option and click Ok.

➤ Finally, the extracted data will appear as a table in your worksheet.

Using Microsoft OneNote OCR and Copying to Excel
Another simple way to convert an image into a table is by using Microsoft OneNote. OneNote has a built-in OCR (Optical Character Recognition) feature that can read text from images and make it editable. Once the text is extracted, you can easily paste it into Excel and format it as a table.
Here’s how to do it:
➤ Open Microsoft OneNote on your computer.
➤ Click Insert >> Pictures >> From File…

➤ Browse and select the image from your computer that contains your table. Click Insert.

➤ Right-click on the image and select Copy Text from Picture from the context menu. OneNote will automatically scan the image and extract the text.

➤ Open Excel and select the cell where you want to paste the data.
➤ Press Ctrl + V to paste the copied text. You will notice that all the data appears in a single column.

➤ Now, you have to manually adjust the data into separate columns. You may also need to make a few corrections to the extracted data.

➤ Press Ctrl + T to convert the range into an Excel table.
➤ Check My table has headers option and click Ok.

➤ Finally, Excel will turn your image data into a structured table.

Convert Image to Table Using Online OCR Tools
If you don’t have Microsoft tools or want a quick web-based solution, online OCR tools can help convert image tables into Excel files directly.
Here’s how to do it:
➤ Go to an online OCR site like onlineocr.net or similar.
➤ Upload the image containing the table by clicking the Select File option.
➤ Browse and select the image from your computer that contains your table. Click Insert.
➤ Choose Microsoft Excel (.xlsx) as the output format.
➤ Click Convert.

➤ Once your image is converted, click Download Output File to download the Excel file.

➤ Open the downloaded file in Excel. The text from the image will now appear in your worksheet.

➤ Adjust the columns and rows if necessary, and press Ctrl + T >> My table has headers >> OK to convert the range into an Excel table.

Using ChatGPT to Convert Image to Table in Excel
Another creative and powerful way to convert an image into a table is by using ChatGPT with OCR capabilities. This method is especially useful if you have a screenshot, scanned report, or JPG/PNG file and want to transform it into a ready-to-use Excel table.
Here’s how to do it:
➤ Go to ChatGPT and start a new conversation.
➤ Upload the image file that contains your table data. Click the + (plus sign) >> Add photos & files to upload the image from your computer.

➤ Ask ChatGPT to extract the table from the image and convert it into Excel format. For example, type a prompt like:
Convert this image into a table I can paste into Excel.

➤ ChatGPT will process the image using OCR, recognize the data, and generate a text-based table.
➤ Click the Copy icon to copy the generated table.

➤ Now, paste it into Excel. Each column and row will appear in separate cells.

➤ You can then format it as a proper table by pressing Ctrl + T >> My table has headers >> OK.

Frequently Asked Questions
How do I convert a screenshot into a table in Excel?
Use the Insert Data from Picture feature. Go to Data >> From Picture >> Picture From File, select your screenshot or picture, and Excel will convert it into a table.
Can Excel read text from an image?
Yes. Excel uses OCR technology in Excel’s built-in From Picture feature in the Data tab to scan and read text from images and convert it into editable cells.
How to convert an image to an Excel table for free?
Yes. You can use Excel’s built-in tool, Microsoft OneNote, or free online OCR websites to convert images into tables without any cost.
Wrapping Up
Converting an image to a table in Excel is a huge time-saver, especially if you deal with scanned documents, printed reports, or screenshots. Instead of typing data manually, you can use Excel’s built-in feature From Picture in the Data tab, OneNote OCR and online OCR tools, or ChatGPT.
Choose the method that best fits your workflow, and turn any image into an editable Excel table in just a few steps.