Printing large Excel worksheets often causes column titles to appear only on the first page, making it hard to interpret data across multiple pages. By repeating column headings on every printed page, you improve readability and make your printouts more user-friendly.
In this article, we’ll show you how to repeat column headings on each printed page in Excel. You’ll learn simple built-in methods, as well as VBA techniques, to ensure that your printed reports remain organized, professional, and easy to read. Let’s get started.
Steps to repeat column headings on each page in Excel:
➤ Select the header row (in our dataset, Row 1).
➤ Go to the Name Box (left of the Formula Bar).
➤ Type Print_Titles and press Enter. Now, this row will be recognized as a named print title.
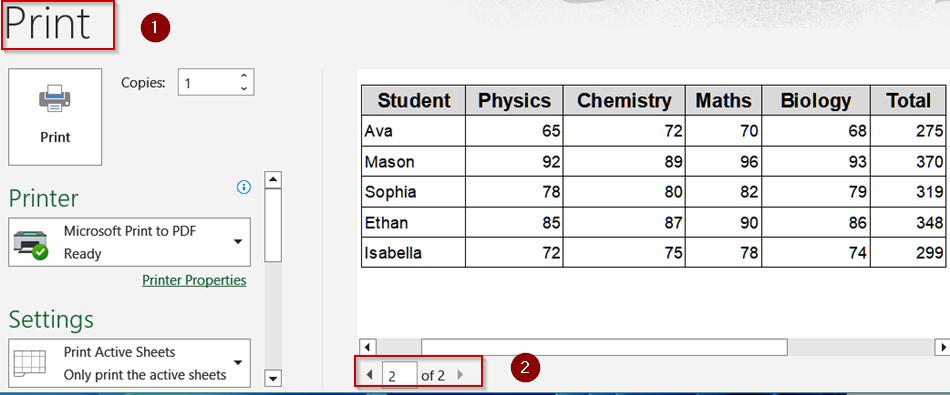
➤ Go to File >> Print or press Ctrl + P .
➤ Check the Print Preview window and the column headings will appear at the top of each printed page.

Define Print Titles Using the Name Box
If you want a quick, manual method to repeat headers without navigating multiple dialog boxes, using the Name Box is a handy option. It allows you to define a named range for your headers, making Excel recognize them as print titles automatically. This is especially useful if you frequently print the same sheet or need a consistent header across multiple printouts.
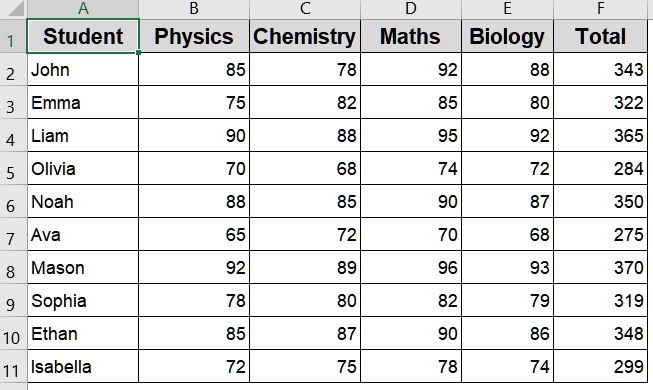
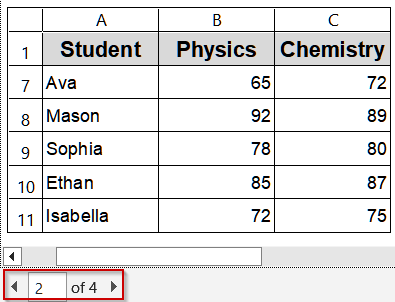
To illustrate, we’ll use a dataset of 10 students with their marks in Physics, Chemistry, Mathematics, and Biology. The headers start at A1.
Steps:
➤ Select the header row (in our dataset, Row 1).
➤ Go to the Name Box (left of the Formula Bar).
➤ Type Print_Titles and press Enter.
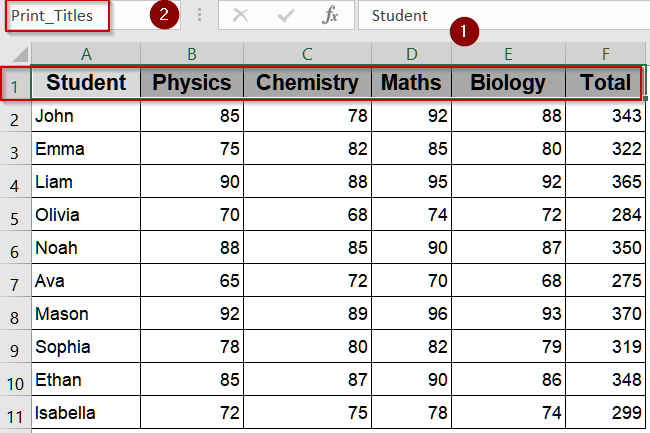
Now, this row will be recognized as a named print title.
➤ Go to File >> Print or press Ctrl + P .
➤ Check the Print Preview window and the column headings will appear at the top of each printed page.
Modifying the Page Setup to Repeat Column Headings on Each Page in Excel
When printing large datasets, it’s easy for column headers to disappear as data spills over multiple pages. This can make it difficult to identify which columns correspond to which values. Excel allows you to configure the Page Setup so that headers are repeated on every printed page. This approach ensures your printouts remain readable, professional, and easy to reference.
Steps:
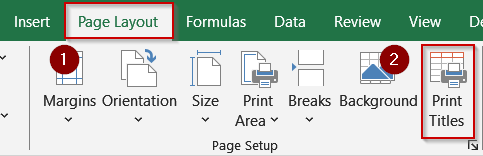
➤ Go to the Page Layout tab.
➤ Click Print Titles in the Page Setup group.
➤ In the Page Setup dialog box, go to the Sheet tab.
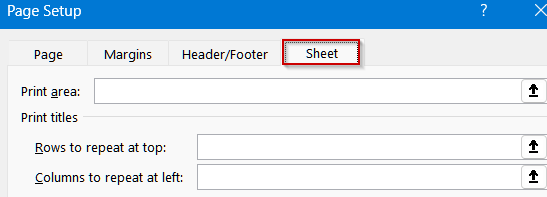
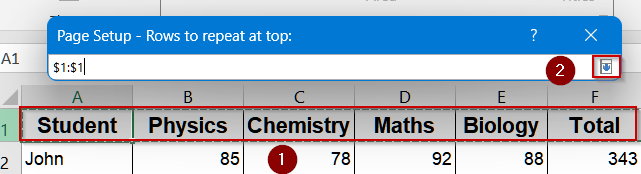
➤ In Rows to repeat at top, click the collapse button and select the header row (e.g., $1:$1).
➤ In Columns to repeat at left, click the collapse button and select the identifier column (e.g., $A:$A).
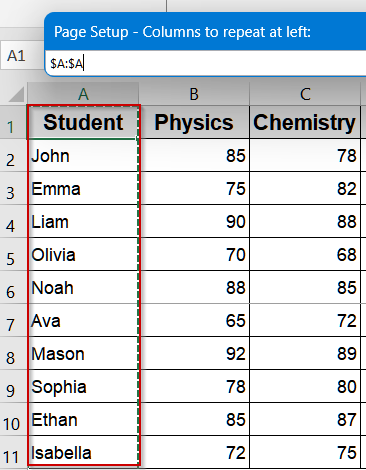
➤ Make sure the values appear correctly at Rows to repeat at top and Columns to repeat at left.
➤ Check Row and column headings under Print options.
➤ Click on Print Preview or press Ctrl + F2 to preview your worksheet.

➤ Confirm that headers repeat on every printed page.
This ensures that your student names and subject columns stay visible throughout all pages, providing a professional and readable print layout.
Use VBA Code to Repeat Column Headings on Each Page
For users who need to automate the repetition of headers, VBA macros are a powerful solution. This method is ideal if you regularly print large datasets or multiple sheets and want to eliminate repetitive manual steps. With a simple macro, you can automatically repeat the header row on every page, ensuring consistency and saving time. It’s especially useful in workbooks that are printed frequently, or when preparing standardized reports for multiple recipients.
Steps:
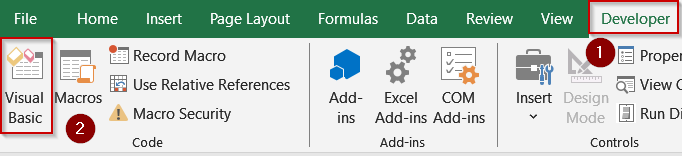
➤ Go to the Developer tab on the ribbon and click Visual Basic under the Code group.
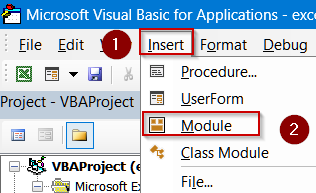
➤ Go to Insert >> Module.
➤ Paste the following code inside the Module window:
Sub RepeatHeadersWithPageBreaks()
    Dim TotalPages As Long
    Dim ws As Worksheet
    Set ws = ActiveSheet
    ' Count pages (optional, can be ignored if using standard print)
    TotalPages = Application.ExecuteExcel4Macro("GET.DOCUMENT(50)")
    With ws.PageSetup
        .PrintTitleRows = "$1:$1" ' Repeat first row as header
        .PrintTitleColumns = "$A:$A" ' Repeat first column if needed
        .Zoom = False
        .FitToPagesWide = 1
        .FitToPagesTall = False
    End With
    ' Print while respecting page breaks
    ws.PrintOut Preview:=True
End Sub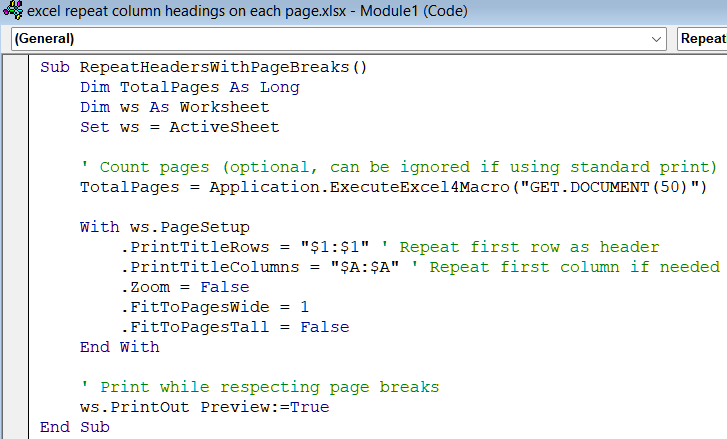
➤ Save your code and close the VBA window.
➤ Press F5 key to run your macro.

Excel will now print your dataset with the header row repeated on each page automatically.
Tip:
Always save your file as .xlsm (macro-enabled workbook) before running VBA.
Frequently Asked Questions
Can I repeat multiple rows and columns at the same time?
Yes, Excel allows repeating multiple top rows and left columns simultaneously. Simply select all rows and columns you want in the Page Setup dialog, ensuring absolute references ($) are used if entering manually.
How do I repeat headers for multiple sheets at once?
Excel does not natively allow batch application of Print Titles across sheets. You need to select each worksheet individually and set the Print Titles or use a VBA macro to automate the process.
Will repeated headers work with different paper sizes or scaling?
Yes. Repeated rows and columns will adjust to scaling and page sizes automatically. However, check Print Preview to confirm that the headers align correctly when resizing or printing on different paper formats.
Can I use this feature in Excel for Mac?
Yes, Excel for Mac has the same Page Layout and Print Titles options. Navigate to Page Layout >> Print Titles, then set your rows and columns to repeat just as you would in Windows.
Wrapping Up
In this tutorial, we explored how to make your Excel printouts more readable by repeating column headings on every page. Whether you use Page Setup, VBA, or the Name Box technique each approach ensures your headers stay visible across multiple pages. This is especially helpful when dealing with long datasets, allowing readers to easily interpret printed data without losing track of column meanings. Feel free to download the practice file and share your feedback.