Sorting rows by a column in Excel means organizing your data based on the values of one or more columns. For example, you can sort a product list by Revenue (highest to lowest) or by Category (A to Z) to make your data easier to analyze.
Sorting helps you quickly find top-performing products, identify trends, and prepare professional reports without manually rearranging anything. This is one of the most common tasks in Excel, and you can do it in several ways.
In this article, you’ll learn step by step how to sort rows by column in Excel using different methods.
Here’s how to sort rows by a column in Excel using the Sort & Filter tool:
➤ Open your dataset in Excel.
➤ Select any cell in the column you want to sort.
➤ Go to the Data tab on the Ribbon.
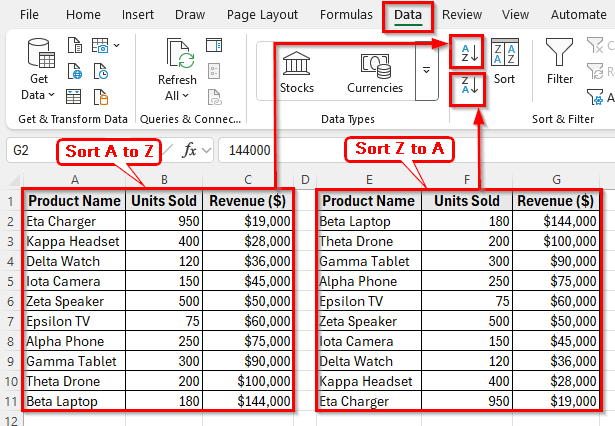
➤ Click Sort A to Z to sort in ascending order or Sort Z to A for descending order.
➤ Excel will rearrange the entire row based on the values in that column.
Using Sort & Filter Button to Sort Rows by Column in Excel
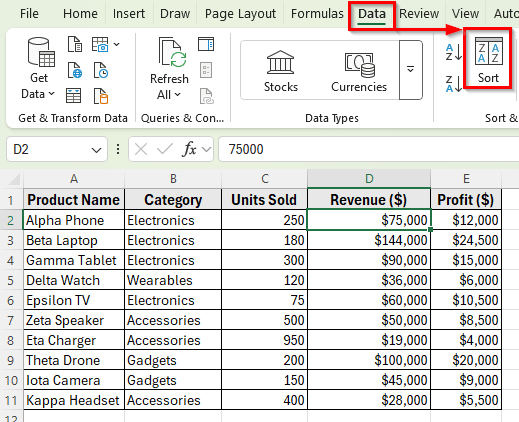
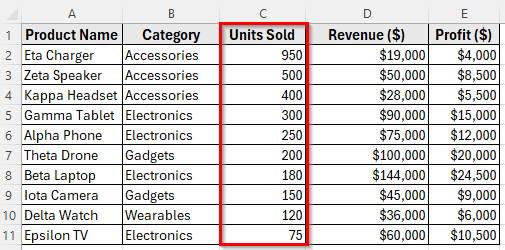
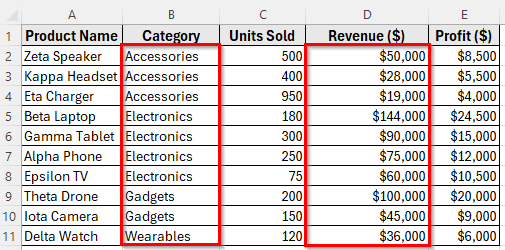
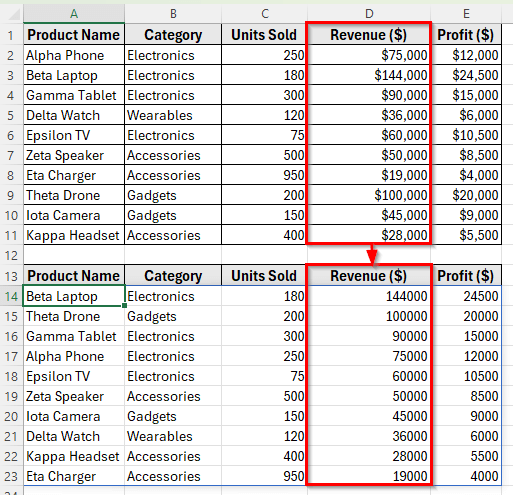
In the following dataset, we have a list of products with their sales details. Column A shows the Product Name, Column B contains the Category, Column C shows the Units Sold, Column D lists the Revenue, and Column E shows the Profit.
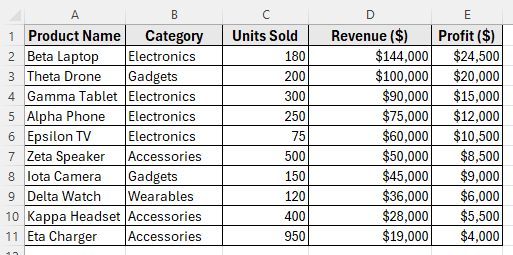
We’ll use this dataset throughout the article to demonstrate different ways to sort rows by a column.
The Sort & Filter button is the easiest way to sort rows by a column in Excel. It lets you organize data in either ascending or descending order. This method is perfect for simple sorting tasks such as sorting sales by highest revenue or lowest profit.
Here’s how to do it:
Sort Rows by Column in Ascending Order
➤ Open your dataset in Excel.
➤ Click on any cell in the column you want to sort in ascending order. For example, click on cell D2 in Revenue (Column D).
➤ Go to the Data tab in the Ribbon.
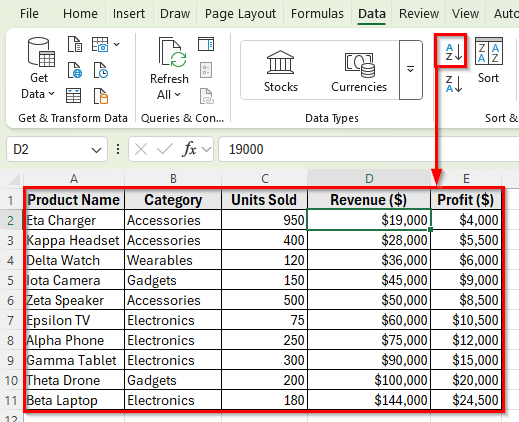
➤ Click Sort A to Z to sort from lowest to highest revenue.
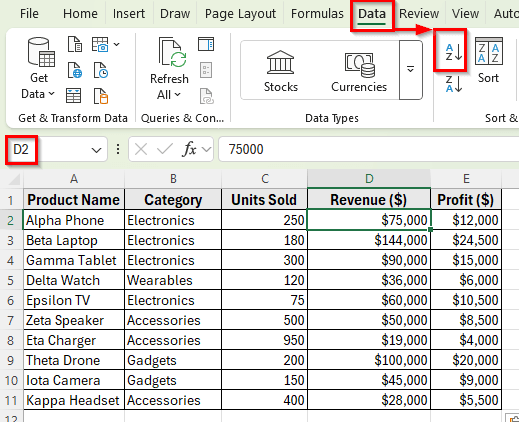
➤ Excel will instantly rearrange the entire dataset lowest to highest based on Revenue, while keeping each product’s row data intact.
Sort Rows by Column in Descending Order
➤ From your dataset, click on cell D2 to sort in descending order.
➤ Go to the Data tab in the Ribbon.
➤ Click Sort Z to A to sort from highest to lowest.
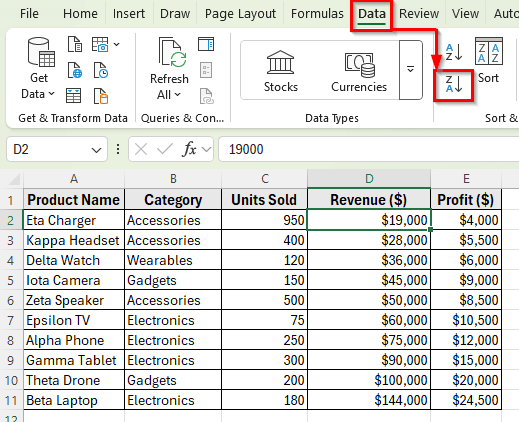
➤ Excel will now rearrange the entire table based on the Revenue column. Now, it shows the product with the highest revenue at the top and the lowest at the bottom.

Sorting Rows by Column with the Sort Dialog Box
The Sort dialog box gives you more options, such as sorting text, numbers, or dates with advanced settings.
Here’s how to apply this method:
Sort Rows by Column Smallest to Largest
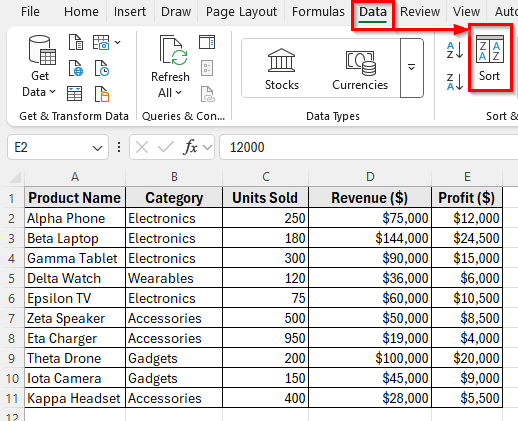
➤ Select any cell in your dataset.
➤ Go to Data >> Sort from the Ribbon.
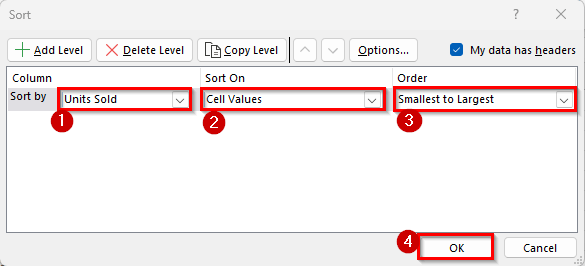
➤ In the Sort dialog box, select the column you want to sort. For example, select Units Sold.
➤ Choose the Sort On option such as Values, Cell Color, etc, and select the Order Smallest to Largest.
➤ Click OK.
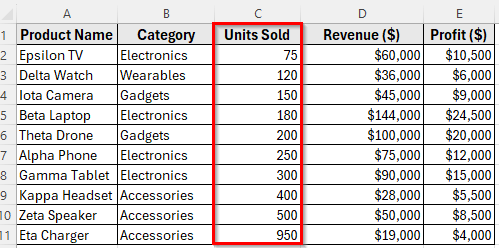
➤ Your rows will now be sorted smallest to largest based on the Units Sold column.
Sort Rows by Column Largest to Smallest
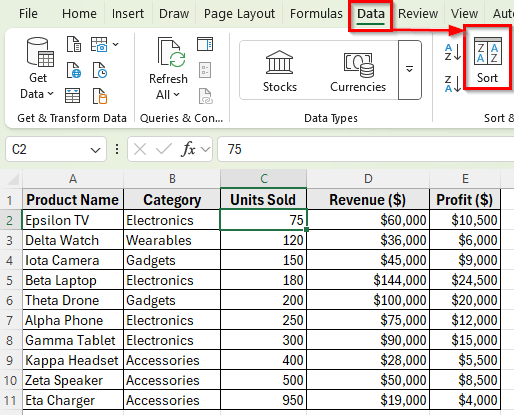
➤ Select any cell in your dataset.
➤ Go to Data >> Sort from the Ribbon.
➤ In the Sort dialog box, select Units Sold.
➤ Choose the Sort On option such as Values, Cell Color, etc, and select the Order Largest to Smallest.
➤ Click OK.
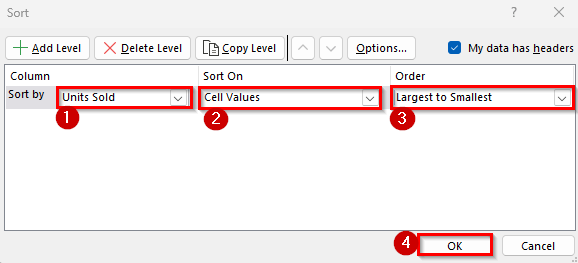
➤ Your rows will now be sorted largest to smallest based on the Units Sold column.
Custom Sort Rows by Multiple Columns
If you want to sort by more than one column, for example, first by Category and then by Revenue, use the Custom Sort option.
Here’s how to do it:
➤ Go to Data >> Sort again.
➤ Click Add Level in the Sort dialog box.
➤ For the first level, select Category and choose A to Z.
➤ Add a second level, select Revenue, and choose Largest to Smallest.
➤ Click OK.
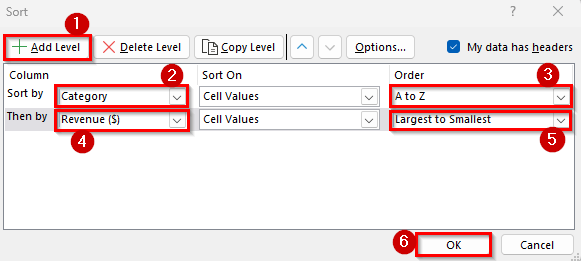
➤ Excel will now sort the data first by category name alphabetically, and within each category, by revenue in descending order.
Sort Rows by Columns Left to Right Using a Custom Sorting Method
By default, Excel sorts columns top to bottom. But if your headers are in the left column and data is arranged horizontally, you can sort left to right.
Here’s how to do it:
➤ Go to the Data >> Sort.

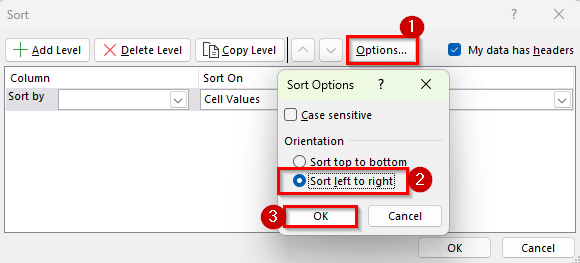
➤ In the Sort dialog box, click on the Options button at the top-right corner.
➤ In the Sort Options window, choose Sort Left to Right and click OK.
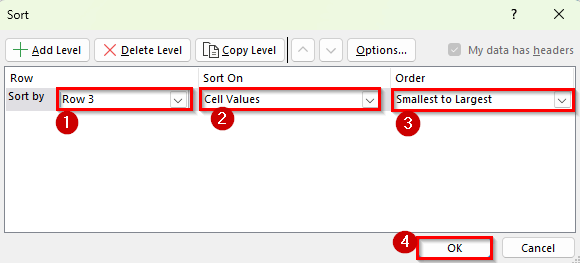
➤ Now, under the Row drop-down, select the row you want to sort. For example, if your sales values are in row 3, select Row 3.
➤ Under Sort On, choose Values, and under Order, select Smallest to Largest or Largest to Smallest depending on how you want the columns arranged.
➤ Click OK.
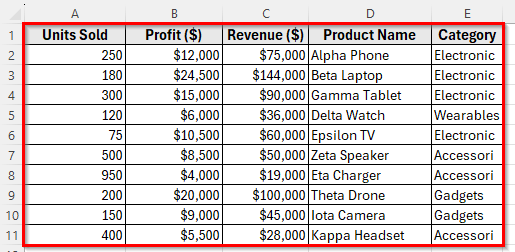
➤ Excel will now rearrange the columns horizontally based on the values in the row you selected. All the data in each column will remain intact, but their order will change according to the sorting rule you applied.
Using the SORT Function to Sort Rows by Column
If you want dynamic sorting where data updates automatically when values change, use the SORT function (available in Excel 365 and Excel 2021).
Here’s how to apply this method:
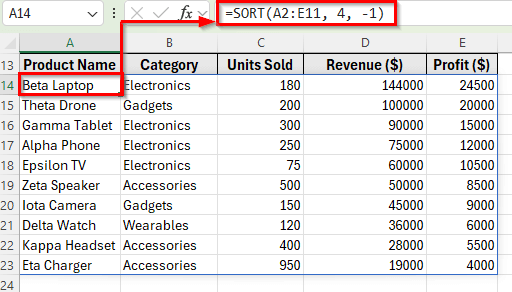
➤ Click on a blank cell where you want the sorted list to appear. For example, click on cell A14.
➤ Enter the following formula
=SORT(A2:E11, 4, -1)
➤ This formula sorts the dataset in the range A2:E11 based on the Revenue in descending order (-1 means descending, 1 means ascending).
➤ Now, if you change any revenue value, the sorted list will update automatically.
Frequently Asked Questions
How to sort rows by column 1 in ascending order?
To sort rows by the first column in ascending order, click on any cell in column 1. Go to the Data tab in the Ribbon and click Sort A to Z. Excel will rearrange the entire dataset so that the rows are ordered from the smallest to the largest value in that column.
Can you sort vertically in Excel?
Yes, you can. By default, Excel sorts vertically, meaning it organizes rows based on the values in a selected column. Simply select a cell in the column you want to sort, then choose Sort A to Z or Sort Z to A from the Data tab.
How to sort entire rows by one column in Excel?
To sort entire rows by one column, select any cell in the column you want to sort by. Then go to the Data tab and click either Sort A to Z or Sort Z to A. Excel will sort the rows based on that column’s values while keeping all other data in each row together.
How do you sort rows from lowest to highest in Excel?
To sort rows from lowest to highest, click on a cell in the column you want to use for sorting. Go to the Data tab and choose Sort A to Z. This will arrange the rows in ascending order, with the smallest values appearing first and the largest values last.
Wrapping Up
Sorting rows by a column in Excel is a simple way to organize and understand your data. It helps you find important information, compare values, and make your worksheet easier to read.
For quick sorting, you can use the Sort & Filter button. If you need more control, the Sort dialog box and Custom Sort let you arrange data by more than one column or sort it left to right. If you want the sorting to update automatically, the SORT function is a good choice.
By using these methods, you can keep your data clear, well-organized, and easy to work with. Sorting makes it faster to spot trends and get useful insights from your spreadsheet.