Manually adjusting column widths in Excel can be time-consuming, especially when working with large datasets where values vary in length. Fortunately, VBA provides a quick solution through the AutoFit property, which automatically resizes columns so that all the content is visible without cutting off text or leaving too much empty space.
In this article, we’ll explore different VBA methods to autofit column widths. These approaches range from autofitting specific columns to applying it across entire worksheets, to dynamically resizing columns based on the data in use. Whether you want to tidy up a single report or automate formatting across multiple sheets, these methods will make your Excel tasks faster and cleaner.
Steps to apply AutoFit Using Range.AutoFit or Columns.AutoFit:
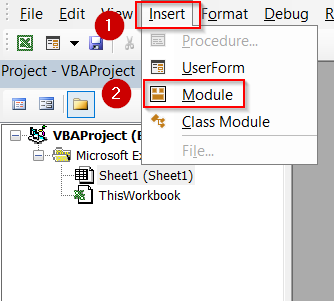
➤ Press Alt + F11 to open the VBA Editor.
➤ Go to Insert >> Module to add a new module.
➤ Paste this code:
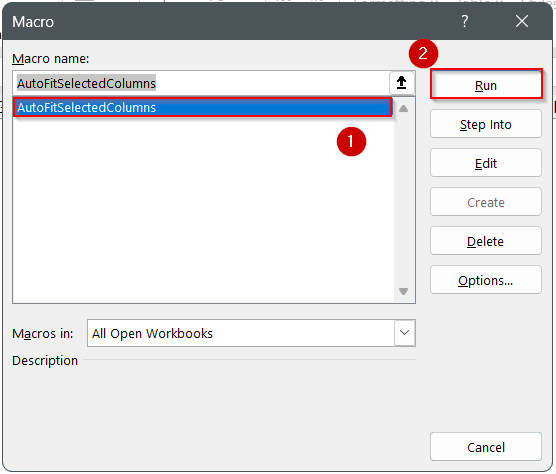
Sub AutoFitSelectedColumns()
    ' Autofits columns A to E in Sheet1
    Worksheets("Sheet1").Columns("A:E").AutoFit
End Sub
➤ Return to Excel, press Alt + F8 , select AutoFitSelectedColumns, and click Run.
Apply AutoFit Using Range.AutoFit or Columns.AutoFit
The most direct way to adjust column widths in VBA is by using the AutoFit property with either Range or Columns. This method automatically resizes the selected columns so that all the content becomes fully visible. It’s ideal when you want to quickly tidy up a few specific columns in your dataset without affecting the entire worksheet.
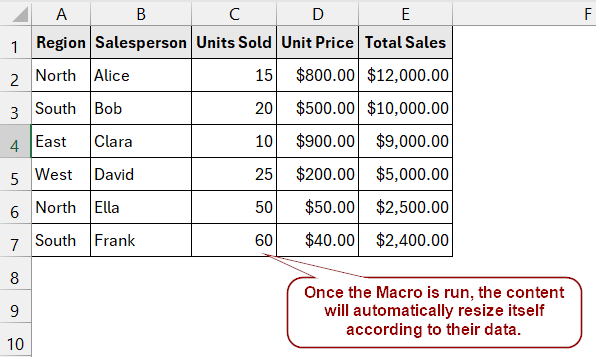
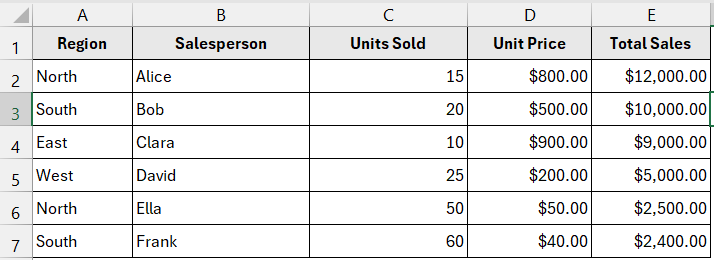
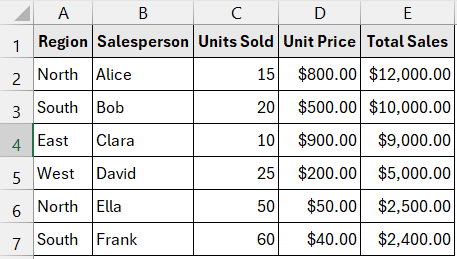
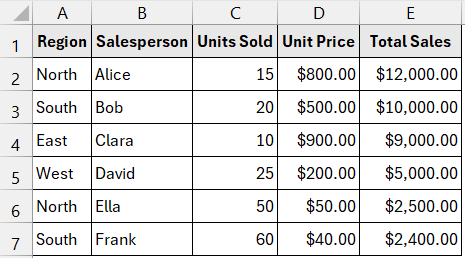
This is the dataset we will be using to demonstrate our methods:
Using our dataset, if you apply AutoFit to columns A through E, Excel will resize Region, Salesperson, and Product Description so that the longest text in each column is fully displayed without being cut off. For example, the long entry “Laptop with premium accessories bundle” in column E will expand that column, while shorter entries will still fit properly.
Steps:
➤ Press Alt + F11 to open the VBA Editor.
➤ Go to Insert >> Module to add a new module.
➤ Paste this code:
Sub AutoFitSelectedColumns()
    ' Autofits columns A to E in Sheet1
    Worksheets("Sheet1").Columns("A:E").AutoFit
End Sub 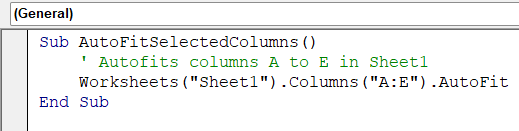
➧ .Columns("A:E") specify which columns you want to adjust.
➧ .AutoFit resizes those columns so that all data is clearly visible.
➤ Return to Excel, press Alt + F8 , select AutoFitSelectedColumns, and click Run.
➤ Columns A through E will now automatically resize based on their longest cell values.
AutoFit the UsedRange Columns
If you want to resize only the columns that actually contain data, you can use the UsedRange property with Columns.AutoFit. This method ensures that only the active range of your worksheet is adjusted, leaving empty columns unaffected. It’s especially useful when working with large sheets that include unused columns beyond your dataset.
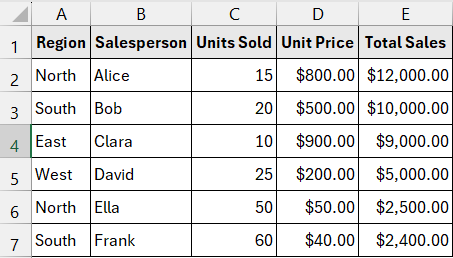
Using our dataset, applying this method will autofit just the six columns (Region, Salesperson, Product Description, Units Sold, Unit Price, Total Sales). Empty columns outside the dataset won’t be resized, keeping your worksheet cleaner and more efficient.
Steps:
➤ Press Alt + F11 to open the VBA Editor.
➤ Go to Insert >> Module to add a new module.
➤ Paste this code:
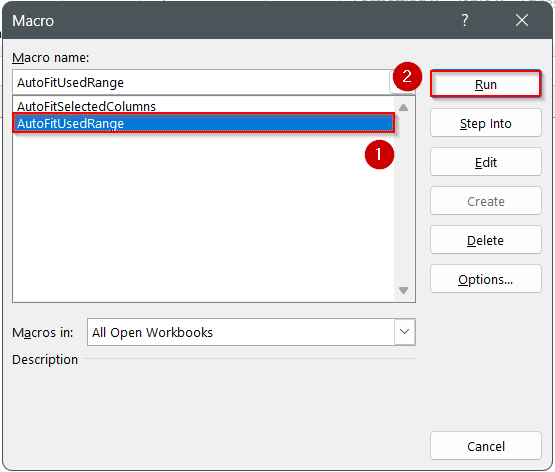
Sub AutoFitUsedRange()
    ' Autofits only the columns in the used range of the first sheet
    Sheets(1).UsedRange.Columns.AutoFit
End Sub 
➧ .UsedRange dynamically selects only the range containing data.
➧ .Columns.AutoFit resizes those columns so all content fits neatly.
➤ Return to Excel, press Alt + F8 , choose AutoFitUsedRange, and click Run.
➤ Only the dataset columns will adjust their widths, while the rest of the sheet remains untouched.
AutoFit All Columns in a Worksheet
If you want every column in your worksheet to automatically adjust, the quickest way is to use ActiveSheet.Columns.AutoFit. This method applies AutoFit across the entire worksheet, making sure all columns resize based on their content. It’s the simplest approach when you’re dealing with a full sheet of data and want everything neat at once.
Using our dataset, applying this method will resize all six columns (Region, Salesperson, Product Description, Units Sold, Unit Price, Total Sales) so that entries like “Laptop with premium accessories bundle” fit perfectly in column C, while numeric fields such as Total Sales expand just enough to display all values clearly.
Steps:
➤ Press Alt + F11 to open the VBA Editor.
➤ Go to Insert >> Module to add a new module.
➤ Paste this code:
Sub AutoFitEntireWorksheet()
    ' Autofits all columns in the active worksheet
    ActiveSheet.Columns.AutoFit
End Sub➧ .Columns.AutoFit resizes all columns in that sheet automatically.
➧ This ensures both text and numeric fields are fully visible without manual adjustments.
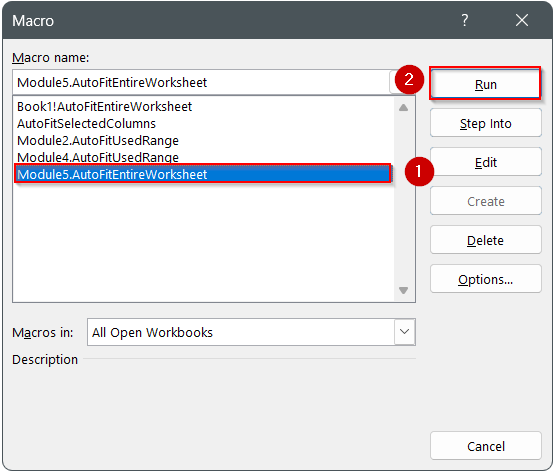
➤ Return to Excel, press Alt + F8 , choose AutoFitEntireWorksheet, and click Run.
➤ Every column in your worksheet will now resize to fit its content perfectly.

AutoFit Only Visible Rows and Columns
Sometimes, applying AutoFit directly can be misleading if your worksheet contains hidden rows or filtered data. By default, Excel calculates column widths based on both visible and hidden cells, which may cause extra-wide columns when only a subset of data is visible. To fix this, you
can copy the visible range to a temporary sheet, apply AutoFit there, and then reapply the adjusted widths back to your original worksheet.
Using our dataset, if you filter the Region column to show only North, applying this method will adjust the widths of Region, Salesperson, Product Description, Units Sold, Unit Price, and Total Sales based solely on the visible North entries, ignoring the hidden rows for other regions.
Steps:
➤ Press Alt + F11 to open the VBA Editor.
➤ Go to Insert >> Module to add a new module.
➤ Paste this code:
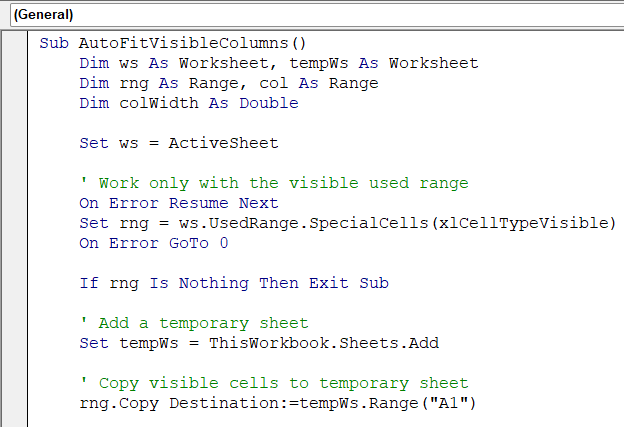
Sub AutoFitVisibleColumns()
    Dim ws As Worksheet, tempWs As Worksheet
    Dim rng As Range, col As Range
    Dim colWidth As Double
    Set ws = ActiveSheet
    ' Work only with the visible used range
    On Error Resume Next
    Set rng = ws.UsedRange.SpecialCells(xlCellTypeVisible)
    On Error GoTo 0
    If rng Is Nothing Then Exit Sub
    ' Add a temporary sheet
    Set tempWs = ThisWorkbook.Sheets.Add
    ' Copy visible cells to temporary sheet
    rng.Copy Destination:=tempWs.Range("A1")
    ' Autofit in temporary sheet
    tempWs.Columns.AutoFit
    ' Apply column widths back to original sheet
    For Each col In rng.Columns
        colWidth = tempWs.Columns(col.Column).ColumnWidth
        ws.Columns(col.Column).ColumnWidth = colWidth
    Next col
    ' Delete temporary sheet
    Application.DisplayAlerts = False
    tempWs.Delete
    Application.DisplayAlerts = True
End Sub
➧ A temporary worksheet is used to autofit the copied visible data.
➧ Column widths are copied back to the original worksheet so hidden data does not affect sizing.
➧ The temporary sheet is deleted automatically at the end.
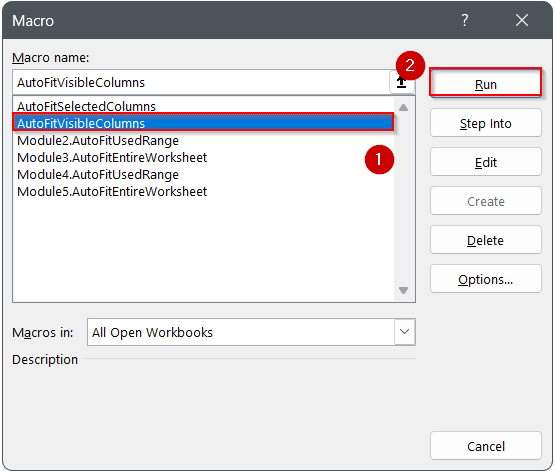
➤ Return to Excel, press Alt + F8 , select AutoFitVisibleColumns, and click Run.
➤ Your worksheet columns will now adjust based only on the visible rows, ignoring hidden or filtered-out data.

AutoFit Automatically with VBA Events
If you want Excel to adjust column widths automatically whenever new data is entered, you can use VBA events like Worksheet_Change. This method eliminates the need to run a macro manually, as AutoFit will trigger on its own whenever data in the worksheet is updated. It’s a great option if you frequently add or edit information in your dataset.
Using our dataset, if you type a longer entry in the Product Description column (e.g., “Wireless Gaming Keyboard with RGB Backlight”), the column will immediately expand to fit the new text. Similarly, numeric columns like Total Sales will resize automatically if larger values are entered.
Steps:
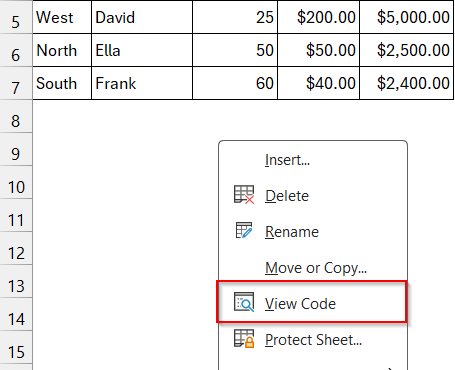
➤ Right-click the sheet tab (e.g., Sheet1) and select View Code.
➤ In the code window, paste the following code:
Private Sub Worksheet_Change(ByVal Target As Range)
    ' Automatically autofits the column when data changes
    Target.EntireColumn.AutoFit
End Sub
➧ Target refers to the cell that was changed.
➧ Target.EntireColumn.AutoFit resizes the entire column of the changed cell to fit the new content.
➤ Return to Excel and enter or edit data in the sheet.
➤ The column containing your new entry will auto-adjust its width instantly.
Frequently Asked Questions
What is the difference between using Range.AutoFit and Columns.AutoFit?
Range.AutoFit adjusts only the specified range of columns, while Columns.AutoFit applies the adjustment to all columns within the specified scope (like the entire worksheet or UsedRange).
Why doesn’t AutoFit always work with merged cells?
AutoFit does not adjust properly if your data is inside merged cells. In such cases, you may need to manually set column widths or use alternative VBA logic to calculate the required width.
Can I restrict AutoFit to only certain columns?
Yes. Instead of applying it to all columns, you can specify a range, such as:
Worksheets(“Sheet1”).Columns(“B:D”).AutoFit
This ensures only columns B through D are resized.
Does AutoFit also adjust row heights?
No. By default, AutoFit only adjusts column widths. If you want to adjust row heights, use:
ActiveSheet.Rows.AutoFit
How can I make AutoFit happen automatically whenever I paste data?
You can use the Worksheet_Change event. Any new entry or paste action in the sheet will automatically trigger AutoFit for the affected column.
Wrapping Up
Using Excel VBA to AutoFit column widths is a simple but powerful way to keep your worksheets clean and readable. Whether you apply AutoFit to specific ranges, the used range, the entire worksheet, or only visible cells, VBA saves you from constant manual resizing. For dynamic sheets, event-based AutoFit ensures your data always stays properly formatted as soon as values change. By combining these methods, you’ll have full control over how your Excel columns adapt to your dataset.