If you need to fix wrapped text, align images better, or improve the overall layout of your spreadsheet, Google Sheets makes it easier. This article will walk you through a few simple methods to change row height manually, automatically, or precisely. These include using menu options and formatting tools in Google Sheets.
Changing row height helps you manage bulk data, fit larger text or visuals, and maintain a clean spreadsheet look.
Different ways to change row height in Google Sheets:
➤ Drag the row border to resize manually.
➤ Right-click a row > Use “Resize row” to set a precise height.
➤ Resize multiple rows to maintain constant row height.
➤ Double-click the border to auto-fit.
➤ Use Google Apps Script to apply the same height to rows in a large number automatically.
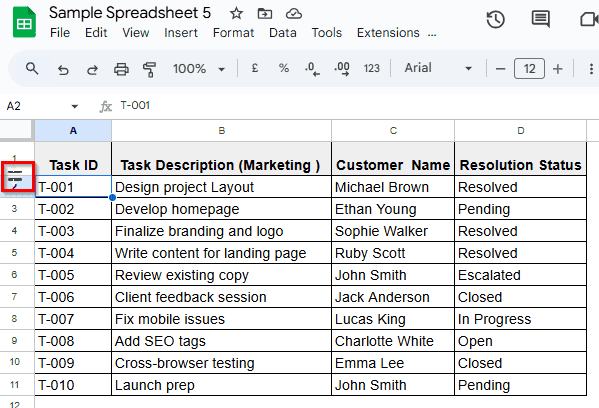
Change Row Height by Dragging
This is the fastest way to resize a row when you need to fix clipped content. Working with uneven data like a wrapped note in one row or an image that gets cut off demands more vertical space.
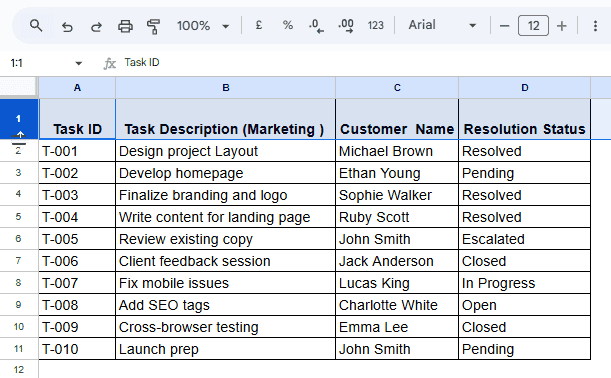
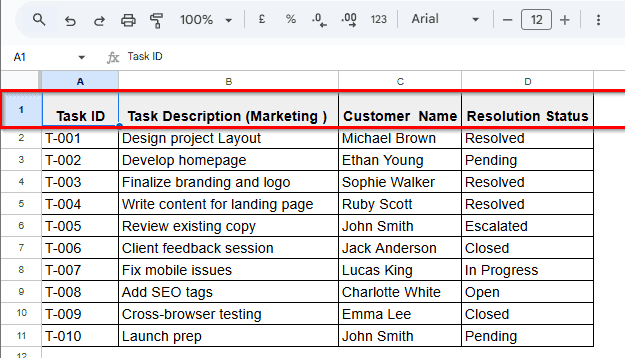
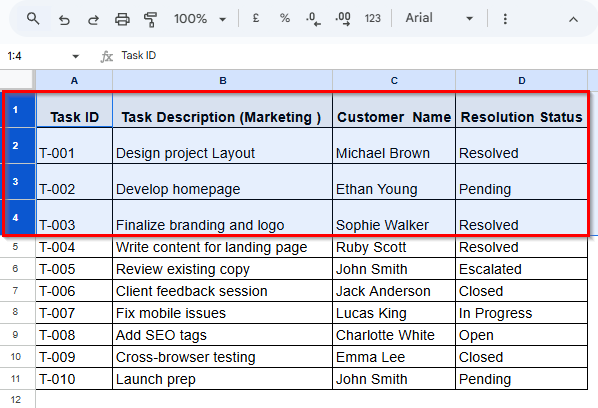
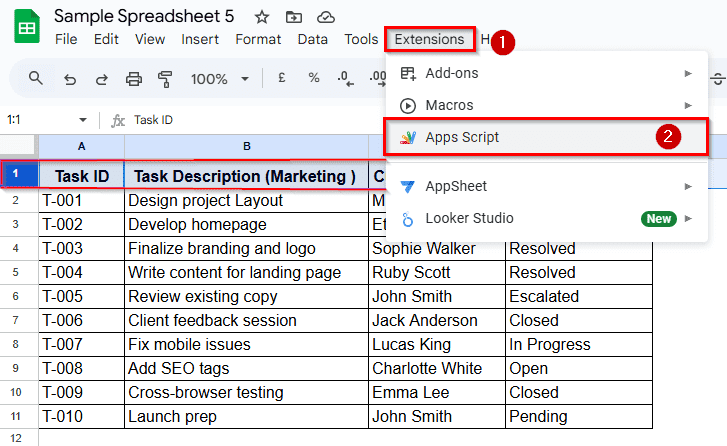
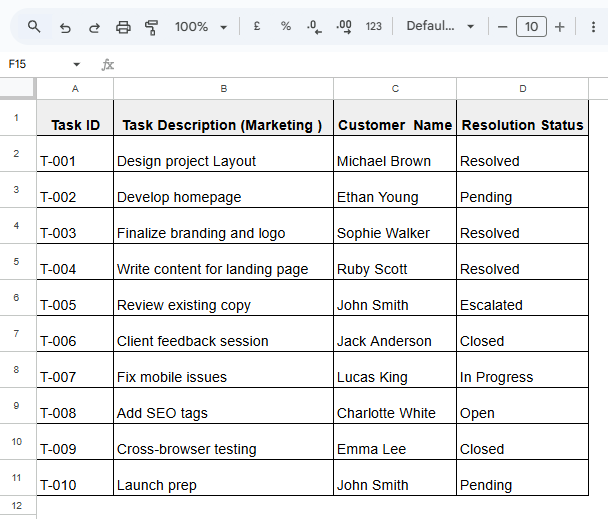
Here we will use a sample dataset containing different task progress.
Steps:
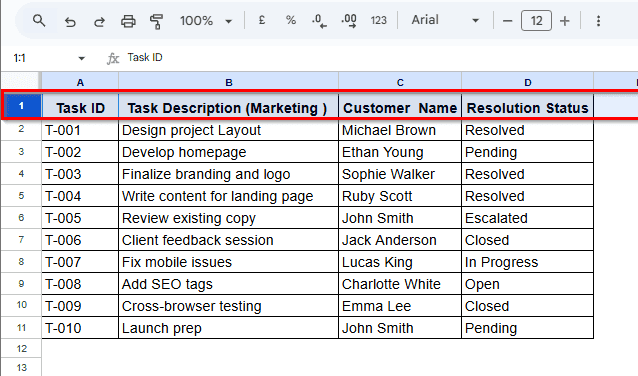
➤ Move your mouse over the desired row number, which is row 1 here.
➤ Move your cursor to the lower edge of the row number, and you will see a double-sided arrow. Click and drag the arrow down.
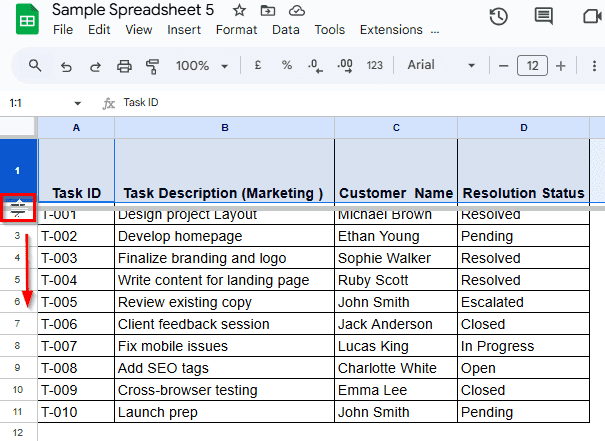
➤ You can also drag up if needed.
➤ Release when you feel the height is appropriate, as needed.
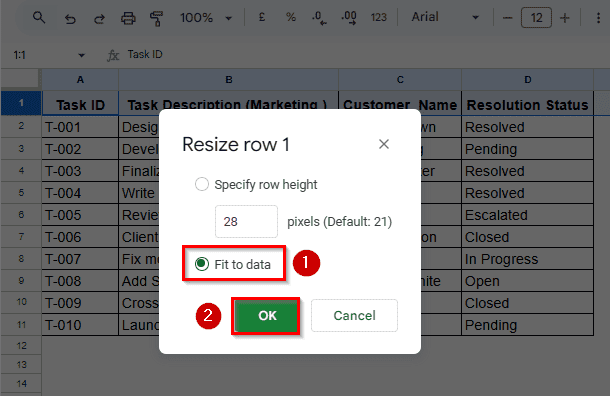
Resize Row Precisely (Using Context Menu)
You might need to set the exact height of a row for better alignment and visuals, or to match the design. You’ll want your rows to be consistent while designing templates, dashboards, or print-ready sheets. Resizing by using the Context Menu lets you set the exact pixel height. It’s suitable for maintaining balance and branding, or uniformly fitting the row contents.
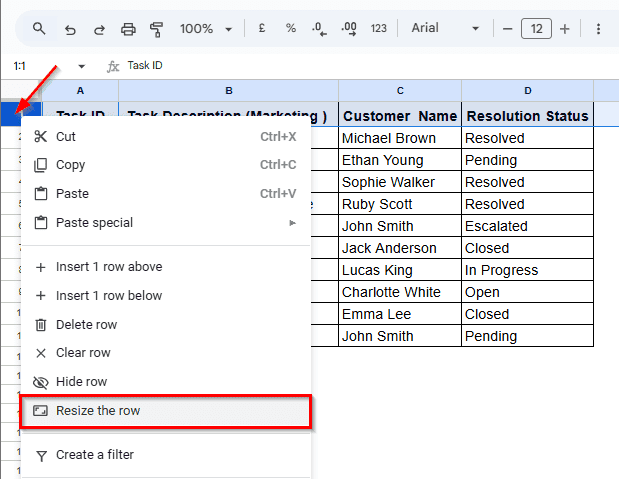
➤ Select a row. Here we selected row 1.
➤ By right-clicking, choose Resize Row from the context Menu.
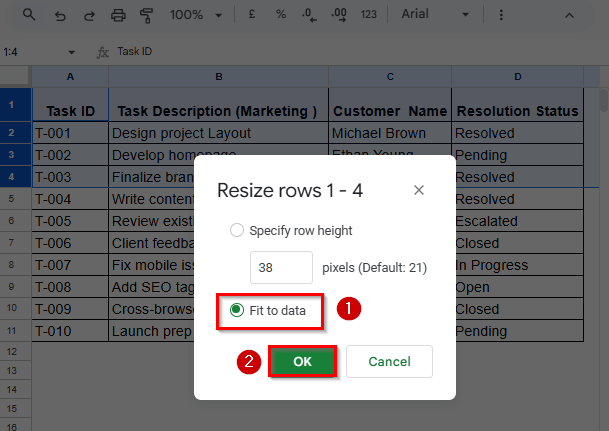
➤ Select “Fit to Data” > Click OK.
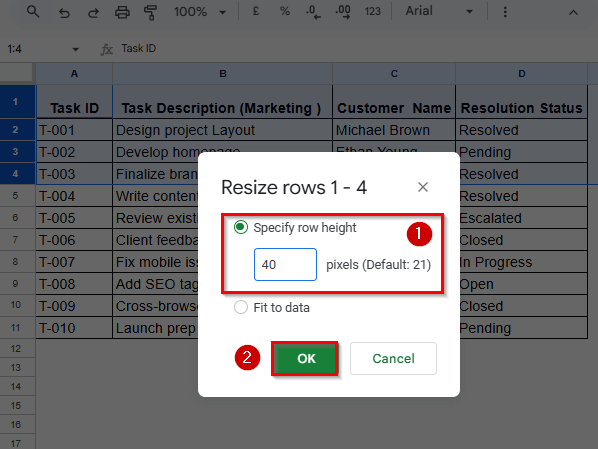
➤ You can also specify row height (e.g., 38 pixels)
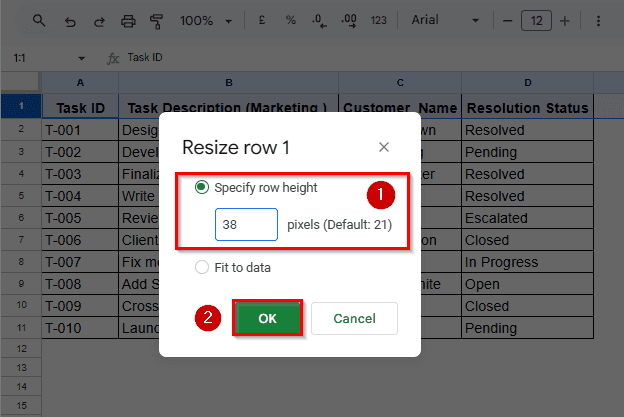
➤ Click OK, and the row height will be adjusted right away.
Resize Multiple Rows Uniformly
To maintain evenly spaced layouts like forms or selected headers, several rows need to be resized at once. Multiple resized rows look structured and professional.It makes a block of data look clean and aligned, especially when aligning tables, grouped rows, or repeating sections.
Steps:
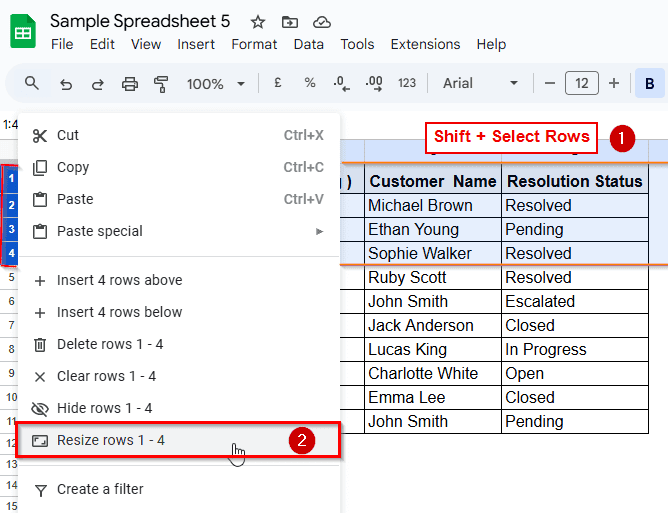
➤ Press Shift or Ctrl / Command and click row numbers 1 to 4. Rows 1 to 4 will be selected.
➤ Right-click your selection and choose “Resize Rows 1-4”.
➤ Select Fit to Data > Click OK.
➤ Input your desired height (40 pixels), then click OK.
➤ All updated rows will update together with the same spacing.
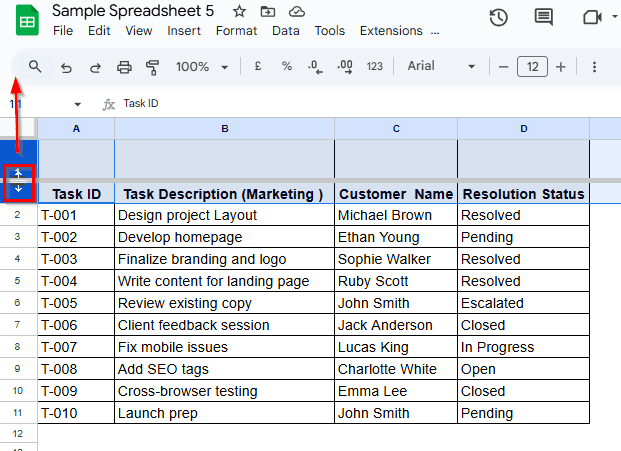
Automatically Fit Row Height by Double Clicking
Wrapped text, multiple lines, or larger fonts often spill out or get hidden behind the cell. Instead of guessing the height, you can auto-fit it. Sheets to expand rows to fit the usual content height automatically. This ensures nothing gets clipped or hidden, and your data stays visible.
Steps:
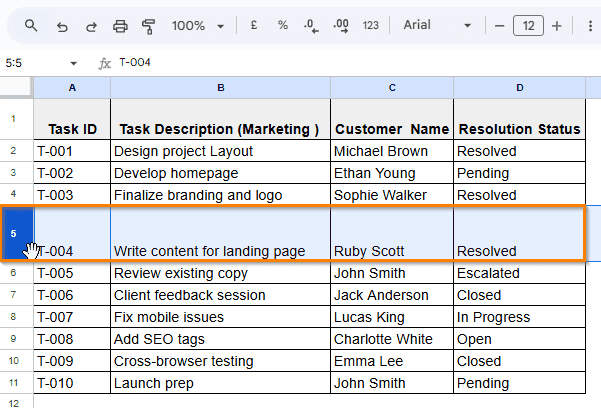
➤ Move your mouse over the bottom edge of row number 5.
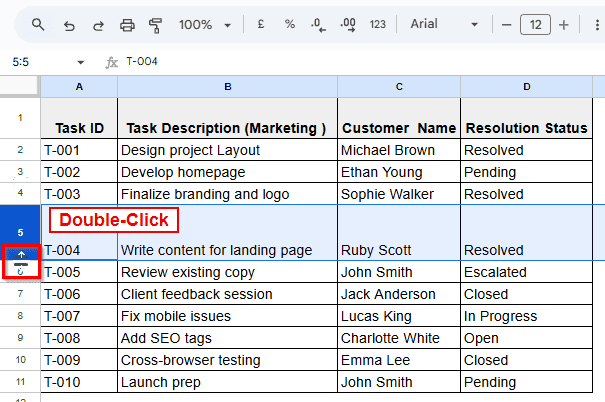
➤ Double-click as soon as the Double arrow appears.
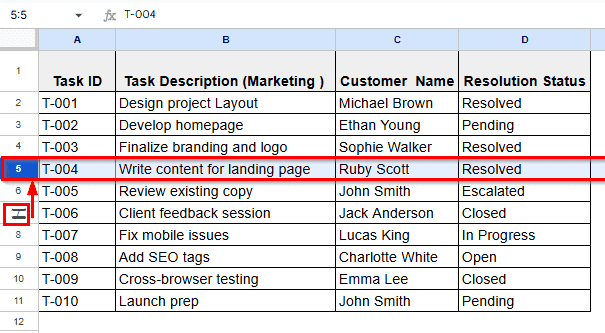
➤ Row height will automatically resize (as shown) to match the uniform cell height.
Use Google Apps Script to Automate Row Height
If you’re working with dynamically generated sheets, templates, or large datasets, you can automate row height adjustment using Apps Script.
This method is best for standardizing formatting in shared or auto-generated spreadsheets.
Steps:
➤ Click Extension > Apps Script.
➤ Delete any default code and paste the following script.
function setUniformRowHeight ()   {
const sheet = SpreadsheetApp.getActiveSpreadsheet().getActiveSheet();
const lastRow = sheet.getLastRow();
sheet.setRowHeights(1, lastRow, 40);
}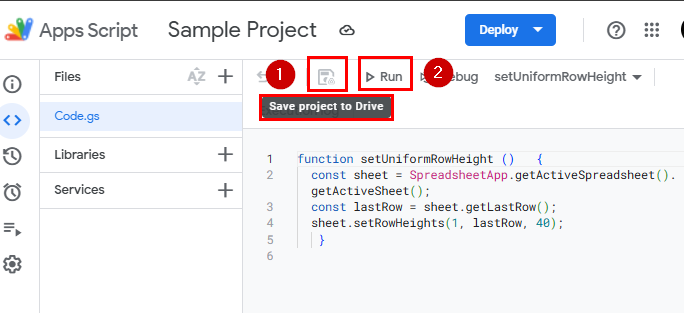
➤ Click the disk icon to save, name the file, and hit the run button.
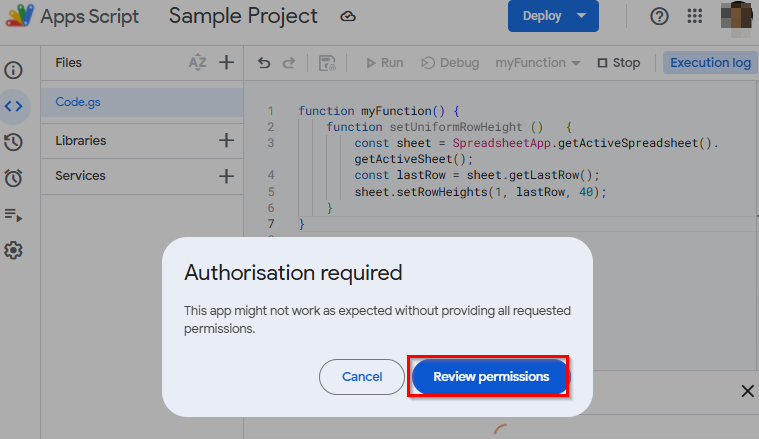
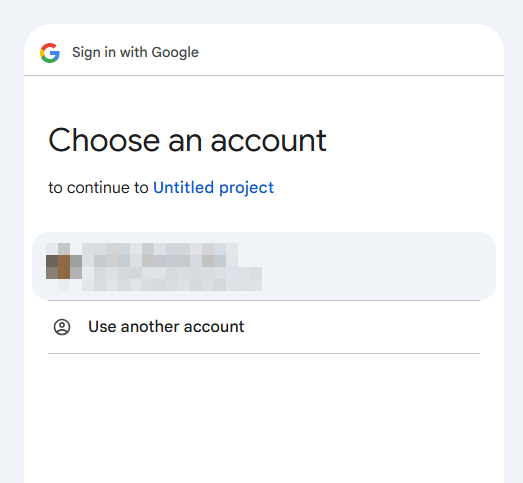
➤ Review permission by choosing your Gmail account.
➤ An execution log will appear.
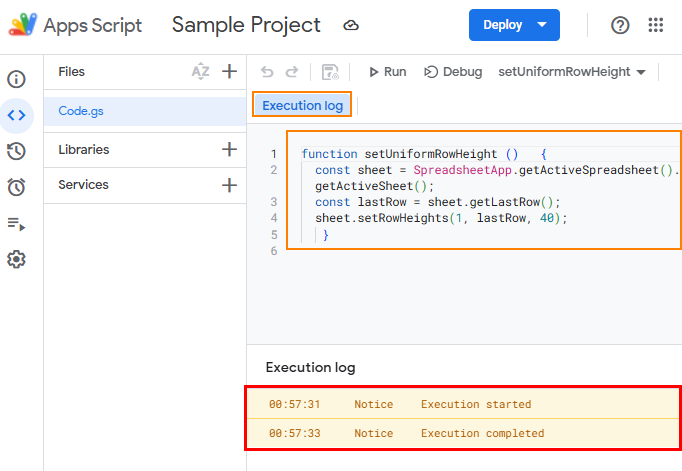
➤ The result will appear like this.
Frequently Asked Questions
Why is the text still cutting off even after changing the row height?
It’s because text wrapping could be turned off. Follow Format > Wrapping > Wrap to make the text break into multiple lines. Also, make sure the row is tall enough to fit the number of lines.
Can I apply different row heights to different sections of the sheets?
Yes, simply select specific rows and resize them either manually or via the right-click Resize row options. Row height adjustments only affect the rows you select.
Is there a shortcut to autofit row height like in Excel?
Not a keyboard shortcut, but double-clicking the bottom edge of a row number auto-fits the height to match content, just like Excel.
Can I use conditional formatting to change row height?
No, it can only change text color, font, and background. It doesn’t alter structural elements like row height.
What’s a good standard row height for wrapped headers or multiline text?
That depends on font size and content, but 40-60 pixels typically works well for wrapped headers or longer notes.
Wrapping Up
Adjusting row height in Google Sheets is more than a visual or formatting trick. It is how you can make your data clearer and presentable. Whether you need to fix layout glitches, display full text, or standardize a report, you have multiple tools to resize rows exactly how you need. Try out the manual way for a quick fix or use scripts for smart automation. Feel free to share your feedback on your sharper and easily navigable spreadsheets.