Most of the time while working in Google Sheets, you may not need to print out the whole thing. Printing only selected cells helps you to concentrate on the crucial information or avoid the mess while saving paper in the process. It also makes it easier to share pieces of information with your co-workers, present a report with laser focus, or hand out small copies of the meeting materials without giving away the whole dataset.
➤ Select the cells you want to print.
➤ Go to the print menu.
➤ Use the settings to have only that area printed.

However, the following article describes simple steps with pictures on how to print selected cells in Google Sheets properly. This post will also guide you through single ways, indicates errors in your actions, and avoids them for a smooth printing process.
For anyone seeking guidelines on how to use Google Sheets or simply reduce unnecessary clicks, the following guidelines will be very helpful. So, let’s begin!
Selecting Print Area with Certain Cells
It might appear a bit tricky in the beginning to print only the cells you need from a Google Sheets document and it is time-consuming. But once you master the steps, it will not take long.
Below are some easy methods to do that: concatenate and print various sections of the sheet to prevent some sections and reduce waste. To explain each technique, we are using a simple dataset you will meet in multiple scenarios: a table containing the sales, unit price, units sold, product and date for a business with a small team.

Now, let’s discuss three ways to easily print what you need.
However, using the Print Area would be the easiest because Google Sheets has an in-built feature. It enables users to print a certain range of cells directly from print settings.
Steps:
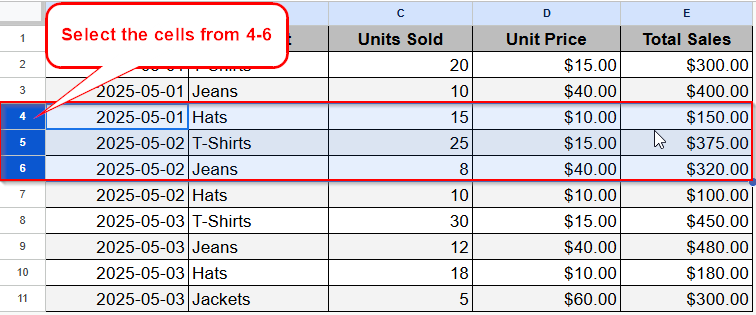
➤ First of all, highlight all the cells you wish to be printed by dragging the cursor. As you can see in the image below, I’ve selected the cells ranging rows from 4 to 6.
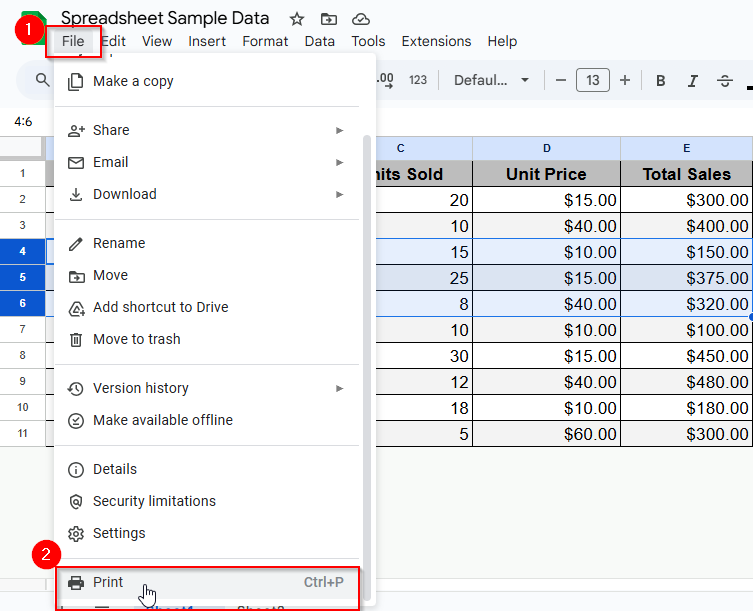
➤ Once you select the cells, click Files in the top menu and choose Print from the menu or press Ctrl + P on Windows or Cmd + P on Mac.
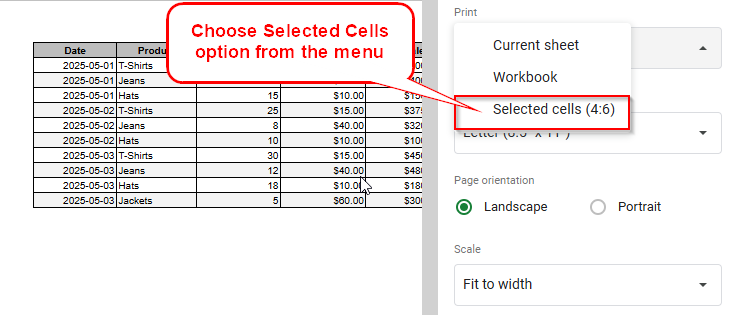
➤ On the Print setting sidebar, now select Selected cells under the Print menu. Here, you can also make any other desired adjustments to the layout, margins, or scale.
➤ Now, tap Next to complete the procedure and move to the final step.
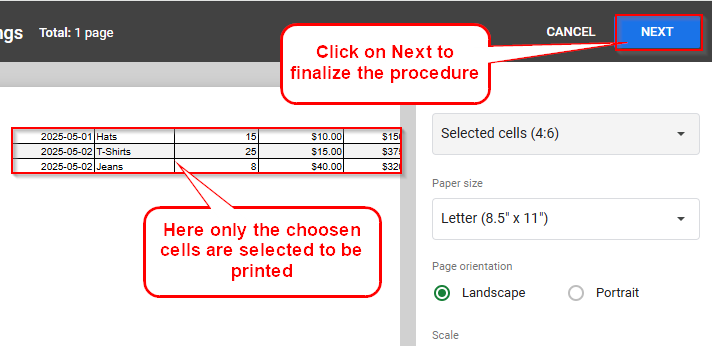
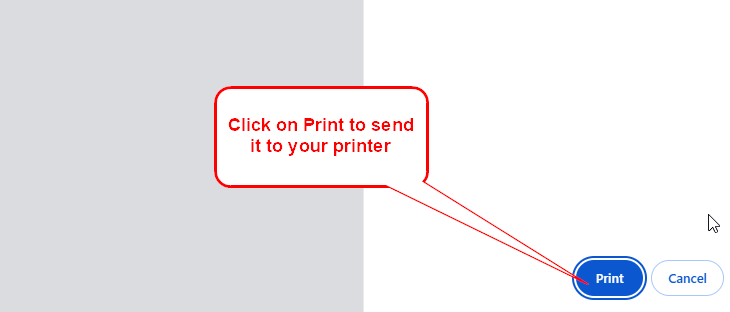
➤ Finally, click on the Print option to print the cells out.
This method is the fastest and enables users to print only the particular cells they have highlighted.
Copy the Selected Cells to New Sheet and Print
If you are working with a large dataset or you want more control over it, copying the selected cells to a fresh sheet can be much easier and impactful. To use this method, here are the steps to follow:
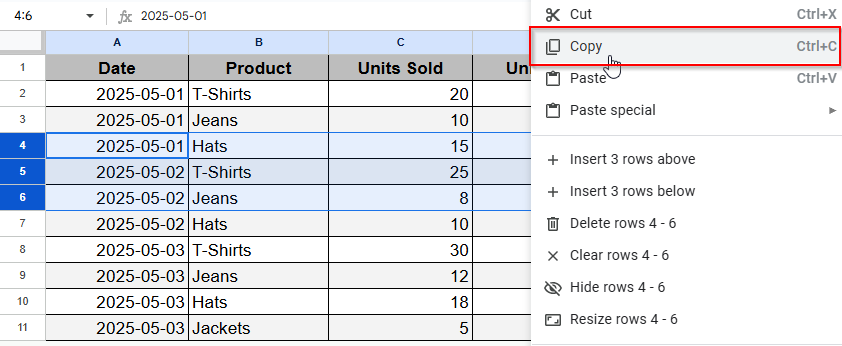
➤ To begin with, open the sheet where you had the entire data and select the cells you need.
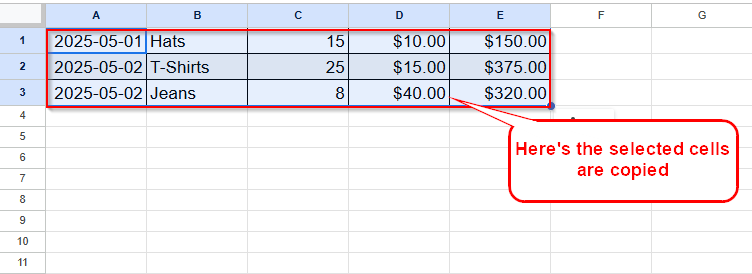
➤ Copy the data you selected by pressing Ctrl + C on Windows or Cmd + C on Mac. On the contrary, right click on the mouse and select Copy.
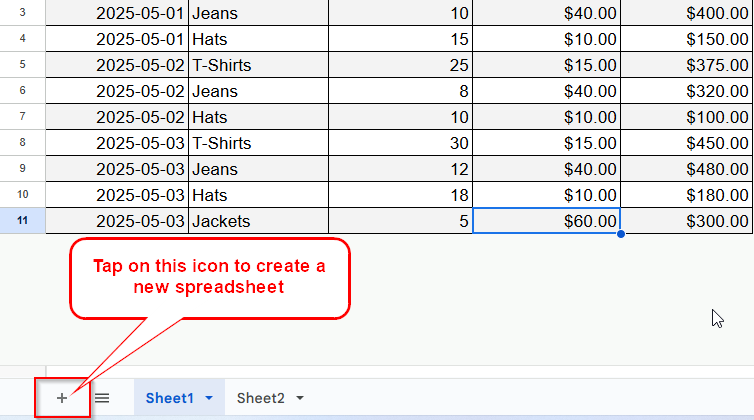
➤ On the bottom side, press the Plus icon to generate a new sheet.
➤ Click on one cell, usually A1, and paste the information copied by pressing Ctrl + V on Windows, or Cmd + V on Mac. Alternatively, you can also right click on your mouse and choose the Paste option. By doing so, here’s the result.
➤ After that, go through the File > Print option.
Now complete the print setup by following the same procedure we discussed in the first method to finish printing your selection.
Enabling the Filter Option to Select the Specific Data
Another useful way of printing only the selected cells is using the Filter option. When you apply filters to your data, all hidden rows and columns are not being printed as well. To filter your data, do the following:
➤ Open the entire dataset.
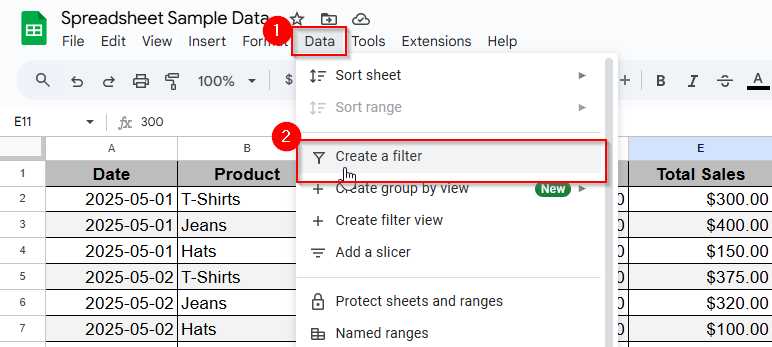
➤ Then click on Data > Create a filter, which is in the menu.
➤ Using filter arrows located in the top row of each column, show only those rows you need to get printed. To be more specific, you can filter by a specific sale’s region or date. Make sure only required data is shown.

➤ Click on File > Print, and the print preview will show the filtered data. Finally, print the filtered information.
So, each of those three methods serves a different purpose, so you can choose the one depending on your current situation. Be it a quick print of a selected range, a separate sheet to focus on the necessary data or eliminating all entries apart from what is currently needed through filters, you can always print what you need in Google Sheets easily.
Top Tips and Best Practices for Effective Cell Selection and Printing
- Save your custom print areas as named ranges to reuse them quickly.
- Always preview your print to avoid finding problems too late.
- Use borders and shading to ease the reading of data.
- Update your print settings often to avoid wasting paper and ink.
- Hide unnecessary rows or columns before you press print for a clear look.
Frequently Asked Questions
Can I print only a specific range of cells in Google Sheets?
Yes, you can. Select the cells you want to print, go to File > Print, and under Print settings, instead of the default Current sheet, select Selected cells.
Why is the Selected cells option grayed in print settings?
This may appear if you opened the Print dialog without selecting any cells. To resolve, go to File > Print and ensure you have highlighted your desired range.
Can I control margins and select which cells to be added when printing selected cells?
Yes. Under Print setup, you can adjust margins and scaling, as well as set selection options such as fit data to width or height.
Summing Up
If you want neat, presentable reports, printing selected cells in Google Sheets is a useful skill. Pick the right data, adjust the settings, and check the preview to make sure you get the necessary information. The more you practice doing this, the better you will become in producing accurate documents. Get started and take control of your documents right away. Still, I’m always here with an open comment box to give you a hand with your queries.