Businesses often use Excel files for various tasks. Important Excel files are often shared with the associates of the business. However, if an employee edits the master file by mistake, other employees will be unable to work with it. To prevent this kind of mistake, we can make the Excel file read-only so that the file can only be viewed by default. If people still need to edit the file, they will have to make a copy to do that. In this article, we will learn three methods for making an Excel file read-only.
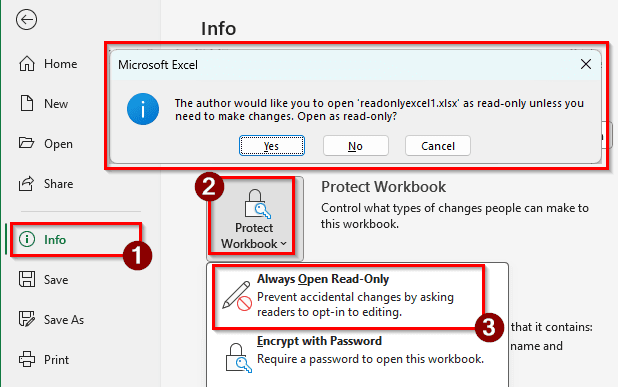
➤ Go to File > Info.
➤ Click on the Protect Workbook icon, and select Always Open Read-Only.
➤ From now on, a dialog will open asking the user to open the file as read-only.
There are essentially three ways to make an Excel file read-only. We can ask the user nicely to open the file as read-only, we can enforce the read-only attribute at the OS level, or we can put a password on the file. We will learn all three methods in this article.
Adding Read-Only Preference to the Excel File
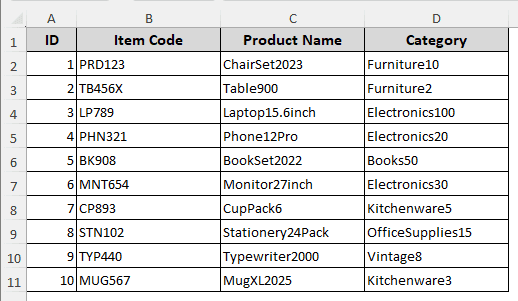
We have an Excel file with a product data table. There are product IDs, item codes, product names, and their categories. These codes and names are not company-wide changeable, and they must be used by all the departments of the company. Therefore, we want the employees to open the file as read-only so that they don’t accidentally change anything. Here is how we can make the Excel file read-only:
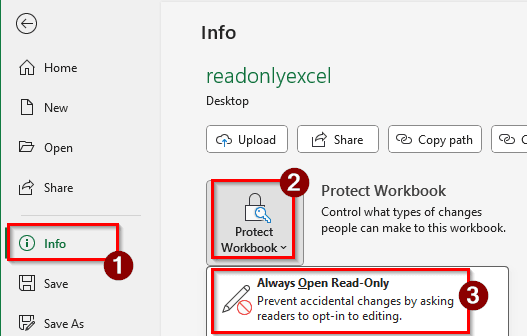
➤ From the ribbon at the top, go to File.
➤ Choose Info from the left panel. On the right, click on the Protect Workbook icon.
➤ Select Always Open Read-Only.
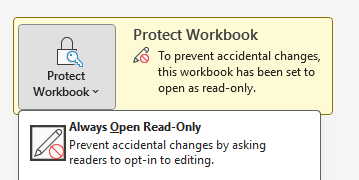
➤ Now the icon will look like this:
➤ Save and re-open the file. The following prompt will show up now:

➤ If pressed Yes, the file will open as a read-only file. If pressed No, it will be opened as a regular Excel file.
Adding a Password to the File
This method is somewhat of an extension of the first method, but the user won’t have a choice but to open the file as read-only because we will have a password that will prevent them from doing so.
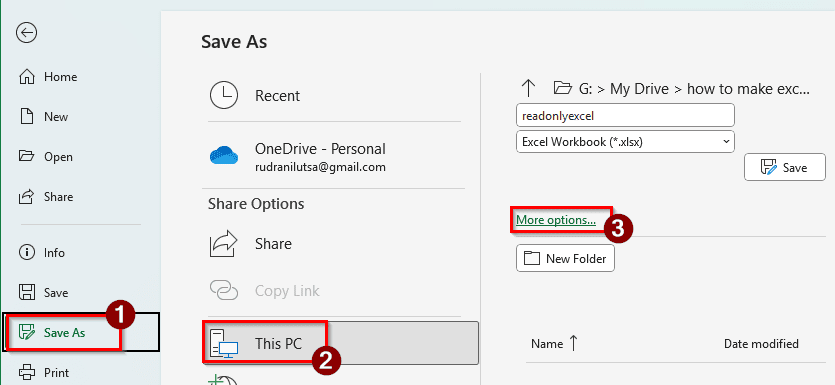
➤ First, go to the File menu on the ribbon, and head to Save As > This PC > More Options.
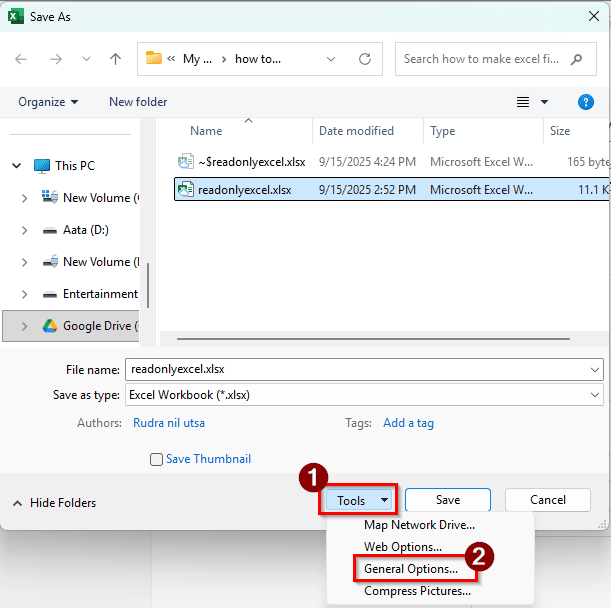
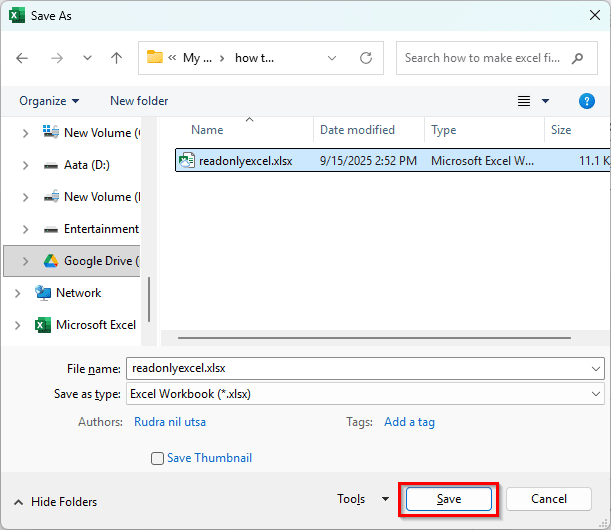
➤ A new dialog will pop up for saving. From the Tools button on the bottom-right, select General Options.
➤ Now, we add a password in the Password to modify section, and check the box Read-only recommended. Note that if we don’t add a password, this method works the same as the first method.
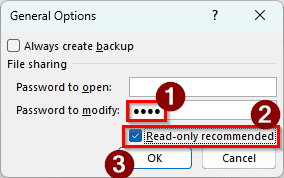
➤ We have used “1234” as the password here. Click OK to continue.
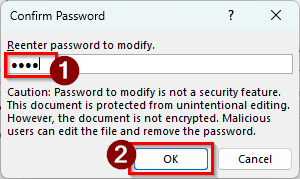
➤ The password will need to be re-entered to make sure that you remember it. Enter the password again and press OK.
➤ Now click Save to save the file.
➤ Now, if we try to open the file, this prompt will show up:
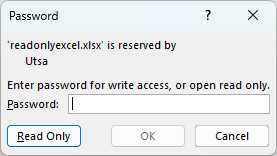
➤ We can press Read Only to open the file as read-only, or enter the password to open the file with edit access.
➤ As we have checked the box to ask the user to open the file as read-only, we will see the following prompt as well, even after we enter the password.

Enforcing OS Level Protection
Instead of going to the Excel route, we can protect the file on the OS level. This is more effective than just asking the user to open it as read-only. However, the file will not be as protected as adding a password.
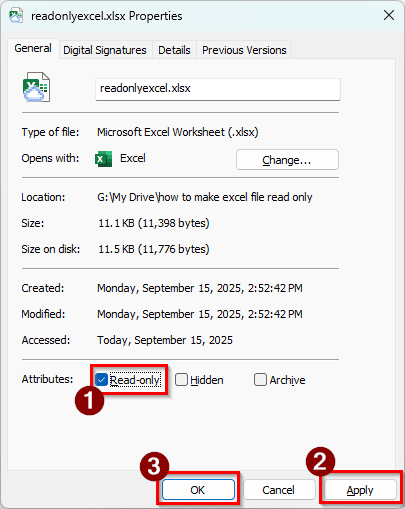
➤ Right-click on the file and select Properties. You can also select the file and press Alt + Enter .

➤ From the Attributes section, check the box that says Read-only.
➤ Then click Apply and OK.
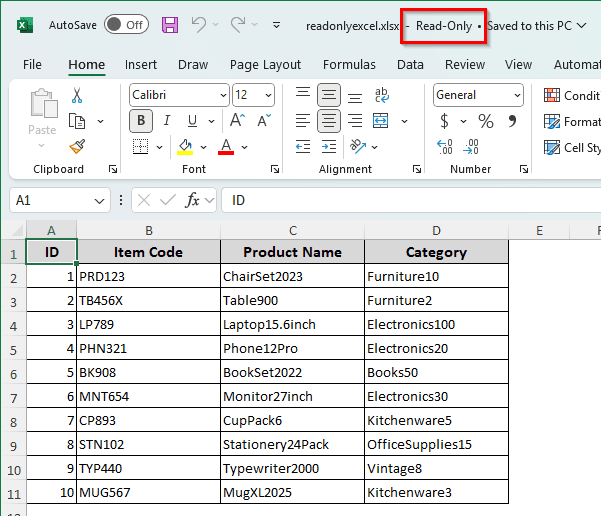
➤ Now, if we open the file, we can see that the file is in read-only mode.
Frequently Asked Questions
How to prevent an Excel file from being opened?
While saving the file, go to Save As > More Options. Now, from Tools > General Options, add a password in the “Password to open” section. Press OK and save the file. Now, the file cannot be opened by anyone who doesn’t know the password.
How do I turn off open as read-only only in Excel?
Create a copy of the Excel file by going to File > Save As. If the file was protected by the operating system, the protection will be removed using this method. If the file was protected by Microsoft Excel, go to Info > Protect Workbook, and deselect “Always Open Read-Only”.
Why is Excel open in protected view?
If you have downloaded the Excel file from somewhere else, Excel might open the workbook as protected. Excel has no way of scanning the file for viruses, so it opens the file in protected mode so that the file cannot harm you. In protected mode, the file is read-only, and the macros are disabled.
How to make Excel non-editable?
To make a specific sheet non-editable, go to the Review tab of the ribbon and select Protect Sheet. In the new window, uncheck the stuff that you don’t want people to edit, and press OK. You can even set a password if you want, so that only those aware of the password can edit the file.
Why do Excel files lock?
If your Excel file is locked and cannot be edited, it might be because the file is opened by another user, especially in the case of files that are synced in the cloud. Files downloaded from the internet are usually locked from editing to protect you from malware, although it is pretty easy to unlock them.
Wrapping Up
In this article, we have learned three ways to make an Excel file read-only. After reading this article, we hope that you can protect the Excel files you worked hard to produce. If you want more Excel tutorials, make sure to bookmark our site and revisit it regularly. The file we protected in this article is available for you to download so that you can try opening it to see what we did in action.