Sometimes, when you open an Excel file, you might see a [Read-Only] tag in its title bar or a prompt saying, “The author would like you to open this file as read-only”. This can be frustrating, especially if you need to edit or update the file immediately. However, Excel provides multiple ways to remove the “Read Only” restriction depending on its cause.
In this article, we’ll explore all possible reasons why an Excel file becomes read-only and step-by-step solutions to remove the restriction. Let’s get started.
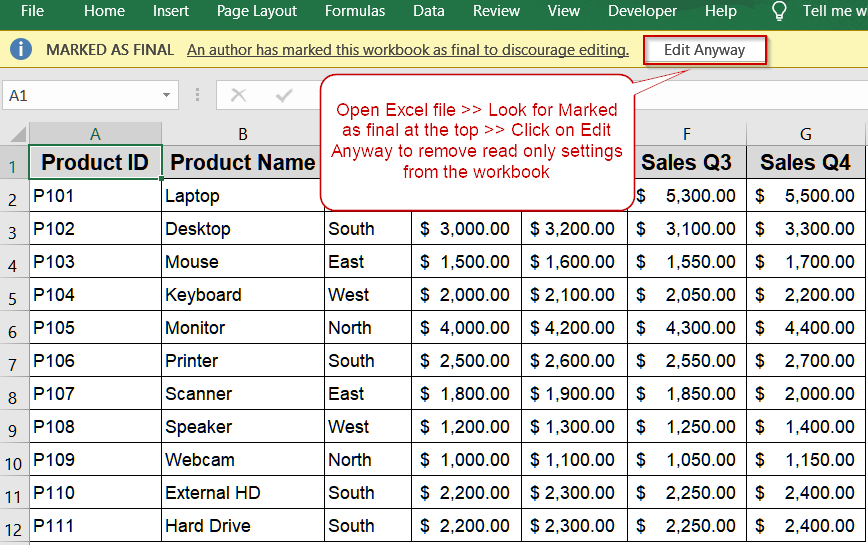
Steps to remove read only from Excel:
➤ Open the Excel workbook.
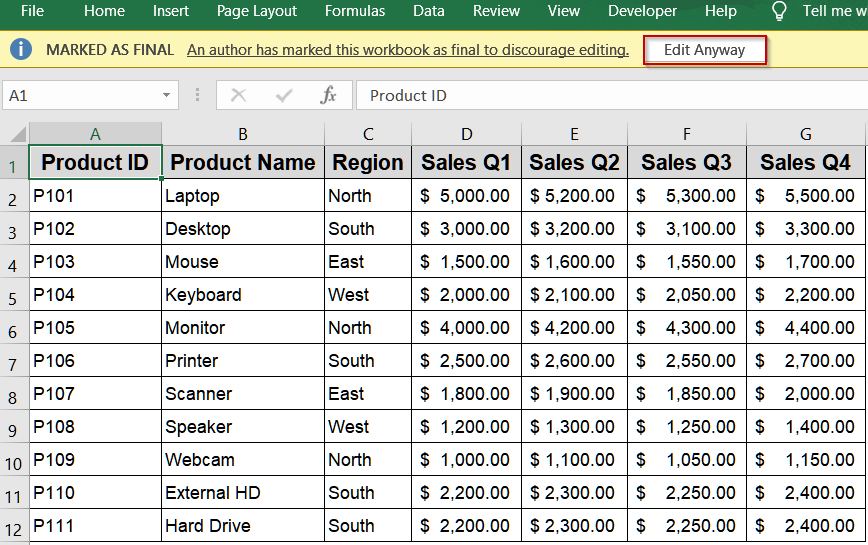
➤ Look for the yellow “Marked as Final” banner at the top.
➤ Click Edit Anyway.
➤ The file now becomes editable, removing the [Read-Only] tag.
Check File Properties Outside Excel
Many times, the “Read-only” status comes from Windows rather than Excel itself. This happens when the file’s attribute is set to restrict editing. You can easily verify and adjust this property from File Explorer without opening Excel. By removing the Read-only attribute, your file becomes fully editable again in any Excel version.
We’ll use the following file:

Steps:
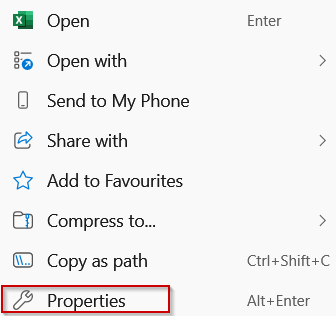
➤ Right-click your Excel file in File Explorer.
➤ Choose Properties from the menu.
➤ Under the General tab, find the Attributes section.
➤ Uncheck the box labeled Read-only.
➤ Click OK to save changes.

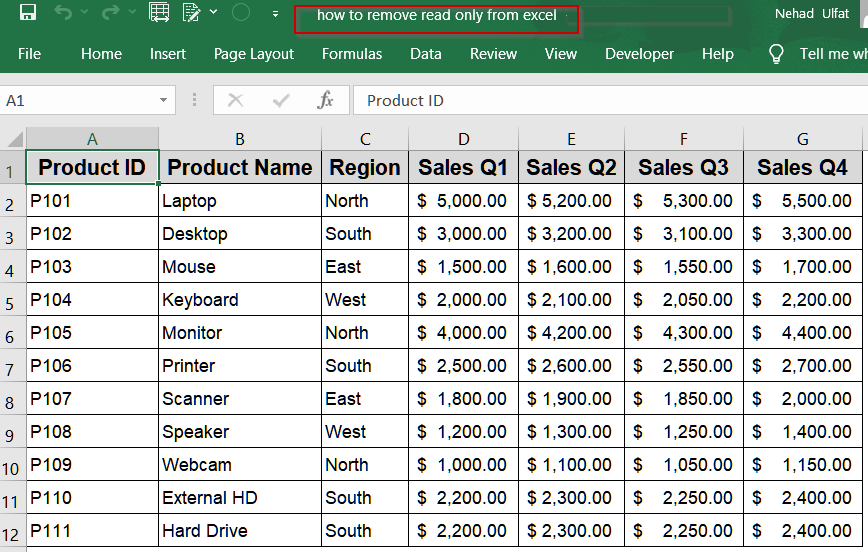
➤ Verify the changes by checking the title bar of your Excel workbook not displaying [Read-Only] after the file name.

Unprotect the Workbook Inside Excel
If you still can’t edit the file even after changing its properties, your workbook might be protected inside Excel. Workbook protection locks structure, sheets, or editing features, often requiring a password to lift. Removing this protection from Excel’s Info panel allows you to freely modify and save your file again.
Steps:
➤ Open the Excel workbook.
➤ Click File >> Info.
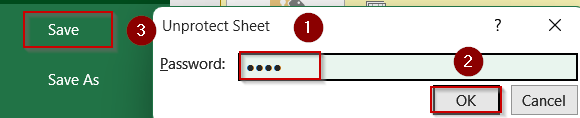
➤ Go to Protect Workbook and click Unprotect at the bottom corner.

➤ Enter the password (if prompted), and save your changes.
➤ Verify the changes by checking the title bar of your Excel workbook not displaying [Read-Only] after the file name.
Use Save As Dialog to Remove Read-only Recommended
Sometimes, a file isn’t locked and it just suggests being opened as read-only. This happens when “Read-only recommended” is selected during saving. While not mandatory, it can be confusing. Simply saving a new copy with this setting unchecked permanently removes the suggestion and allows editing without prompts. You can also apply this technique to edit a file without a password.
Steps:
➤ Open your Excel file.
➤ Go to File >> Save As.
➤ Choose a location to save.
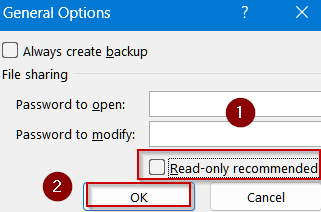
➤ Click Tools >> General Options.

➤ Uncheck Read-only recommended, then click OK >> Save.
➤ Verify the changes by checking the title bar of your Excel workbook not displaying [Read-Only] after the file name.

Click on Edit Anyway Banner
When Excel detects that a file is “Marked as Final”, it displays a banner discouraging edits. This doesn’t actually protect the file since it’s a recommendation. You can bypass it instantly by clicking “Edit Anyway”. Doing so removes the Read-only banner and restores full edit access.
Steps:
➤ Open the Excel workbook.
➤ Look for the yellow “Marked as Final” banner at the top.
➤ Click Edit Anyway.
➤ The file now becomes editable, removing the [Read-Only] tag.

Remove Mark as Final Protection
If you want to permanently remove the “Mark as Final” setting, Excel lets you undo it from the Protect menu. This ensures no user sees the “Marked as Final” message again. It’s useful when sharing files that need ongoing editing by others.
Steps:
➤ Open the file in Excel.
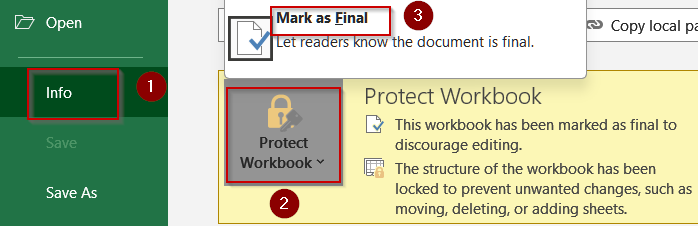
➤ Go to File >> Info >> Protect Workbook.
➤ Click Mark as Final again to turn it off.
➤ Save the workbook using Ctrl + S .
➤ Verify the changes by checking the title bar of your Excel workbook not displaying [Read-Only] after the file name.

Disable Always Open Read-Only Option
You may have enabled an internal Excel setting called “Always Open Read-Only.” This forces the file to prompt users before editing. Disabling this option under workbook protection restores normal editing behavior and stops the read-only prompt.
Steps:
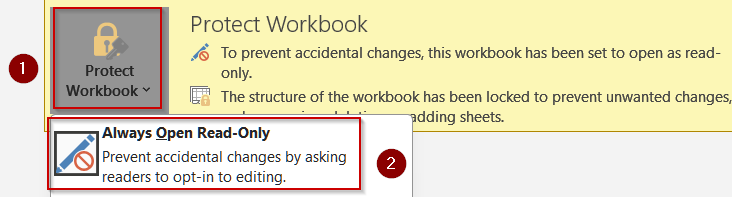
➤ Go to File >> Info >> Protect Workbook.
➤ Choose Always Open Read-Only.
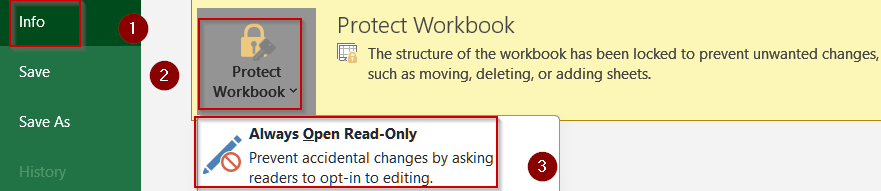
➤ Click it again to turn the option off.
➤ Press Ctrl + S to save the change.
➤ Verify the changes by checking the title bar of your Excel workbook not displaying [Read-Only] after the file name.

Adjust Protected View Options Using Trust Center Settings
Files downloaded from emails or the internet often open in Protected View, appearing read-only for security. You can manage these settings from Excel’s Trust Center. Adjusting or disabling specific Protected View options allows trusted files to open with full edit permissions.
Steps:
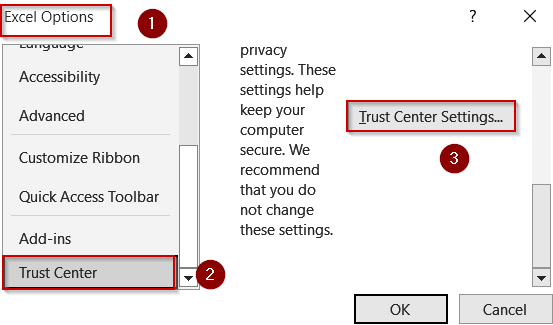
➤ Go to File tab >> Options >> Trust Center.
➤ Click Trust Center Settings.
➤ Select Protected View.
➤ Uncheck the options you want to disable.
➤ Click OK to confirm.

➤ Verify the changes by checking the title bar of your Excel workbook not displaying [Read-Only] after the file name.

Fix Network or Permission Issues
If your Excel file is stored on a shared network or cloud storage, your user account might have view-only rights. This is common in team environments. You’ll need admin access or permission adjustments to unlock full editing rights.
Steps:
➤ Right-click the file and select Properties.
➤ Go to the Security tab.
➤ Check your user’s permissions.
➤ If “Write” or “Modify” is unchecked, contact your admin. Request permission to edit or move the file locally.
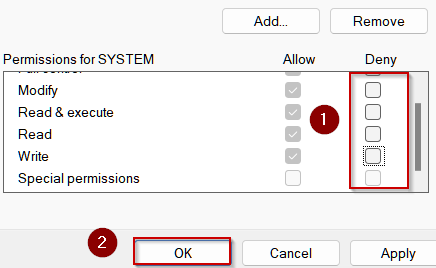
➤ If you are the owner of the file, click on Edit.

➤ Uncheck the boxes under Deny and click OK.
➤ Verify the changes by checking the title bar of your Excel workbook not displaying [Read-Only] after the file name.

Frequently Asked Questions
Why is my Excel file opening as read-only?
Your Excel file might open as read-only due to file property settings, workbook protection, “Mark as Final” status, network permissions, or a “Read-only recommended” setting during saving. Each cause requires a different solution.
Can I remove read-only from a password-protected Excel file?
Yes, but you’ll need the password. Go to File >> Info >> Protect Workbook, click Encrypt with Password, and remove the password. Save the file afterward to make it fully editable without any restrictions.
How do I remove read-only in Excel without a password?
Open the file, go to File tab >> Save As >> Tools >> General Options, and uncheck Read-only recommended. Save the file with a new name or location to remove the restriction permanently.
Why can’t I uncheck the “Read-only” box in file properties?
If you can’t uncheck “Read-only” in file properties, the file may be on a shared network or restricted folder. You’ll need administrative rights or permission from your IT team to change the attribute.
Does removing read-only affect file security?
Yes. Removing read-only makes the file editable by anyone with access. If you need partial protection, consider applying sheet protection, workbook passwords, or enabling editing for specific users instead of full access.
Wrapping Up
In this tutorial, we explored every possible cause of read-only restrictions in Excel and practical methods to remove them starting from unchecking file attributes and unprotecting workbooks to adjusting Trust Center settings and saving a new copy. Feel free to download the practice file and share your feedback.