Large Excel files loaded with images can slow down performance, make sharing difficult, and even cause crashes on older systems. When pictures are added at full resolution or left uncropped, file sizes can go up unnecessarily. However, Excel offers several ways to reduce workbook size without sacrificing essential image quality or functionality.
In this article, you’ll learn multiple techniques to shrink Excel files that contain pictures. From built-in compression tools to advanced options like VBA scripts, binary formats, and external compression. Let’s get started.
Steps to reduce file size with pictures in Excel:
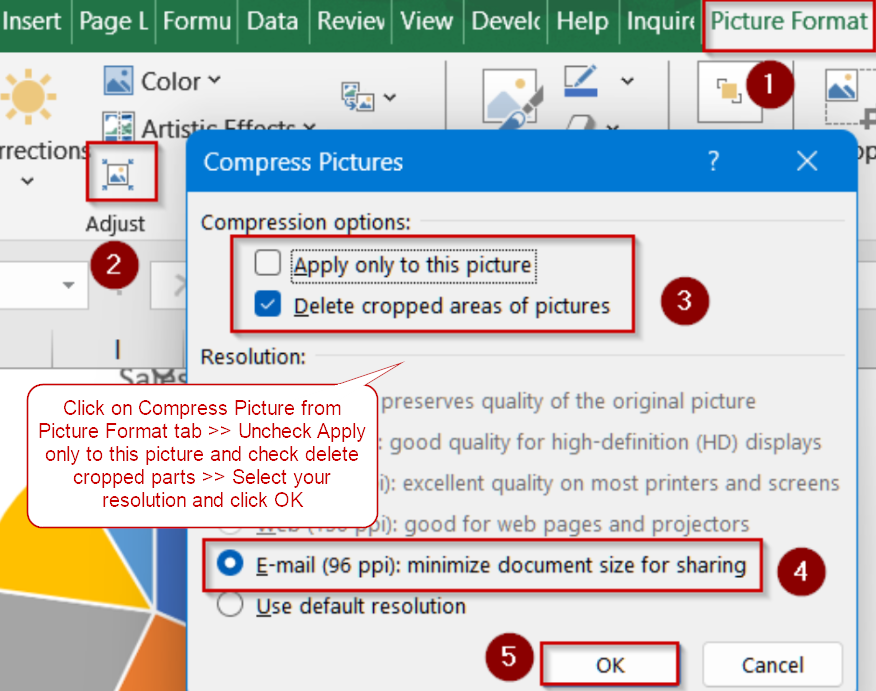
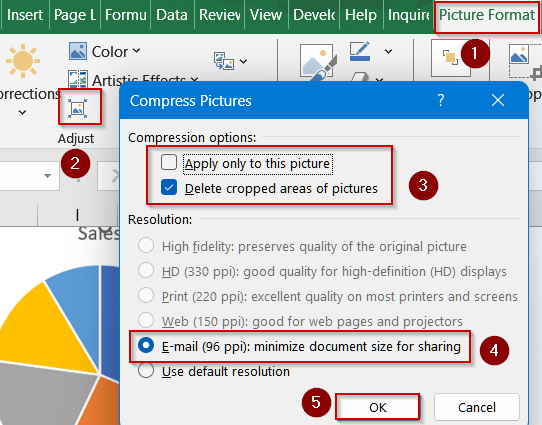
➤ Click on any picture in your Excel workbook to reveal the Picture Format tab.
➤ In the Adjust group, click Compress Pictures.
➤ In the dialog box, uncheck Apply only to this picture if you want to compress all images.
➤ Check Delete cropped areas of pictures to remove hidden, unused portions of images.
➤ Under Resolution, pick a smaller size like Web (150 ppi) or Email (96 ppi).
➤ Click OK and save your file to apply the compression.
Compress Pictures Using the Picture Format Tool
The Picture Format tool is Excel’s built-in feature for shrinking image sizes directly within your workbook. By compressing pictures and deleting cropped areas, you can drastically reduce the file size without affecting overall image clarity for most tasks.
Steps:
➤ Click on any picture in your Excel workbook to reveal the Picture Format tab.
➤ In the Adjust group, click Compress Pictures.
➤ In the dialog box, uncheck Apply only to this picture if you want to compress all images.
➤ Check Delete cropped areas of pictures to remove hidden, unused portions of images.
➤ Under Resolution, pick a smaller size like Web (150 ppi) or Email (96 ppi).
➤ Click OK and save your file to apply the compression.
Resize Images Before Inserting to Reduce Excel File Size
Large, high-resolution images can significantly increase your Excel workbook’s size. Resizing pictures beforehand ensures you use only the resolution you need, keeping your file smaller without compromising visual quality or performance. This is especially helpful for image-heavy reports.
Steps:
➤ Open your image in an editor such as TinyPNG or any other free online tool.
➤ Reduce the image dimensions and save it in a compressed format like JPEG instead of PNG.
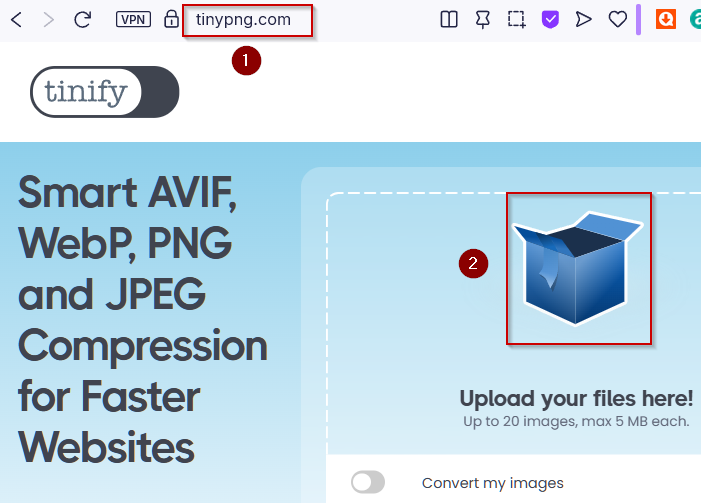
➤ Download the images on your PC.

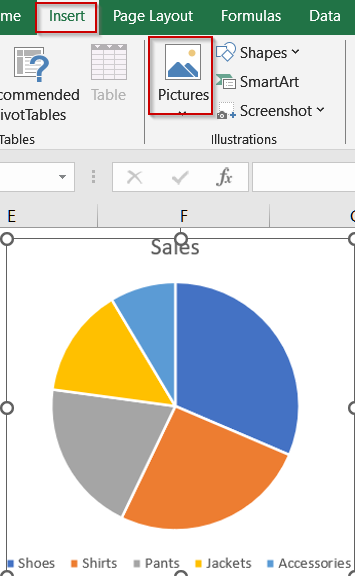
➤ Insert the resized image into Excel using Insert >> Pictures.
➤ Repeat for all images before saving the workbook to maintain a lightweight file size.
Save File Format as Binary Workbook (.xlsb)
Saving as a binary format is a quick and effective way to shrink file size while retaining all functionality. Binary files store data more compactly compared to the default XML-based format (.xlsx).
Steps:
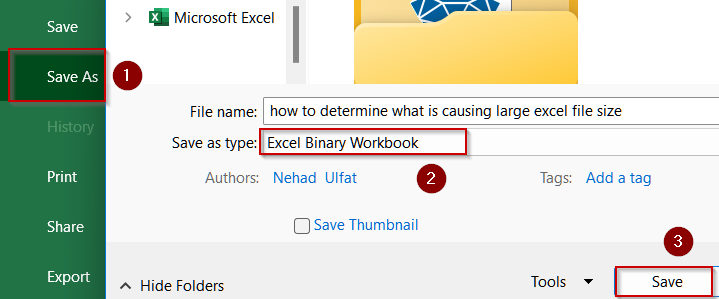
➤ Click File >> Save As.
➤ In the Save as type dropdown, choose Excel Binary Workbook (*.xlsb).
➤ Click Save and compare the file size since the binary version is typically much smaller.
Use Zip Compression for Sharing
Zipping your Excel file is a quick, non-destructive way to reduce its size for email or cloud sharing. This method preserves all content and formatting while making file transfers faster, especially when dealing with image-heavy workbooks.
Steps:
➤ Close the Excel file.
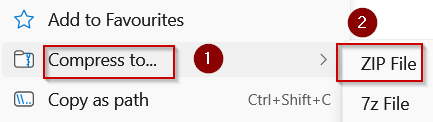
➤ Right-click the workbook in File Explorer and select Compress to… >> ZIP File.
➤ Share the zipped version instead of the original for easier transfer.
Switch Calculation Mode to Manual
Large workbooks with complex formulas can increase file size and slow performance. Setting calculation options to Manual prevents Excel from recalculating every change in real time, reducing file overhead and improving responsiveness during editing.
Steps:
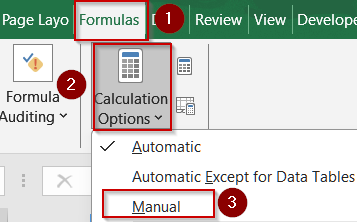
➤ Go to the Formulas tab.
➤ Click Calculation Options and select Manual.
➤ Press F9 to recalculate formulas only when necessary.
➤ Press Ctrl + S to save your file to keep the new calculation setting.
Remove Personal Information and Metadata
Excel stores metadata such as author details, comments, and revision history, which can slightly increase file size and expose sensitive information. Removing this information not only shrinks the file but also enhances privacy and security.
Steps:
➤ Click File >> Info.
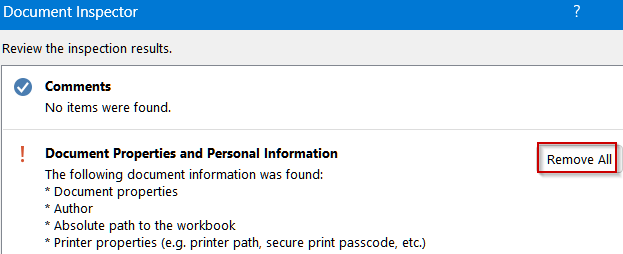
➤ Select Check for Issues >> Choose Inspect Document.

➤ Check the boxes for properties or personal data you want to remove.
➤ Click Remove All for the selected items, then save your file.
Clean Up Unused Data and Objects
Over time, workbooks can accumulate hidden sheets, extra formatting, or redundant elements that bloat file size. Removing unnecessary data, charts, and objects not only reduces file size but also improves workbook performance and responsiveness.
Steps:
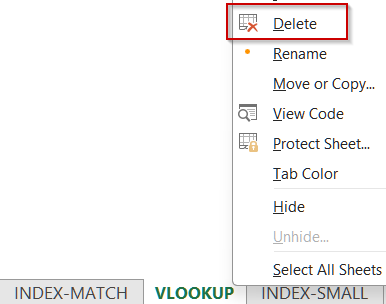
➤ Unhide and delete sheets by right-clicking any sheet tab >> Select Unhide

➤ Right-click the unhidden sheet >> Select Delete.
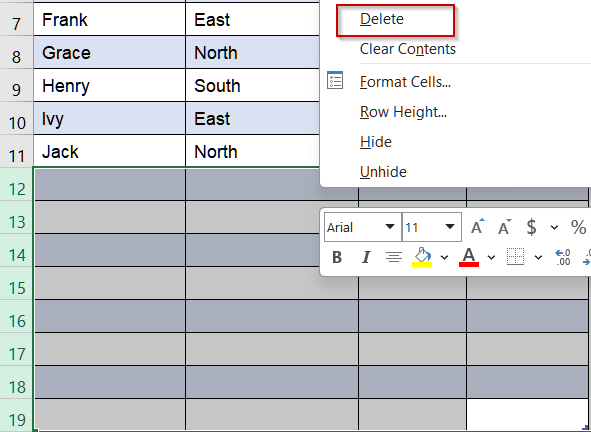
➤ Highlight blank rows or columns with formatting >> Right-click >> Click Delete to clear unused rows/columns.
➤ Delete redundant charts, commented-out formulas, or unused objects.
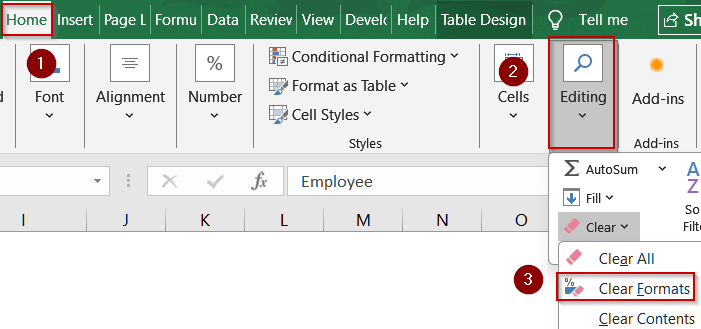
➤ Retain only essential formatting, such as headings or critical highlights. Go to the Home tab >> Editing >> Clear >> Clear Formats.
Automate Compression with VBA Script
If your workbook contains many images, running a simple VBA script can automate the compression process. This is especially helpful for large projects or when working with multiple files.
Steps:
➤ Press Alt + F11 to open the VBA Editor.
➤ Go to Insert >> Module and paste a VBA script designed to compress or resize pictures.
Sub CompressAllPictures()
    Dim ws As Worksheet
    Dim shp As Shape
    Dim wsChart As ChartObject
    ' Loop through each worksheet
    For Each ws In ThisWorkbook.Worksheets
        ' Loop through each shape (pictures)
        For Each shp In ws.Shapes
            If shp.Type = msoPicture Then
                ' Reduce picture size by setting lock aspect ratio and scaling
                shp.LockAspectRatio = msoTrue
                shp.ScaleHeight 0.75, msoTrue
                shp.ScaleWidth 0.75, msoTrue
            End If
        Next shp
        ' Check for pictures inside chart objects
        For Each wsChart In ws.ChartObjects
            For Each shp In wsChart.Chart.Shapes
                If shp.Type = msoPicture Then
                    shp.LockAspectRatio = msoTrue
                    shp.ScaleHeight 0.75, msoTrue
                    shp.ScaleWidth 0.75, msoTrue
                End If
            Next shp
        Next wsChart
    Next ws
    MsgBox "All pictures compressed successfully!", vbInformation
End Sub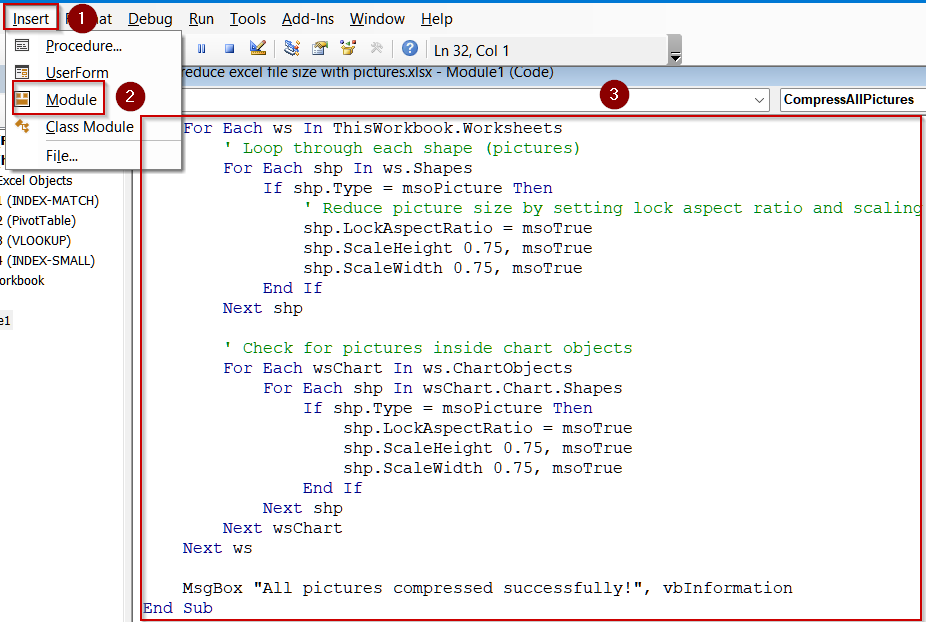
➤ Close the editor and press Alt + F8 , select the macro, and run it.
➤ Click OK and save your workbook to see the reduced file size.
This method is effective when you frequently handle image-heavy workbooks.
Frequently Asked Questions
Why does adding pictures make my Excel file so large?
Pictures store additional pixel data and metadata, which significantly increases file size. High-resolution images or multiple pictures compound the issue, making your Excel file bulky and sometimes harder to share or load quickly.
Does compressing pictures affect their quality noticeably?
Yes, compressing pictures reduces resolution slightly, but selecting options like Web (150 ppi) often maintains enough clarity for presentations or printing. Extreme compression, such as Email (96 ppi), can visibly reduce sharpness, so choose according to your needs.
Is converting to Excel Binary Workbook format safe for all features?
Yes. The Excel Binary Workbook (.xlsb) format preserves formulas, formatting, and VBA while significantly reducing file size. It’s fully supported by Excel and safe for most projects without affecting your workbook’s functionality or compatibility.
Can resizing images before insertion help reduce file size?
Yes. Resizing images in an external editor reduces their dimensions and resolution before adding them to Excel. This proactive step can dramatically cut file size without relying solely on Excel’s compression tools or settings.
What should I check if compression doesn’t reduce the size enough?
Look for unused objects, excessive formatting, or embedded charts. Also, save as .xlsb or use ZIP compression for sharing. Combining multiple methods typically produces the best results when dealing with very large workbooks.
Wrapping Up
In this tutorial, we explored multiple methods to shrink Excel file sizes caused by embedded pictures. By compressing images, resizing externally, removing unused data, and optimizing formats, you can maintain workbook performance and ensure easy sharing. Feel free to download the practice file and share your feedback.