Although Google Sheets is an online spreadsheet tool widely used by professionals, students, and teams for data management, sometimes you need to print Google Sheets. Printing can be a little challenging when you want everything to fit neatly on the page. You need to understand how to print Google Sheets correctly. In this article, printing procedures will be described clearly.
Printing Selected Cells and Labels on One Page in Google Sheets
To keep your spreadsheet neat and clean, it’s important to maintain your complete spreadsheet on one page. Before printing based on selected cells from Google Sheets, you need to change the Printing settings to print the spreadsheet on one page. Let’s look at the dataset below, and you want to print this spreadsheet on one page. What you have to do is:
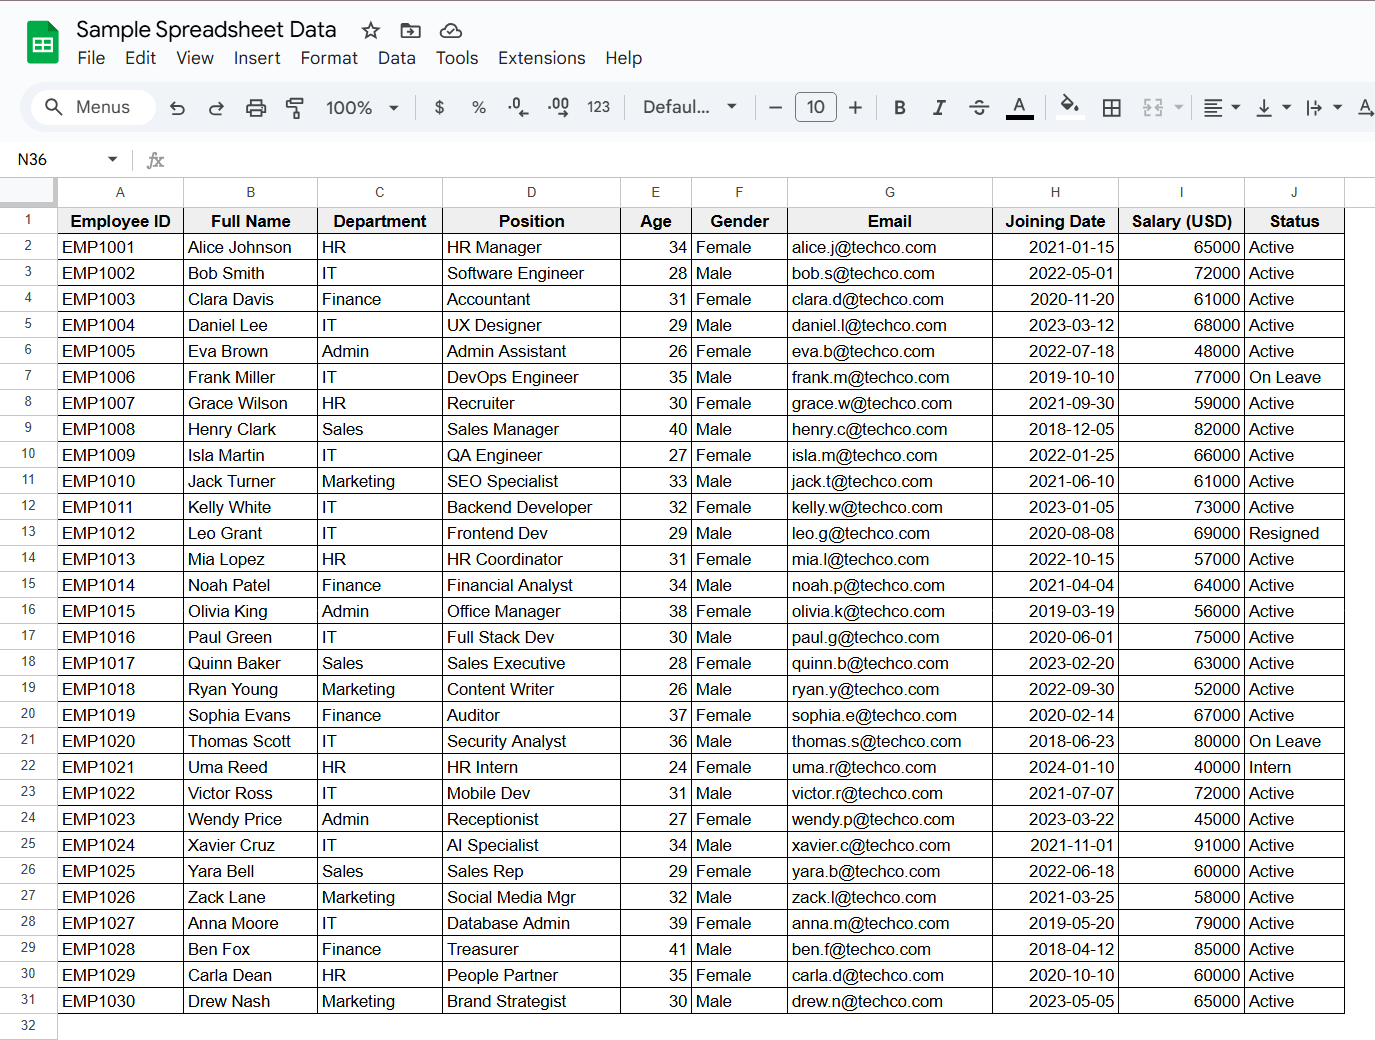
➤ Select the Cells with the header row A1: G31
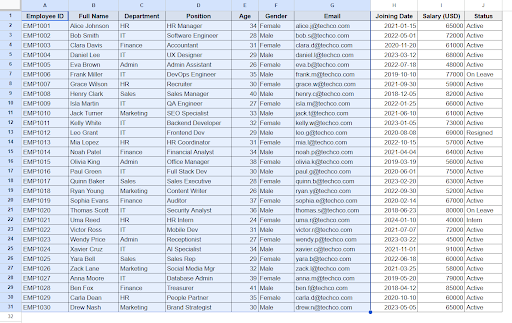
➤ Press Ctrl + P (Windows) / Cmd + P (Mac)
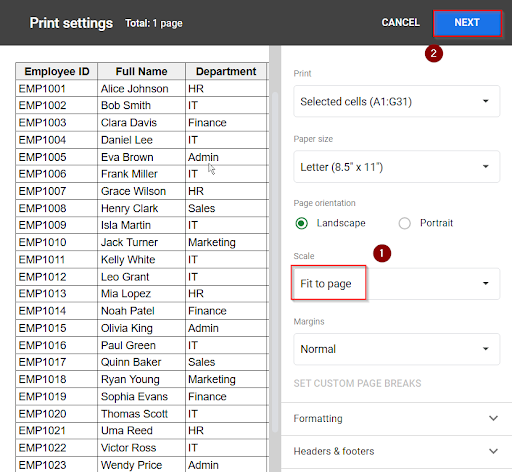
➤ Set Print Range to “Selected cells”
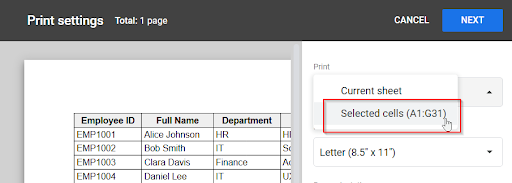
➤ After choosing the “Selected Cells” option, you can see the selected cells appear in the print settings option.
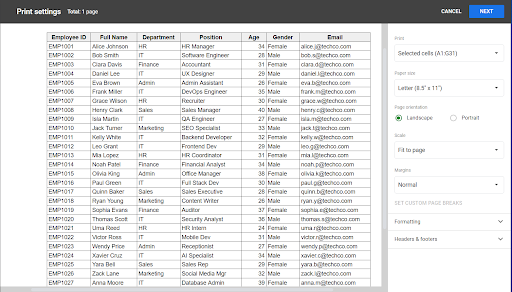
➤ Set Scale to “Fit to Page” to print on one page and click Next.
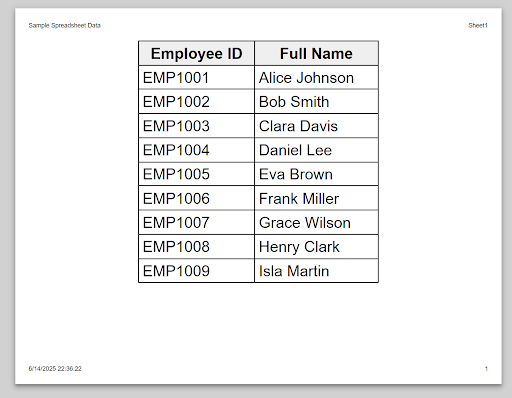
➤ Select the custom page option and define the page number.

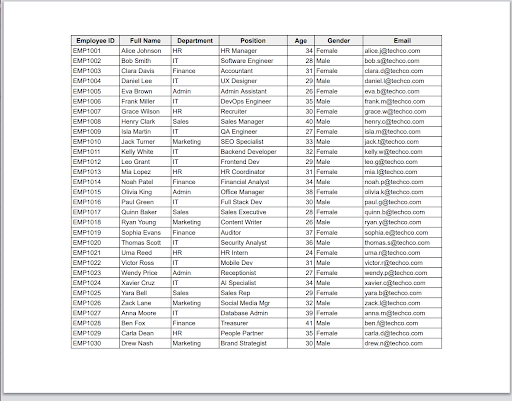
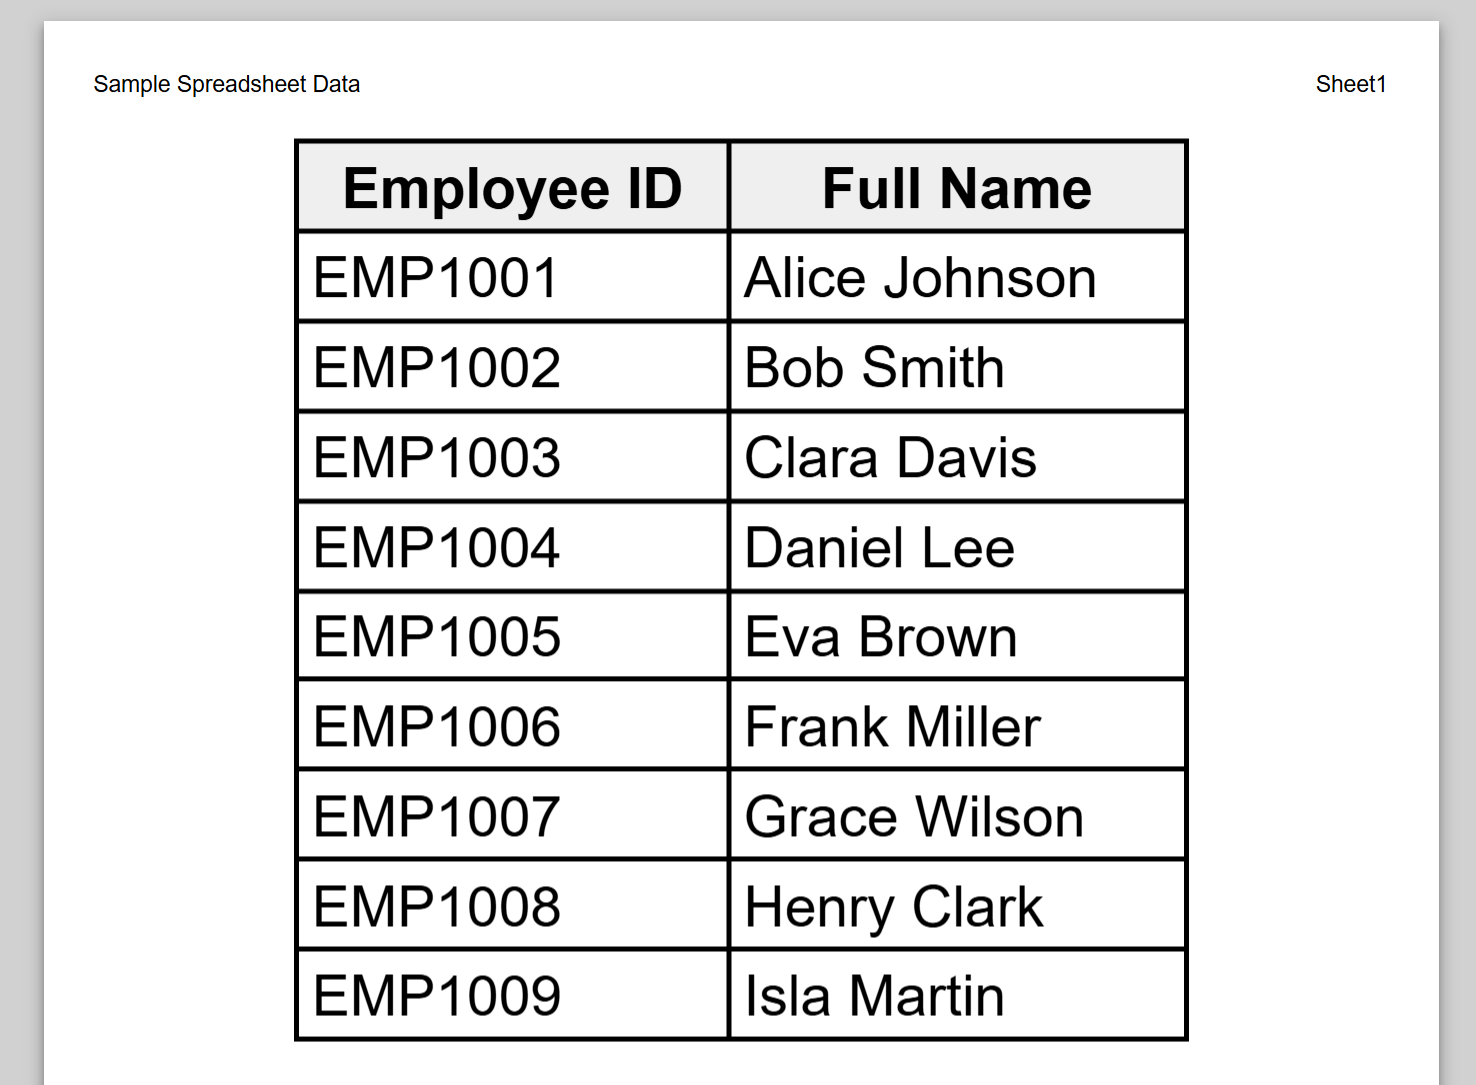
➤ Now, you can view the print preview with labels and selected cells on a single page.
Note:
If you want to print selected cells with labels before printing, you have to select the cell range with the header row.
Printing with Layout View, Page Break View, Header and Footer in Google Sheets
Google Sheets doesn’t have a “Layout View“, ” Page Break View“, or custom header and footer option. However, you can print with Layout View, including Page Break, Header, and Footer, using Print Setup in Google Sheets.
Layout View in Google Sheets (Print Setup)
Google Sheets doesn’t have a “Layout View” option like Microsoft Excel. The print setup screen works as a layout view in Google Sheets. To open the print setup screen,
➤ Press Ctrl + P or Cmd + P
You can:
See print preview
- Modify the page margins, paper size, scale, orientation, and other elements.
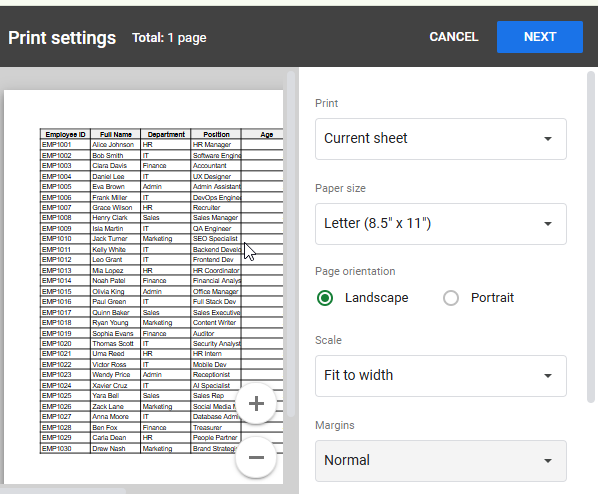
- To change the print range, select the current sheet, selected cells, or workbook.
- In this print preview layout, you can change the print settings in Google Sheets.
Page Break View
In Google Sheets, you have control over your content by using a custom page break. What you have to do is:
➤ Select the columns A : D
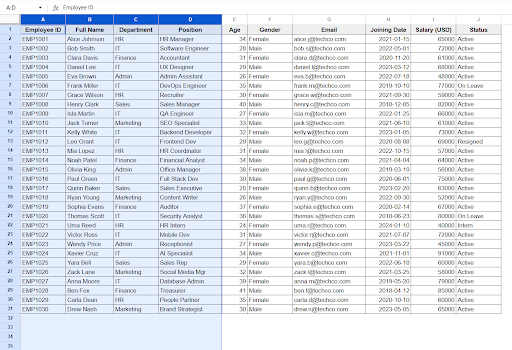
➤ Choose the “current sheet” and the “custom page break” option.
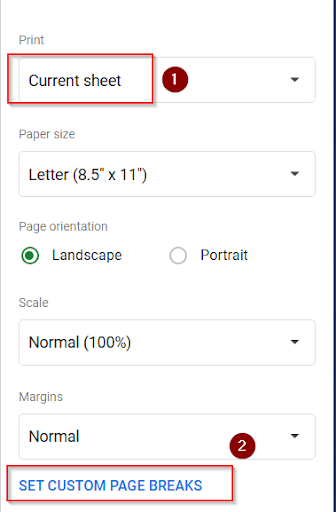
➤ Drag the blue line where you want to add a page break and click “Confirm Breaks”.
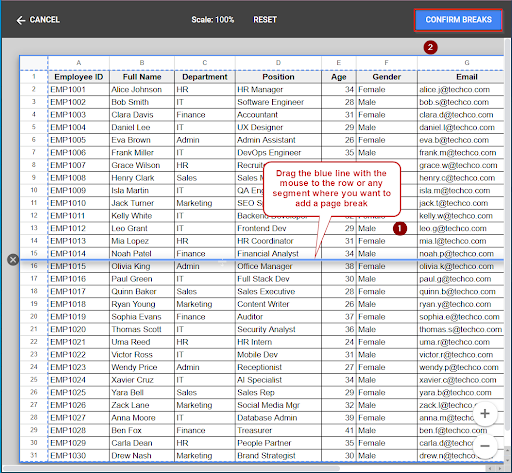
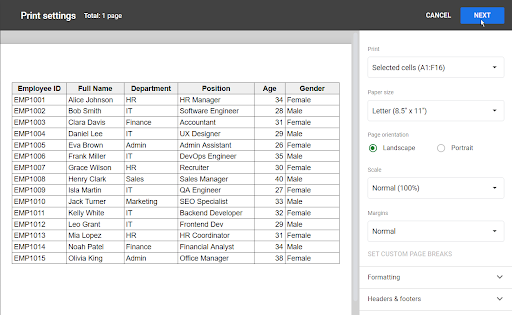
➤ Now you can see the result. The page break is added to the 15th row.
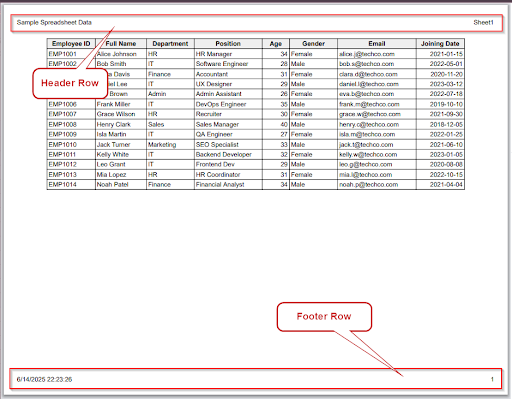
Headers & Footers
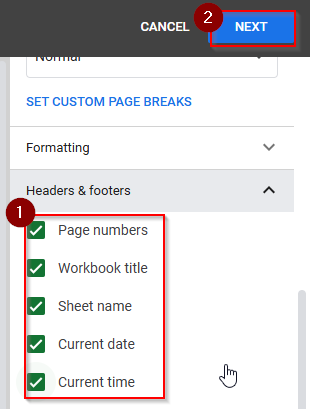
There are basic headers & footers options in Google Sheets. You have to check these options to add headers and footers to your sheet.
➤ Check the boxes for: Page numbers, Workbook title, Sheet name, Current date and click Next.
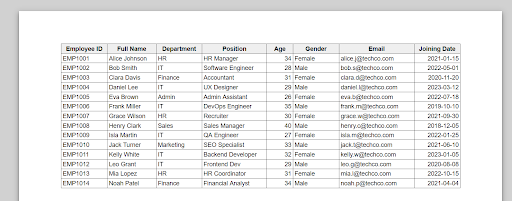
➤ Now you can see the header row with the workbook title and the Sheet name, and the footer row with the current date, time and page numbers.
Printing Without Gridlines in Google Sheets
Most of the time, Google Sheets is covered in that tidy grey grid, but sometimes, you want a clean page with nothing but your data. Luckily, turning off the gridlines for a print is quick and easy. Just follow these few steps:
➤ Press Ctrl + P on a Windows computer or Cmd + P on a Mac to open the print menu.
➤ In the print preview, the gridlines will still be visible for now.
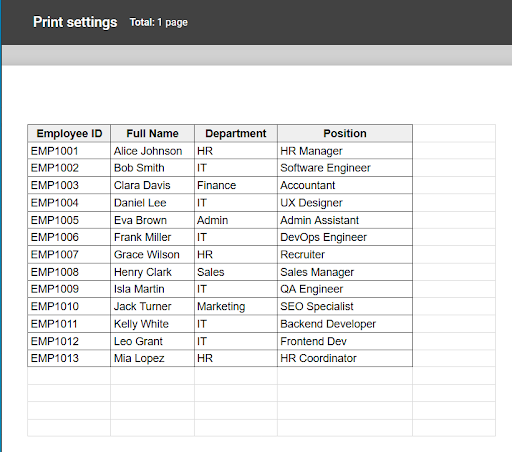
➤ Go to the Formatting section, clear the tick next to Show gridlines, and press Next

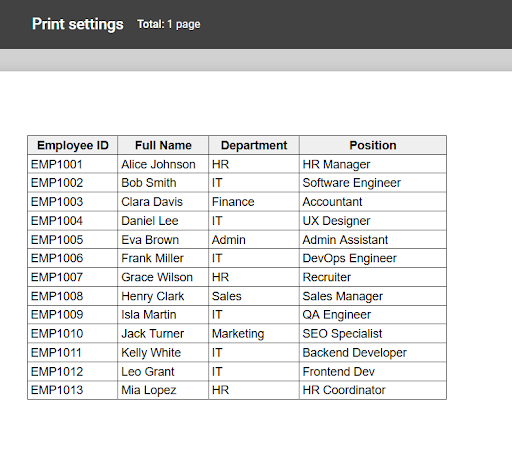
➤ Now you can see that there are no gridlines in the print preview.
Changing Page Orientation and Margins in Google Sheets
You can change the page orientation and set custom margins in Google Sheets to make your data look better on paper when it is printed. When you want to add more text on the page or print large tables, these settings will be helpful to print clean data. You have to follow these steps:
➤ At first, Press Ctrl + P for Windows / Cmd + P for Mac to open print settings option
➤ Now, you can see the landscape page preview.
➤ Choose the “Portrait” option to change the page orientation.
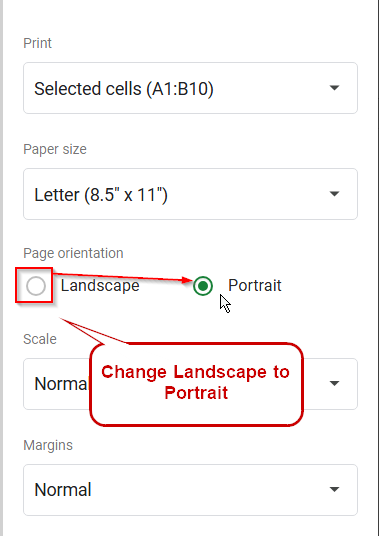
➤ Page orientation is changed to portrait with a larger view.
Note:
You can switch to Landscape if your data is cutting off horizontally.
Changing Margins:
When you want to print your data, you can customize margins in Google Sheets. To change the margin, follow these steps:
➤ Press Ctrl + P / Cmd + P to open print settings.
➤ In the margin section, click the dropdown and choose any of the following options to change margin according to your requirements:

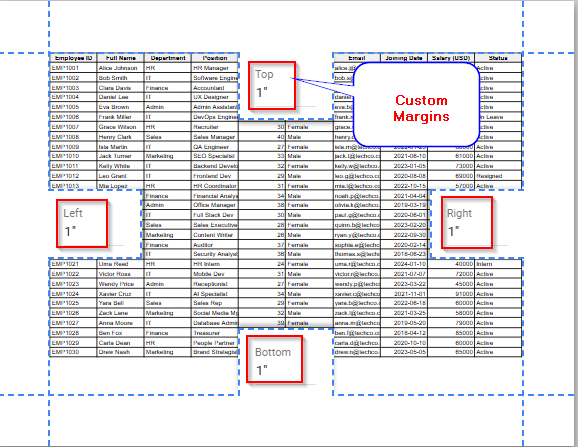
➤ If you choose Custom numbers, you can enter specific margin values for: Top, Bottom, Left, Right
Fix Google Sheets Printing Too Small Issues
It’s difficult to read when your printed Google Sheets appear too small. You can fix this problem by changing the layout or settings and improving the readability of your data on paper. What you have to do is:
➤ Press Ctrl + P (Windows) / Cmd + P (Mac) to open printing options
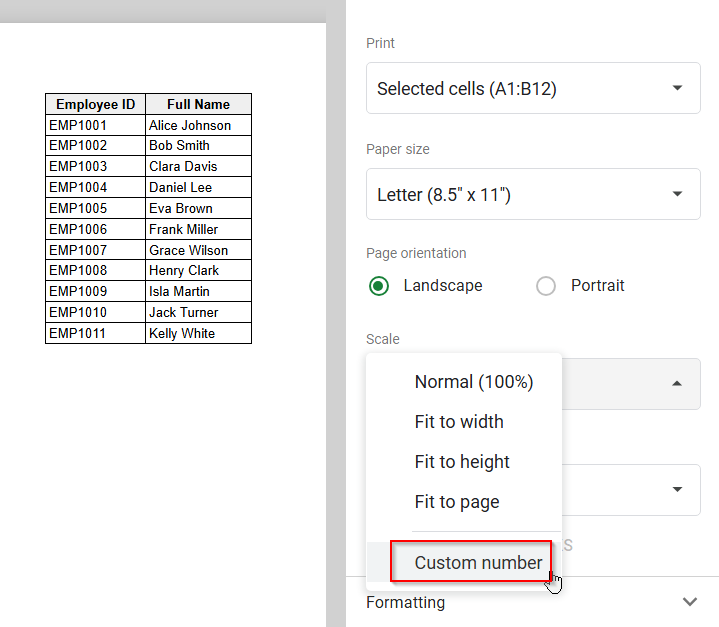
➤ Now you can see that the print preview is showing too small. Set the scale option “ custom number”
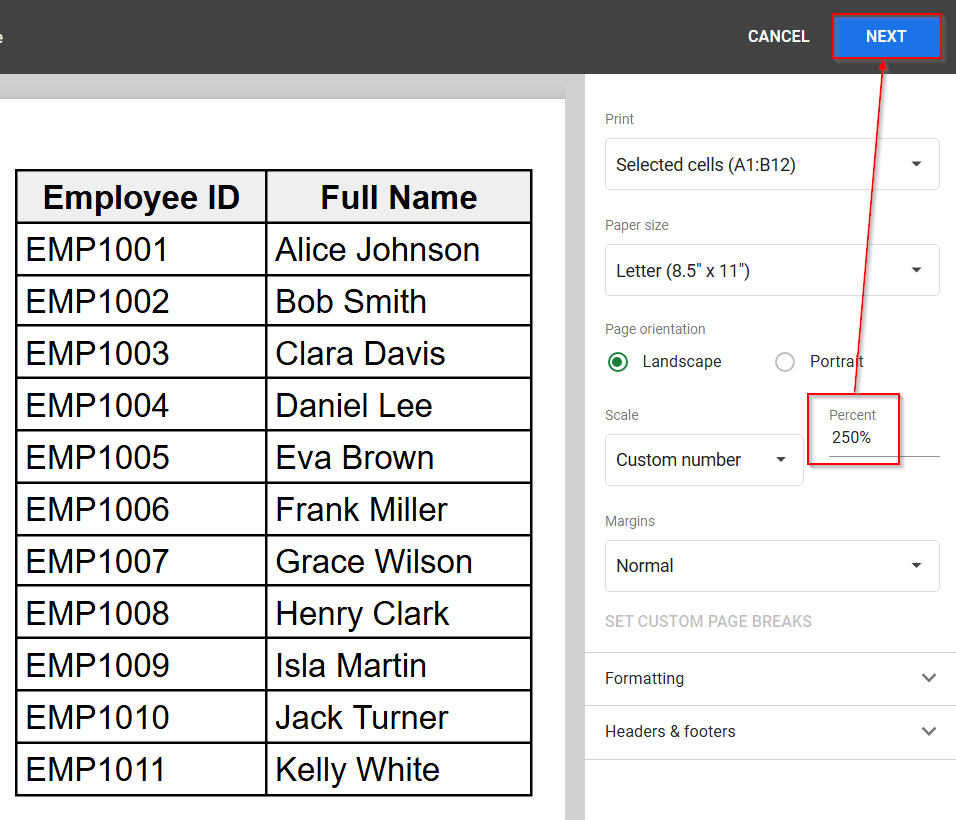
➤ Set the percent to “ 250%”, and now you will see that the print preview is big, then click Next
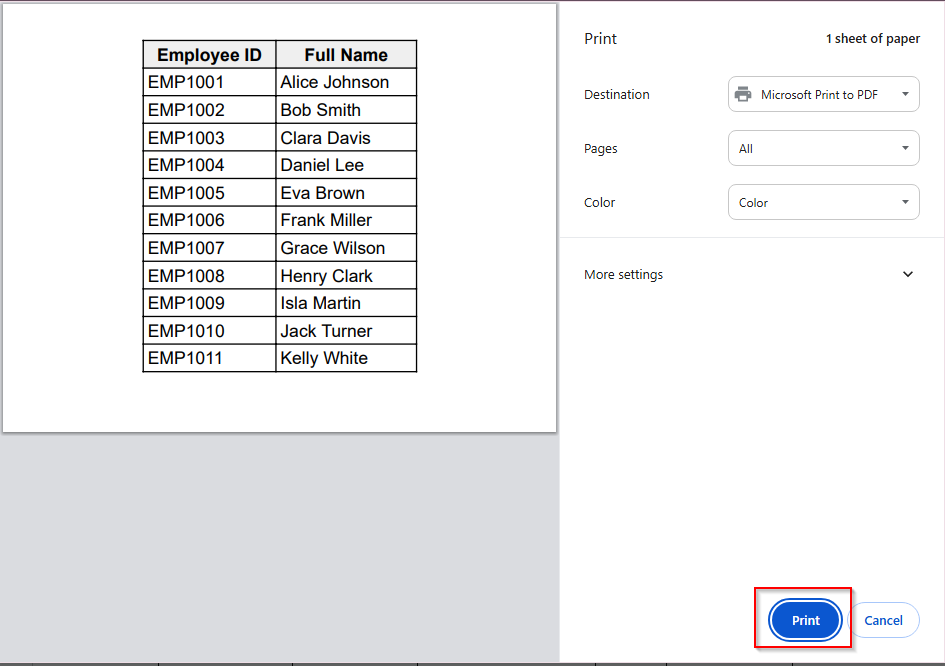
 ➤ Click Print.
Frequently Asked Questions
Q1. How can I customize Google Sheets margins while printing?
Answer: When the print window opens, scroll to Margins and choose the Custom option. Click the numbers that appear and type in the top, bottom, left, and right figures you want.
Q2. How can I fix the “printing too small” issue in Google Sheets?
Answer: In the print settings, look for Scale and increase the percentage until the text fills the page as you expect.
Concluding Words
Printing is so easy in Google Sheets. You can print your online Google Sheets with just a few clicks. But you must know how to adjust layout settings, scale text, and remove gridlines. By setting these, you can get a clear and readable sheet.