If you’re using Google Sheets to manage important business data, budgets, team information, or client records, it’s critical to keep your spreadsheet secure. While Google Sheets doesn’t allow you to add a traditional password like Excel, there are several effective workarounds you can use to protect your file or specific parts of it.
In this article, we’ll walk you through the various methods you can use to lock your Google Sheet or restrict access to certain areas. These steps will help ensure that your data stays secure, even when working in collaborative or shared environments.
Steps to lock google sheet with password using Share settings:
➤ Click on Share.
➤ Under General Access, select Anyone with the link.
➤ From the drop-down, choose Viewer.
➤ Click Done to apply changes.

What Does It Mean to Lock a Google Sheet with a Password?
Locking a Google Sheet with a password typically refers to securing your spreadsheet from unauthorized access or unwanted edits. Although Google Sheets doesn’t allow you to set a direct password like Microsoft Excel, you can simulate password protection using share settings, protected ranges, and third-party apps. These approaches allow you to control who can view, comment on, or edit your data, offering practical alternatives for keeping sensitive content safe.
Protect Specific Ranges or Sheets
This method is perfect if you want to stop users from changing certain parts of your Google Sheet while still letting them view or edit other areas. Instead of using a password, it relies on built-in access controls to protect important data from accidental edits.
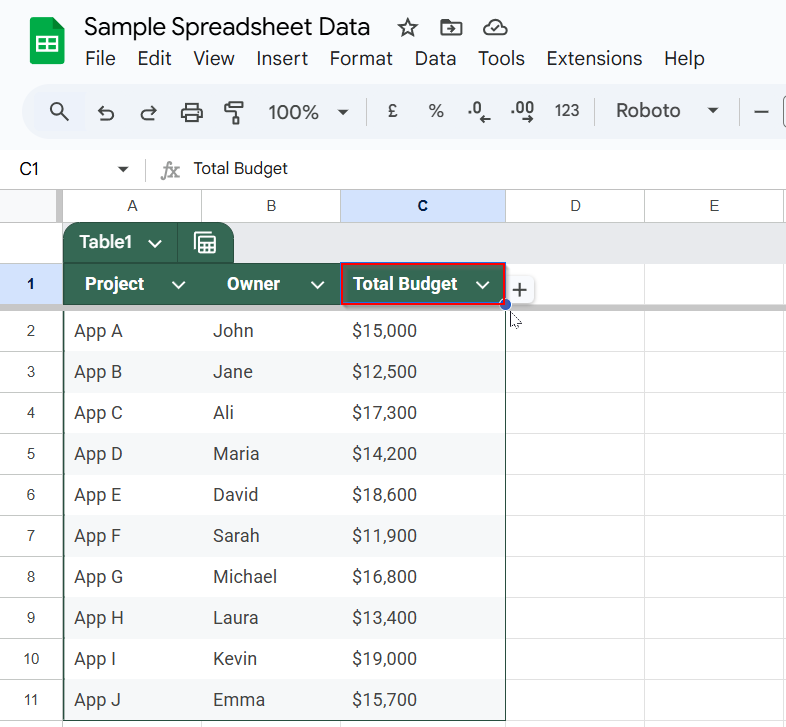
For example, imagine you’re managing a project budget spreadsheet and want to lock the “Total Budget” column so no one can accidentally change those values while working on the sheet. To demonstrate, we’ll use a simple dataset listing 10 projects with their owners and corresponding budget amounts. This setup reflects a typical budget tracking sheet and helps you practice protecting key data effectively.
Steps:
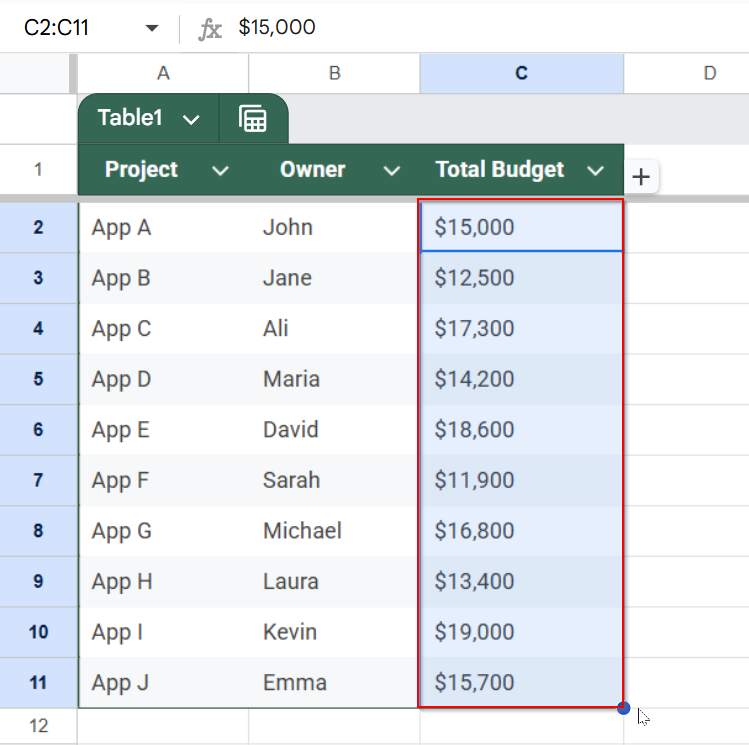
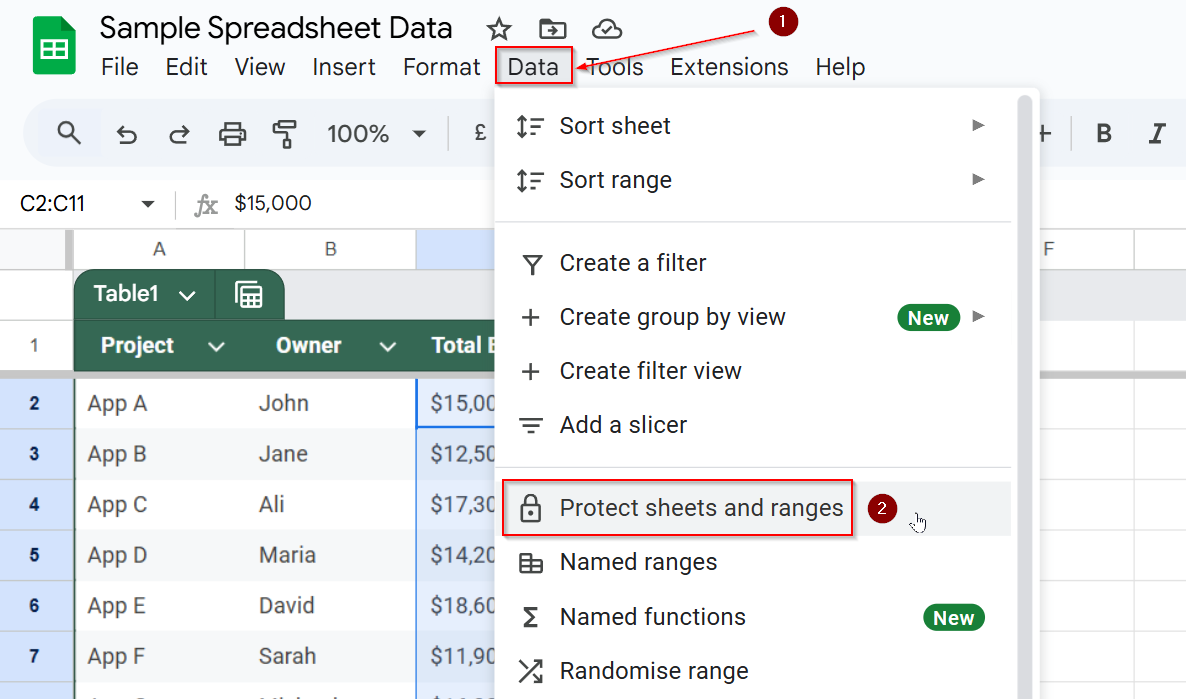
➤ Select the cells or range you want to protect (e.g., C2:C11).
➤ Go to Data >> Protect sheets and ranges.
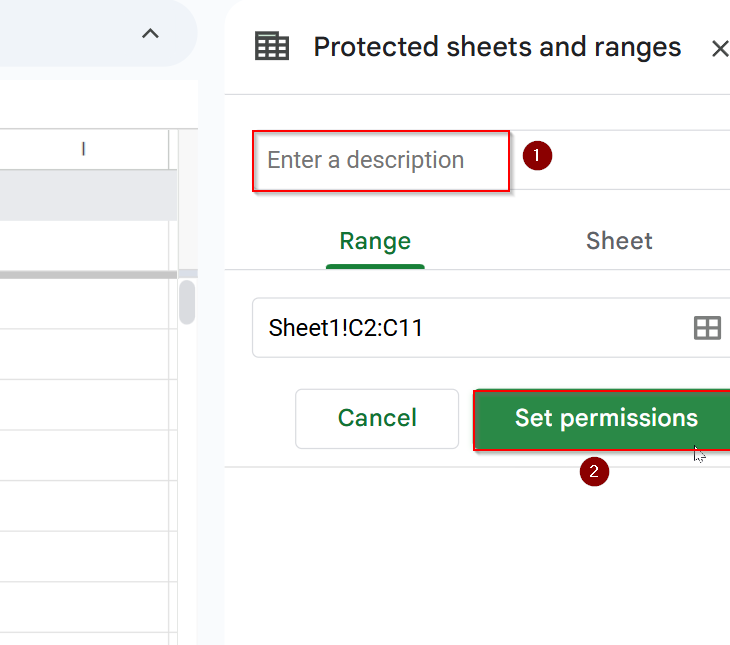
➤ Enter a description if you like, then click Set permissions.
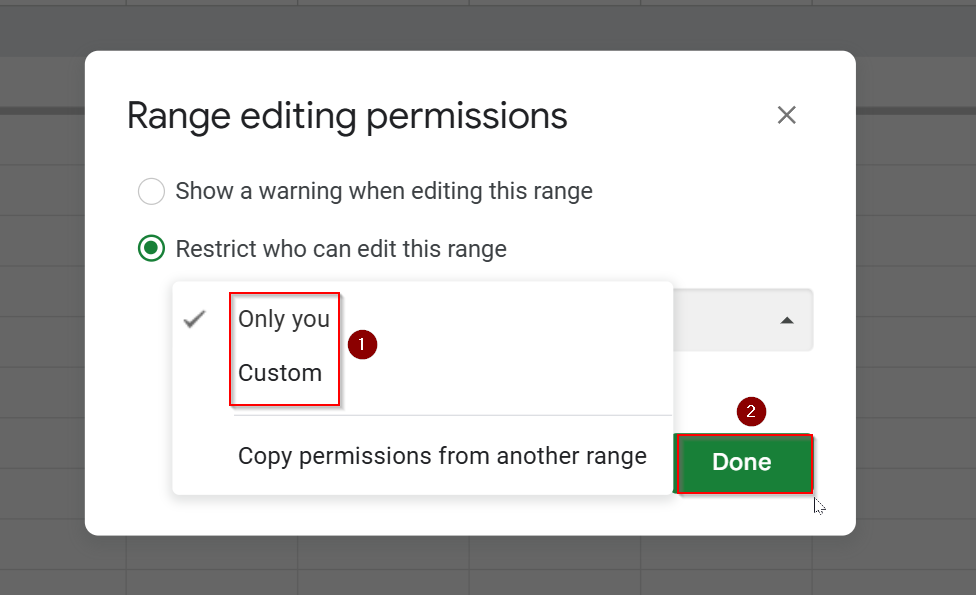
➤ Choose Only you or Custom to define who can edit.
➤ Click Done.
Now those cells will be locked for all other users without editing access.
Use Share Settings on Google Sheets to Restrict Access
When you’re working with sensitive or private information in Google Sheets, it’s important to limit who can access your file. While Google Sheets doesn’t support password protection directly, its built-in share settings offer a reliable way to control access.
This method allows you to restrict the file to specific people by entering their email addresses, and you can define exactly what they can do: view only, comment, or edit. It’s an easy and effective way to prevent unauthorized users from opening your spreadsheet, making it especially useful for teams, educators, and businesses that need to collaborate while keeping their data secure.
Steps:
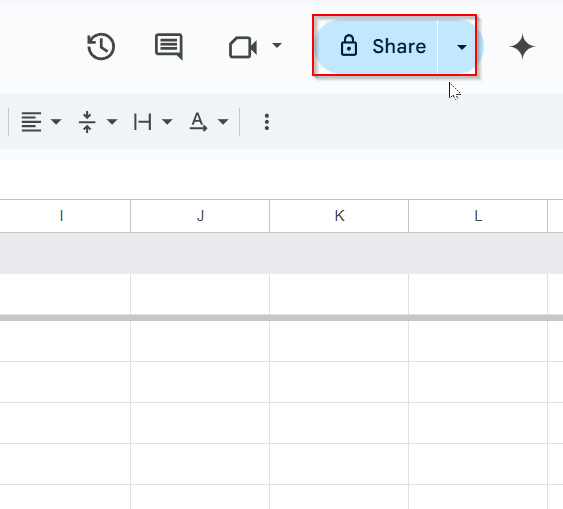
➤ Click the Share button at the top right of your sheet.
➤ Under “General access“, choose Restricted to prevent public access.
➤ Click Add people and groups and enter their email addresses.
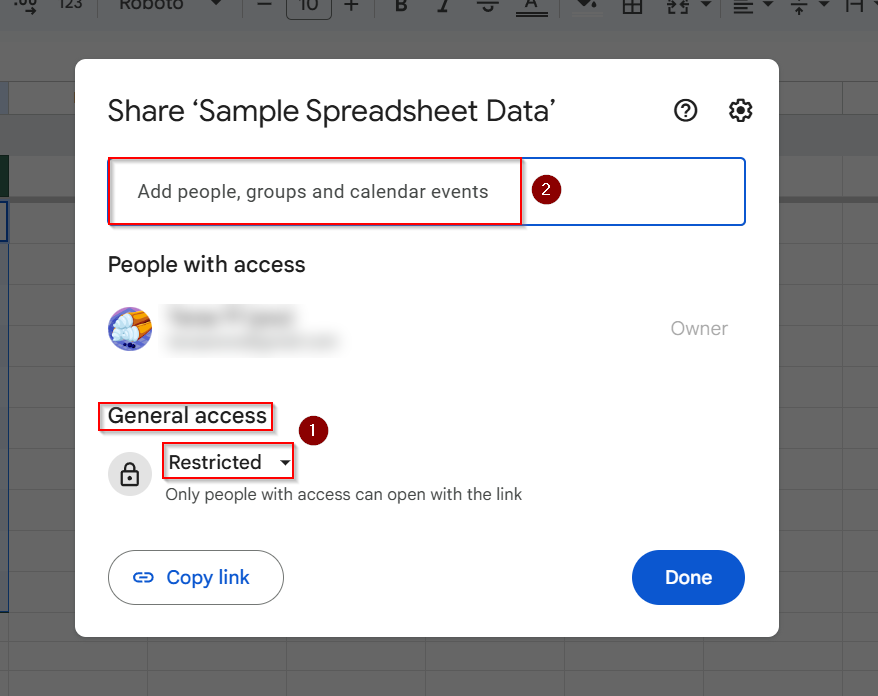
➤ Set the permission level to Viewer, Commenter, or Editor.
➤ Click Send.
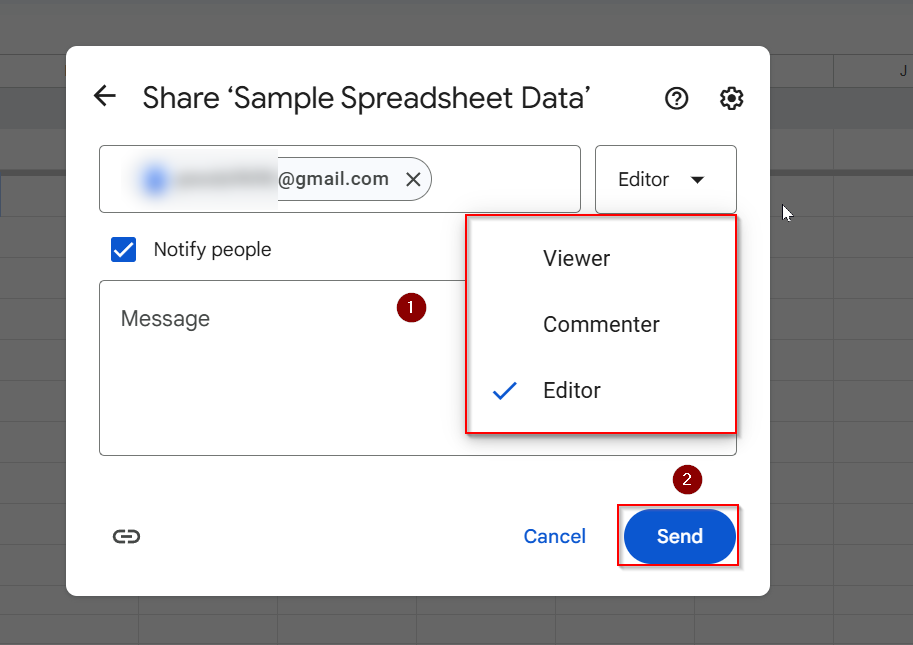
This ensures only selected people can view or edit the file.
Export as Excel for Password
If you’re working with sensitive data and need to share your Google Sheet with people outside your organization or with those who prefer Microsoft Office, you can easily export your sheet to Excel format. Once exported, Microsoft Excel offers a built-in feature to apply password protection.
This method is especially useful when you want to ensure that only trusted individuals can open or modify the file. Whether you’re sending financial records, client information, or internal reports, converting your sheet and adding a password provides a simple but effective layer of security.
Steps:
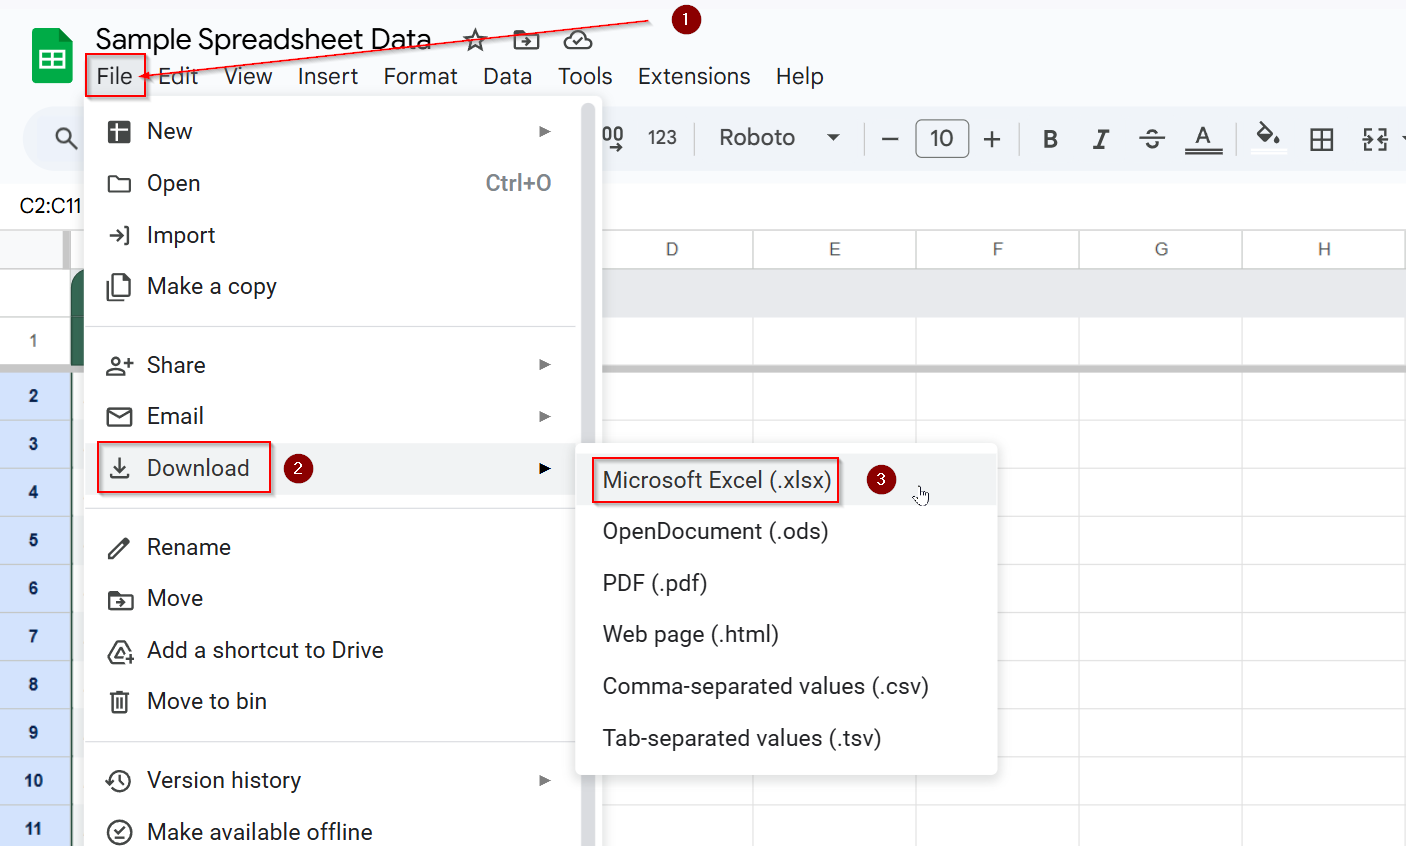
➤ Click File >> Download, then choose Microsoft Excel (.xlsx).
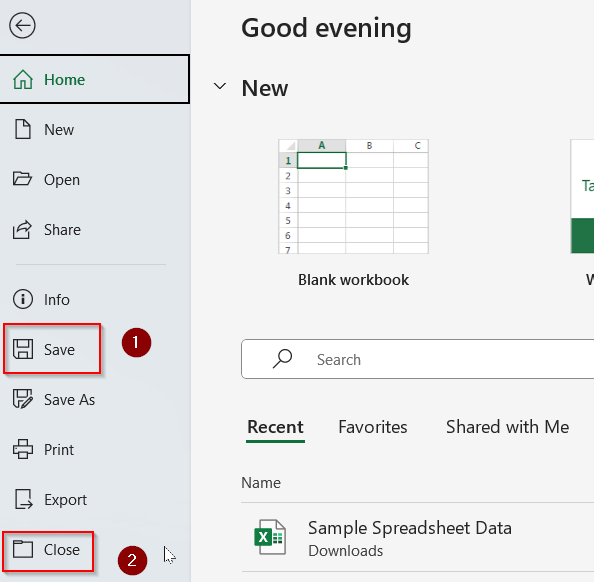
➤ Open the sheet in Microsoft Excel and click on File.
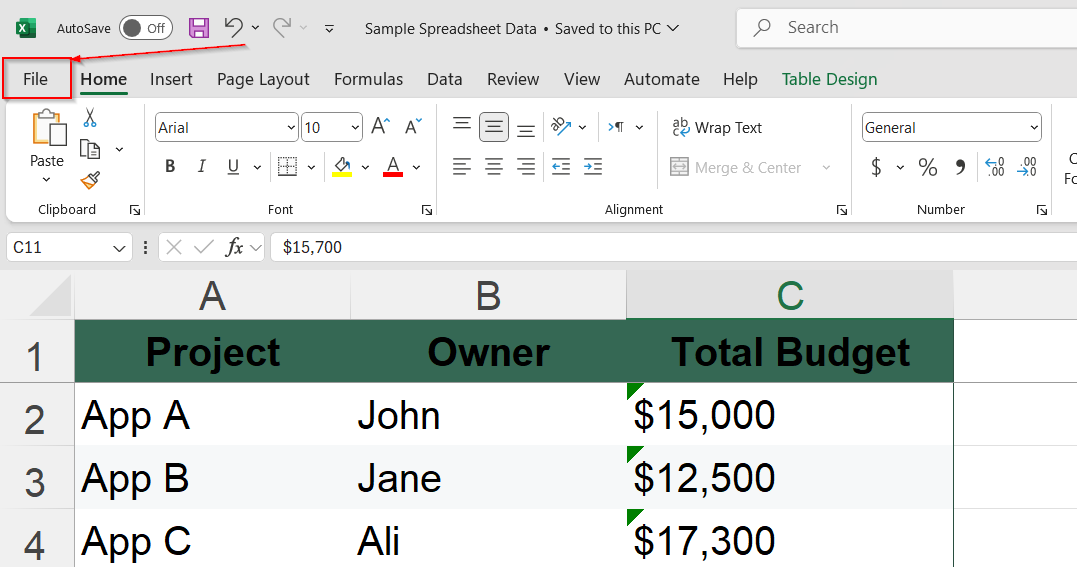
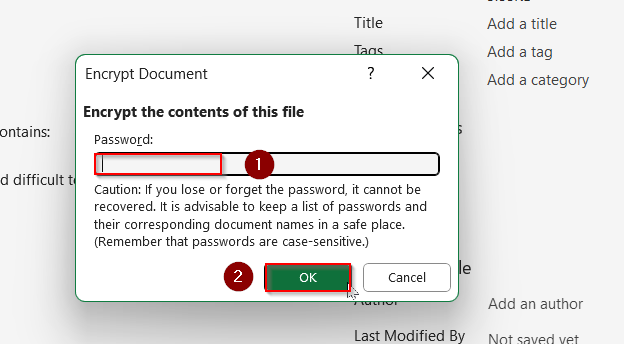
➤ Select Info >> Protect Workbook >> Encrypt with Password.

➤ Type your password and click on OK.
➤ Save and Close the file for changes to appear.
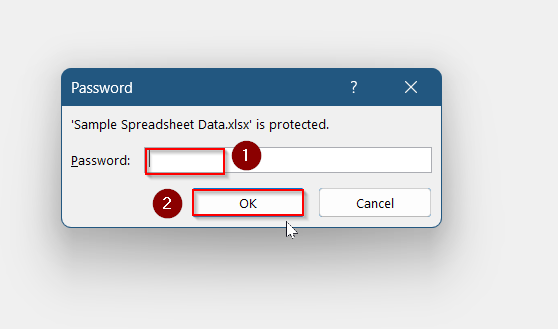
➤ Enter the Password and click on OK after reopening the sheet.
This is helpful when sharing financial reports or client data externally.
Frequently Asked Questions
Can I set a real password in Google Sheets?
No, Google Sheets does not have a built-in password feature like Microsoft Excel. However, you can simulate password protection by restricting access using share settings, protected ranges, or third-party add-ons. These methods help limit who can view or edit your sheet.
What’s the best way to protect a single cell?
To lock a single cell in Google Sheets, use the Protect Range option under the Data menu. This allows you to restrict editing access to that specific cell without affecting the rest of the sheet. It’s useful for safeguarding important values or formulas.
Is there a way to allow people to view but not edit my sheet?
Yes, you can change a person’s permission level to Viewer using the Share button. This allows them to see the sheet without making any edits or comments. It’s a simple way to protect your data while still sharing it with others.
Are third-party add-ons safe to use?
Third-party add-ons can be safe if chosen wisely. Only install add-ons from the official Google Workspace Marketplace that have strong reviews and ratings. Always check the permissions requested and avoid tools that ask for unnecessary access to your data.
Wrapping Up
While Google Sheets doesn’t support traditional password protection, it offers multiple layers of control that can help keep your data secure. Whether you’re managing budgets, grades, or client records, you can use built-in features like protected ranges and share settings, or take things further with Google Workspace tools and third-party add-ons. If you need password-style security for external sharing, exporting to Excel or PDF, and applying a password offline remains a solid option.