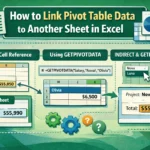
Pivot Tables are one of Excel’s most useful features for summarizing and analyzing large datasets. However, manually creating them can become repetitive, especially if you need to generate the same report frequently. With VBA (Visual Basic for Applications), you can automate the entire process with a single click.
In this article, we will guide you through three VBA macros to create a Pivot Table. Here, we will cover creating a basic Pivot Table, adding a filter, and even sourcing data from an entirely different workbook.
To create a Pivot Table using VBA:
➤ Create your data in an Excel sheet.
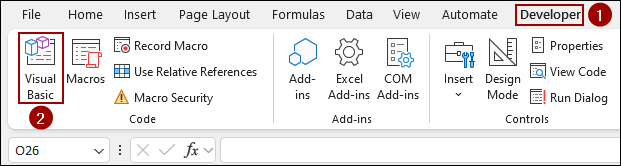
➤ Open the Visual Basic Editor from the Developer tab.
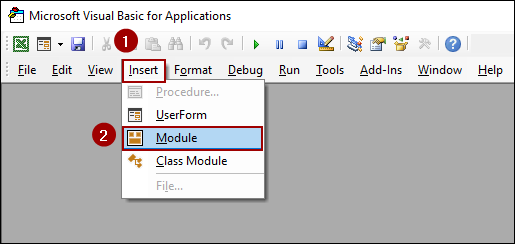
➤ Insert a new Module, copy and paste the below VBA code.
➤ Run the macro to instantly generate your Pivot Table.
Sub CreateBasicPivotTable()
Dim wsData As Worksheet
Dim wsPivot As Worksheet
Dim pc As PivotCache
Dim pt As PivotTable
Dim srcData As Range
Set wsData = ThisWorkbook.Sheets("Basic")
Set wsPivot = ThisWorkbook.Sheets.Add
wsPivot.Name = "Pivot_Basic"
Set srcData = wsData.Range("A1").CurrentRegion
Set pc = ThisWorkbook.PivotCaches.Create( _
SourceType:=xlDatabase, SourceData:=srcData)
Set pt = pc.CreatePivotTable( _
TableDestination:=wsPivot.Range("A3"), TableName:="BasicPivot")
With pt
.PivotFields("Category").Orientation = xlRowField
.PivotFields("Product").Orientation = xlRowField
.AddDataField .PivotFields("Quantity"), "Sum of Quantity", xlSum
.AddDataField .PivotFields("Total Sales"), "Sum of Total Sales", xlSum
End With
End Sub
Creating a Basic Pivot Table from a Range
In this method, we will create a basic pivot table for a range of data. This macro will read a specified range, create a new sheet, and place a summarized Pivot Table on it.
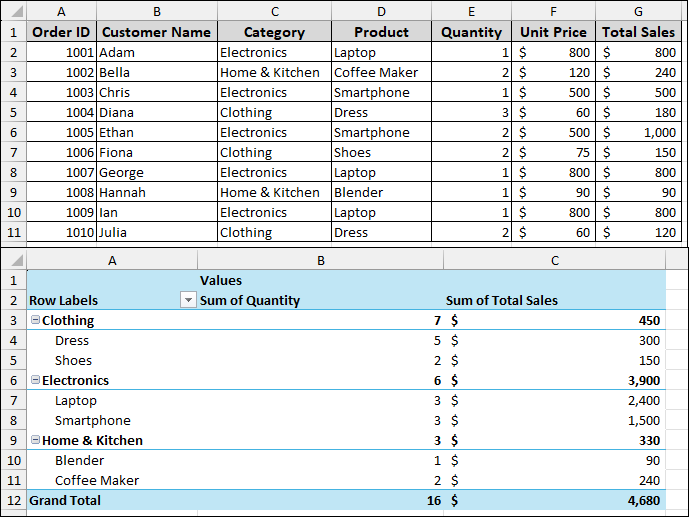
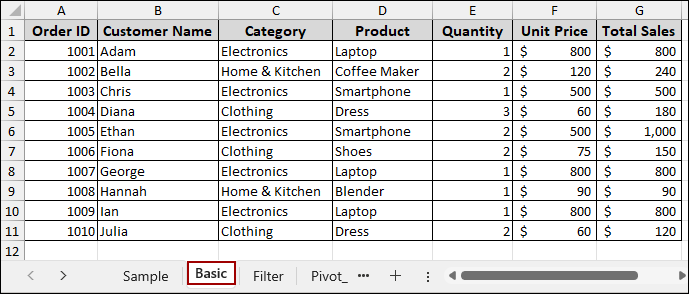
Imagine we have the following sales data in a sheet named “Basic”.
Now, let’s get started with the VBA.
➤ Navigate to the Developer tab and click on Visual Basic to open the VBA editor.
➤ In the VBA editor, go to Insert > Module.
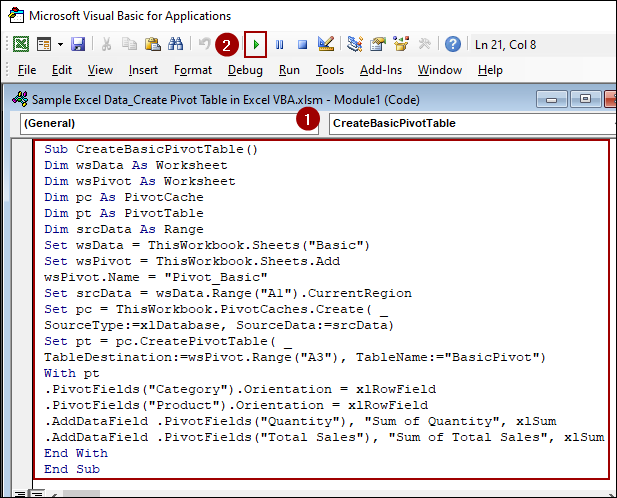
➤ Copy and paste the following code into the module window and click the Run button.
Sub CreateBasicPivotTable()
Dim wsData As Worksheet
Dim wsPivot As Worksheet
Dim pc As PivotCache
Dim pt As PivotTable
Dim srcData As Range
Set wsData = ThisWorkbook.Sheets("Basic")
Set wsPivot = ThisWorkbook.Sheets.Add
wsPivot.Name = "Pivot_Basic"
Set srcData = wsData.Range("A1").CurrentRegion
Set pc = ThisWorkbook.PivotCaches.Create( _
SourceType:=xlDatabase, SourceData:=srcData)
Set pt = pc.CreatePivotTable( _
TableDestination:=wsPivot.Range("A3"), TableName:="BasicPivot")
With pt
.PivotFields("Category").Orientation = xlRowField
.PivotFields("Product").Orientation = xlRowField
.AddDataField .PivotFields("Quantity"), "Sum of Quantity", xlSum
.AddDataField .PivotFields("Total Sales"), "Sum of Total Sales", xlSum
End With
End Sub➧ Set wsData = ThisWorkbook.Sheets("Basic"): This line sets our source data sheet to the worksheet named "Basic".
➧ Set wsPivot = ThisWorkbook.Sheets.Add: Here, we create a new worksheet where the Pivot Table will be placed and name it "Pivot_Basic".
➧ Set srcData = wsData.Range("A1").CurrentRegion: This dynamically selects the entire block of data starting from cell A1, so you do not have to specify the exact range.
➧ Set pc = ThisWorkbook.PivotCaches.Create(...): This creates a pivot cache, which is an in-memory copy of the source data optimized for pivot table reporting.
➧ Set pt = pc.CreatePivotTable(...): This line creates the actual Pivot Table on the "Pivot_Basic" sheet, starting at cell A3.
➧ With pt ... End With: This block organizes the Pivot Table. It sets "Category" and "Product" as row fields and adds the "Quantity" and "Total Sales" as data fields to be summed.
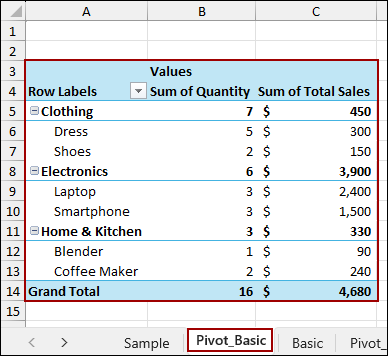
After running the macro, a new sheet named “Pivot_Basic” is created with the fully formed Pivot Table.
Inserting a Pivot Table with Filter Using VBA
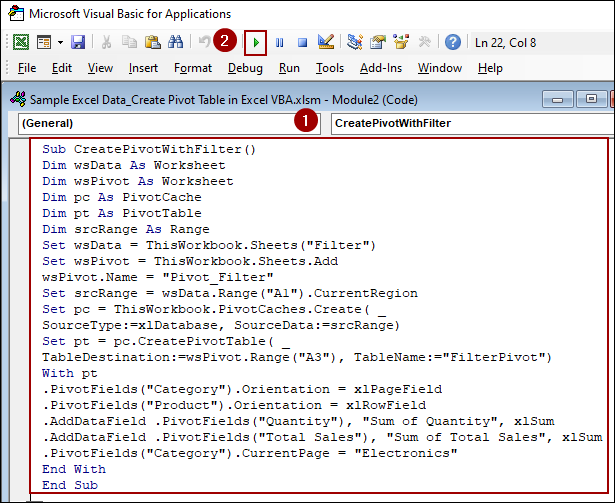
Often, you need to create a Pivot Table that is pre-filtered to show a specific subset of your data. Here, we will create the same Pivot Table by adding a filter field. For this example, we will use the same source data but will filter it to show only the “Electronics” category.
➤ Follow the same steps from the previous method to open the VBA editor and insert a new module.
➤ Copy and paste the code below into the module and Run it.
Sub CreatePivotWithFilter()
Dim wsData As Worksheet
Dim wsPivot As Worksheet
Dim pc As PivotCache
Dim pt As PivotTable
Dim srcRange As Range
Set wsData = ThisWorkbook.Sheets("Filter")
Set wsPivot = ThisWorkbook.Sheets.Add
wsPivot.Name = "Pivot_Filter"
Set srcRange = wsData.Range("A1").CurrentRegion
Set pc = ThisWorkbook.PivotCaches.Create( _
SourceType:=xlDatabase, SourceData:=srcRange)
Set pt = pc.CreatePivotTable( _
TableDestination:=wsPivot.Range("A3"), TableName:="FilterPivot")
With pt
.PivotFields("Category").Orientation = xlPageField
.PivotFields("Product").Orientation = xlRowField
.AddDataField .PivotFields("Quantity"), "Sum of Quantity", xlSum
.AddDataField .PivotFields("Total Sales"), "Sum of Total Sales", xlSum
.PivotFields("Category").CurrentPage = "Electronics"
End With
End Sub
➧ .PivotFields("Category").Orientation = xlPageField: Instead of a row field, this sets the "Category" field as a page/filter field, which appears at the top of the Pivot Table.
➧ .PivotFields("Category").CurrentPage = "Electronics": This is the crucial line that applies the filter. It sets the visible data to only include records where the "Category" is "Electronics".
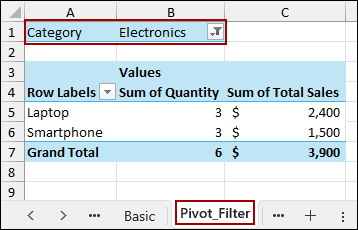
The result is a new sheet, “Pivot_Filter”, containing a Pivot Table that is already filtered for the Electronics category.
Creating a Pivot Table from Another Workbook
For more advanced scenarios, such as building a dashboard, you might need to pull data from an external Excel file. This macro prompts you to select a source workbook and then builds the Pivot Table in your active workbook.
First, ensure your source Excel file (e.g., “Source Data.xlsx”) is saved in a known location.
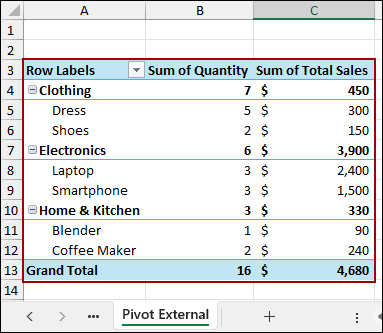
We will run the macro from a new, blank workbook named “Pivot External”.
➤ Go to Developer > Visual Basic.
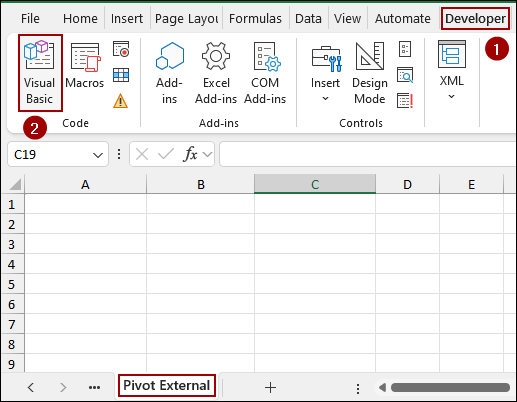
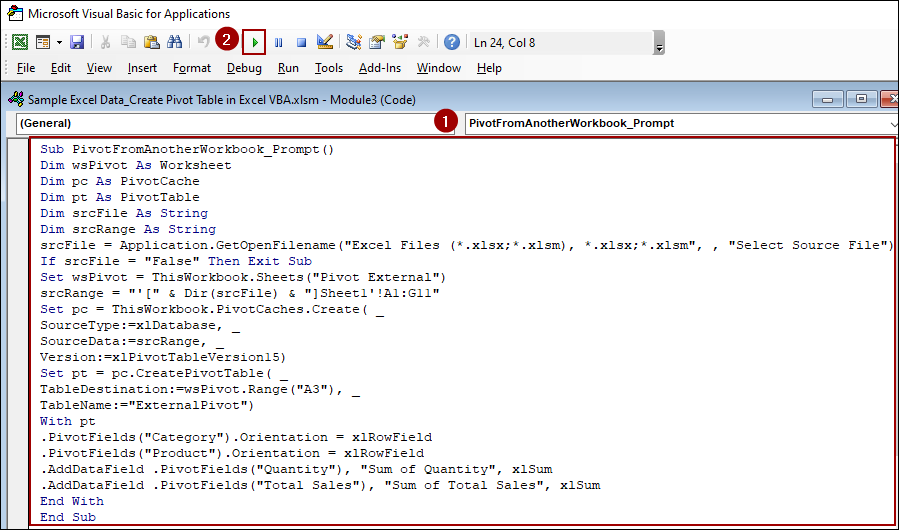
➤ Insert a new Module, paste the following code, and hit Run.
Sub PivotFromAnotherWorkbook_Prompt()
Dim wsPivot As Worksheet
Dim pc As PivotCache
Dim pt As PivotTable
Dim srcFile As String
Dim srcRange As String
srcFile = Application.GetOpenFilename("Excel Files (*.xlsx;*.xlsm), *.xlsx;*.xlsm", , "Select Source File")
If srcFile = "False" Then Exit Sub
Set wsPivot = ThisWorkbook.Sheets("Pivot External")
srcRange = "'[" & Dir(srcFile) & "]Sheet1'!A1:G11"
Set pc = ThisWorkbook.PivotCaches.Create( _
SourceType:=xlDatabase, _
SourceData:=srcRange, _
Version:=xlPivotTableVersion15)
Set pt = pc.CreatePivotTable( _
TableDestination:=wsPivot.Range("A3"), _
TableName:="ExternalPivot")
With pt
.PivotFields("Category").Orientation = xlRowField
.PivotFields("Product").Orientation = xlRowField
.AddDataField .PivotFields("Quantity"), "Sum of Quantity", xlSum
.AddDataField .PivotFields("Total Sales"), "Sum of Total Sales", xlSum
End With
End Sub➧ If srcFile = "False" Then Exit Sub: If you click Cancel in the dialog box, the macro will stop running.
➧ Set wsPivot = ThisWorkbook.Sheets("Pivot External"): This line specifies that the pivot table will be created in the sheet named "Pivot External" in the current workbook.
➧ srcRange = "" & srcFile & "!Sheet1!R1C1:R11C7": This constructs the full path to the data. It combines the file path, sheet name ("Sheet1"), and data range in a format Excel understands for external references. Note that we are using R1C1 notation here for the range.
➧ Version:=xlPivotTableVersion15: This specifies the Pivot Table version for better compatibility with modern Excel features.
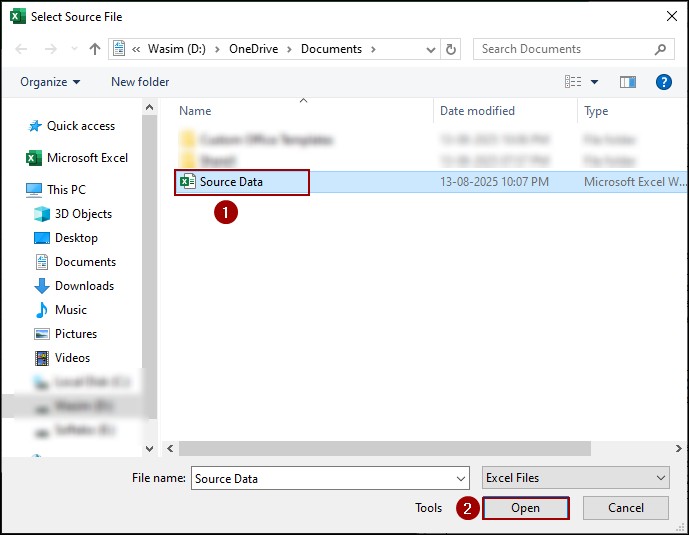
When you run this macro, you will be prompted to select a file.
➤ Choose your source data file and click Open.
Finally, the macro will then create a Pivot Table in your workbook using the data from the external file you selected.
Frequently Asked Questions
How can I change the fields in the Pivot Table?
You can easily change the fields by editing the lines within the With pt … End With block. For example, to make “Product” a column field, you would change:
.PivotFields(“Product”).Orientation = xlRowField to .PivotFields(“Product”).Orientation = xlColumnField.
What if my data is not on “Sheet1” in the external file?
In the third macro, simply change “Sheet1” in the srcRange string to the correct name of your worksheet (e.g., ‘!Sales Data!’).
Can I stop the macro from creating a new sheet every time?
Yes, instead of using Set wsPivot = ThisWorkbook.Sheets.Add, you can set it to an existing sheet like Set wsPivot = ThisWorkbook.Sheets(“Report”). Make sure to clear old data if you run it multiple times.
Concluding Words
Above, we have explored various methods for creating Pivot Tables in Excel using VBA. From building a basic Pivot Table from the current workbook’s data to generating dynamic and external-source Pivot Tables, these techniques can help you automate your tasks. If you have any further questions or need assistance with other VBA automation tasks, feel free to share them below.