When we try to print an Excel sheet or page, it doesn’t always print exactly what we intend. If we click on the Print option, Excel will print the entire sheet by default. Thus, we often need to set or change the area of our worksheet before proceeding to print the page.
For example, you have a worksheet with several tables, but you only want to print one specific table for a presentation or report. If you don’t set the print area correctly, Excel might include unnecessary rows and columns, which will make your report confusing. In such cases, you need to adjust the print area to ensure your report is clean and accurate.
In this article, we will explain how to change the print area in Excel, including how to set, modify, and clear it using the built-in Page Layout option.
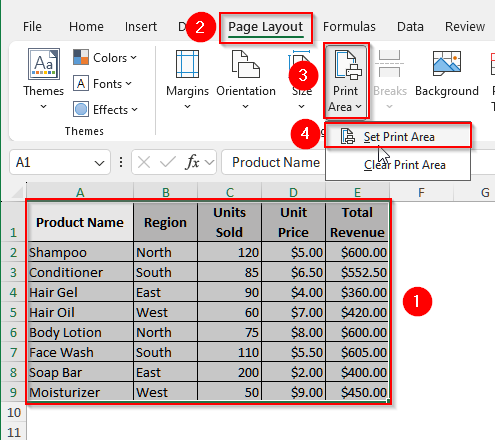
➤ First, select the range of cells you want to see on the printed page.
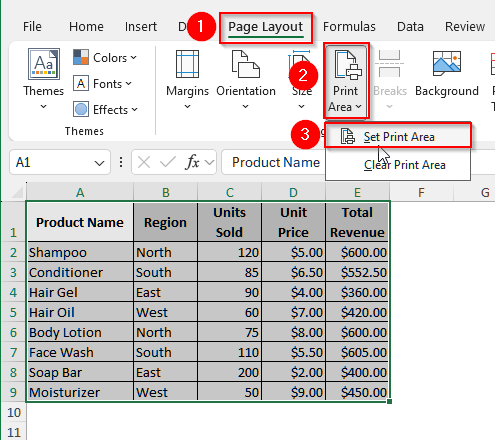
➤ Then, click on the Page Layout tab from the upper menu bar.
➤ Now, you will see a few options under the tab, and select Print Area from them. A short list of options will appear.
➤ Then, choose Set Print Area from them and the default print area will be changed to your desired one.
Steps To Change the Print Area Using the Page-Layout Option
The Page Layout option in Excel helps us to control exactly which part of a worksheet we want to print.
To change the print area, we need to select the desired range of cells and then use the Print Area option from the Page Layout tab. This will help us to avoid printing unnecessary data and ensure the output is clean and focused.
We will use the dataset below to explain how to use the Page Layout option to change the print area in Excel effectively.
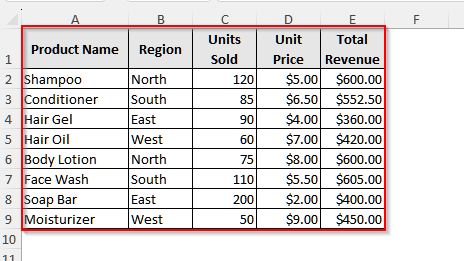
Step 1: Select the Area You Desire to Print
Click on the starting cell of your desired print area and then drag the cursor of your mouse to select the full area.
Step 2: Use the Set Print Area Option
After selecting the desired part, we need to print it using the built-in Page Layout tab and its associated options.
Steps:
➤ Click on the Page Layout tab from the upper menu ribbon.
➤ Now, choose the Print Area option, and you will see two more options appear.
➤ Finally, click on the Set Print Area, and the selected part will be set as the print area.
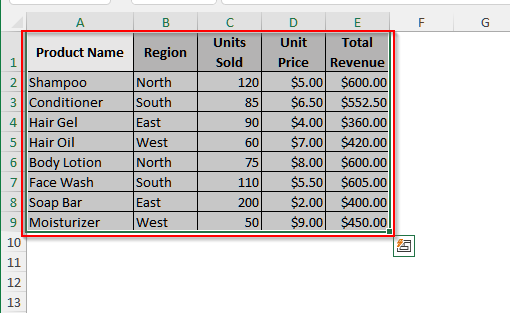
➤ Now, you will see a gray color borer around the selected area for printing.
Step 3: Printing the Selected Area
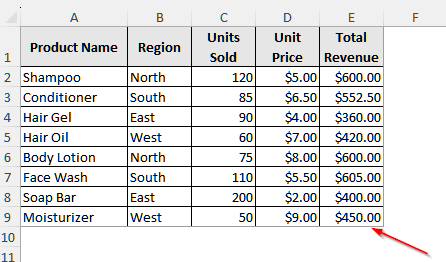
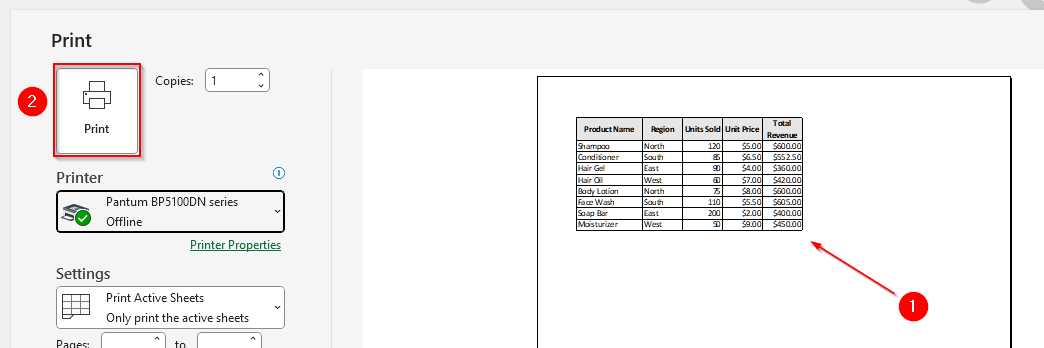
Now, to print the selected area, ensure your printer is connected. Then, press Ctrl + P . It will open up the printing preview. You can see in that preview that only the selected area is showing. Select the Print option, and you will get a printed copy.
Adding New Cells to the Printing Area
Sometimes, our new entry might be added to our dataset, and thus, we need to expand the printing area we have already set. We can easily manipulate the printing area to add the new cells by using the Add to Print Area option.
We will use the below dataset to explain how to add new cells to our printing area.
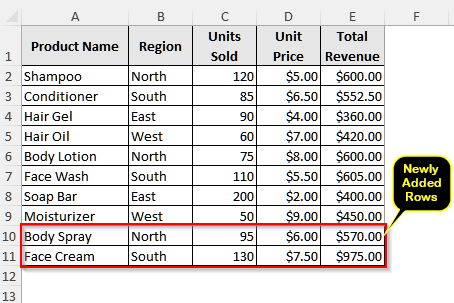
In our previous dataset, two more rows have been added and so we need to add these rows too to our print area.
Steps:
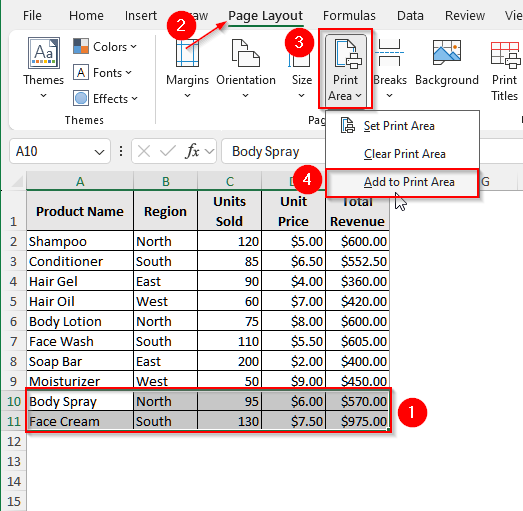
➤ First, select the cells you want to add to the already set print area. Remember, these new cells need to be adjacent to your already existing print area. Or else, Excel will treat them as a new print area.
➤ Then, click on the Page Layout tab from the upper menu bar.
➤ Under the Page Layout, you will see a few options. Choose Print Area and then select Add to Print Area.
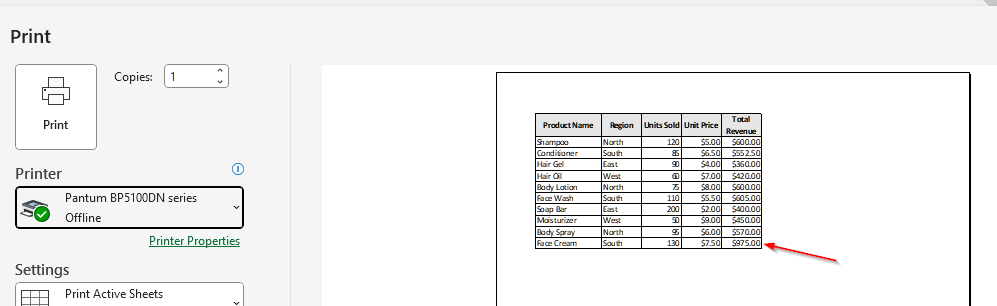
➤ Now, press Ctrl + P and you will see that the newly added cells also appear in the printing preview.
Frequently Asked Questions
Is There Any Shortcut to Set the Printing Area in Excel?
Yes, there is a shortcut method that allows you to set your selected printing area. First, select the area you want to print and then press Alt + P + R + S on your keyboard. It will set the selected area as a printing area.
Can I Clear the Old Print Area and Set a New One?
Surely! You can clear the old print area and set a new one. First, go to the Page Layout tab, click on Print Area, and then choose Clear Print Area. This will remove any existing print area from your worksheet. After that, select the new area you want to print, go back to Print Area, and choose Set Print Area.
Can I Set Multiple Print Areas in One Worksheet?
Yes, you can. To set multiple print areas in one worksheet, you need to select the non-adjacent ranges while holding the Ctrl key. Then go to Page Layout > Print Area > Set Print Area. Excel will treat each of these selected ranges as a separate print area. Now, when you print, each area will appear on a separate page. However, remember that this only works within the same worksheet, not across multiple sheets.
Wrapping Up
In this article, we have explained how you can change the default printing area by setting the area beforehand. We also discussed how to add new cells to a printing area already set. Give this method a try and let us know if you face any issues.