Sometimes, when working with large datasets, it can be difficult to remember which parts of your spreadsheet are set to print. Showing the print area in Excel helps you to easily identify and manage the content that will appear on a printed page. In this article, we will show you several methods to display your print area, using built-in options and VBA code.
To show the print area in Excel:
➤ Go to the View tab in the menu bar.
➤ In the Workbook Views group, click on Page Break Preview to get your print area displayed.

What is Print Area in Excel?
In Excel, the print area is the part of your sheet that you choose to print. Instead of printing the whole sheet, you can select the cells you need. Once set, Excel will only print that selection until you clear or change it. It’s really useful for printing clean reports without extra data. You can set it from Page Layout > Print Area > Set Print Area.
Using Page Break Preview to Show Print Area in Excel
The Page Break Preview mode in Excel is a tool that allows you to view your print area and how your worksheet will be divided into pages. This view also allows you to manually adjust the page breaks.
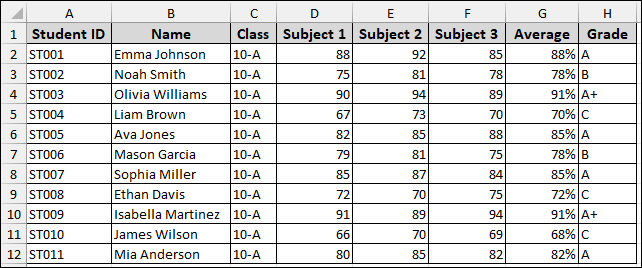
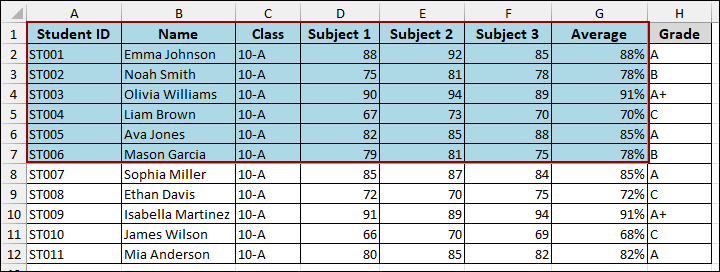
Suppose we have a dataset containing Student ID, Name, Class, Subjects, their Average, and Grade. Now, we will use several methods to show the print area in this worksheet.
To start with, we need to set the print area. For this,
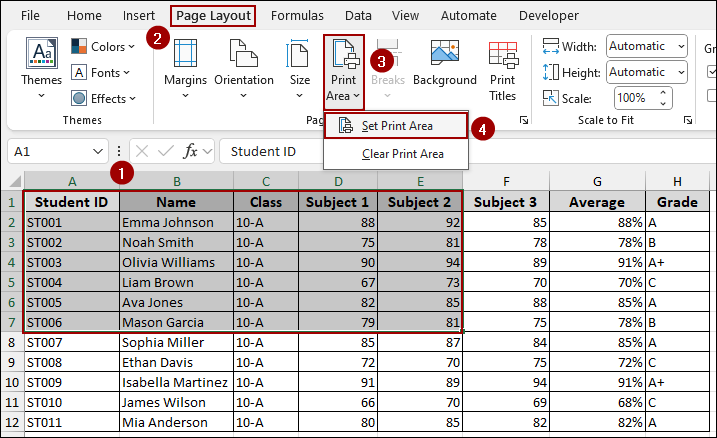
➤ Choose the cells (A1:E7) that you want to set for printing.
➤ Click Page Layout > Print Area > Set Print Area.
Thus, the chosen cells will be set for printing.
As our print area is set, now we will show the print area. For this,
➤ Go to the View tab in the menu bar.
➤ In the Workbook Views group, click on Page Break Preview.
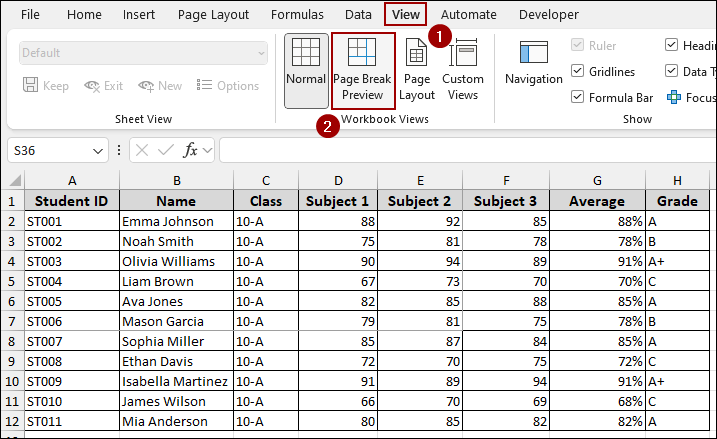
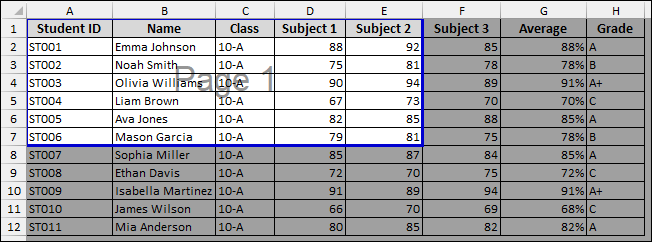
Once in Page Break Preview, your designated print area will be surrounded by a solid blue border. The area outside of the print range will be shaded gray, making it easy to distinguish. A “Page 1” watermark will also appear, indicating the print page.
You can adjust the print area by simply dragging the blue borders.
➤ Hover your mouse over the blue line.
The cursor will change to a double-headed arrow.
➤ Click and drag to resize your print area.
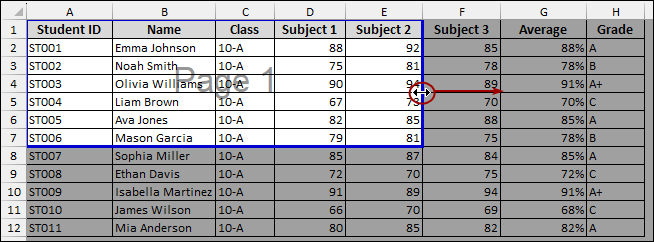
Finally, the print area is adjusted according to the dragged cells.

Alternatively, you can access this Page Break Preview from the status bar at the bottom of the Excel window.

Using Print Preview Window
Another quick way to check your print area is by using the Print Preview window. This method shows you exactly how your document will look when printed, including all the data within the print area.
➤ Press Ctrl + P on your keyboard.
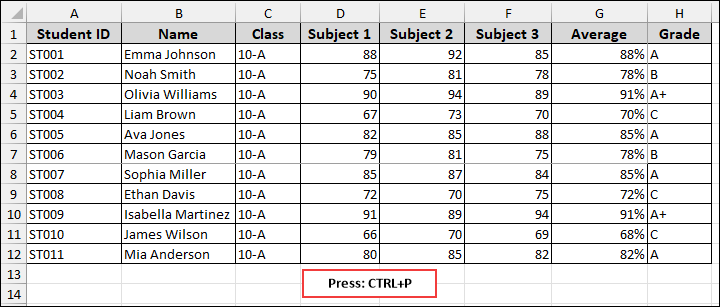
This action opens the Print Preview window, which displays a full-page view of your worksheet’s print area.

Applying VBA Code
For a more permanent visual indicator, you can use a short VBA code to highlight the print area with a specific color. This is useful if you frequently work with the same worksheet and want the print area to always be visible.
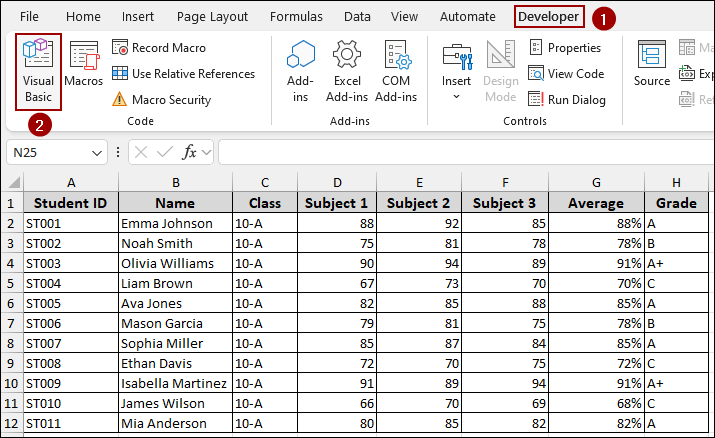
➤ Click on the Developer tab.
➤ From the Code group, click on Visual Basic.
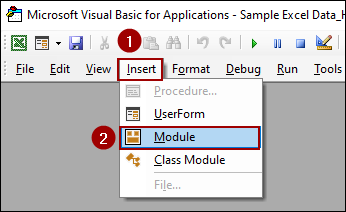
➤ In the VBA editor window, go to Insert > Module.
➤ Copy and paste the following code into the new module window and click Run.
Sub HighlightPrintArea()
If ActiveSheet.PageSetup.PrintArea <> "" Then
Range(ActiveSheet.PageSetup.PrintArea).Select
Selection.Interior.Color = RGB(173, 216, 230)
Else
MsgBox "No print area is set."
End If
End Sub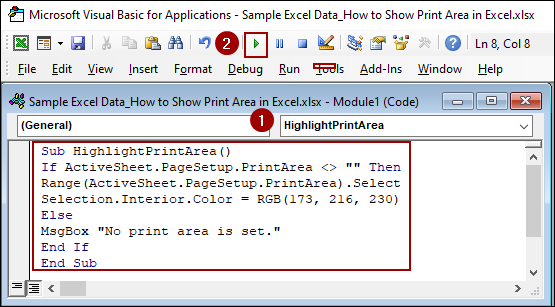
This code checks if a print area is set and, if so, highlights that specific range of cells with a light blue fill color.
Frequently Asked Questions
Why can’t I see the print area on my sheet?
You might not have set the print area yet. Go to Page Layout > Print Area > Set Print Area.
Can I view multiple print areas at once?
Yes, but Excel will show them as separate pages in Print Preview.
Does the print area show up when I share the file?
Yes. If you have saved the workbook, the print area is preserved for anyone who opens it.
Concluding Words
Above, we have explored several ways to show the print area using Page Break Preview, Print Preview, and VBA code. These methods ensure that you always know what data will be included in your printed documents. If you have any questions, feel free to leave them in the comments below.