When we work with large spreadsheets in Excel, sometimes we need to print a specific portion of the data instead of the entire sheet. If we know how to print a selected area in Excel, it can save paper, time, and keep our reports clear and relevant. This feature is the best for financial summaries, invoices, reports, or lists that only span a few columns or rows.
To print a selected area in Excel, follow these simple steps:
➤ Highlight the cells you want to print.
➤ Go to the Page Layout tab and click on Print Area → Set Print Area.
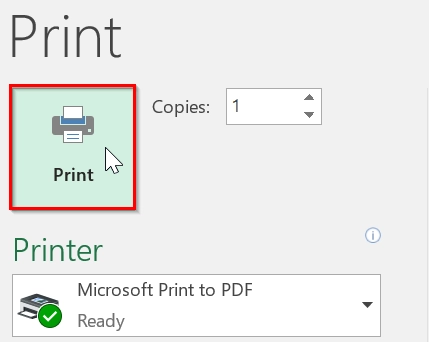
➤ Press Ctrl + P or go to File → Print to preview and print your selection.
This article will guide you through selecting and printing a specific area in Excel using the Page Break Movements, Named Ranges, Page Setup Dialogue box, and Print Selection.
Enabling Page Break Movements To Print Selected Area in Excel
Enabling Page Break Movements allows us to print the selected area. This method is good when we want to print only the selected area in Excel, like a specific table or report section, without printing the entire worksheet. This is ideal for datasets like inventory lists, billing sections, or project summaries.
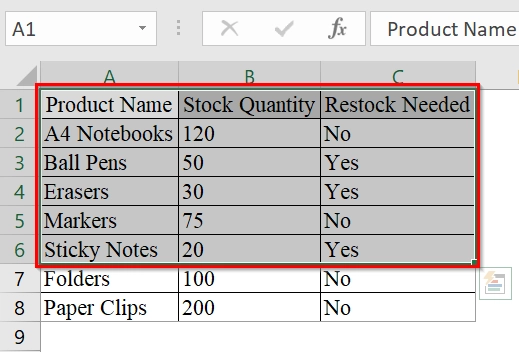
We have a dataset that contains product inventory. We will select a specific area and print it Enabling Page Break Preview. In this case, we do not need to print the entire worksheet.
Steps:
➤ Click and drag to highlight the range of cells you want to print. For example, select the range A1:C6
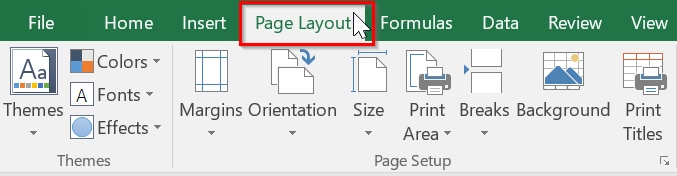
➤ Click on the Page Layout tab from the top ribbon of Excel.
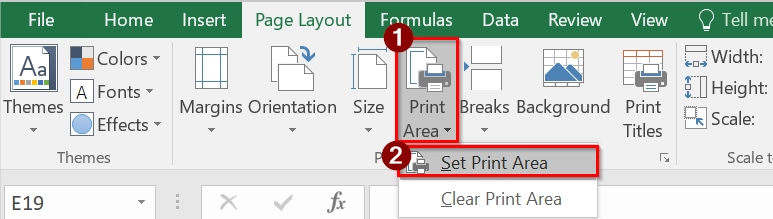
➤ Under the Page Layout tab, click Print Area and then select Set Print Area. This locks the area you will select (e.g., A1:C6) to print.
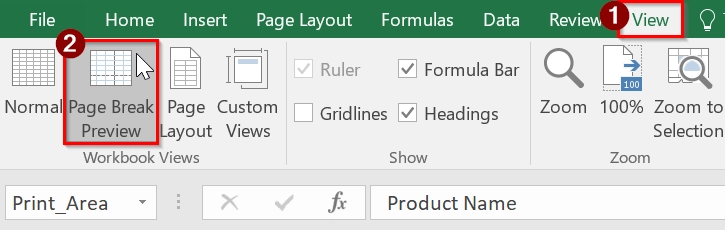
➤ Click the View tab, then click Page Break Preview. This visually shows the part of the sheet we want to print. This also allows us to move the page breaks.
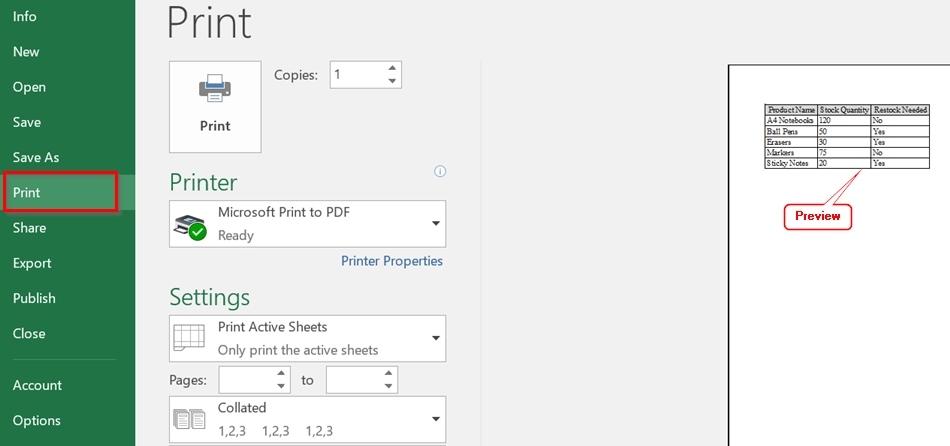
➤ Click File, then Print to check the preview. Make sure only the selected area appears.
➤ Now, click on the Print button.
Note:
➥ If your selected print area is too large for one page, Excel will split it across multiple pages based on your printer’s page size. Use scaling options like “Fit Sheet on One Page” under Print settings.
➥ Blue lines in Page Break Preview indicate current print boundaries; adjust them if needed.
Define a Named Range to Print Selected Area in Excel
Defining a Named Range method refers to selecting a specific area of our worksheet and giving it a defined name. This method allows us to print only that selected area. This is good when we want to work with consistent data blocks, like reports or summaries.
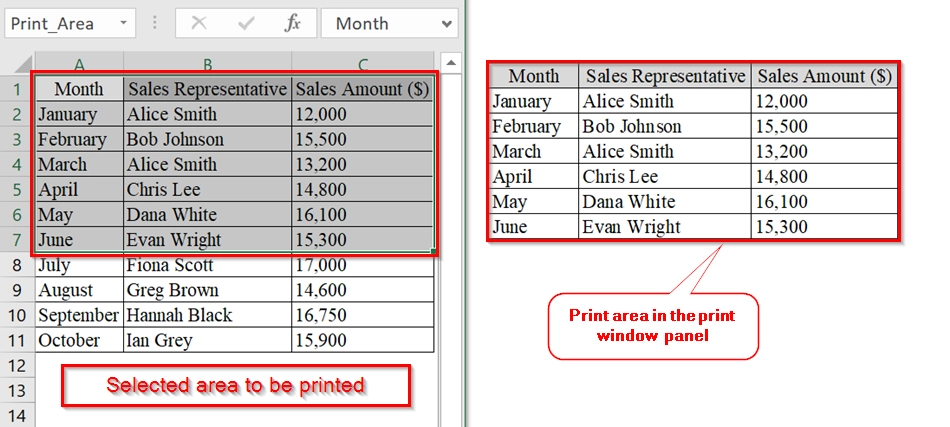
We have an Excel table representing a monthly sales performance record across ten months. We will print the selected section by defining a named range without printing the entire spreadsheet.
Steps:
➤ Open the worksheet that contains the data you want to print.
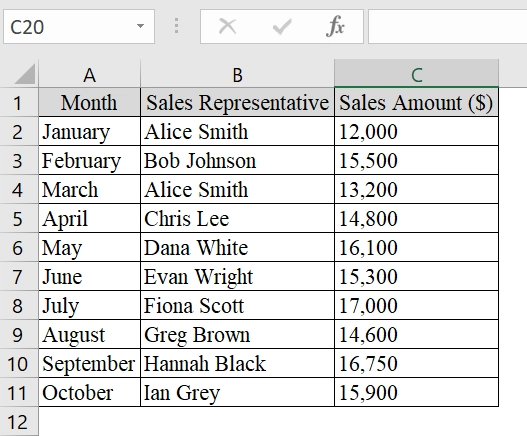
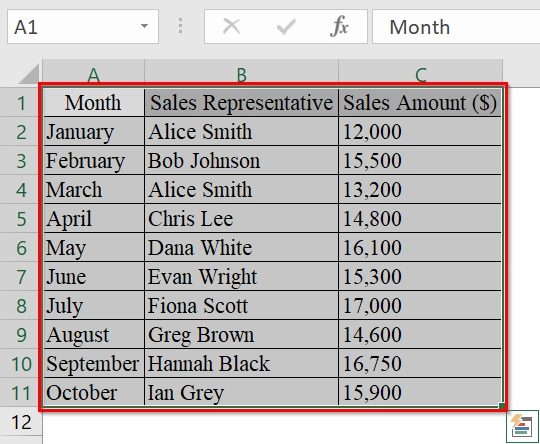
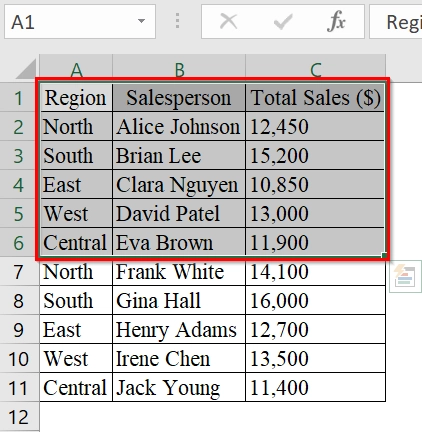
➤ Click and drag your mouse to select the range A1:C11 (including headers like Month, Sales Representative, and Sales Amount).
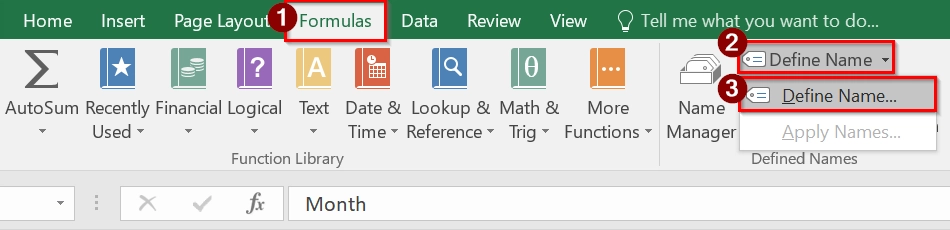
➤ In the ribbon at the top of Excel, click on the Formulas tab, then select Define Name from the Defined Names group.
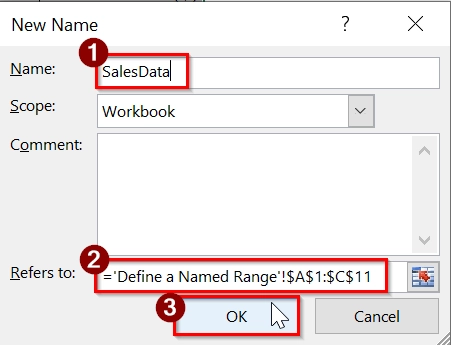
➤ In the “New Name” dialog box, type a name like SalesData in the Name field. Make sure the range in the ‘Refers to‘ field is correct (e.g., =Sheet1!$A$1:$C$11). Click OK.
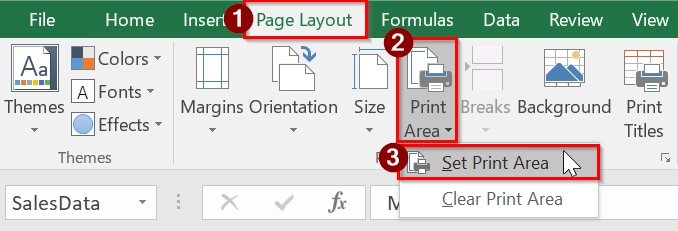
➤ Go to the Page Layout tab, click on Print Area, and select Set Print Area. Excel will automatically set your defined named range as the print area.
➤ Click File > Print to open the print preview window. You will see only your selected named range (SalesData) as the area you want to print.

Note:
➥ Make sure the named range does not include empty rows or columns unless required.
➥ You can reuse the named range across different formulas and references too, improving workbook efficiency.
➥ To modify or delete a named range later, go to Formulas > Name Manager.
Using the Page Setup Dialog Box to Print the Selected Area
We use Excel’s Page Setup dialog box to specify and print only a selected portion of a worksheet. This is good when we need to print only a certain area of a large dataset.
Here, we have a dataset that displays a monthly regional sales report for a company. We want to print only the top 5 records instead of the full dataset. This method is good to select and print a specific area in Excel.
Steps:
➤ Select the area you want to print. For example, select cells A1 to C6.
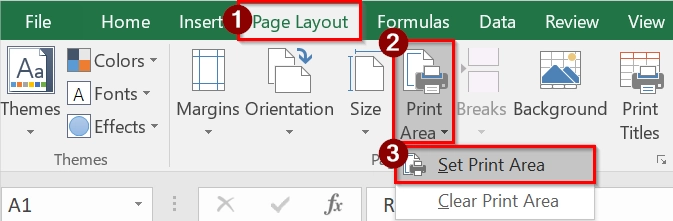
➤ Go to the Page Layout Tab. Click on Print Area → Set Print Area. This defines our selected cells as the printable range.
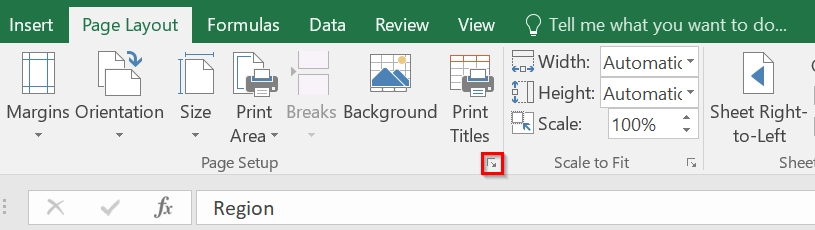
➤ Under the Page Layout tab, click on the small diagonal arrow at the bottom-right of the Page Setup group to open the full Page Setup dialog box.
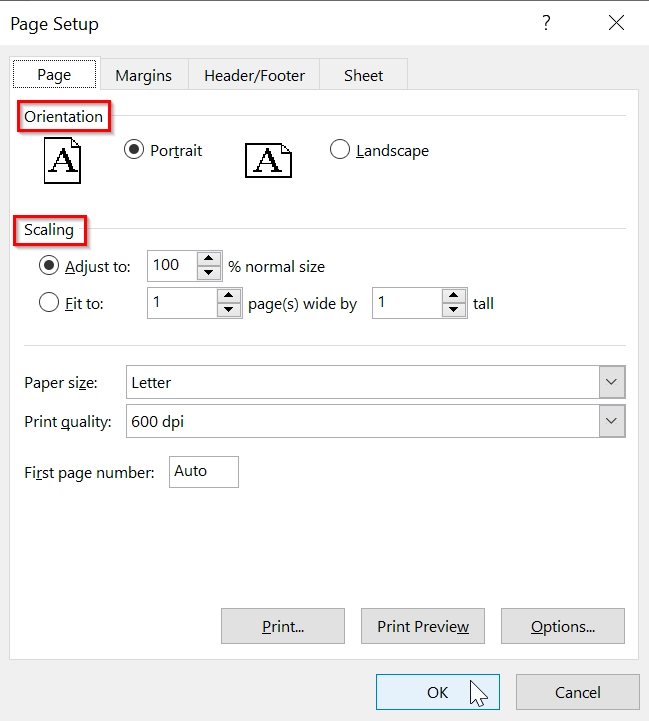
➤ In the Page Setup dialog, you can adjust orientation (portrait/landscape), scaling (fit to one page), and margins. For tables with more columns, landscape works well. Then Click OK.
➤ Go to File → Print or press Ctrl + P . Excel will display a print preview of only the selected area. Confirm everything looks correct, then click Print.
Note:
➥ You can clear the print area by going to Print Area → Clear Print Area.
➥ Ensure that no hidden columns or rows are within your selection, or they will also be printed.
➥ Use the ‘Fit Sheet on One Page’ option in Page Setup if your selection still spreads over multiple pages.
Use Print Selection to Print the Selected Area in Excel
The “Print Selection” method in Excel allows us to print only a specific part of our worksheet, such as a selected range of cells. This method is the best when we don’t want to print the entire sheet but only a particular section of our data.
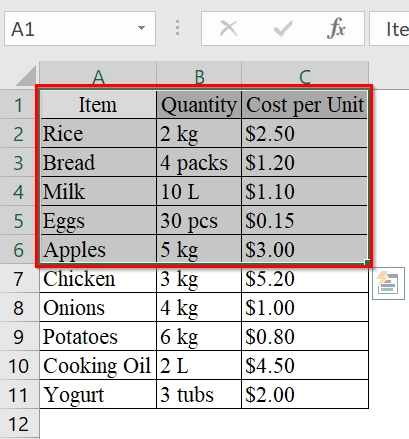
We have a table that represents a household’s monthly grocery purchases. We will print only the top 5 items from the entire dataset using the “Print Selection” method in Excel.
Steps:
➤ Open your excel dataset and make sure that your data is organized properly in rows and columns (e.g., A1:C11 for grocery data).
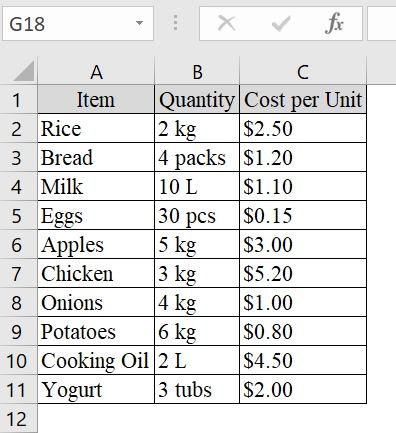
➤ Select the area you want to print (e.g., A1:C6)
➤ Click on the File tab in the top-left corner of the Excel window.
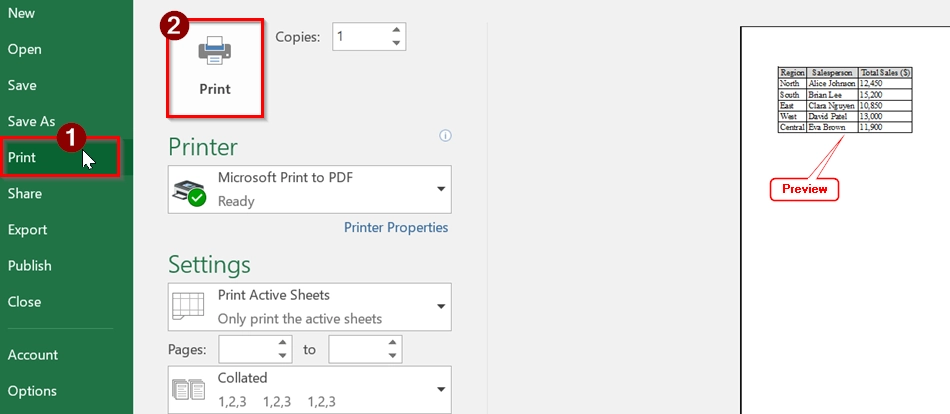
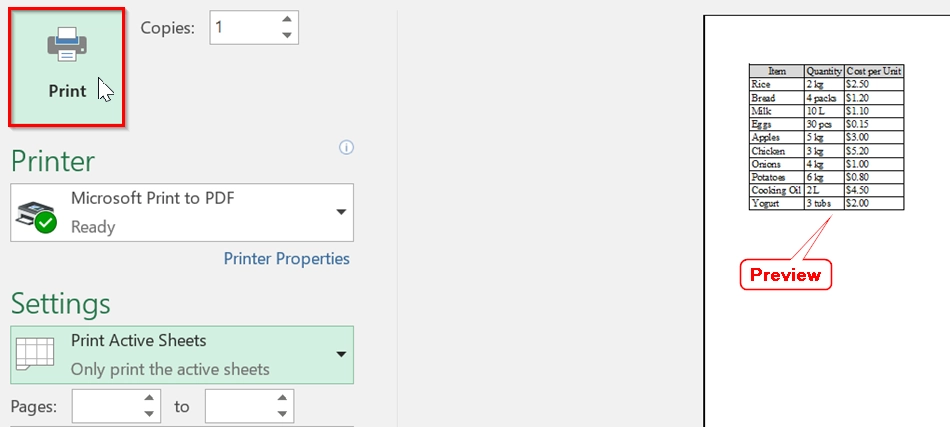
➤ In the File menu, select Print to access print settings.
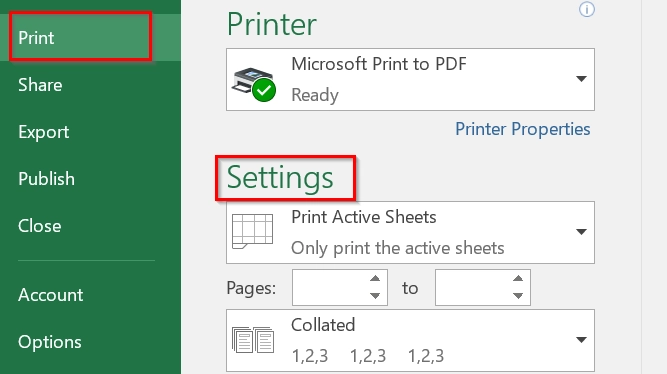
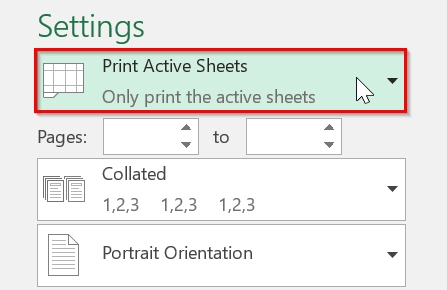
➤ Under Settings, click on the Print Active Sheets dropdown. This ensures only the selected cells will be printed.
➤ Use the print preview pane on the right to check that only the selected cells are being shown. After confirmation, click the Print button to finalize printing.
Note:
➥ You can use Ctrl + P as a shortcut to reach the Print screen faster.
➥ This method does not save the selection for future prints, you will need to reselect each time.
Frequently Asked Questions
Can I set multiple print areas in Excel?
Yes, Excel allows multiple print areas on the same sheet, but they will print on separate pages.
How do I clear a print area?
Go to the Page Layout tab → click Print Area → select Clear Print Area.
Will Excel save my print area for next time?
Yes, Excel saves the print area with the file, but it can be adjusted or removed anytime.
Can I preview the selected print area before printing?
Absolutely. Use Ctrl + P or File → Print to open Print Preview and see how it will look.
Concluding Words
We have described 4 very easy methods on how to print selected areas in excel. Using the Print Selection method in Excel is the most simple way to print only the parts of your spreadsheet that matter. It ensures cleaner outputs and helps maintain focus on key data. You can choose any of the described methods that fits with your dataset.