
When working in Excel, you may face a situation where a file opens in read-only mode unexpectedly. This can prevent editing, saving, or collaborating effectively. Users often run into this issue while trying to access shared or downloaded Excel workbooks, and they need a quick fix to regain full editing rights.
To fix “this workbook was opened in read only mode” problem, follow these simple steps:
➤ Close the workbook if it is open.
➤ Right-click the file in File Explorer and select Properties.
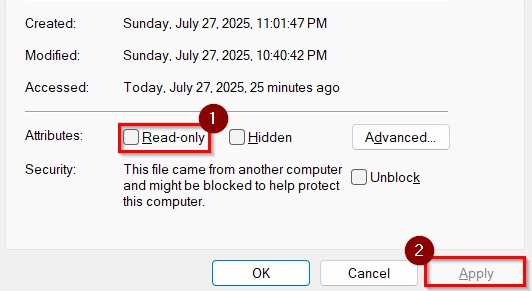
➤ In the General tab, uncheck the Read-only checkbox and click Apply.
Here we will explain why Excel workbooks may open in read-only mode, and walk you through several methods; using General Options, file properties, and deactivating protected view.
What Is Read-Only Mode in Excel?
Read-only mode in Excel means the file is opened in a way that does not allow changes to be saved directly. This mode can be triggered by:
- File permissions set by another user or system.
- Windows file attributes like the “Read-only” property.
- Excel settings such as marked as final or protected view.
- Network or OneDrive sharing settings.
It acts as a safeguard to prevent unintended edits or when the file is already being used by someone else.
Use General Options to Remove Read-Only Recommended Status
This method helps us to remove the “Read-Only Recommended” status from an Excel workbook. We use this when we are prompted to open a file in read-only mode, and want to edit it freely. This is good in collaborative work environments where full editing access is needed.
We have an excel sheet that we use to track monthly project progress. To prevent accidental editing, the workbook was set to “Read-Only Recommended.” Now, we will enable full access for editing.
Steps:
➤ Make sure to open the file normally and, when prompted, choose the “No” option to open it in editable mode.

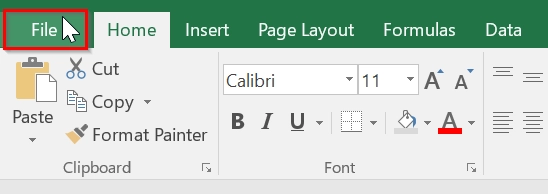
➤ Click “File” from the top-left corner.
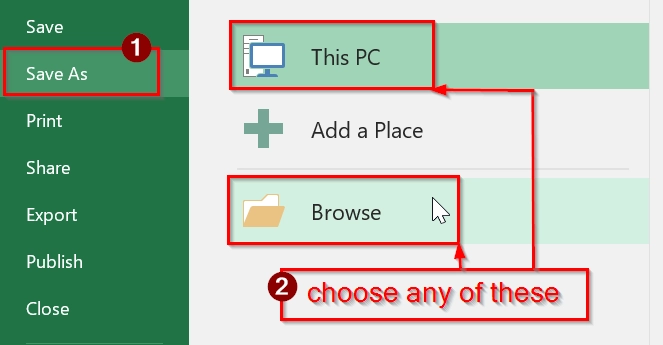
➤ Choose “Save As” from the left panel. You may need to select a location like “Browse” or “This PC” to continue to the save dialog.
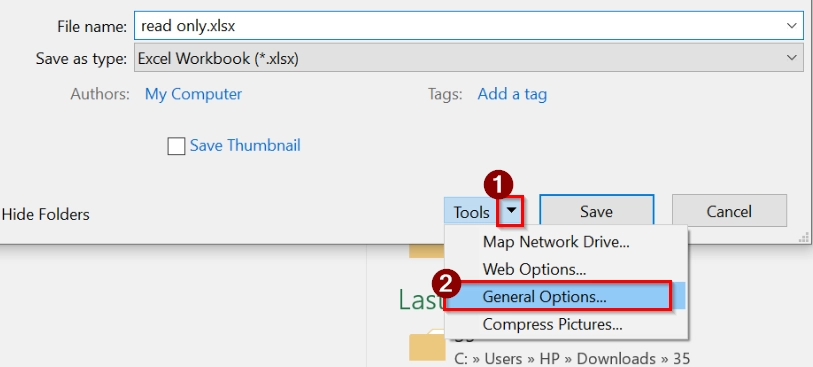
➤ In the Save As dialog box, click on the “Tools” dropdown (next to the Save button). Select “General Options…” from the dropdown list.
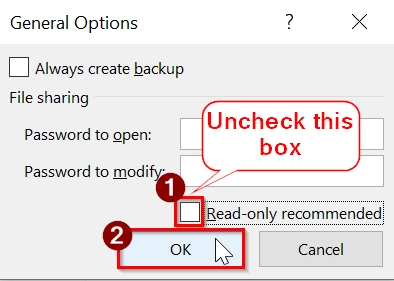
➤ In the General Options dialog, uncheck “Read-only recommended”. Click OK after unchecking the box.
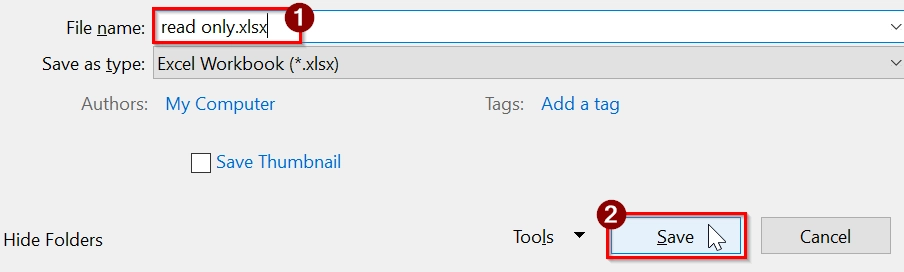
➤ Save the file with the same name or a new name.
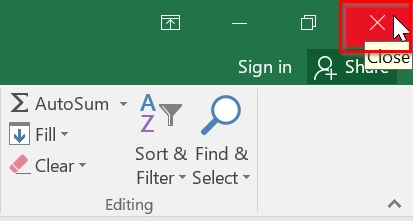
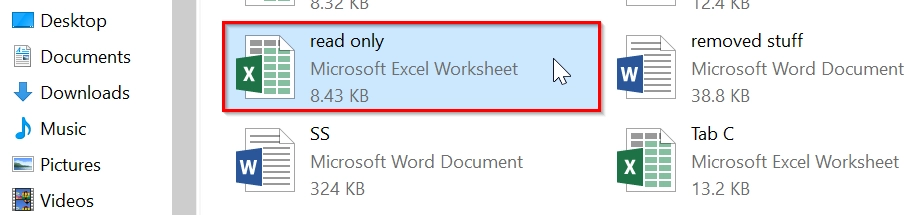
➤ Close the file and reopen it to ensure it no longer opens in read-only mode. You can view and edit the data.

Note:
➥ This method only removes the read-only recommendation, not enforced protection like password or file-level permissions.
➥ Make sure no one else has the file open while making changes to avoid overwriting conflicts.
Disable Read-Only from Excel File Properties
Disable Read-Only from Excel File Properties help us to remove the read-only restriction set in the file properties of the Excel workbook. We use this when we are unable to make changes in a file because it opens as read-only every time. This is common when files are downloaded from email or network folders or set to read-only manually.
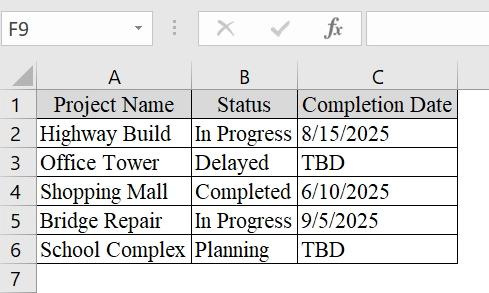
Here, we have taken an excel worksheet of a project coordinator that tracks the status of multiple construction projects in an Excel workbook. The file was shared with the management team, and someone accidentally marked it as “Read-Only” in the file properties. We will regain editing access to continue updating project progress.
Steps:
➤ Close the Excel workbook if it is currently open.
➤ Navigate to the location of the Excel file on your computer.
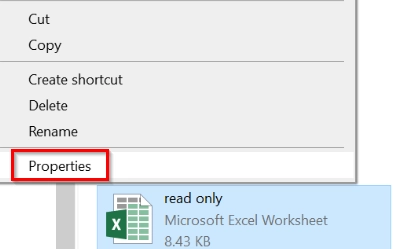
➤ Right-click on the Excel file and select “Properties” from the context menu.
➤ In the Properties window, go to the General tab.

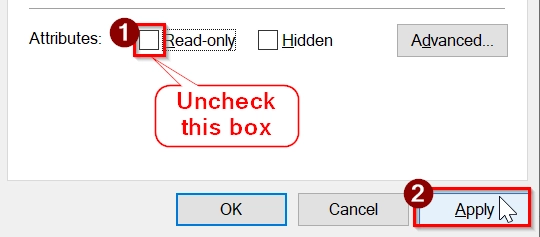
➤ Look for the Attributes section at the bottom. Uncheck the box “Read-only” and then click “Apply“.
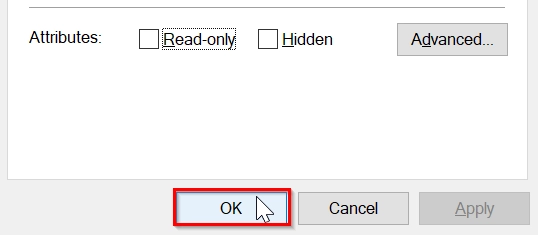
➤ Click “OK” to close the Properties window.
➤ Reopen the Excel file. It should now be editable.
Deactivate Excel Protected View
When we download a workbook from the internet or receive it via email, sometimes it shows the workbook opening in read-only mode. We will Deactivate Excel Protected View to fix this problem. We use this method when we are confident the file is from a safe source and need to enable full editing access. This is applied to Excel datasets opened in restricted or view-only mode.
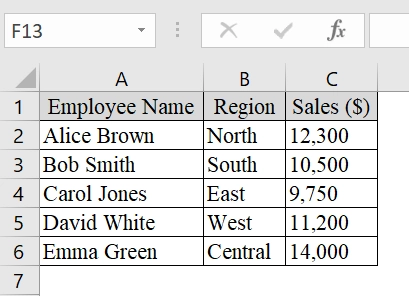
Here, we have an excel workbook containing a shared Sales Report from a team member that opens in Read-Only Mode due to Protected View settings. To edit it, we need to deactivate Protected View.
Steps:
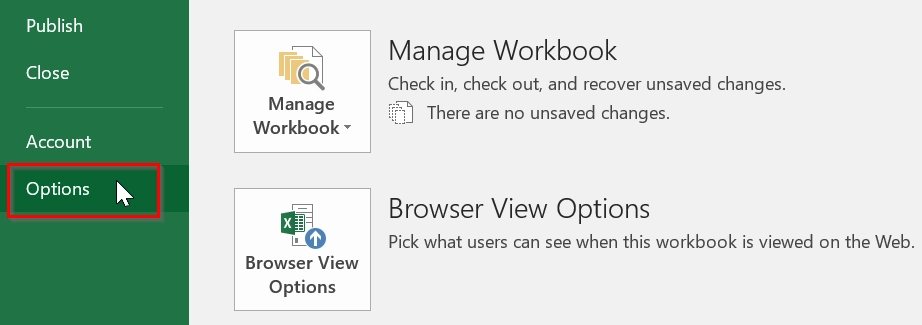
➤ Open any Excel file, and go to the File tab. Then, Click on Options at the bottom of the left menu list.
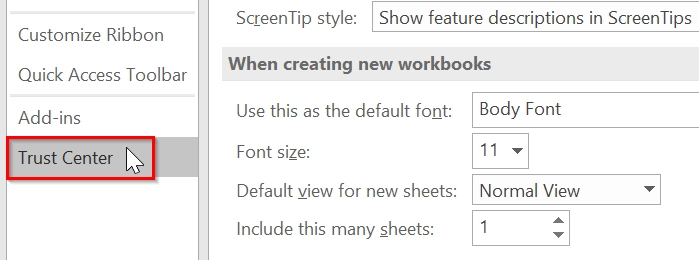
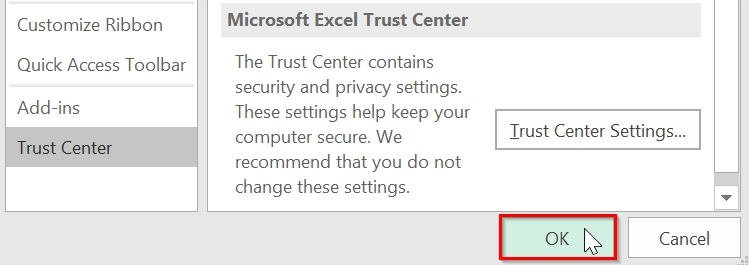
➤ In the Excel Options dialog box, click on Trust Center on the left pane.
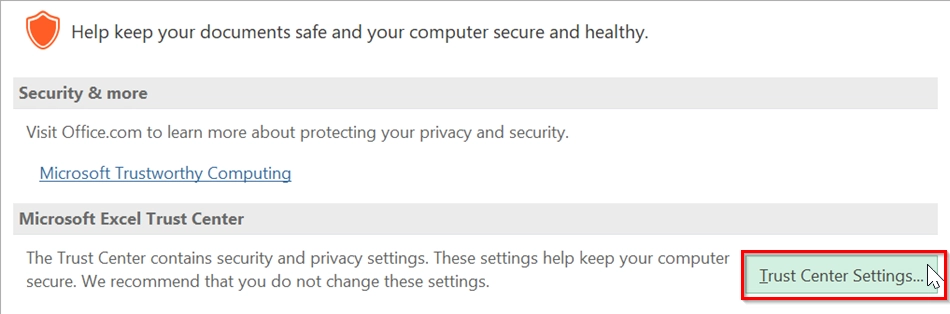
➤ Click on Trust Center Settings… on the right side.
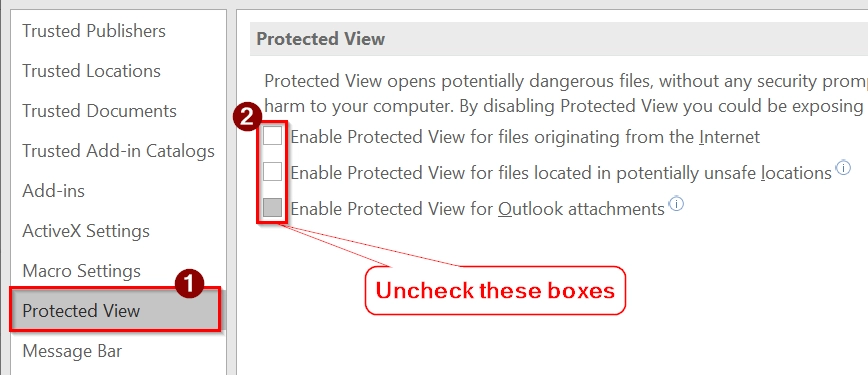
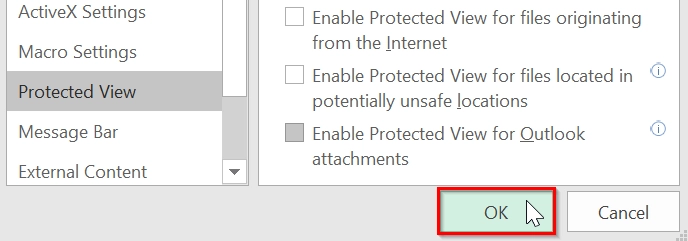
➤ In the Trust Center window, go to the Protected View on the left side. Uncheck the following options:
➥ Enable Protected View for files originating from the internet
➥ Enable Protected View for files located in potentially unsafe locations
➥ Enable Protected View for Outlook attachments
These are the typical reasons why workbooks open in read-only mode.
➤ Click OK to close the Trust Center.
➤ Click OK again to exit Excel Options.
➤ Reopen the workbook that was previously opening in read-only mode.
Note:
Only use this method if you trust the source of the file. Turning off Protected View disables a security feature that protects you from potentially harmful files.
Update or Renew Microsoft Office
Updating or renewing our Microsoft Office subscription ensures that we have access to all features, including the ability to fully edit Excel workbooks. This method is best when our workbook consistently opens in read-only mode, even though the file is not protected or shared. This is good when the workbook is stored locally or on OneDrive and no other restrictions are apparent.
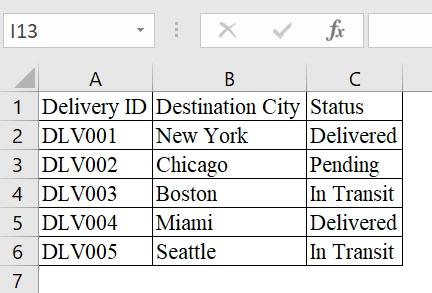
We have an Excel Workbook of a logistics company. We noticed that the workbook is opening in read-only mode, which prevents us from updating delivery records. To fix this, we will update or renew Microsoft Office to regain full access to editing features.
Steps:
➤ Open any Microsoft Office application like Excel or Word.

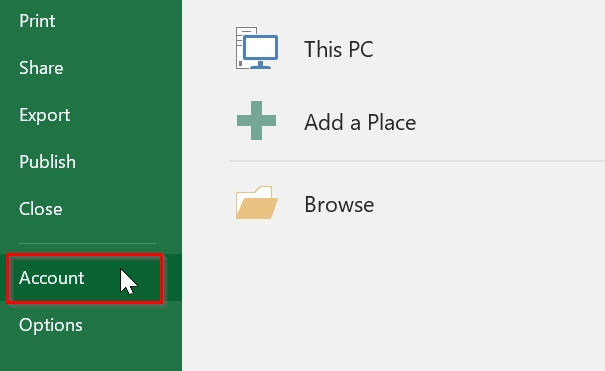
➤ Click on File in the top-left corner.
➤ Choose Account from the menu on the left.
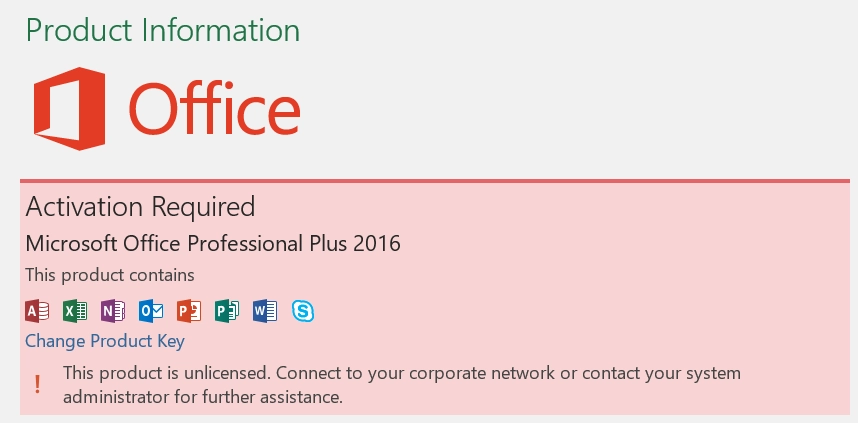
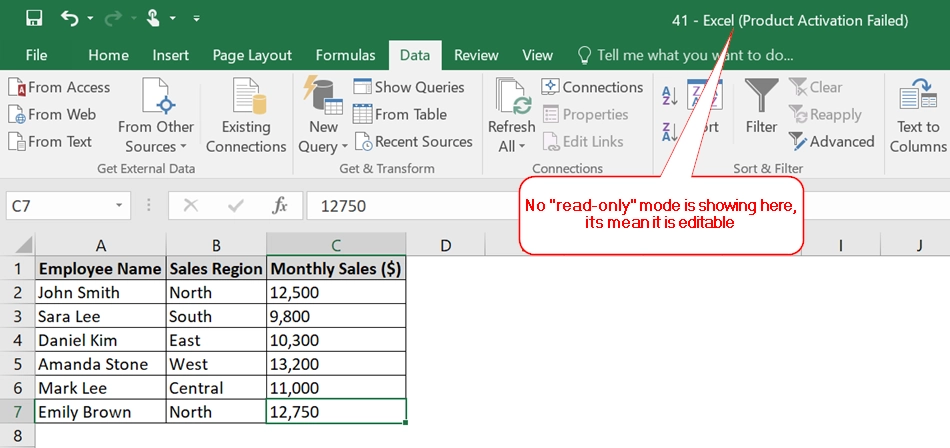
➤ Under the “Product Information” section, verify if your Office license is active. If it says “Product Deactivated” or “Read-Only”, this is likely the issue.
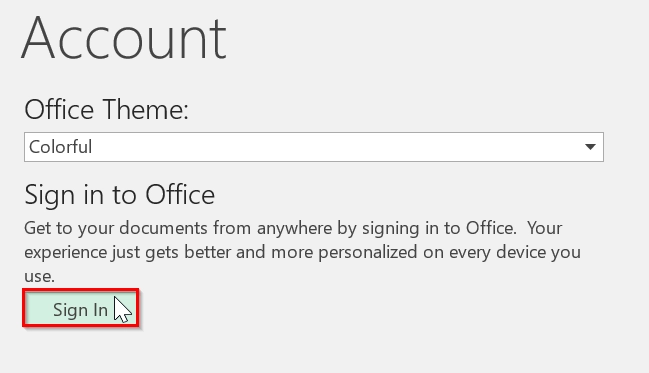
➤ If you see a “Sign In” option, click it.
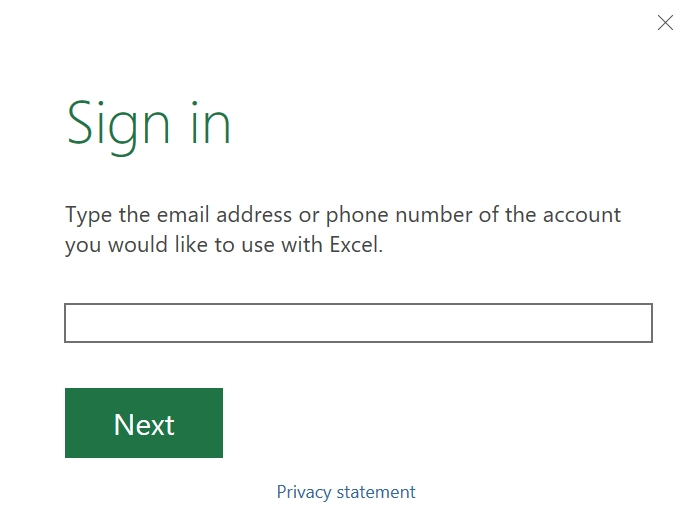
➤ Sign in with the account associated with your Office license.
➤ Close Excel and re-open your problematic workbook to see if the issue is resolved.
Note:
Check for multiple Office versions. Sometimes, having more than one version installed can cause conflicts.
Remove "Mark as Final" Status to Disable Read-Only Mode
When Excel marks a workbook as final, it becomes read-only to discourage editing. This method helps us when we try to edit a file that opens in read-only mode due to being marked as final. This is good for sales reports, HR records, or inventory sheets shared across teams where updates are needed.
Steps:
➤ Open the Excel file that is showing the read-only message. Click “No” on the dialog box.

➤ Go to the top-left corner and click on the File tab.
➤ Click on Info. On the right side, click on Protect Workbook. If the option Mark as Final is highlighted, click it to remove the selection.

➤ Close the file.

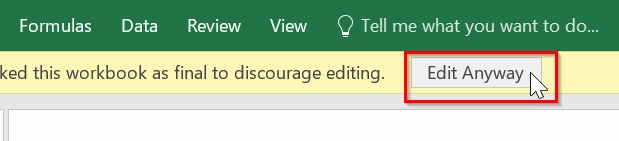
➤ Re-open it. If you still see a message, click on ‘Edit Anyway’ to begin editing.
➤ You will no longer see the read-only warning.

Note:
➥ You must have editing permissions to remove “Mark as Final.”
➥ This method does not override password protection or admin-level restrictions.
➥ Ideal for fixing team-shared Excel files that were marked final prematurely.
Check OneDrive Storage
This method helps to check our OneDrive storage. The OneDrive Storage method is best when Excel files are saved on OneDrive in read-only mode, which can happen if syncing is interrupted or space is insufficient. We use this when we are unable to edit a workbook even though we have permissions.
We have an Excel workbook of a sales team collaborating on a monthly sales performance report saved on OneDrive. However, when team members try to open the workbook, they encounter the “This workbook was opened in read-only mode” issue. This may be due to OneDrive storage being full or syncing errors.
Steps:
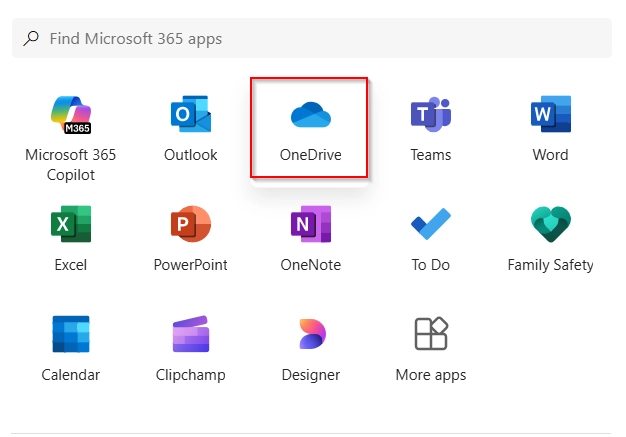
➤ Open your Microsoft account linked to the workbook and Click to OneDrive.
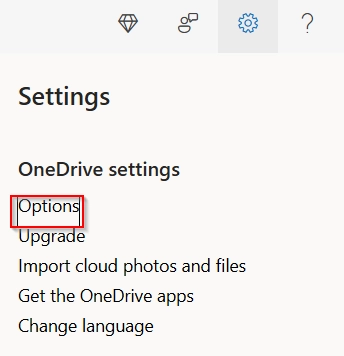
➤ Click on the Setting icon in the top right corner

➤ Select Options in the OneDrive Setting.
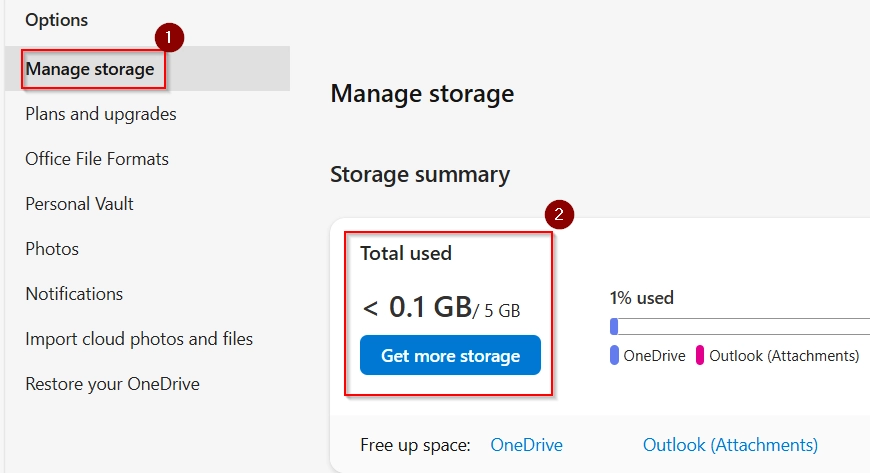
➤ Then, go to the Manage Storage section. You’ll see a visual representation of used vs. available storage.
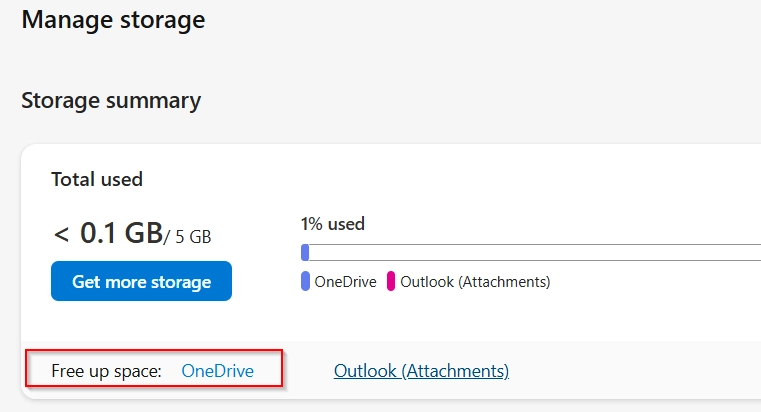
➤ If your storage is full or near capacity, Click on Free Up Space: “OneDrive “
➤ Now, select the unnecessary files and delete.
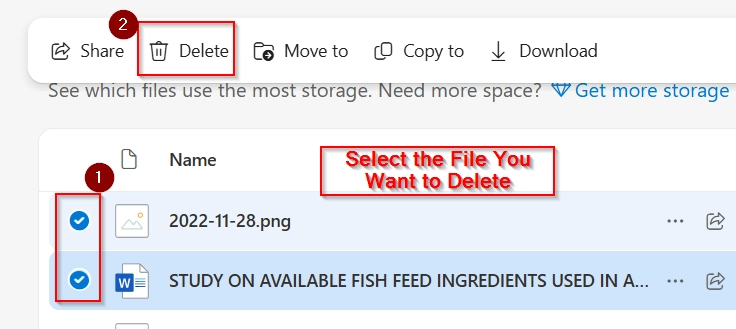
➤You can also move them to another location (e.g., external hard drive, another cloud service).
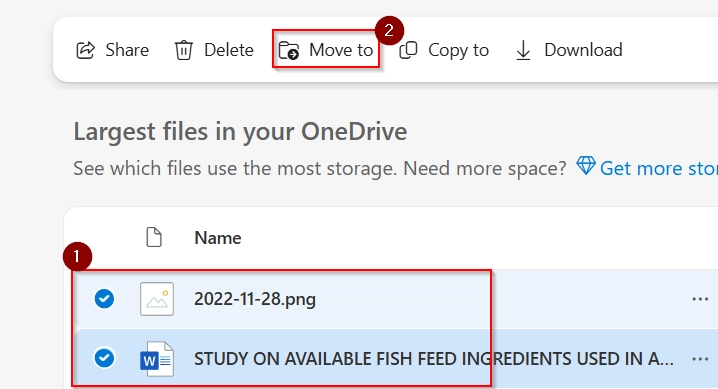
➤ If you don’t want to delete anything, select “Upgrade”

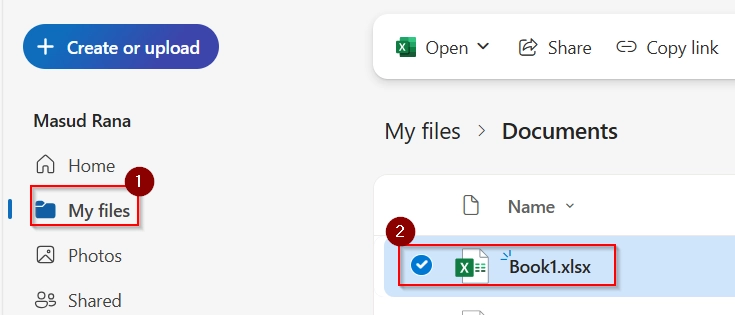
➤ Under the Account tab, click My Files and select your Excel File.
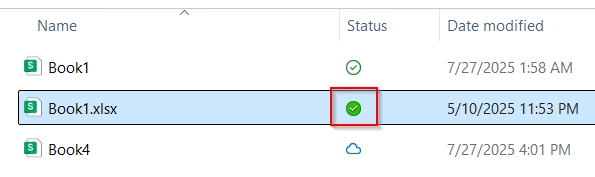
➤ Now, open the OneDrive App from your computer. Select the file that contains your data. Then, right click on it and click: “Always Keep on this device”.

➤ You have successfully synced and are ready to edit.
➤ Once the storage and sync issues are resolved, reopen the Excel file either through your desktop or web Excel app. It will now open in editable mode.
Note:
➥ You must be the owner or have edit permissions to make changes even after fixing OneDrive issues.
➥ Internet connectivity can also affect real-time syncing and editing capabilities.
Frequently Asked Questions
Why does Excel keep opening my files in read-only mode?
This could be due to file properties, network permissions, antivirus blocks, or Excel settings like “Protected View”.
How do I make Excel stop asking to open as read-only?
Uncheck “Always open read-only” under File > Save As > Tools > General Options.
Can I remove read-only from a shared file?
Yes, if you have permission. Check sharing settings on OneDrive or your network drive.
What if the “Read-only” box is greyed out?
You might need admin rights or the file could be encrypted or locked by another program.
Concluding Words
Fixing the “this workbook was opened in read only mode” issue is usually simple. By adjusting file properties, reviewing Excel’s protection settings, and checking network permissions, you can regain full control over your workbook.